Private Tutoring Application
- Hande Aydın - 201511410
- Eyüp Can Turğut - 201411062
- Damla Yıldırım - 201411068
- Serhat Cenkayoğlu - 201511301
Before starting, make sure that you have installed Visual Studio 2019 (it supposed to include ASP.NET and web development) and PostgreSQL on your computer.
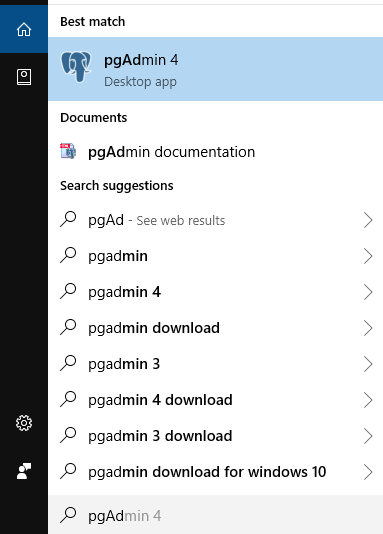
Open pgAdmin application. (pgAdmin is the most popular and Open Source administration and development platform for PostgreSQL.) To find the application easily, click search button on taskbar and type "pgadmin".
Enter your password. Then click on Servers' arrow at its left.
Note: After clicking arrow, it is possible that it may ask you to enter your password again.
Right click on Databases. Then select Create > Database....

Enter a Database name and save it. It could be anything that you want.

Click on database at left that you have just created. It will connect the database and notify you that it is connected.

Nodification
Download the project from Releases. Extract it and open PrivateTutoringApplication.sln file.
From Solution Explorer, click appsettings.json file.

Change Password and Database fields as shown below and save it.

From Solution Explorer again, click PrivateTutoringApplication.Model > Infrastructure > DatabaseContext.cs file.

Change Password and Database fields like previous step and save it.

Click on Package Manager Console at bottom.

Set Default Project field as PrivateTutoringApplication.Model.

Type the code below to console and press enter.
Add-migration anyname
Note: Instead of anyname, you could type anything you want, it doesn't matter. This will compare and find difference between datababase and model code.
When it's built succeeded, the console will notify you as below.

Type the code below and enter.
Update-database
If succeed, the console will notify you as below.

That's it! You can run the application by clicking IIS Express button at top.