Current Port: 17198 - 17200
Note: I won't fix this unless Growtopia changes the new system they made. Github IP's got banned by Growtopia and you can't create here for now. Use v2 https://github.com/CapciGithub/Growtopia-CID-Creator-v2
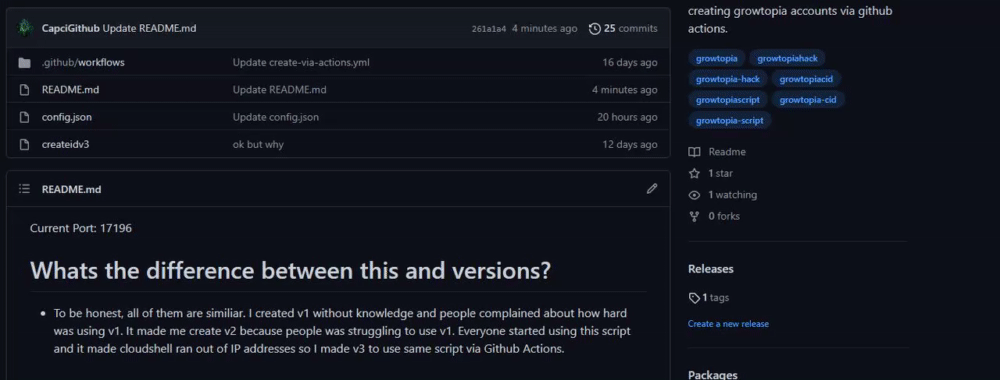
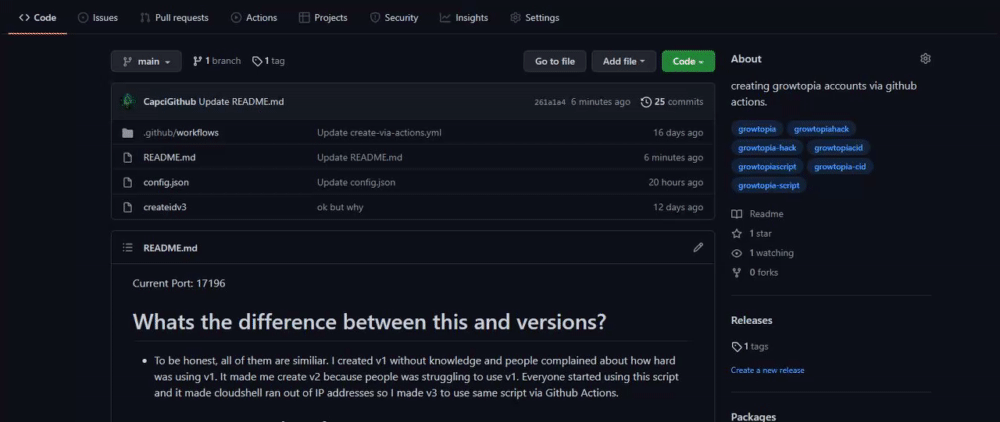
- To be honest, all of them are similiar. I created v1 without knowledge and people complained about how hard it was to use v1. It made me create v2 because people were struggling to use v1. Everyone started using v2 and it made cloudshell run out of IP addresses so I made v3 to use the same script via Github Actions.
- Part 1: Download the source code of CID-Creator-v3 by clicking the green "Code" button on the page. ( Click me for help! )
- Part 2: Go to your own github page by clicking your profile icon on the right corner. ( Click me for help! )
- Part 3: Click the "📚 New" button on that repository page. ( Click me for help! )
- Part 4: Give your repository a name. Then, scroll down and tick the "🔒Private" option, scroll further down and tick "Add a README file". Lastly, click "Create Repository" ( Click me for help! )
- Part 5: Click the "Add File" button on your screen and click "Upload Files". ( Click me for help! )
- Part 6: Upload the createidv3 and config.json into your repository then click "Commit File". ( Click me for help! )
- Part 7: Click the "Add File" button and click "Add New File". ( Click me for help! )
- Part 8: Paste the code that you got into "Name your file..." area. ( Click me for the code! )
- Part 9: After you pasted it, paste this code into the empty area. ( Click me for the code! )
- Part 10: If everything is done correctly, it should look like this: ( Click me to check! ) and if it looks like the image that you checked, scroll down and click the "Commit File Button"
- Ending: If you did everything correctly till this part you can start using the CID-Creator-v3! Also, don't forget to star my repository or I'll get your repo deleted.
- Part 1: Go to your own repository then click config.json and fill the areas with the bot name-pw you want to use then click "Commit Changes". ( Click me for help! )
- Part 2: Go to Actions and from workflows click the "create growtopia accounts" ( Click me for help! )
- Part 3: Find the "Run Workflow" button and click "Run workflow" button. ( Click me for help! )
- Part 4: If you clicked the "Run Workflow" button, refresh your page and from All workflows click the "Running Workflow" and wait until it creates account. ( Click me for help! )
- Part 5: Then, if the orange circle turned into green checkmark like this ->✅ click the <> code button near to issues. ( Click me for help! )
- Part 6: After you clicked <> code button find Releases (1) and click it. ( Click me for help! )
- Part 7: The script will create a txt file with the accounts inside. Click on it to download them. ( Click me for help! )
- Please create your own repository to use this script otherwise people will have access to your account, tutorial above this text ^^
- Make sure to include at least 1 number and 1 characters in your password. For example:
password1@ - If you downloaded your accounts I highly recommend you to go to "Releases (1)" and find the 🗑 then click it and press "delete this release". This will prevent others from downloading your accounts.
- Also, I'm not responsible if somehow someone enters your accounts because of you not making your repository private.