| layout | title | date | categories |
|---|---|---|---|
post |
Kubernetes VMware Cluster Scripts |
2015-03-23 05:00:00 -0700 |
kubernetes,coreos,docker,vmware |
The purpose of the simple kubernetes_cluster_vmware repo is to provide simple scripts for building a CoreOS cluster using the methodology that Kelsey Hightower gave me insight into using the official VMware CoreOS image. I modified this process along with the information in the Kubernetes project for provisioning a Kubernetes with a CoreOS Multi-node cluster.
This project builds on the coreos_cluster_vmware project, which is a good starting point to get a basic understanding for the process of putting together this Kubernetes cluster using the same essential process.
Four machines total:
- 1 master
- 3 minions
In the base directory, there are "templates" for:
vm_tmpl.vmx- The VMX file used by all VMsmaster.yaml- A cloud init file for the master VMnode.yaml- A cloud init file for the minion VM nodes
In the ./bin directory:
get_image.sh- Simple script to fetch the official VMware CoreOS image and un-compress it (bzip)build_master.sh- The script used to build configuration files for and to launch the master VMbuild_nodes.sh- The script that is used to build configuration files for and to launch all three of the minion VMsteardown_nodes.sh- Stops and deletes the files for minion VMsteardown_master.sh- Stops and deletes the files for the master VMstart_master.sh- Starts the master after it has been stoppedstart_nodes.sh- Starts the nodes after they has been stopped
The basic idea is this -
- Obtain the official VMware CoreOS image
- Produce both a cloud init file and VMX file for a given VM
- Create a config drive, using the cloud init file (.iso)
- Make a copy of the official VMware CoreOS image for that machine named accordingly
- Boot the VM using the generated files
For the master VM, this only happens once and requires no cognizance of any other machines. For each minion VM, they boot the same way but also need to know the IP address of the master VM.
Upon launching all minion VMs, everything should be up and running!
There is a directory in the repo with nothing in it work_dir. Enter that directory. This is where all the generated files and VMware images will exist.
You will need to find the utility vmlist. On OSX Yosemite, this location should be /Applications/VMware Fusion.app/Contents/Library. Set up the $PATH environment variable to have this in your path:
export PATH=$PATH:/Applications/VMware\ Fusion.app/Contents/Library
When this utility is run, it will need to be run via sudo, or you can change it to allow the user you use to have the execute privilege to it.
One way to make vmrun easier to run without a passwrod every time is to use sudoers:
username host = (root) NOPASSWD: /Applications/VMware\ Fusion.app/Contents/Library/vmrun
../bin/get_image.sh
After this script is completed, there should be the image in the expected location ../coreos_image
reason:work_dir patg$ ls -l ../coreos_image/*.vmdk
total 1036072
-rw-r--r--  1 patg  staff  396820480 Mar 12 12:59 coreos_production_vmware_image.vmdk
reason:work_dir patg$ ../bin/build_master.sh
Creating hybrid image...
....
This will lanch the master VM. A window will present itself with a dialog box
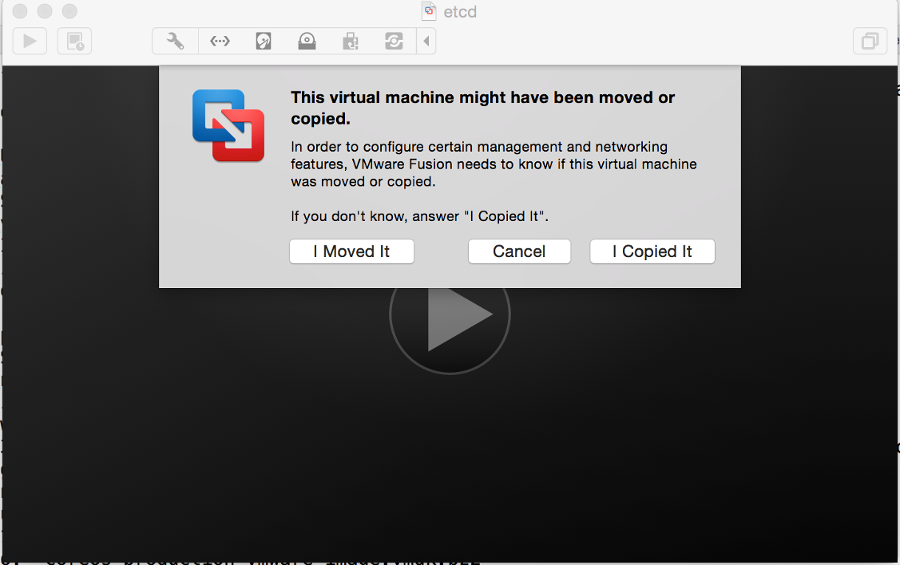
Select "I copied it".
You can then find out what the IP address of the Virtual Machine is either by looking at the output in the VM window
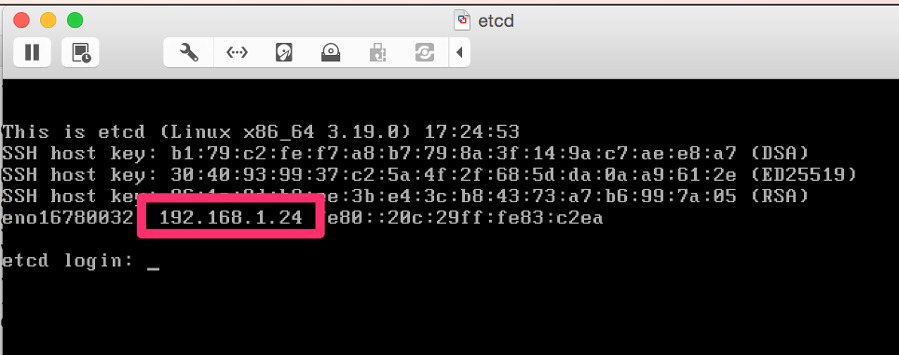
or by running the following command:
reason:work_dir patg$ sudo vmrun getGuestIPAddress master.vmx
192.168.1.24
Log into the instance. The password that was set from the cloud init data file master_cloud_init.yaml results in the VM having a password for both the core and root user of "vmware" (NOTE: this is not for production, obviously!)
reason:work_dir patg$ ssh core@192.168.1.24
Warning: Permanently added '192.168.1.24' (RSA) to the list of known hosts.
core@192.168.1.24's password:
CoreOS alpha (618.0.0)
Now, verify that etcd is running:
core@master ~ $ etcdctl ls
/coreos.com
/registry
Now the minions can be launched. As the above example shows, the IP address for master (etcd) is 192.168.1.24. This will be the single argument to the next script:
reason:work_dir patg$ ../bin/build_nodes.sh 192.168.1.24
This will result in the same sequence of steps as the master, but 3 times. Once all VMs are launched, you can verify that they are up:
reason:work_dir patg$ sudo vmrun list
Total running VMs: 4
/Users/patg/code/kubernetes_cluster_vmware/work_dir/node_01.vmx
/Users/patg/code/kubernetes_cluster_vmware/work_dir/node_02.vmx
/Users/patg/code/kubernetes_cluster_vmware/work_dir/master.vmx
/Users/patg/code/kubernetes_cluster_vmware/work_dir/node_03.vmx
Next, pick one of the nodes to log into:
reason:work_dir patg$ ssh core@192.168.1.27
Warning: Permanently added '192.168.1.27' (RSA) to the list of known hosts.
core@192.168.1.27's password:
CoreOS alpha (618.0.0)
Test that everything is working:
core@node_03 ~ $ fleetctl --endpoint=http://192.168.1.24:4001 list-machines
MACHINE     IP      METADATA
0bd560c9... 192.168.1.24 role=master
10a1d3c3... 192.168.1.12 role=node
50a0dd1c... 192.168.1.10 role=node
9bd07cf8... 192.168.1.9  role=node
Excellent! A working coreos cluster! Now, verify that Kubernetes is working.
First, copy kubectl to the master VM:
reason:work_dir patg$ scp ../kubectl core@192.168.1.24:~/
core@192.168.1.24's password:
kubectl                                                                                                               100%   13MB  13.2MB/s   00:00
Log into the master, copy kubectl to /opt/bin:
reason:work_dir patg$ ssh core@192.168.1.24
core@192.168.1.24's password:
Last login: Sun Mar 22 14:07:24 2015 from 192.168.1.5
CoreOS alpha (618.0.0)

Update Strategy: No Reboots

core@master ~ $ sudo mv kubectl /opt/bin
Now, list minions:
core@master ~ $ kubectl get minions
NAME                LABELS              STATUS
192.168.1.10        <none>              Ready
192.168.1.12        <none>              Ready
192.168.1.9         <none>              Ready
The Kubernetes cluster is now open for business!
As good start is the excellent example for redis that comes with the Kubernetes source.
Clone kubernetes on the master and run the examples (read the documents for more information):
core@master ~ $ git clone https://github.com/GoogleCloudPlatform/kubernetes.git
Cloning into 'kubernetes'...
remote: Counting objects: 59225, done.
remote: Total 59225 (delta 0), reused 0 (delta 0), pack-reused 59225
Receiving objects: 100% (59225/59225), 36.64 MiB | 747.00 KiB/s, done.
Resolving deltas: 100% (38651/38651), done.
Checking connectivity... done.

core@master ~/kubernetes $ cd kubernetes/examples/redis/

core@master ~/kubernetes/examples/redis $ kubectl create -f redis-master.yaml
redis-master

core@master ~/kubernetes/examples/redis $ kubectl create -f redis-sentinel-service.yaml
redis-sentinel

core@master ~/kubernetes/examples/redis $ kubectl create -f redis-controller.yaml
redis

core@master ~/kubernetes/examples/redis $ kubectl create -f redis-sentinel-controller.yaml
redis-sentinel

core@master ~/kubernetes/examples/redis $ kubectl get services
NAME                LABELS                                    SELECTOR              IP                  PORT
kubernetes          component=apiserver,provider=kubernetes   <none>                10.100.0.2          443
kubernetes-ro       component=apiserver,provider=kubernetes   <none>                10.100.0.1          80
redis-sentinel      name=sentinel,role=service                redis-sentinel=true   10.100.9.218        26379

core@master ~/kubernetes/examples/redis $ kubectl get pods
POD                 IP                  CONTAINER(S)        IMAGE(S)              HOST                      LABELS                                       STATUS
redis-master        10.244.89.2         master              kubernetes/redis:v1   192.168.1.9/192.168.1.9   name=redis,redis-sentinel=true,role=master   Pending
                                        sentinel            kubernetes/redis:v1

core@master ~/kubernetes/examples/redis $ kubectl get rc
CONTROLLER          CONTAINER(S)        IMAGE(S)              SELECTOR              REPLICAS
redis               redis               kubernetes/redis:v1   name=redis            1
redis-sentinel      sentinel            kubernetes/redis:v1   redis-sentinel=true   1
core@master ~/kubernetes/examples/redis $
This document has shown how to easily set up a Kubernetes cluster, as well as how to do some useful work with the VMware command line tools. For more information, do join the #coreos and #google-containers IRC channels on Freenode, as well as the documentation in the Kubernetes project.
Lastly, many many thanks to Kelsey Hightower and others for their patience and help with setting both stock CoreoOS and Kubernetes and answering a slew of questions!