Home
Welcome to the Getting-Started wiki!
so let's get started!
Copy this into your arduino Preferences -> Additional Board Manager URLs https://cocomake7.github.io/CocoMake7/package_cocomake7_index.json
- Download USBasp-win-driver-x86-x64-v3-2.zip
- Then extract and run InstallDriver.exe
- Restart computer
- Replug CocoMake7 board
It can happen during downloading the board info's and bad internet connection to get an errer "CRC not match" Delete the boards through your file-browser. to find the location look in Arduino IDE -> preferences. Go into folder staging -> packages. And delete the cocomake7 boards. Restart Arduino and try to install again.
To install the full teeny (formerly known as BabyGnusbuino) board check our developer repository: https://github.com/TeenyRiot
Add this url to your board manager https://teenyriot.github.io/TeenyRiot/package_teenyriot_index.json
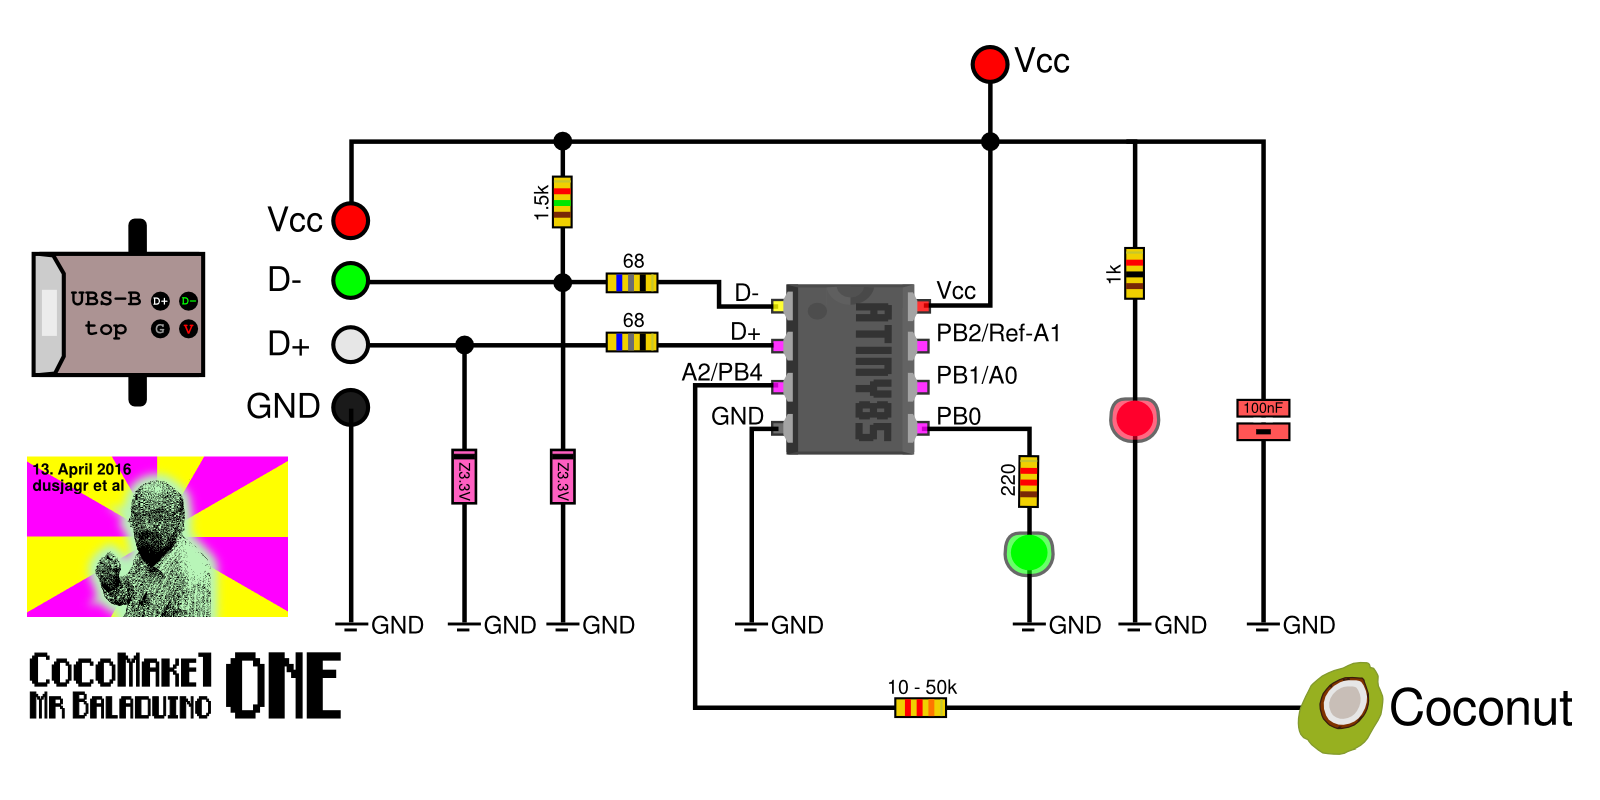
CocoMake7 is based on a bootloaed to turn it into a virtual USB device. The code is originally adapted from V-USB and later modified for the babygnusbuino by a.n.y.m.a..
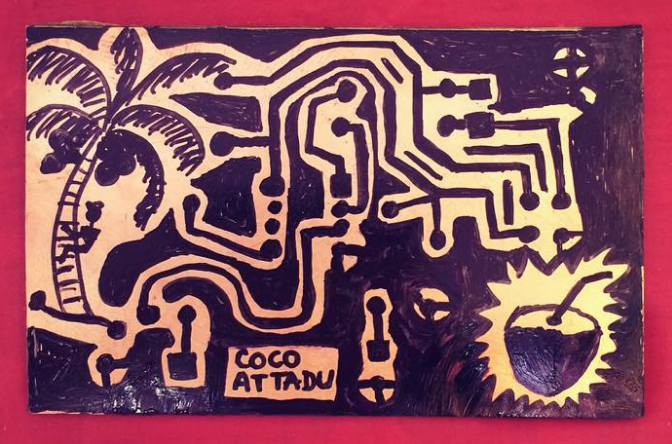
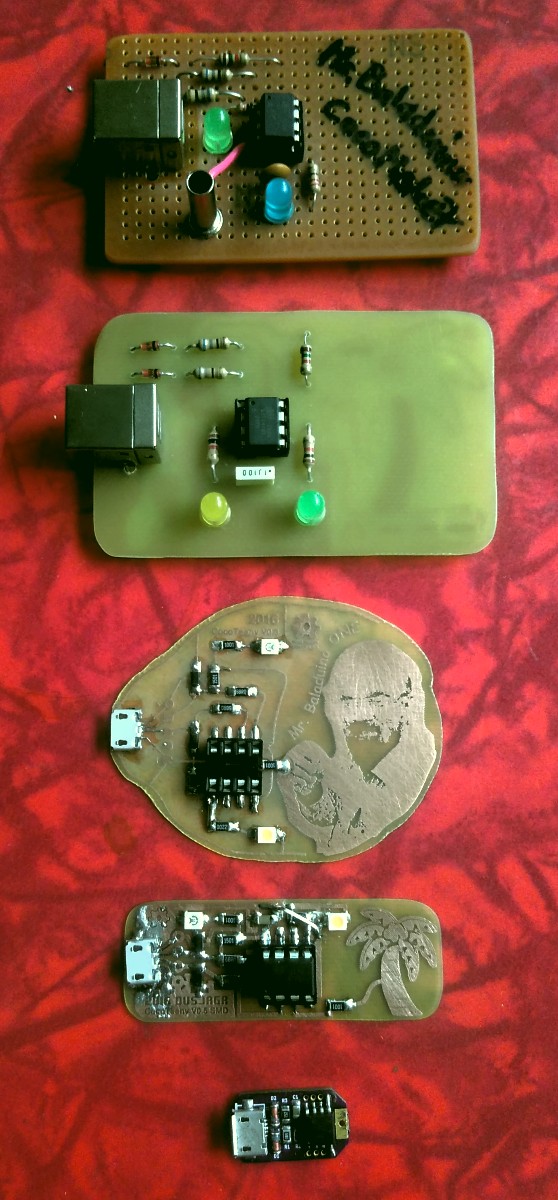
There are many ways to make this board! Just start soldering on a proto-board or design/etch your own circuits. We made some PCB designs for manufacturing and smd soldering, aswell as simple one-sided boards to make in the Majority of the world locally. Check the repository of the PCBs to download the pdfs.