Intro on how to set up and use WristAssist
Welcome to this brief introduction to WristAssist. Here I will explain how to create an API key to use the app and what other features the app offers.
Let's go! 🥳
API Key? What is it? 🤔
Well, the app uses OpenAI's ChatGPT interface in the background to achieve the same experience as the original. In order to use this service, every user has to create a so-called "API key" on OpenAI's website and enter it in WristAssist's settings.
When you create this key, you will need to provide a credit/debit card and purchase credits for a few dollars. Each request to ChatGPT or DALL-E costs a few cents, but you can track your usage in the app at any time. Usually you only use a few cents per month (unless you create a lot of images... 😉).
Now I'll show you how to create your own API key in 5 minutes so that you can use the app immediately afterwards. 🙌
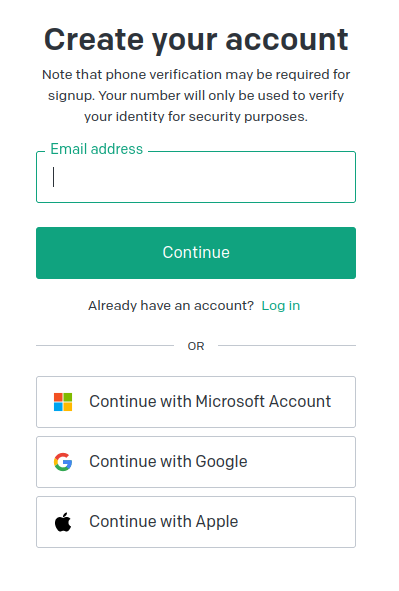
- Go to the OpenAI website 🌍 and create an account (if you don't already have one).
View screenshot
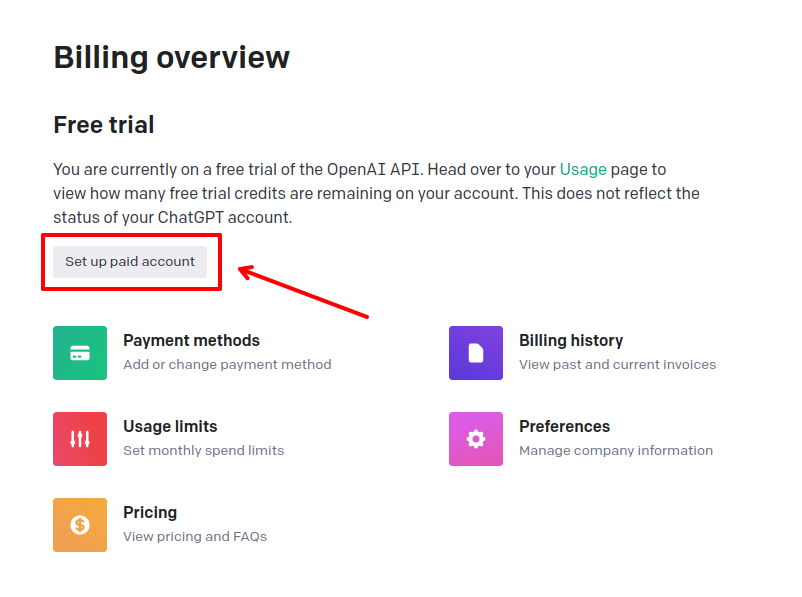
- Go to the billing page 💵 and click on "Set up paid account".
View screenshot
- Enter your card details (Again, the card will only be charged a few cents per month depending on your usage and how many credits you bought. You can check your usage at any time under the menu entry "Usage" in the app or here 📈)
View screenshot

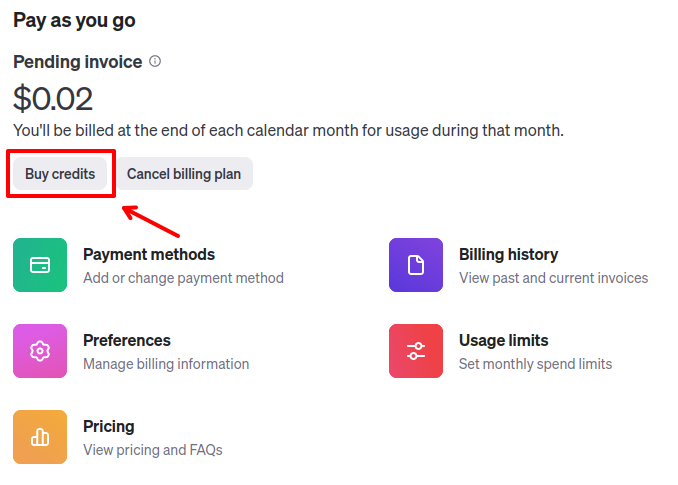
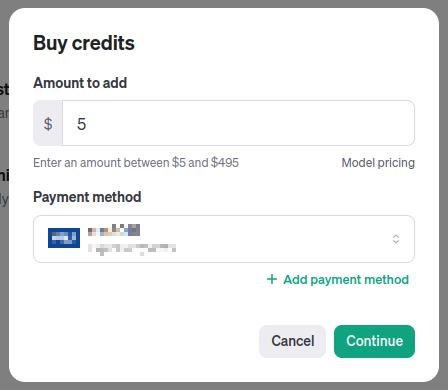
- Now you'll have to buy some credits (e.g. for 5$). This and only this money will be used for your requests. Click on "Buy credits", enter an amount and buy them with your credit / debit card.
View screenshots
- Now go to the API keys page 🔑 and click on "Create new secret key".
View screenshot
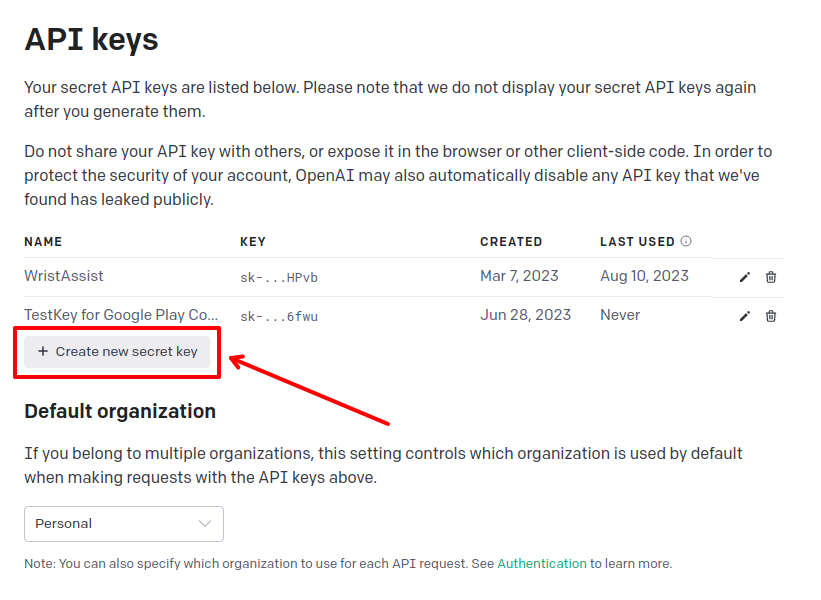
- After giving the key a name (such as "WristAssist"), you have successfully created the key. It starts with "sk-..." and is now displayed to you.
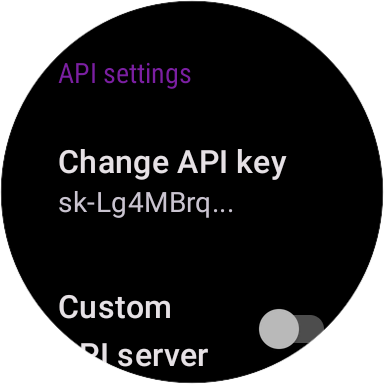
To enter this key into the app, click on the QR code on the watch. Now the fun part begins: you have to enter the entire key on the ticklish little keyboard that is going to appear. 😒 I know it's annoying, but don't worry: after you've confirmed the key, the app is set up. 🥳
(You can always change the API key if you click on "Settings" and "Change API key".)View screenshot
WristAssist is self-explanatory, the app is user-friendly and clearly designed. However, there are some (sometimes rather hidden) functions that I would like to briefly show you here at the beginning:
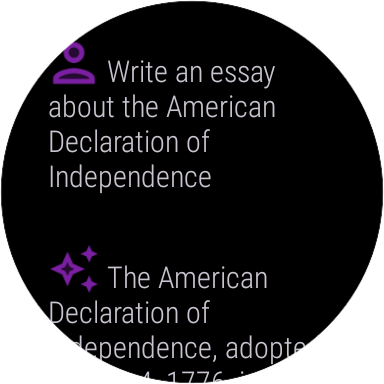
Click on "New chat" and enter a prompt to start a new chat with the AI. After the AI has replied, you can send your response with the keyboard icon and continue the conversation.
View screenshots
 |
 |
|---|
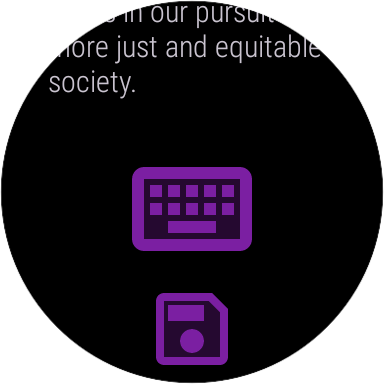
A "Save" icon appears at the end of each chat to save the chat for later. Click on it and enter a title so that the chat history (and any future changes) is saved under the menu item "Saved chats".
View screenshots
|
 |
|---|
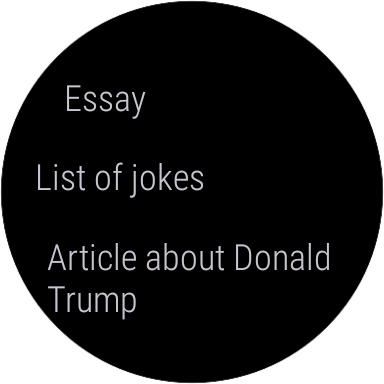
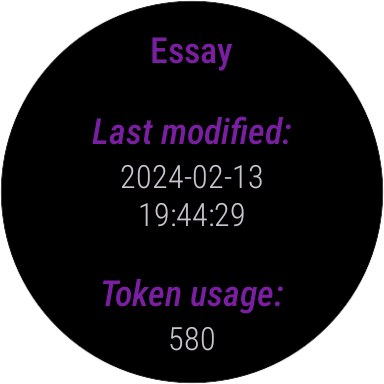
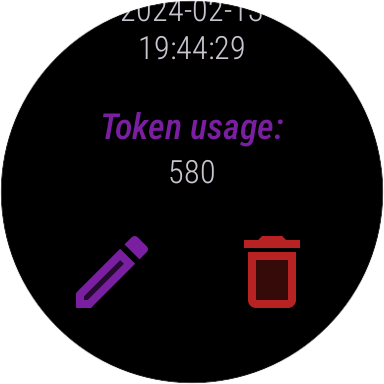
Click and hold on the title of a saved chat to see information about token usage, date modified and the option to rename and delete.
View screenshots
 |
 |
|---|
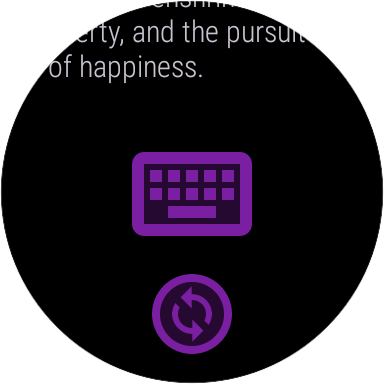
In each saved chat you will find a "Reset" button at the bottom to reset the chat to the first prompt. This is useful for long chats where only the first prompt is important (e.g. a translator chat).
View screenshot
 |
|---|
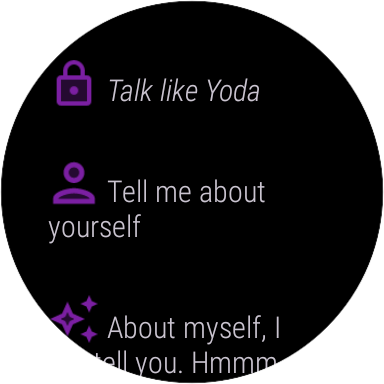
When you press and hold "New chat", you have to enter two prompts: The first is for the system role of the AI in this chat, the second is the usual prompt. With the system role, the AI knows how to behave in general in this chat.
View screenshot
 |
|---|
If you click on a message in the chat, it will be spoken out loud by an artificial voice. This means you don't have to read the small text when you're on the move with headphones if you want to read a longer reply.
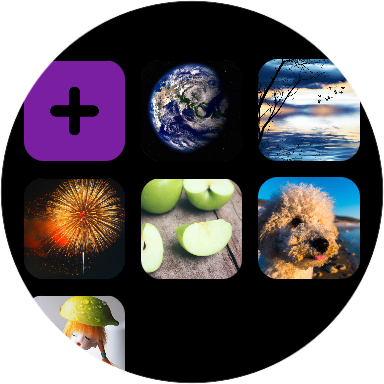
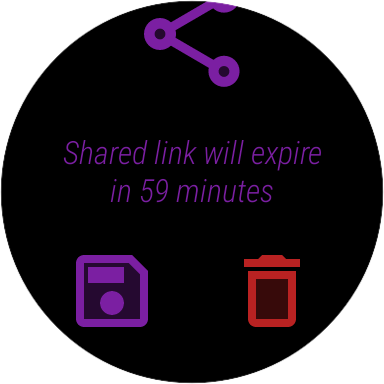
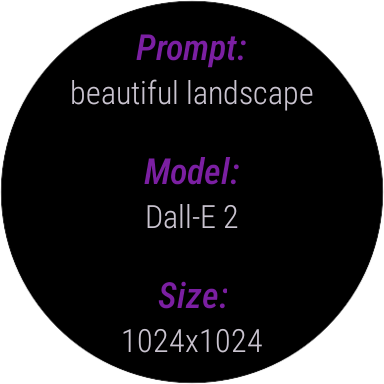
If you click on the "Images" menu item, you can create images with DALL-E AI. You need to enter a description and the AI will create a suitable image. Once an image has been created, you can save it, discard it or share it via a QR code within an hour.
View screenshots
 |
 |
|---|---|
 |
 |
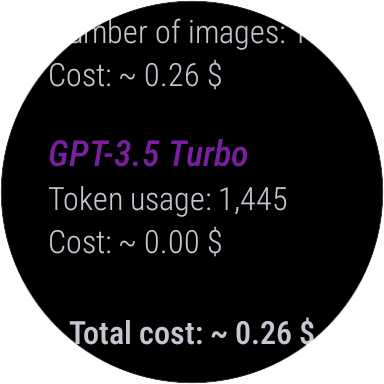
In the Usage view, you can see the consumption of the various models for chats and images and view and reset the estimated consumption in dollars.
View screenshot
 |
|---|
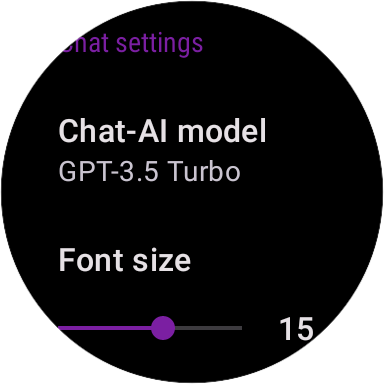
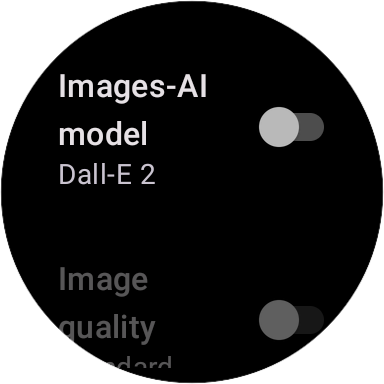
In the settings, you can set the API key or change some settings for the Chat and Images AI, the behaviour in the chat and the Text-to-speech function.
View screenshots
 |
 |
 |
|---|
I hope you enjoyed this short introduction and that you will have a lot of fun with WristAssist. If you have any further questions or suggestions, please contact me via email or open an issue on GitHub. See you soon! 👋