Get the nationality from your name! This project attempts the predict the nationality of a person's name using recurrent machine learning model. A web app was built to make the machine learning model user friendly. This project was made using only Numpy, Flask, and Python 3.
- Walkthrough
- Results
- Installation
- Usage
- Credits
- License
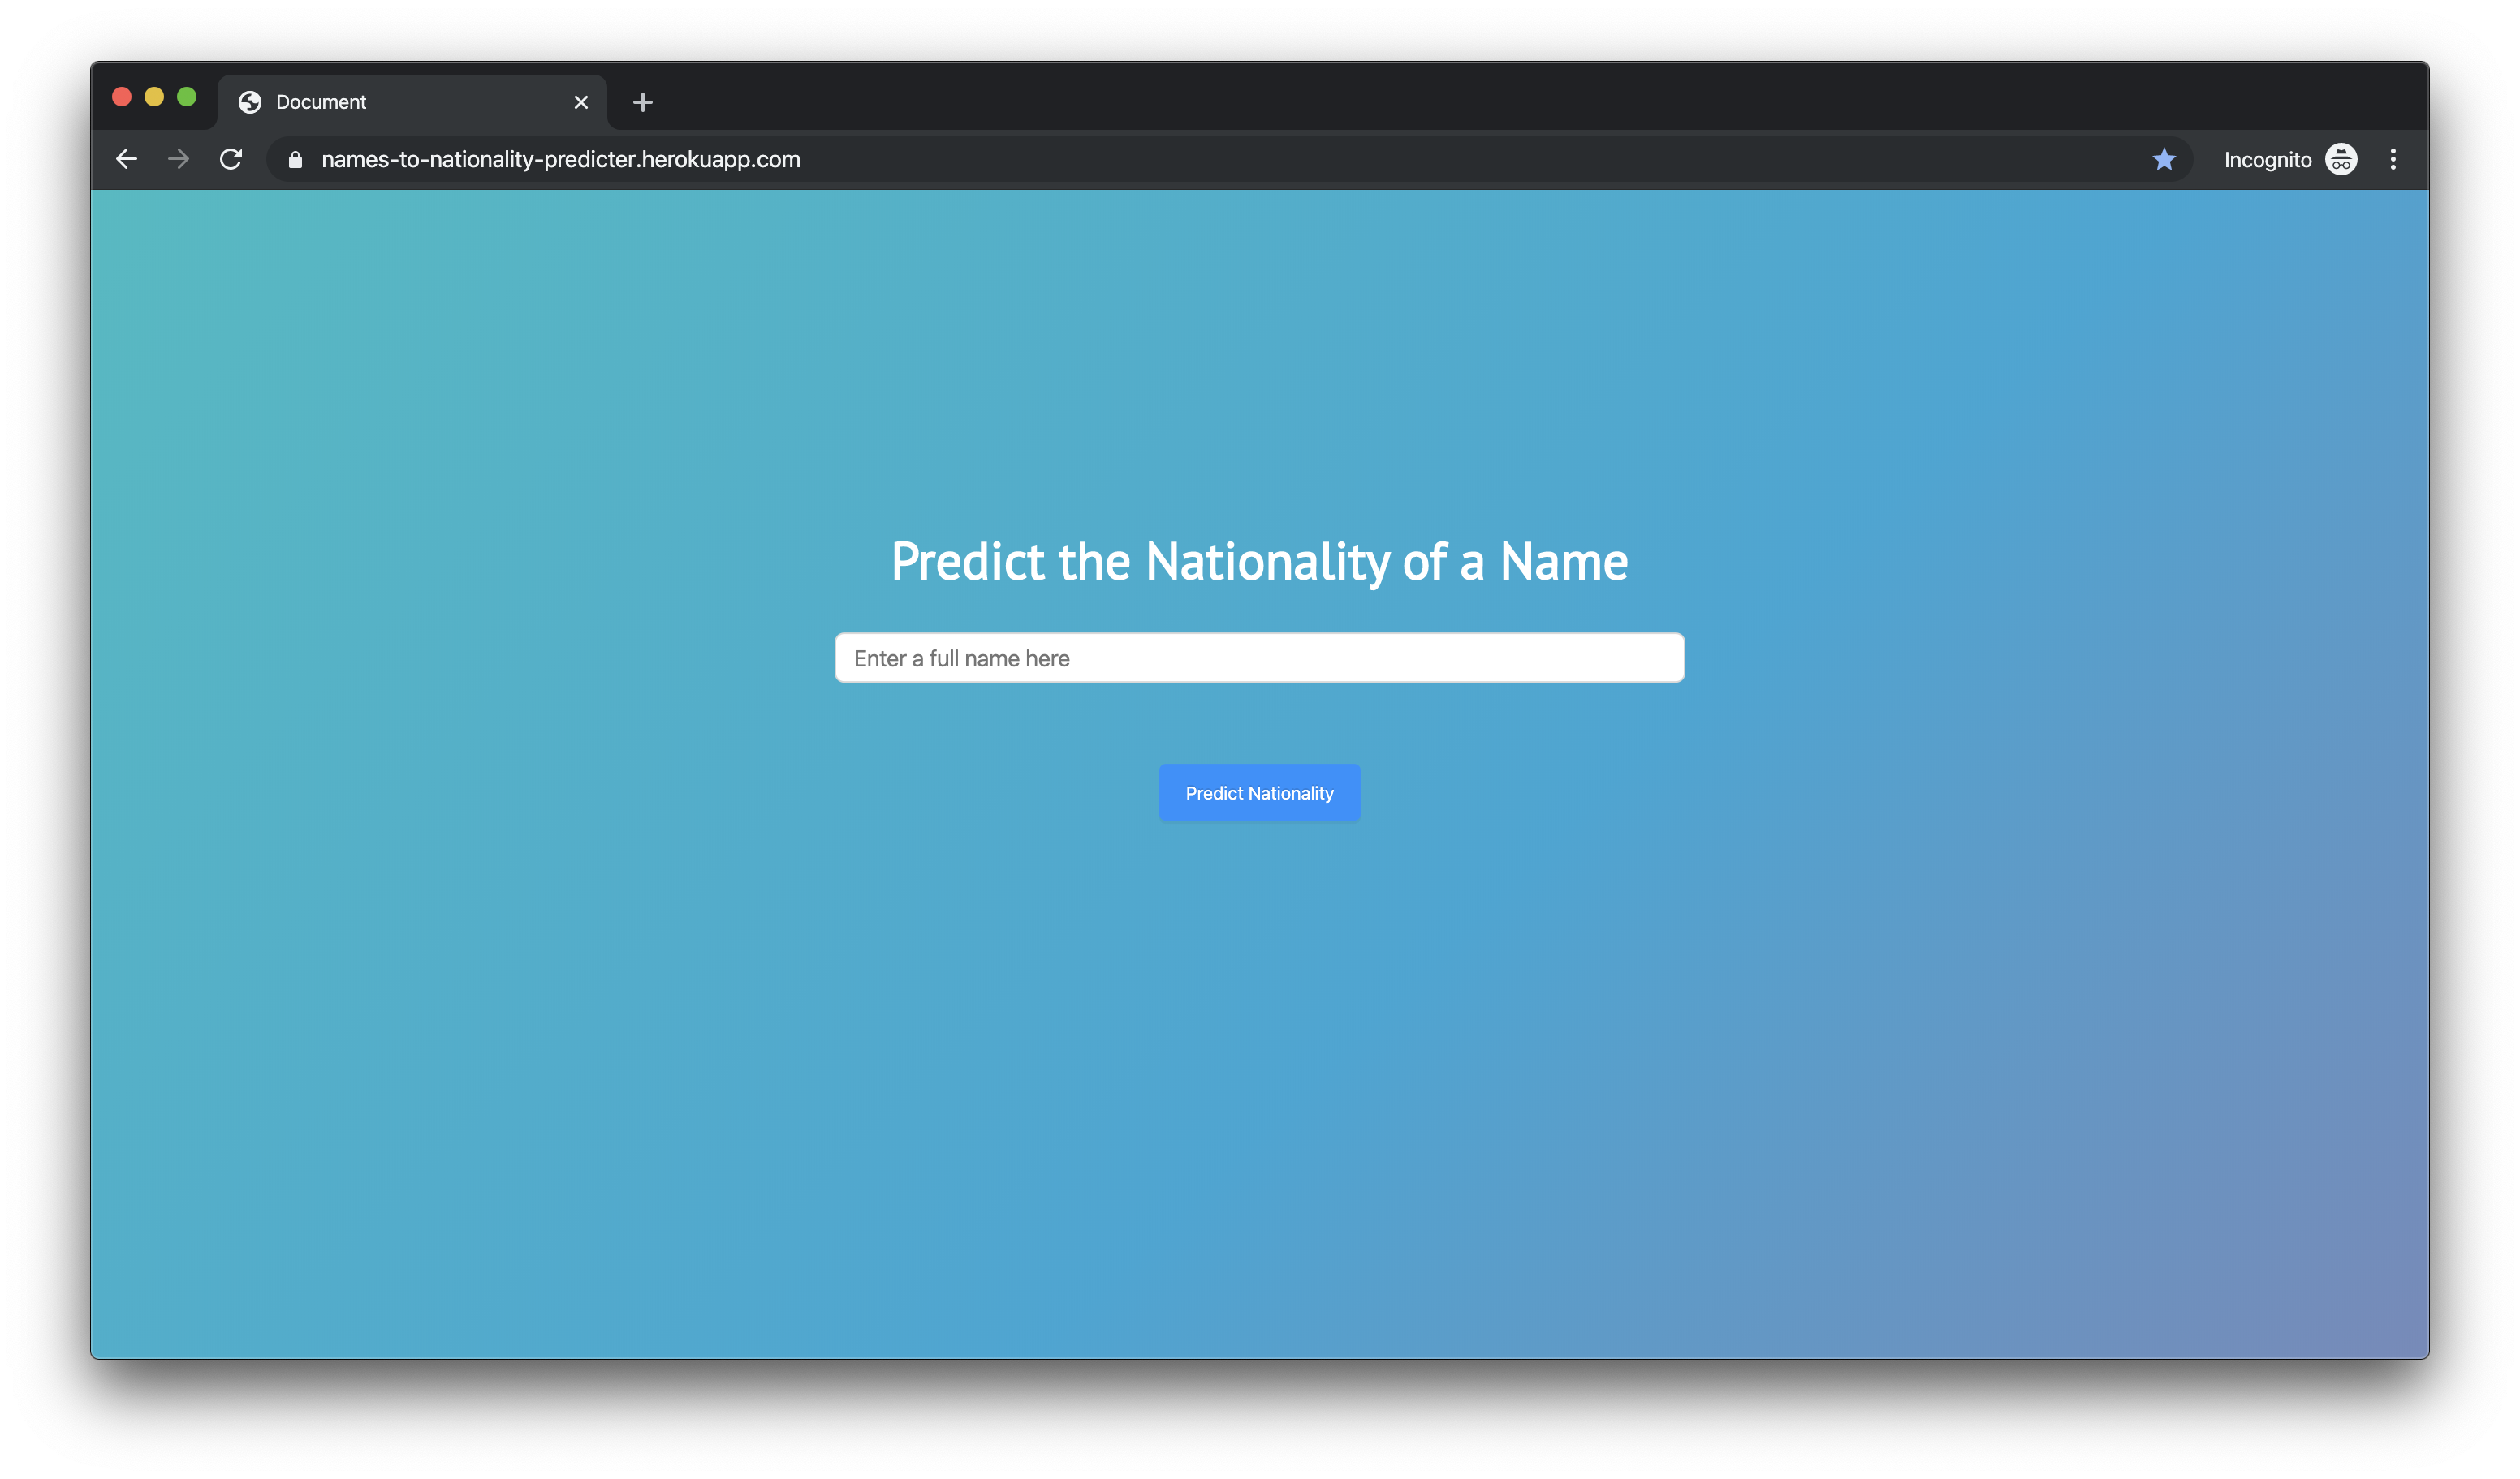
A web app was developed to present the project in a more visually, interactive way:
Developing RNNs from scratch without any use of libraries posed plenty of challenges. First, utilizing only Numpy and Python to construct and train the model had performance issues. Second, it had minor bugs. Regardless, the accuracy of the model remained to be decent - 74% accuracy in classifying a name to either Japanese, Vietnamese, Chinese, or Korean. Unfortunately, as the number of nationalities increases, accuracy suffers where only a 15% accuracy rate was obtained to classify a name to either one of the 124 countries worldwide. This makes sense since the world is very globalized and we cannot accurately predict people's nationalities solely on their names.
Various features were implemented to try to improve the model:
- Implementing L2 regularization to prevent overfitting
- Implementing Xavier's weight initialization to retain gradients better
- Utilizing tanh as an activation function to prevent gradient losses
- Implementing momentum to speed up training
A report on how hyper-parameters were chosen are listed at report.pdf
- Using Docker is a great way to run the app without having to deal with any system configurations
- By using Docker, it will use the pre-trained model found in the
ML Model/datafolder - These are the instructions to get started with Docker:
- Ensure that you have docker installed
- Open up the terminal and change directories to the root project directory
- Build the docker image with the command:
docker build -t names-to-nationality . - Run the docker image with the command:
docker run -p 5000:5000 names-to-nationality - Open up your web browser and navigate to
localhost:5000
- You can also run the web app without using Docker. It takes a bit more time
-
- Data was obtained by scraping names off of Ancenstry.ca
- Go through the README.md file in the
Web Scrapperfolder to see how to grab data from Ancestry.ca.
-
- Before training the model, you need to install the required dependencies
- Run
pip3 install -r requirements.txtin theML Modeldirectory to install all the required packages (note that it is better to install this on a virtual environment such as virtualenv). - Next, change the hyper-parameters to your needs in the
src/main.pyfile - Lastly, run the command
python3 src/main.py
-
- To begin, install all the required dependencies for the web app by running the command
pip3 install -r requirements.txtin theWeb Appfolder - Next, run
python3 app.py. It will launch the web app at port 5000. - On your browser navigate to
http://localhost:5000. The home page should appear on your browser
- To begin, install all the required dependencies for the web app by running the command
Please note that this project is used for educational purposes and is not intended to be used commercially. We are not liable for any damages/changes done by this project.
Emilio Kartono, who made the entire project.
This project is protected under the MIT licence. Please refer to LICENCE.txt for more information.