
EcoStat is an open-source thermostat control system built using the Seed Studio Xiao ESP32C3 microcontroller. It allows you to control heating, cooling, and fan systems using physical buttons and a web-based interface. Additionally, it displays temperature and humidity information on an OLED screen. The goal of this project was to create a cheap, energy saving, open source smart thermostat that doesnt spy on you. So, finally and most importantly, EcoStat does not use or collect any kind of telemetry data, at ALL.
V2 Supports Heating & Cooling automatically with multiple relays and all additional features. V1 only supports minimal features with two relays, it can be used for cooling as well. V1 requires you to manually move the wire from heating to cooling seasonally, V1 simply offers a cheaper version of the project.
I put a lot of soul into this project, and more importantly the desire to keep it free, open source, and unintrusive. So if you enjoy it, please consider buying me a coffee! Donate :) If you dont feel like building one and just want to buy one ready to go, I do sell them on my Etsy Shop Buy an EcoStat But keep in mind, building these requires me to order parts and takes a fair bit of labor so I do charge a premium price for the formal product.


Features:
- Energy efficient HVAC control using timing based logic and hysteresis.
- Web-based interface for remote control.
- Real-time temperature and humidity display.
- Physical buttons for normal offline control.
- Mode selection (Heating, Cooling, Off).
- Independent Fan control (circulating fan).
- Wi-Fi setup using a captive portal.
Hardware Requirements (Total cost approx $45)
-Seeed Studio Xiao ESP32C3
-Any 128x64 SSD1306 I2C OLED Screen
-Two or Three 5V One Channel Relay Modules, I used "HiLetgo 2pcs 5V One Channel Relay Module Relay Switch with OPTO Isolation High Low Level Trigger" from Amazon
-A DHT22 Sensor, I used a "Gowoops 2pcs DHT22/AM2302 Digital Humidity and Temperature Sensor Module" from Amazon
-Micro Momentary Button, I used a 4 pin type, you can use anything that fits the mounting hole (6mm or less).
Software Dependencies
khoih-prog/ESP_WifiManager@^1.12.1
adafruit/DHT sensor library@^1.4.4
adafruit/Adafruit SSD1306@^2.5.7
https://github.com/me-no-dev/ESPAsyncWebServer.git (Must change AsyncWebSocket.cpp: "return IPAddress(0U)"; to "return IPAddress((uint32_t)0U)" )
adafruit/Adafruit Unified Sensor@^1.1.13
Configuration
- Set your desired username and password for web-based authentication using http_username and http_password (default is blank user, with pass: 13371337).
- Connect the relay modules and physical buttons to the specified pins as defined in the code.
- Install neccessary libraries
- Compile/Build
- Upload the code to your ESP32C3 device.
- Uncomment Serial.begin & Open the serial monitor for debugging (optional).
- Access the EcoStat web interface by connecting to the Wi-Fi network "EcoStat-Setup" and visiting the IP address assigned to your device.
- Use the web interface to control heating, cooling, fan, and set the target temperature.
Button Controls
- BUTTON_FAN: Toggle the fan on and off.
- BUTTON_MODE: Switch between Heating, Cooling, and Off modes.
- BUTTON_PIN0 and BUTTON_PIN1: Increase and decrease the target temperature.
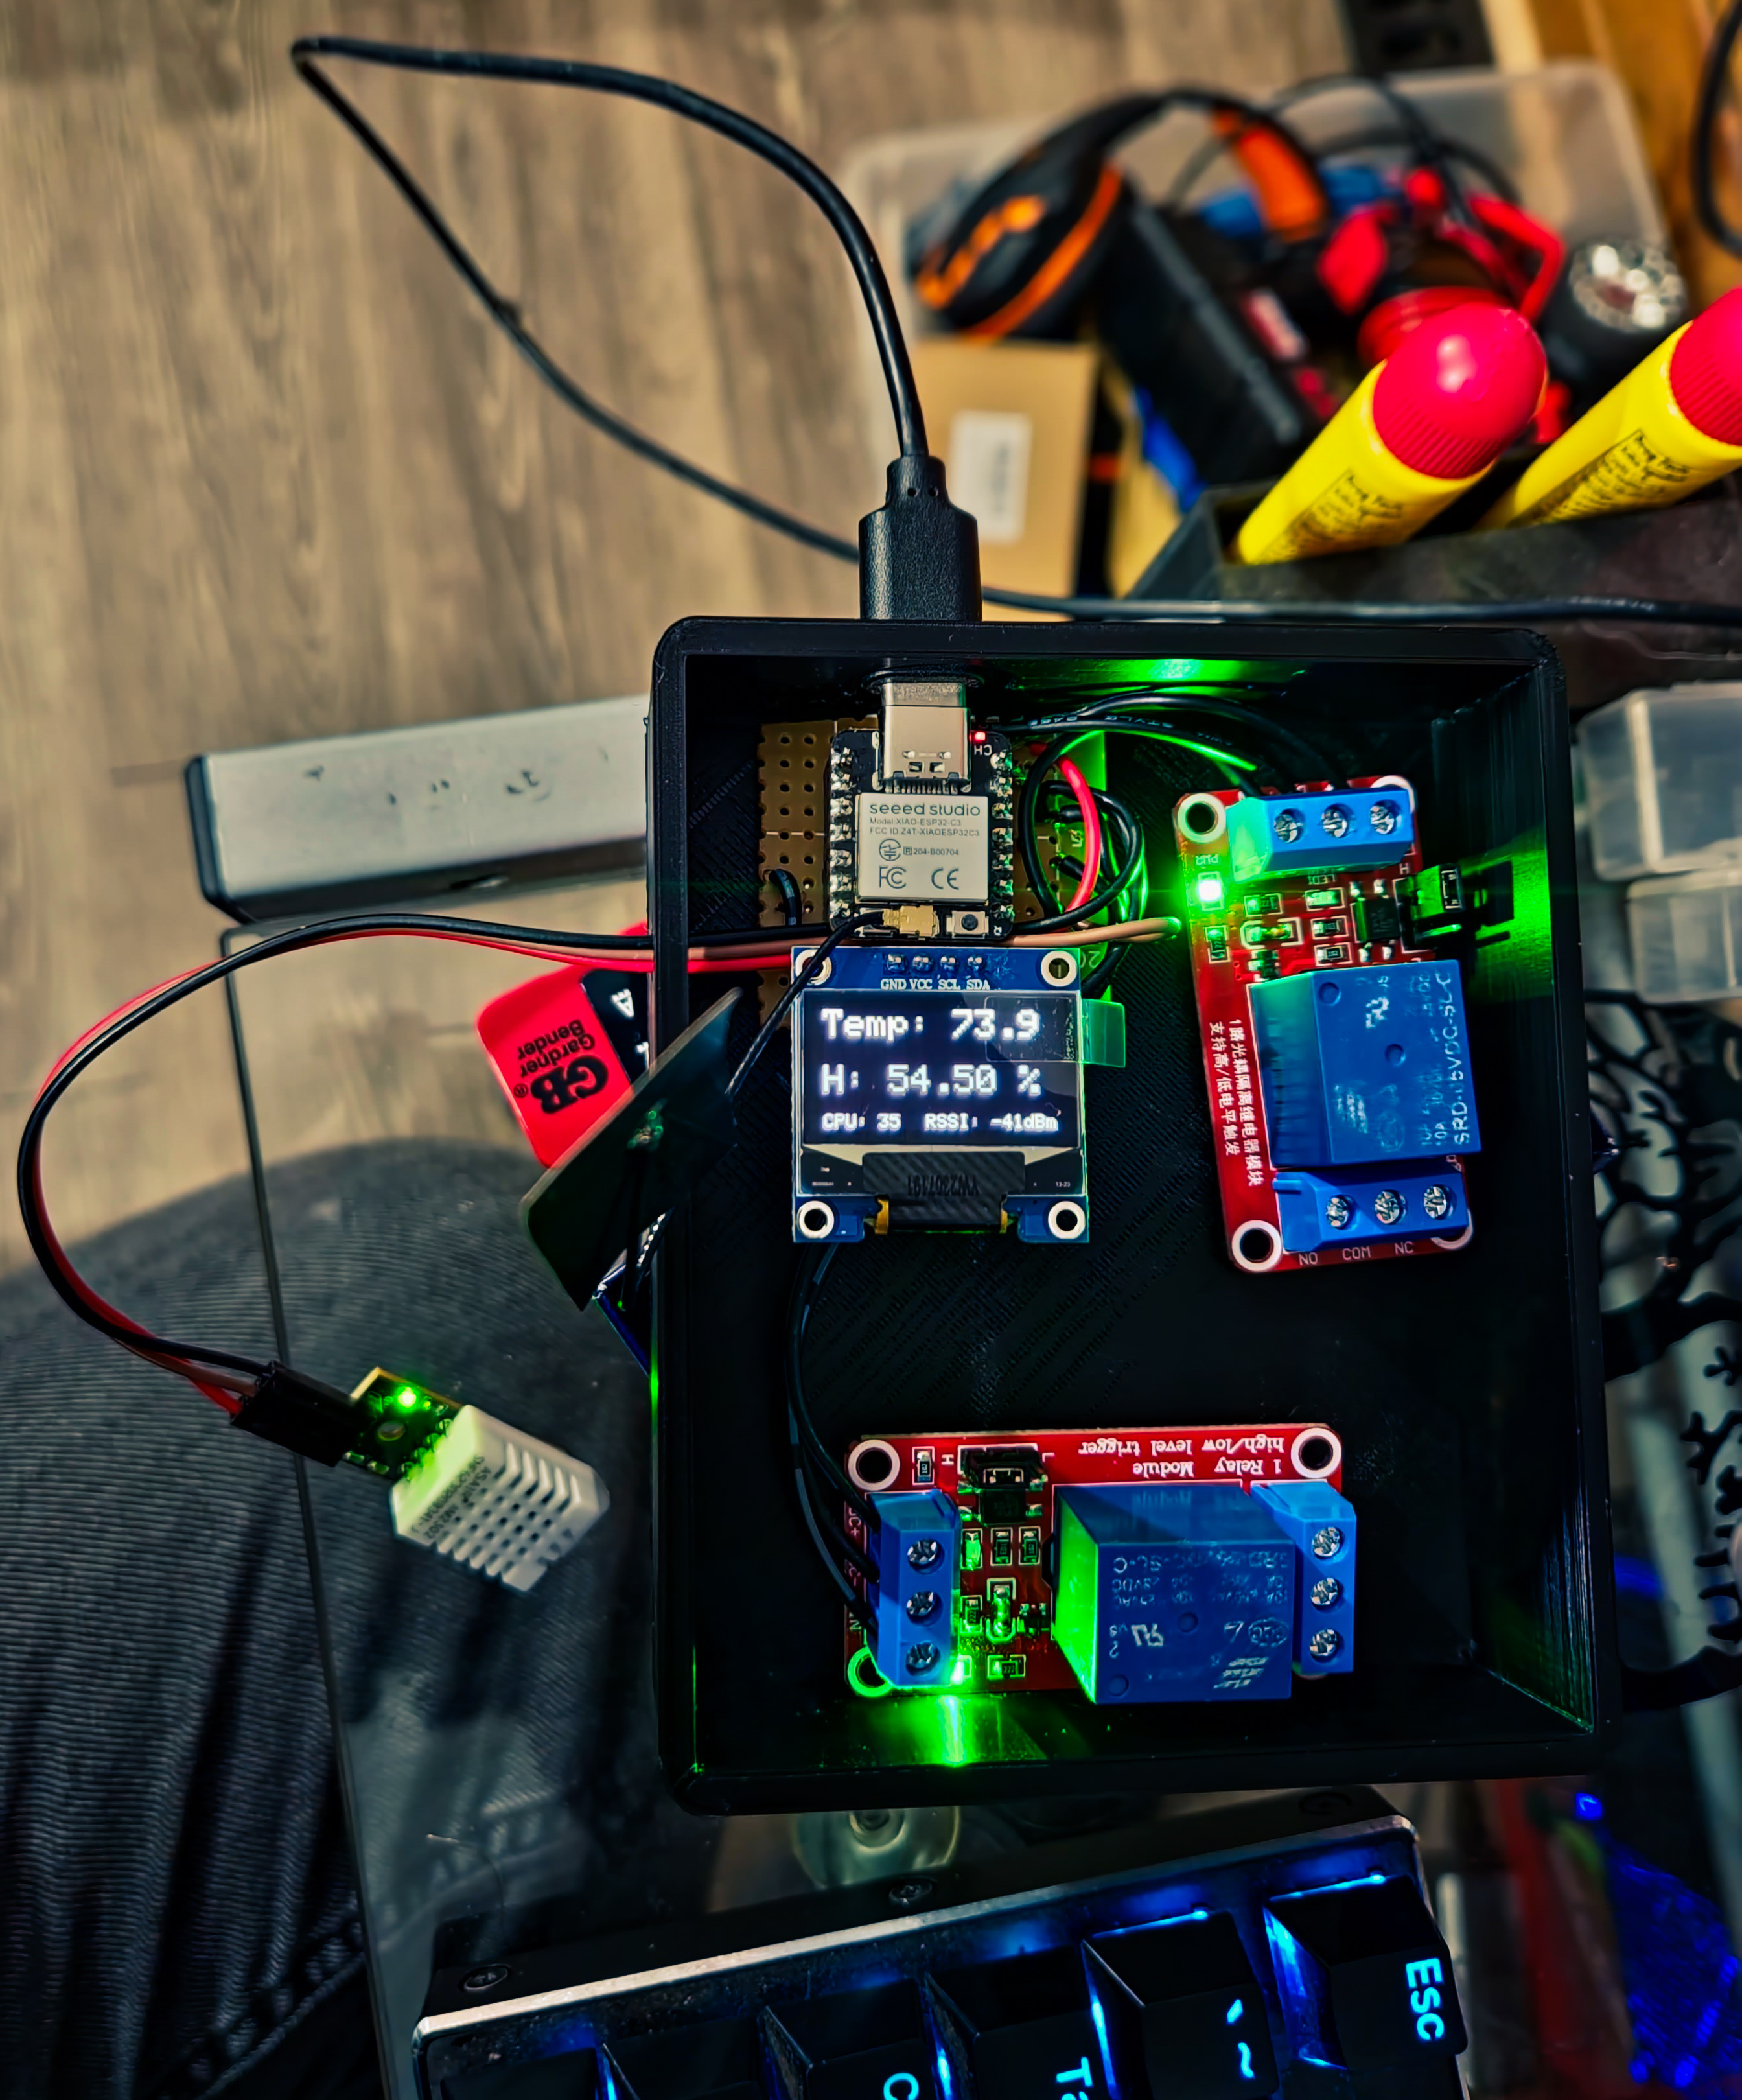
The screen displays Temperature, Humidity, MCU Temp, and Wifi Signal Strength. Buttons toggle temperature up & down by one degree at a time. The "Heat" relay does not trigger until the current temperature is 2 degrees lower than the target temperature and it has been more than 120 seconds to prevent excessive toggling and save energy / gas / LP. The web page also provides the option to trigger the "Fan" relay seperately for air circulation without climate control.
Detailed description of the goals of this project and a summary of exactly what the code does:
- It includes various libraries for Wi-Fi management, sensor readings (DHT22), OLED display control, and web server functionality.
- It defines pins and addresses for the OLED display, DHT22 sensor, buttons, and relays.
- It sets up Wi-Fi using the ESPAsyncWiFiManager library, allowing users to configure the network credentials via a captive portal.
- It initializes the OLED display, creates a web server on port 80, and defines routes for controlling the thermostat remotely.
- It handles HTTP GET requests for increasing/decreasing the target temperature, turning the fan on/off, and changing the operating mode (heating, cooling, or off).
- It defines functions for reading the temperature, changing the mode, and updating the OLED display with current status.
- It sets up interrupt handlers for physical buttons to change the target temperature, mode, or fan status.
- The main loop continuously reads temperature and humidity from the DHT22 sensor and updates the OLED display.
- Depending on the operating mode (heating or cooling), it controls relays to turn on/off the heating or cooling system to maintain the desired temperature.
Overall, this code creates a thermostat system with remote control capabilities, allowing users to adjust the target temperature, mode, and fan status through a web interface. It also displays current temperature and humidity on an OLED screen. The system can operate in heating or cooling mode based on the target temperature, and it provides visual feedback on the OLED screen for the user. The physical buttons provide additional control and feedback for users without accessing the web interface. No unnecessary data is collected or transmitted by the device, and no personal data is transmitted outside of your LAN.