04. Firmwares V1.X & V2.X
Warning
All the firmware source files and binaries are now stored in a specific repository where you can follow better the releases and the board version you need to use in different branches:
This firmware is the most basic one for the SAMD21on the CatSniffer. It has two main functions, a direct pass through of the serial communication and setting the board in bootloader mode. The firmware uses a flag to determine what is being performed on the board.

It uses a very simple structure to send everything read on one serial to the other.

The sketch looks for a combination of button presses to enter into bootloader mode.

Most basic LoRa use case with the board. You can transmit C-string or Arduino string up to 256 characters long
Important
It is really important to correctly identify the type of CC1352 chip that your board has. Loading the incorrect firmware to your board may get it stuck, and it will not allow you to reprogram it by bootloader. Identifying which type of board you have is really simple, just hold your board up to a well lit space and read the inscription on the chip marked in the photos below. If you are not able to read the chip you can shine a flashlight or camera flash onto the board to be able to read it better. We also recommend using a magnifying glass or taking a close up picture with the camera flash on of the chip. If your board is a v3.x the chip should be a CC1352P7. The real issue is with v1.x and v2.x boards. This version can have either a CC1352P1 or a CC1352R1. If you flash either chip with the incorrect firmware you risk bricking your board, and it will only be possible to recover using an external cJTAG programmer.
In this section, the user will learn how to create their own .hex files.
There are some prerequisites to make your .hex files compatible with CatSniffer:
- Download and install Code Composer Studio 12.2.0.00009
- Download and install SimpleLink CC13X2 and CC26x2 SDK 3.40.00.02.
When the installation of both software were finished, follow the next steps to build hex file:
- Create a new folder inside
firmware_TI_PACKET_SNIFFERfolder or anywhere you like. Here is an example, this new folder will be our workspace.

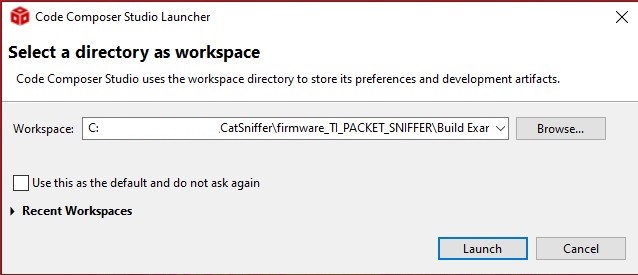
- Open CCS and choose this new folder for the workspace.
- When CCS runs, go to
Window > Preferences.

- Now go to
Code Composer Studio > Products.

- Select in Discovered products the SimpleLink CC13x2 26x2 SDK and press install. Choose the path where the SDK was installed and click on Apply and Close.

- Now select the option Import Project, in the window choose the option Select search-directory and browse the next path:
C:\path\CatSniffer\firmware_TI_PACKET_SNIFFER\sniffer_fw\ide\cc1352p1lp\ccs. Select the optionsniffer_fwand click on finish.

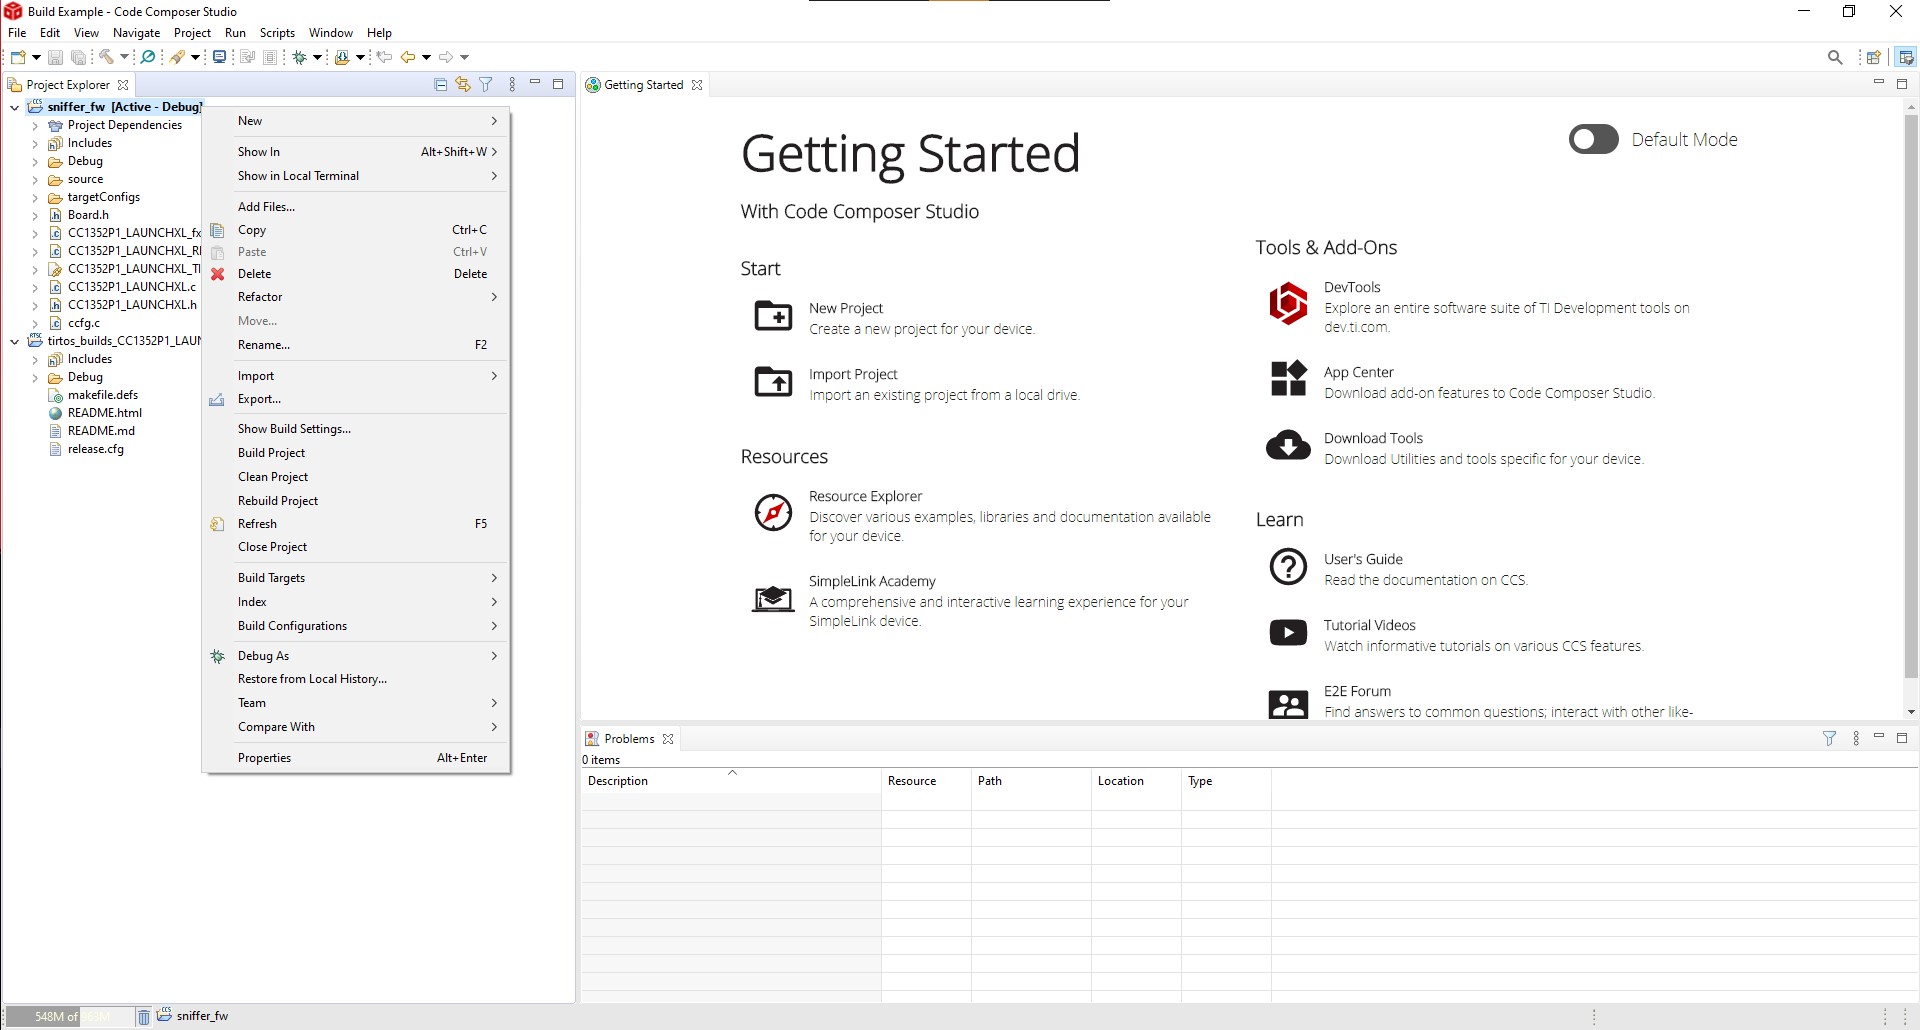
- When the project finishes importing, do a right click on the project
sniffer_fwand go down to properties.
- In the Properties window go to Arm Hex Utility and mark the option Enable Arm Hex Utility, click on Apply and Close.

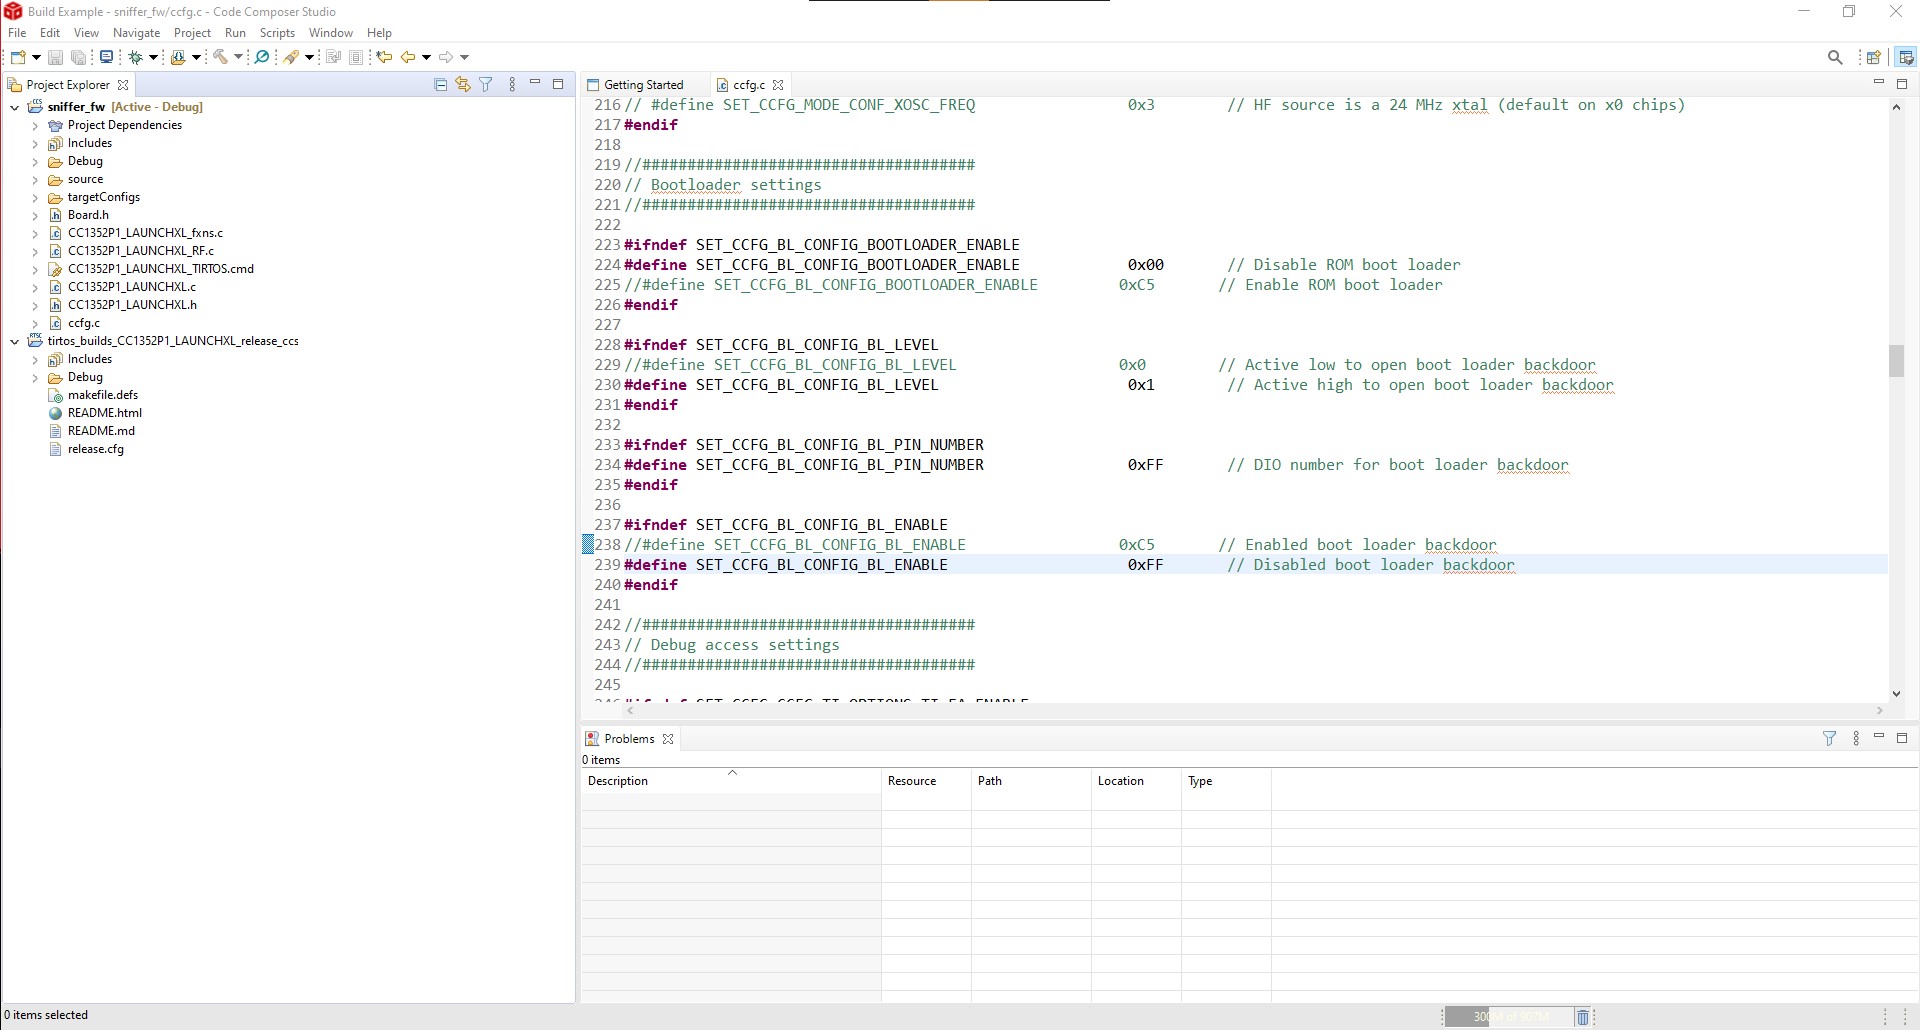
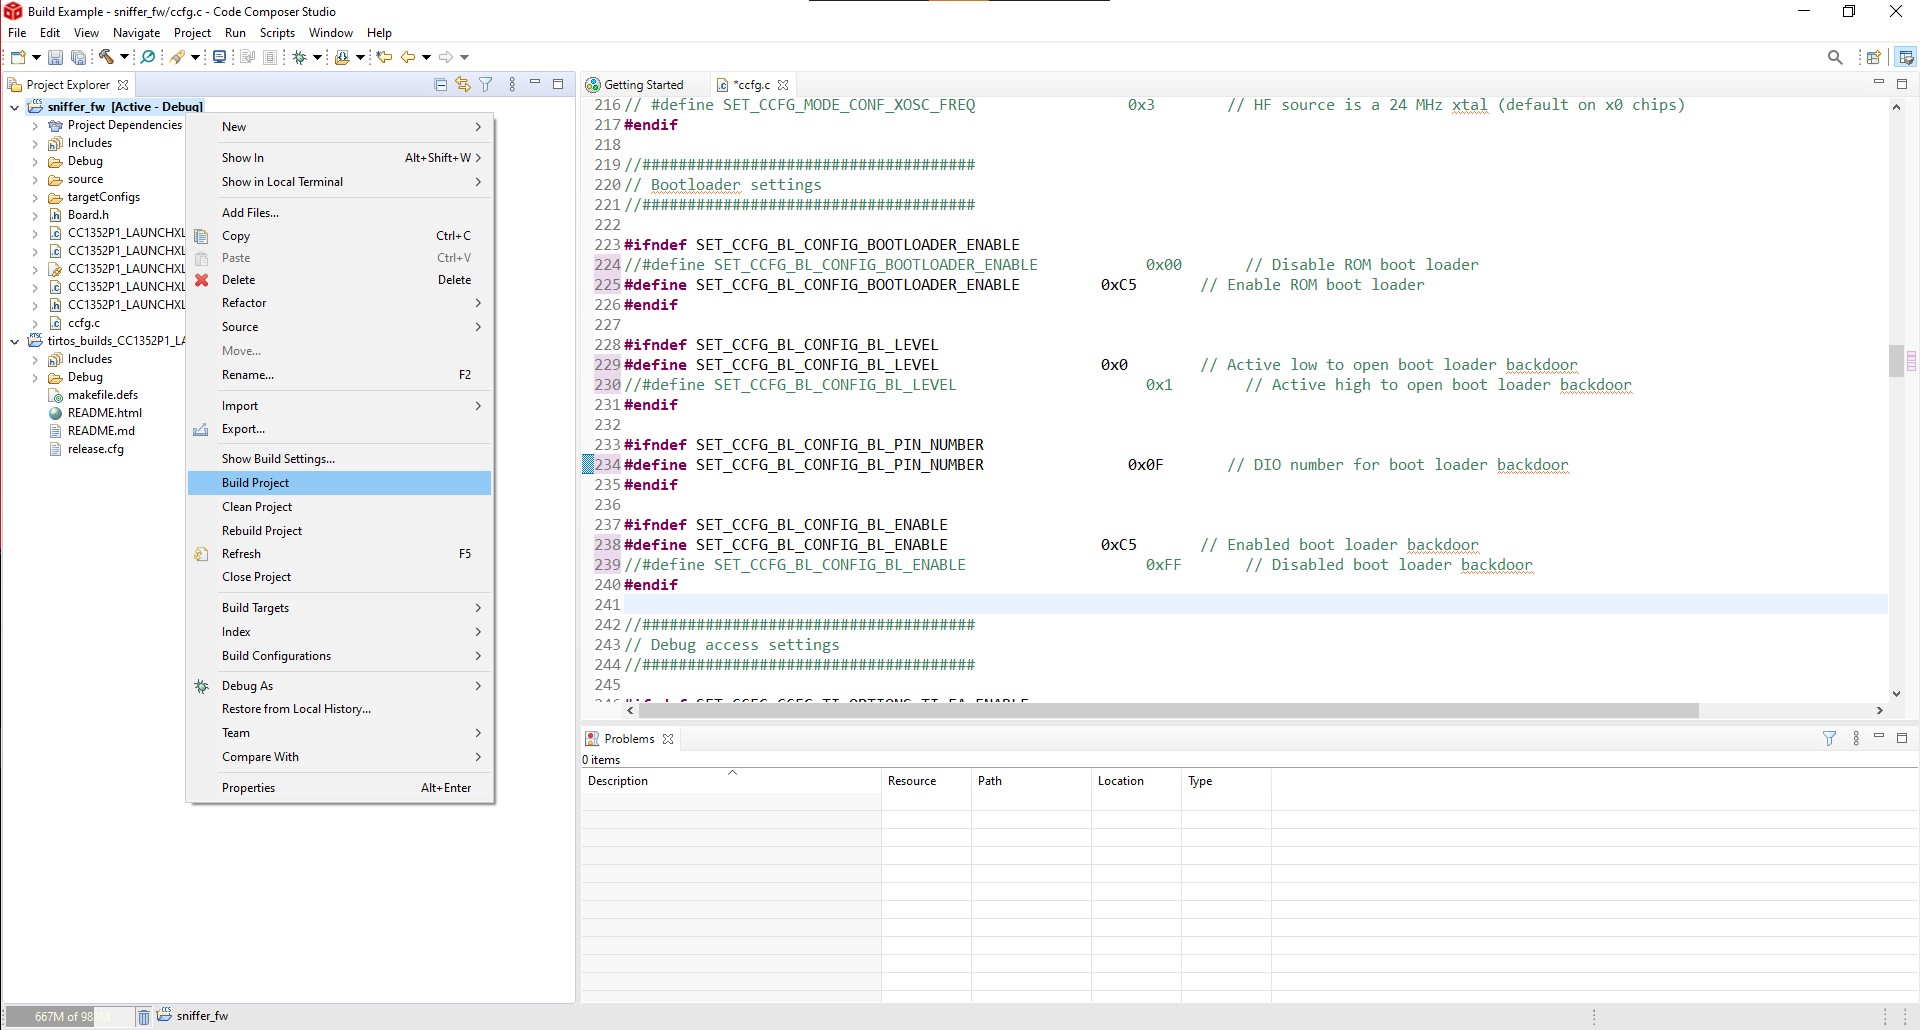
- Now go to
ccfg.cfile and change the next values to enable the bootloader mode on CC1352:
SET_CCFG_BL_CONFIG_BOOTLOADER_ENABLE...............0xC5SET_CCFG_BL_CONFIG_BL_LEVEL.........................0x0SET_CCFG_BL_CONFIG_BL_PIN_NUMBER...................0x0FSET_CCFG_BL_CONFIG_BL_ENABLE.......................0xC5
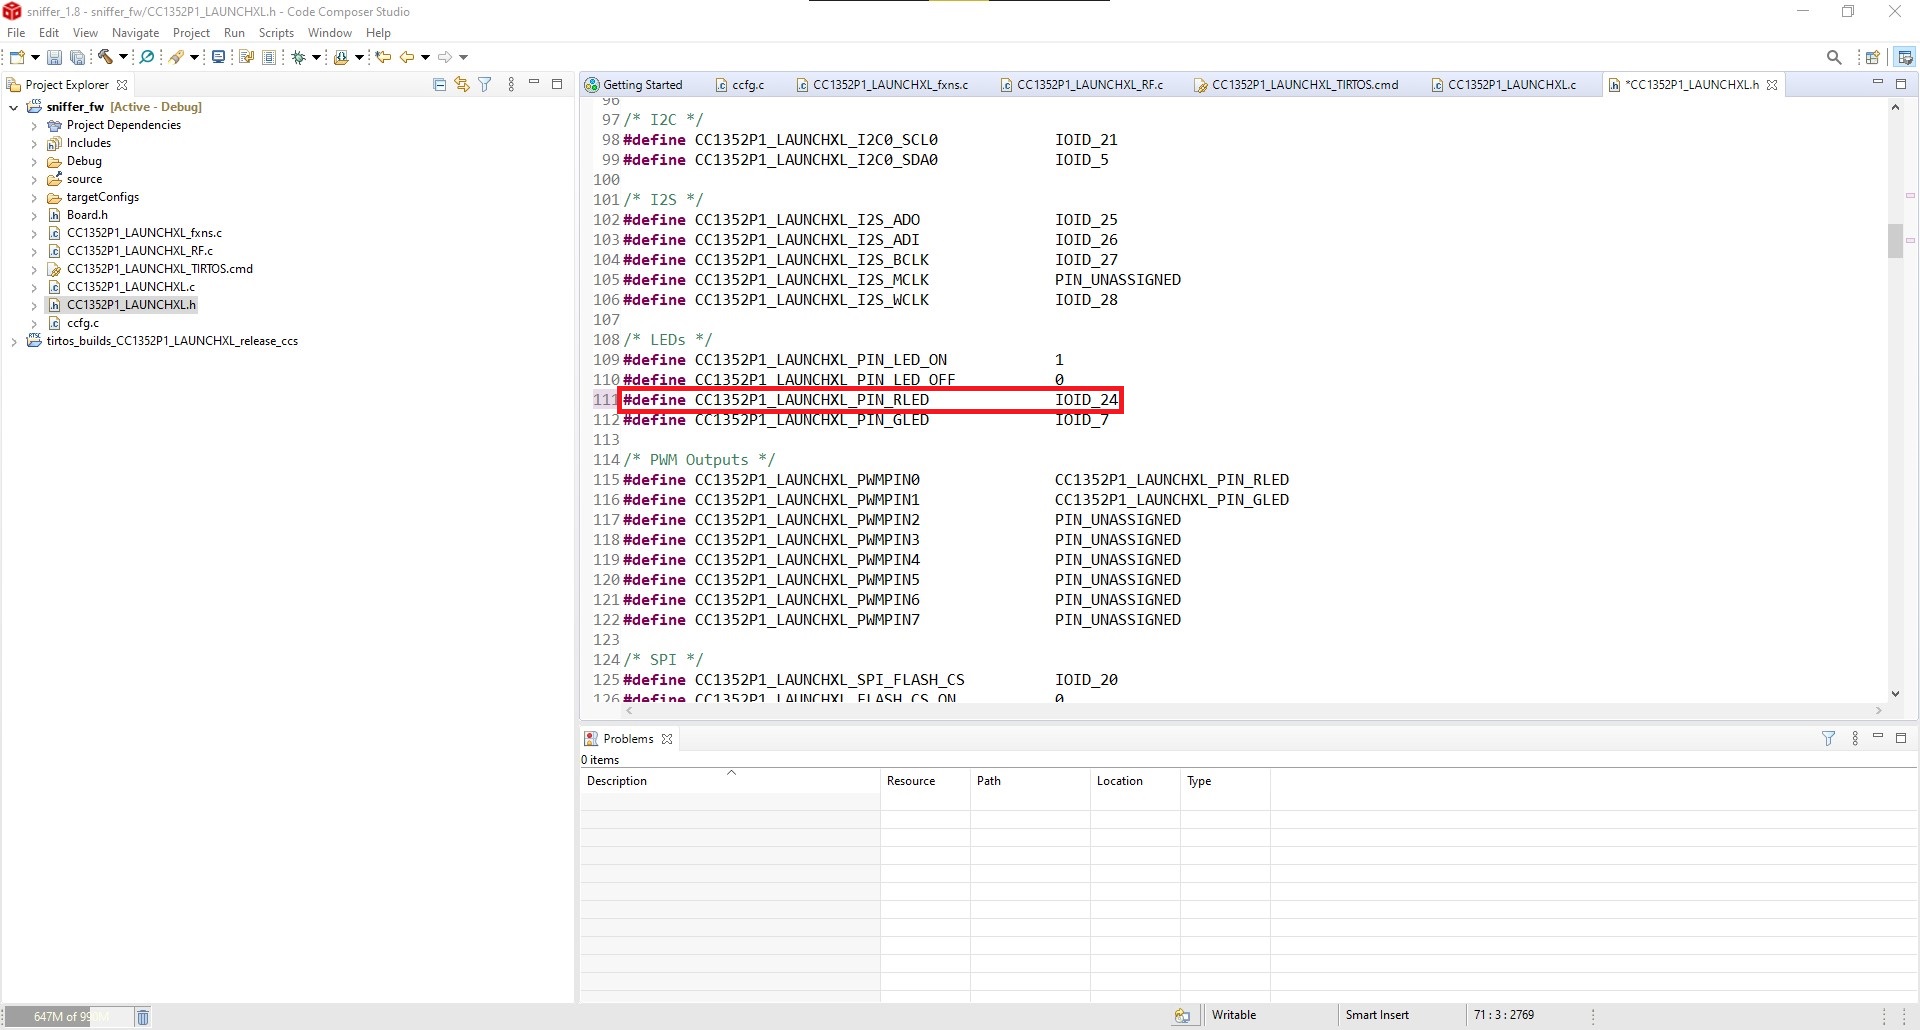
- As a way to verify the hex file, it’s recommended to activate the blink of a LED. Catsniffer's CC1352 has a LED at DIO 24, changing DIO 6 to 24 to activate LED 4. When the uploading of the hex file finishes, this LED will start blinking.
- To build the project, do a right click on the sniffer_fw and then Build Project. and wait till it finishes.
- The hex file will appear on the path:
C:\path\CatSniffer\firmware_TI_PACKET_SNIFFER\Build Example\sniffer_fw\Debug

Now you are ready to create your own hex files and upload them to CatSniffer.

-
- What is the CatSniffer?
- How can I use CatSniffer?
- What are the features of the CatSniffer?
- What can I do with the CatSniffer?
- What IoT protocols are supported by CatSniffer?
- How can I restore the CC1352 firmware on CatSniffer?
- How can I restore CC1352 firmware with RP2040 for CatSniffer V3?
- ERROR: Timeout waiting for ACK/NACK after Synch (0x55 0x55)
- What if SmartRF Packet Sniffer 2 doesn't detect my board?
- Why I got the error: unistd.h no such file or directory?
- Why CatSniffer can not connect with Zigbee2MQTT?
- What does this button do?