The iboss cloud service can integrate with a "ForgeRock" identity provider (IdP) to authorize user access from the endpoint using client software (iboss Cloud Connector) to authenticate service access, assign security policies and log traffic.
You can enable this at a cluster level or on a per-gateway level for multiple IdP's in a single account.
The SAML initiator mode is "SP-Initiator mode."
This document guides the iboss admin through several common Identity Provider's (IdP) and iboss Cloud (SP) configuration steps for SAML 2.0 auth using iboss Cloud Connectors on the endpoint.
- iboss Cloud Connector redirects the user to iboss (the cloud service provider (SP)).
- iboss creates a SAML authentication request token and responds with a redirect to ForgeRock (the identity provider (IdP)).
- The user follows a redirect to ForgeRock to authenticate.
- User authenticates to ForgeRock
- ForgeRock sends the SAML assertion to iboss via the Assertion Consumer Service (ACS) URL.
- iboss validates the SAML assertion and sends the SAML session token to the iboss Cloud Connector
- Session starts.
ce 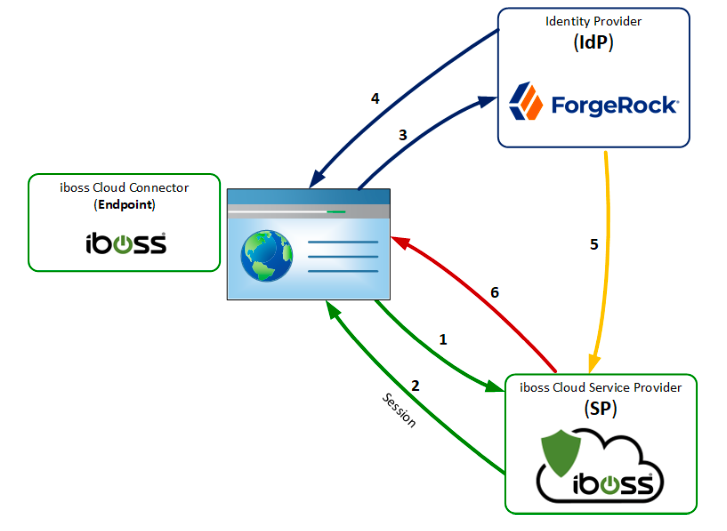
Unlimited Package
*At least one iboss Cloud account. *At least one Identity Provider (IdP)
- Assumes that either the Windows or Mac Cloud Connectors are installed:
- Windows requires the iboss Desktop App to be deployed.
- Review the iboss PortList article to determine the inbound and outbound ports required by the iboss cloud platform.
- Local breakout for IdP destinations
To begin the configuration, please follow the integration guide below:
In this step, we will acquire some service provider settings used later when configuring the identity provider.
- Open a web browser and navigate to "https://cloud.iboss.com," then sign into your iboss cloud account.
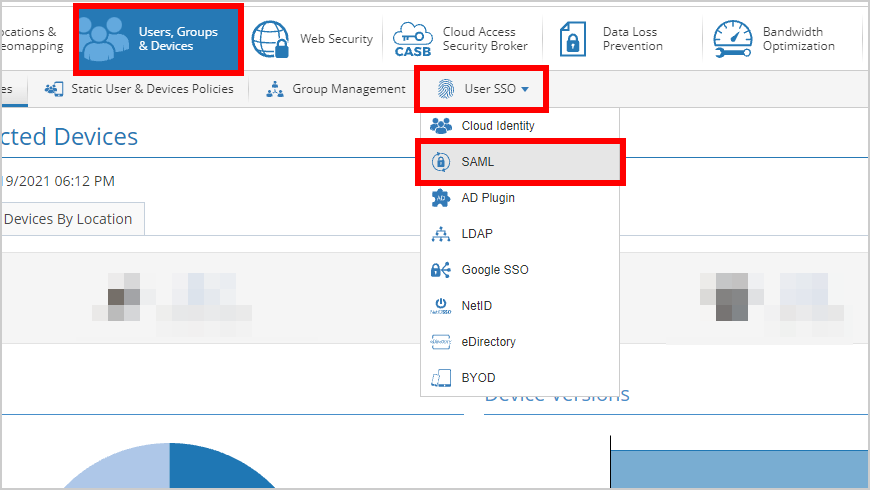
- Navigate to Users, Groups and Devices → User SSO → SAML.
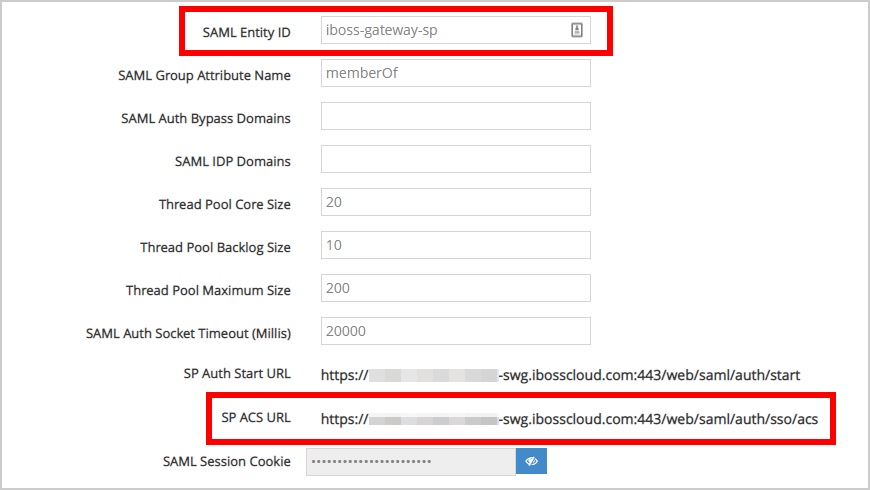
From here, take note of the "SAML Entity ID" and "SP ACS URL" values for the next steps.
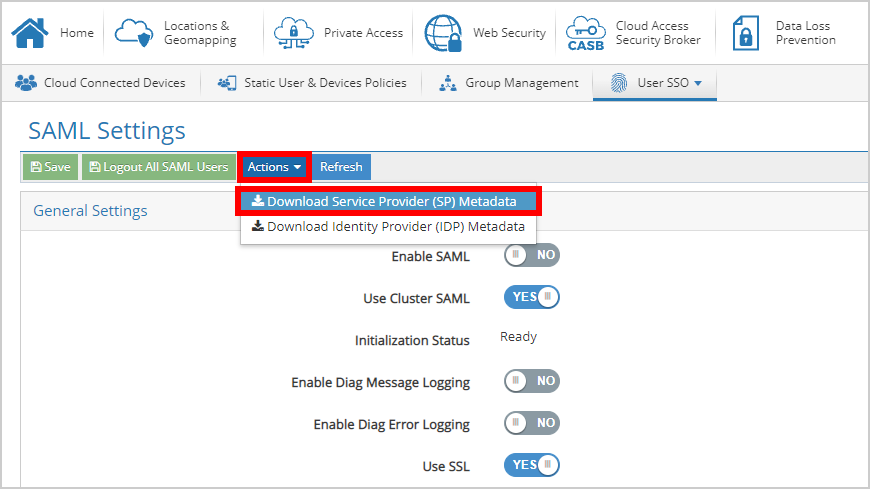
- Navigate to Actions and click Download Service Provider (SP) Metadataas this will be needed in a later step.
In this step, we cover the below identity provider for use with iboss cloud integration.
The first step requires creating a ForgeRock C ircle of Trust. A circle of trust is an Identity Cloud concept that groups at least one identity provider and at least one service provider who agrees to share authentication information. To learn more, read Configuring IDPs, SPs, and CoTs.
ForgeRock Access Management can be hosted on a variety of domains. Sign in to your ForgeRock admin account.
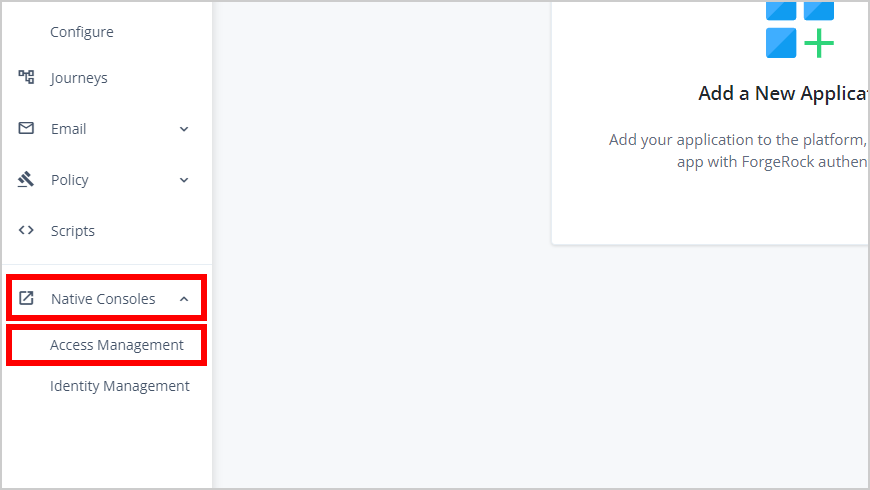
- Navigate to Native Consoles > Access Management.
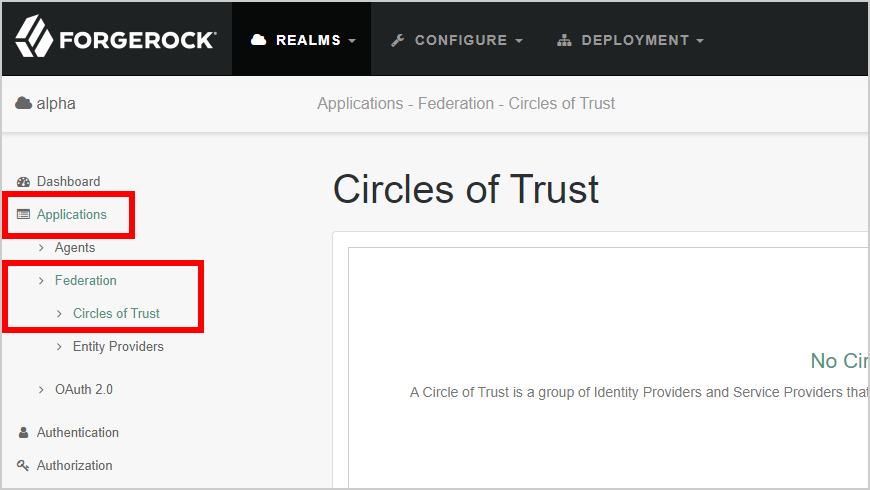
- Navigate to Applications > Federation> Circle of Trust.
-
Click Add Circle of Trust.
-
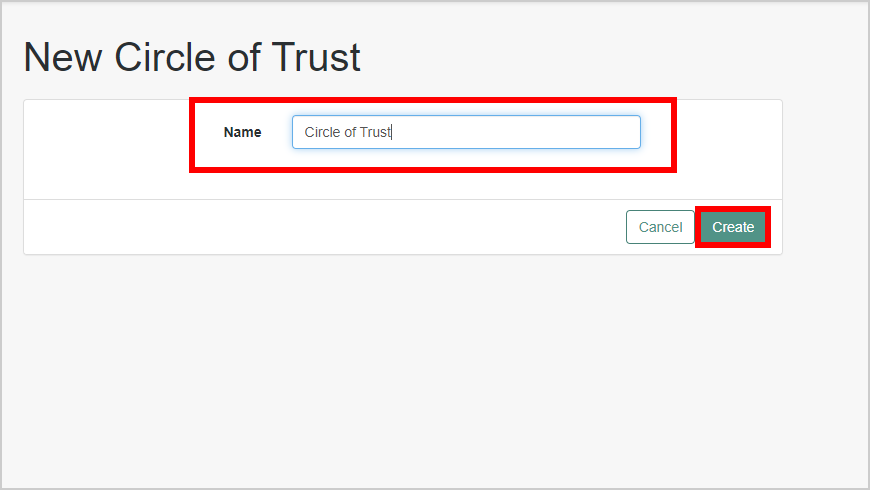
Provide a name, and then click Create.
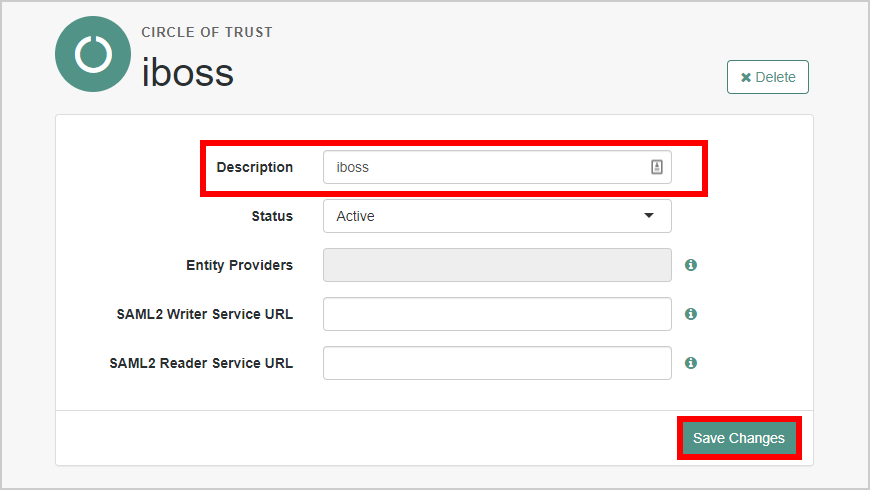
- Add a Description and click Save Changes.
The following steps will configure ForgeRock as the Hosted Identity Provider.
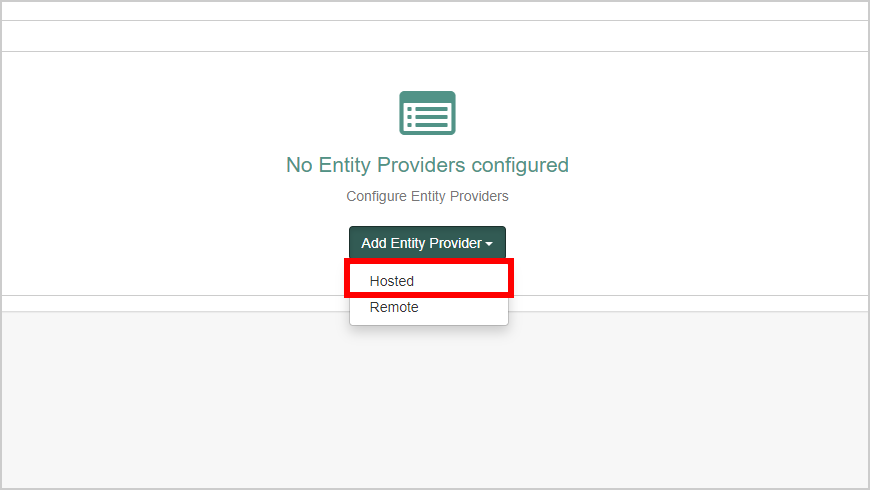
- Browse to Applications > Federation > Entity Providers > Add Entity Provider and click Hosted.
- Set the "ENTITY ID" for ForgeRock and verify the Entity Provider Base URL value. In the Meta Aliases section, provide a URL-friendly value in the Identity Provider Meta Alias. Click Create.
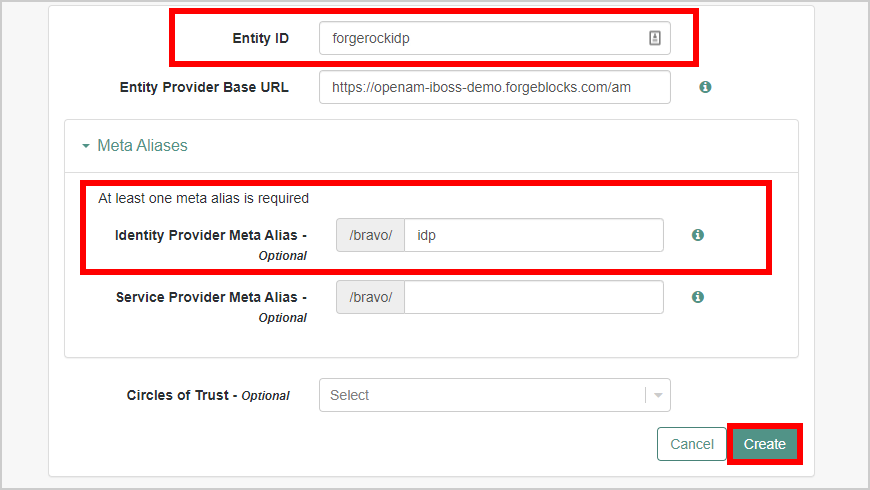
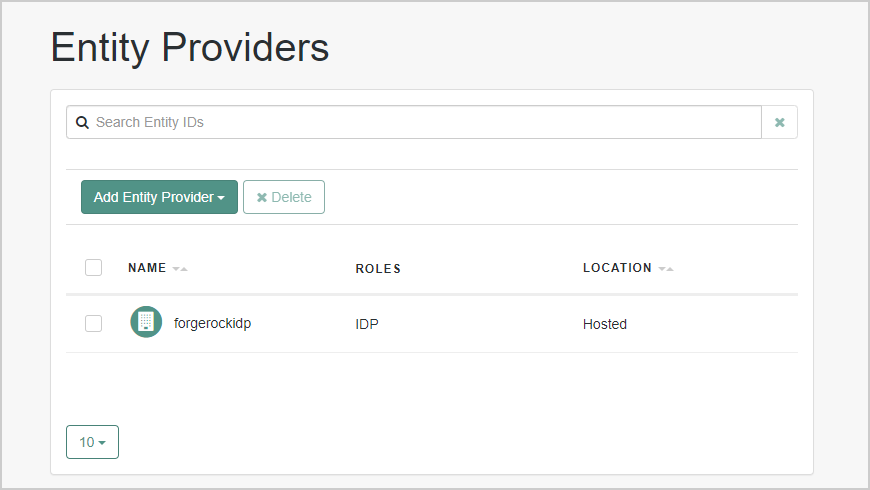
- Next, a role is created for the IDP-hosted Entity Provider.
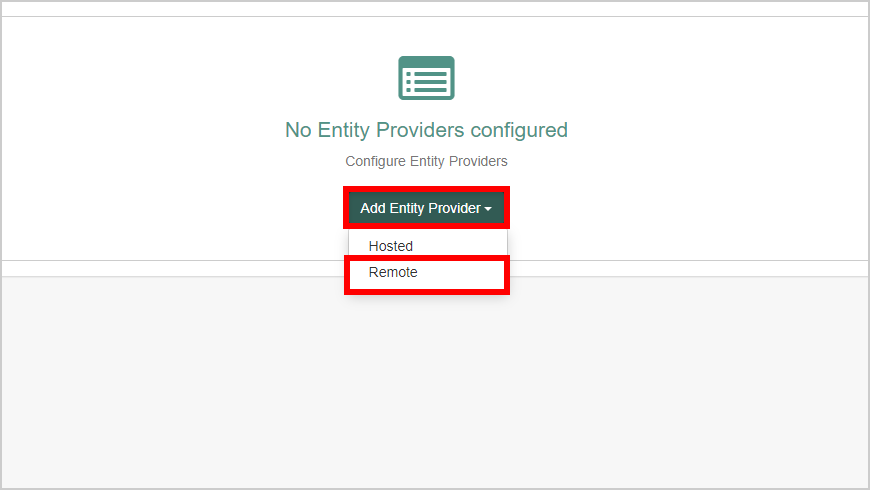
The service provider details have already been configured and can be downloaded from the iboss cloud platform. Refer to step 1 in this document on how to download the xml file _._This iboss XML will be imported into the ForgeRock platform as a Remote Service Provider.
- Click the Add Entity Provider and select Remote.
-
On the New Remote Entity Provider page, Drag and drop the iboss Service Provider (SP) Metadata XML file into the dotted box. Click Create.
-
Next, the Entity Provider will include both the IDP and SP roles.
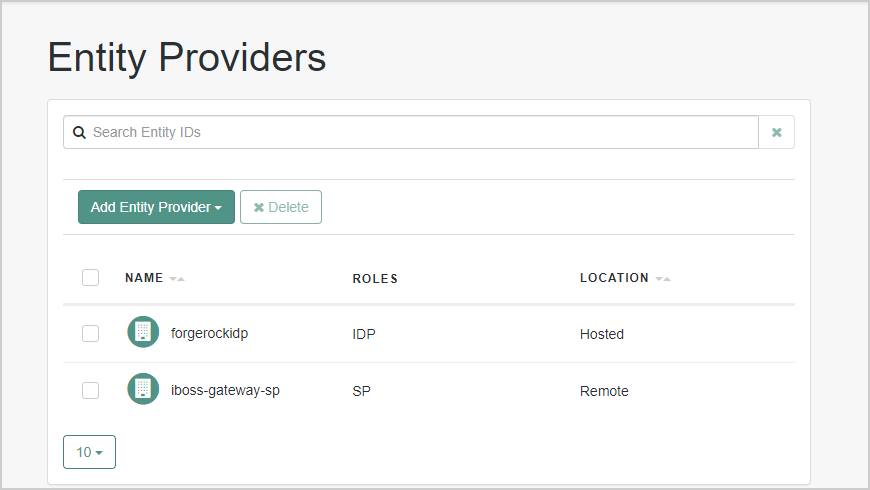
You will need to export the IDP settings and provide them to the Service Provider.
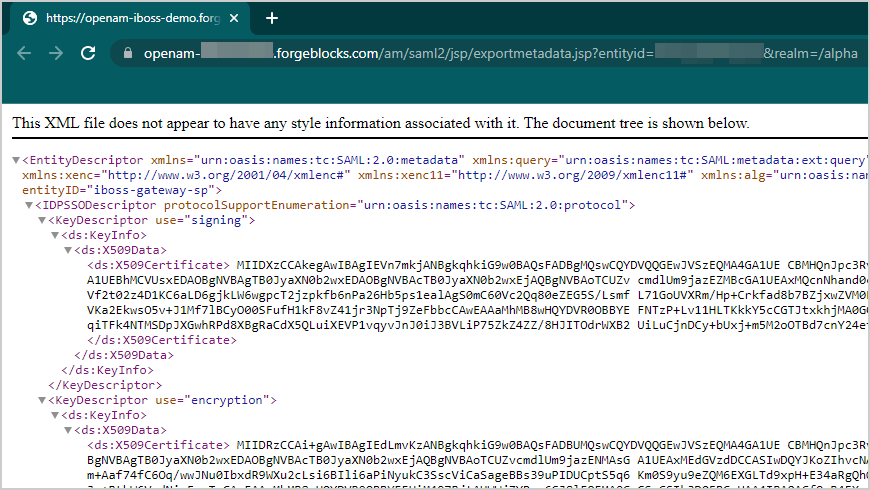
- Export the XML-based metadata from your hosted provider using the following URL. Make sure to change the URL to point to your ForgeRock instance.
https://openam.example.com/openam/saml2/jsp/exportmetadata.jsp?entityid=myHostedProvider&realm=/mySubRealm
- Copy and Paste the contents into an editor of your choice and save the file as an XML.
In this step, we need to map the user Group values from the Identity Provider to the "iboss Gateway SAML SP."
Configuring the group mapping ensures that the group values can be sent in the assertion to the SP allowing group memberships to be sent and read by the SP for group-based policy assignment.
First, we will configure a test user that we can use to log in and then configure a user profile attribute to be sent to the Service Provider application.
Sign in to your ForgeRock Platform admin account "https://customersubdomainadmin.ForgeRock.com/login"
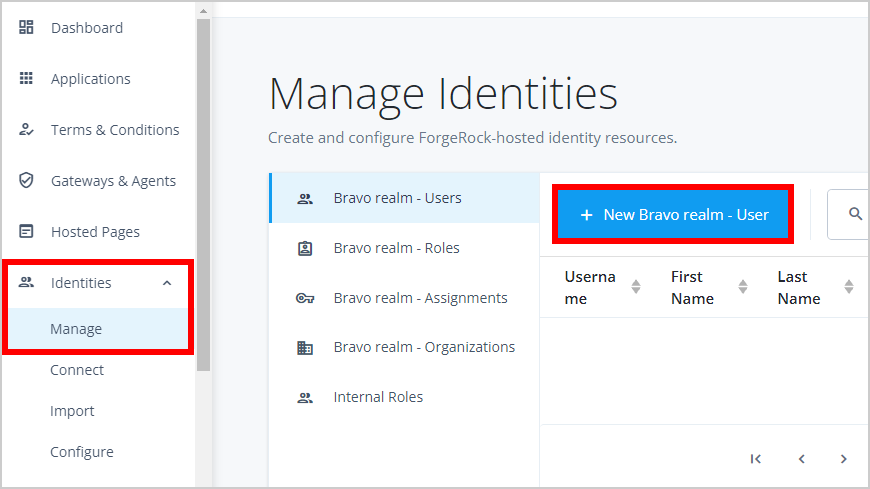
- Log in to your Identity Cloud Console and browse to Identities > Manage and click New Realm User to create a test user.
-
In the New User page, enter user details and click Save.
-
Navigate to Native Console > Access Management.
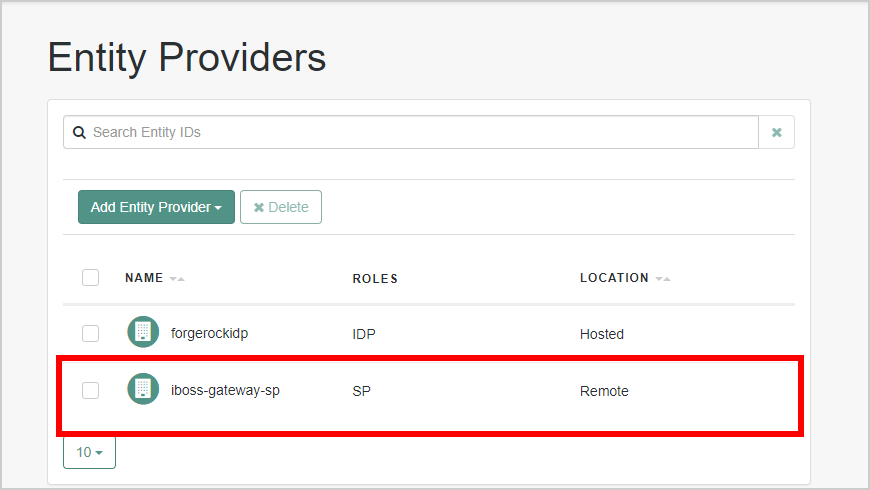
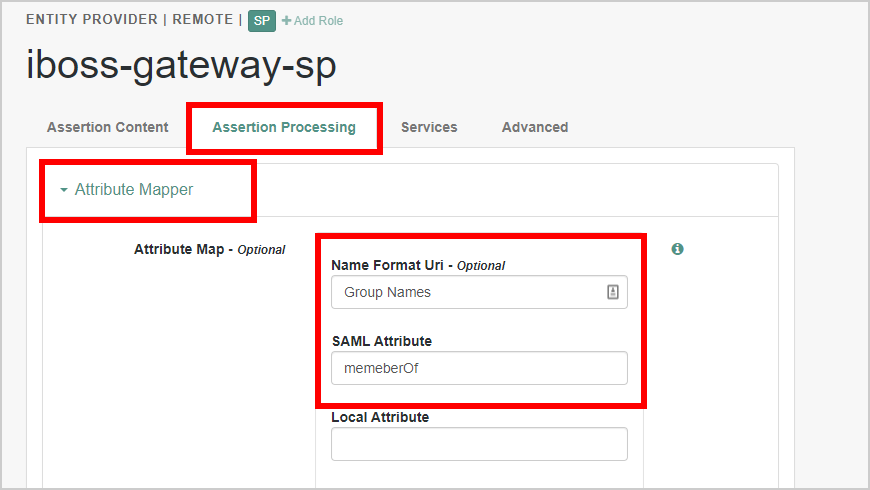
- Navigate to Applications > Federation > Entity Providers and select the Entity provider iboss-gateway-sp to edit the settings.
- Navigate to Assertion Processing > Attribute Mapper.
- Navigate to Attribute Map and add Group Names as the Name Format and memberOf for the SAML Attribute. Click Add.
- Sign in to your iboss Cloud account "https://cloud.iboss.com"
- Navigate to "Users, Groups and Devices → User SSO → SAML."
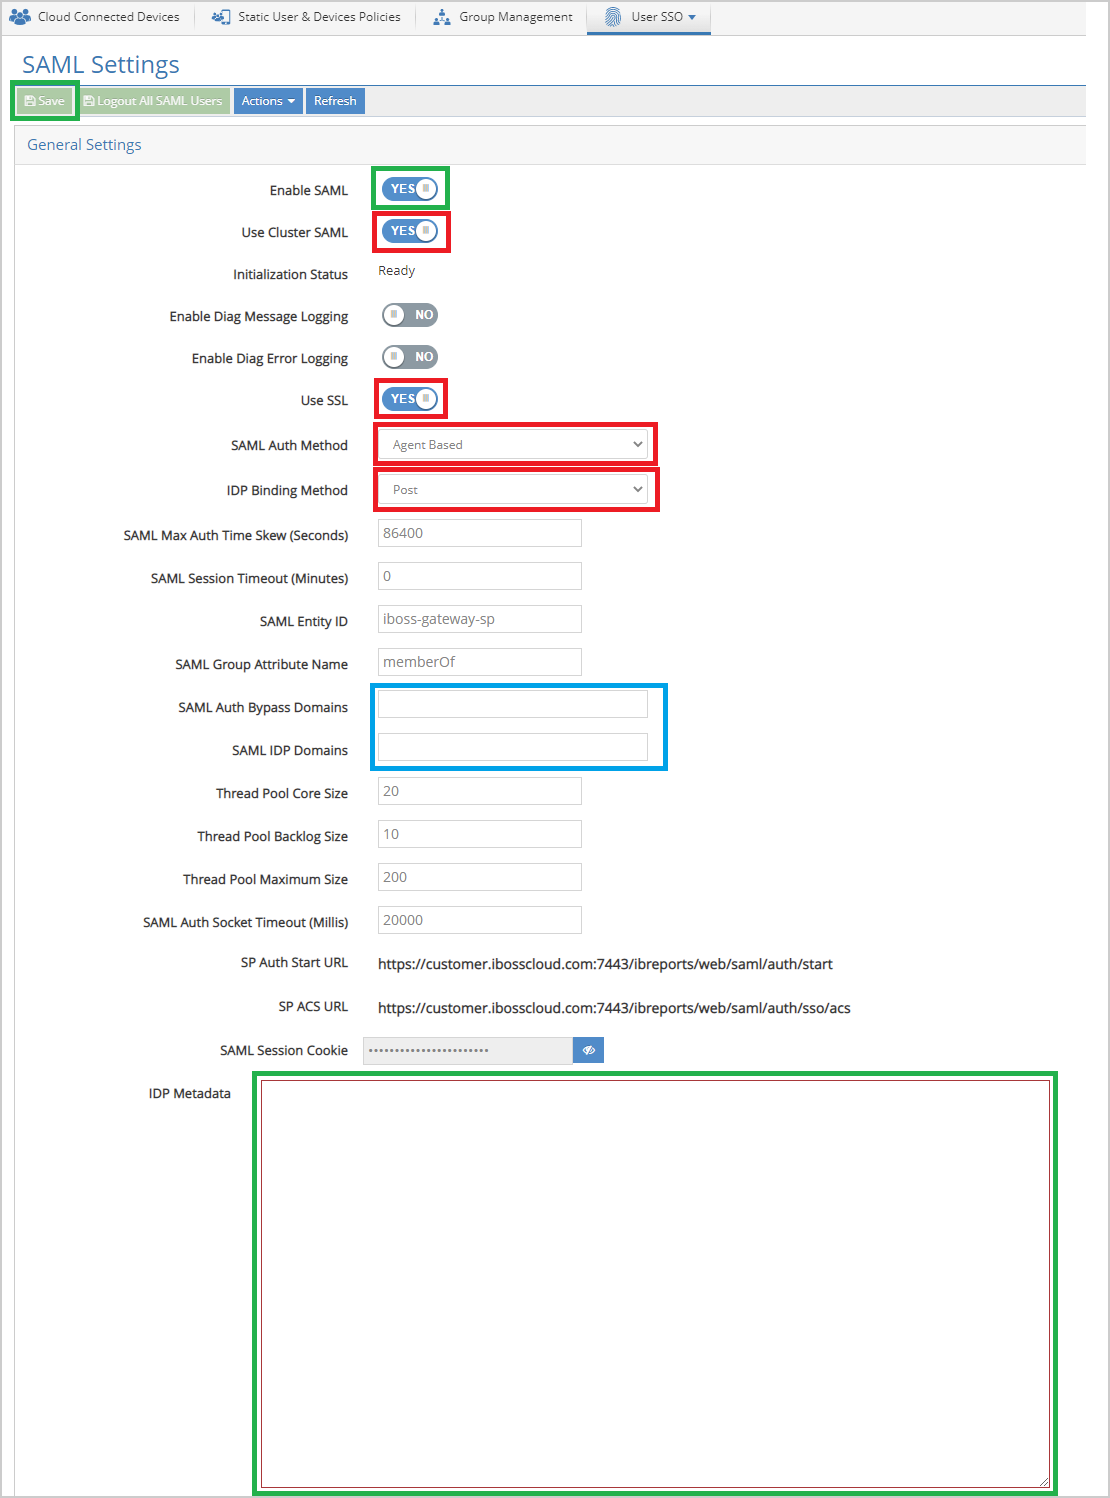
- From here, set the following:
Paste the "IDP Metadata" from the previous step, "Step 2 - Configure Identity Provider Settings."
Optional - "SAML Auth Bypass Domains" and "SAML IDP Domains, "it is recommended to send the ForgeRock IDP domains direct using a PAC Zone detailed in Step 5 "Configure PAC Zone":
forgerock.com,forgeblocks.com
- Set " IDP Binding Method" to " Post."
- Set " SAML Auth Method" to " Agent-Based."
- Ensure that " Use SSL" is enabled.
- If more than one gateway is present, " Use Cluster SAML" should be enabled.
- Finally, click " Save."
To prevent redirect loops with IdP auth traffic and to prevent any unnecessary filtering, we alter the PAC Zone to include the required IdP domains within a function to bypass and send direct.
If clients are behind a firewall, a local breakout should be enabled for direct access to the domains specified:
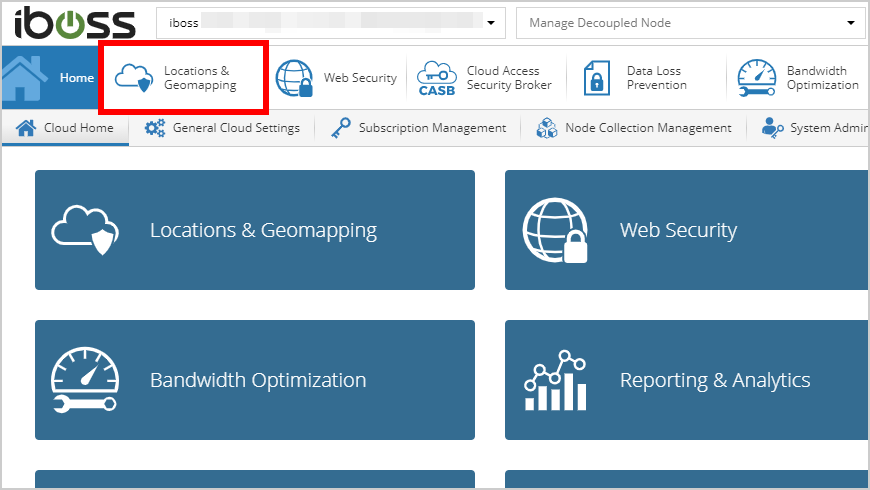
- Navigate to Locations and Geomapping.
- Edit the intended PAC Zone or PAC Zones.
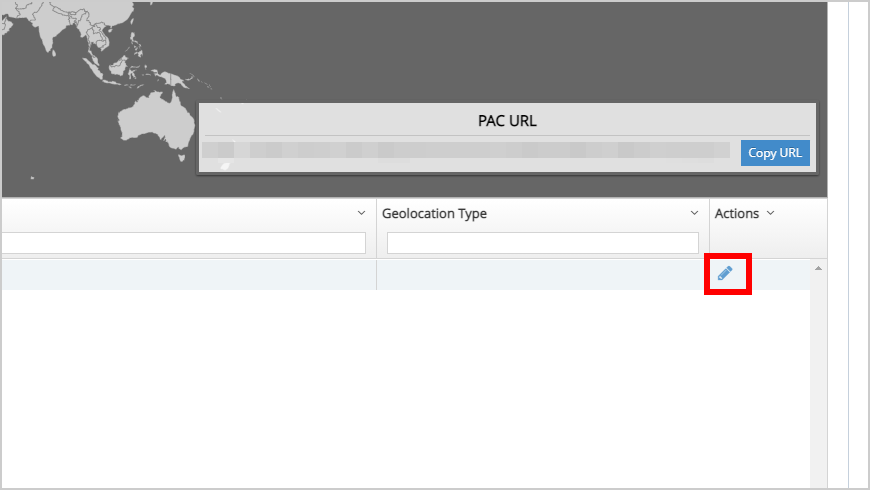
- Select the PAC Settings tab.
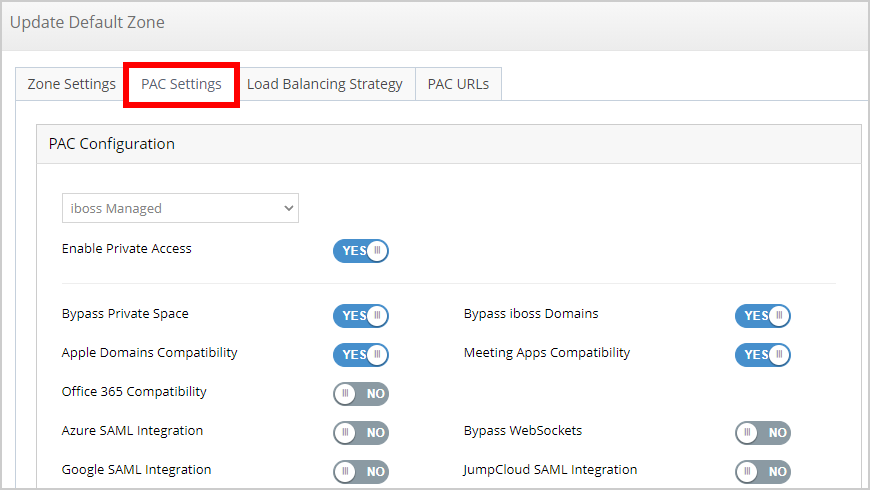
- Beneath Add A Function, select the Select a function dropdown menu and click Domain and Sub-domain List.
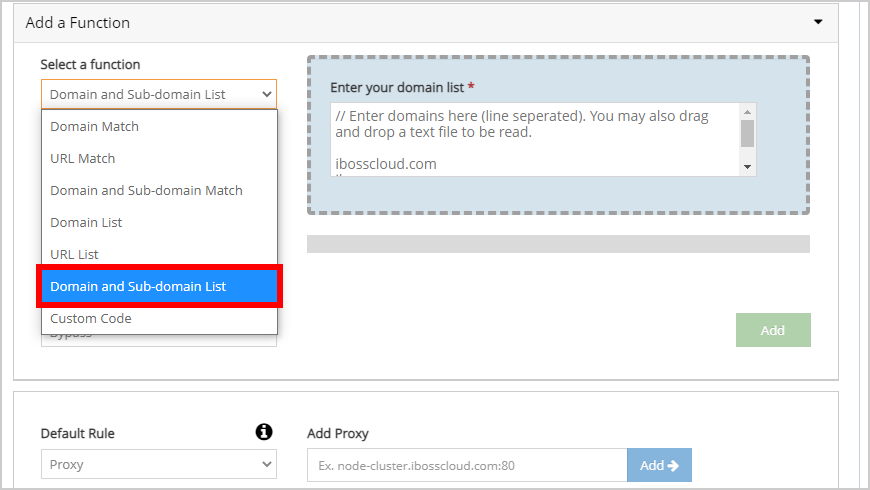
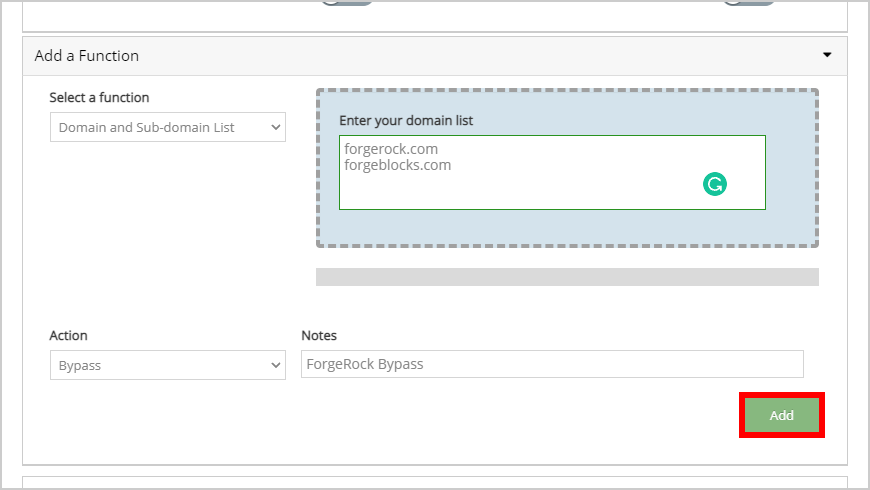
- Enter the domains to which ForgeRock is hosted to the Domain and Sub-domain list field. Click Add to confirm the addition of the new domain bypass list for ForgeRock resources.
forgerock.com, forgeblocks.com
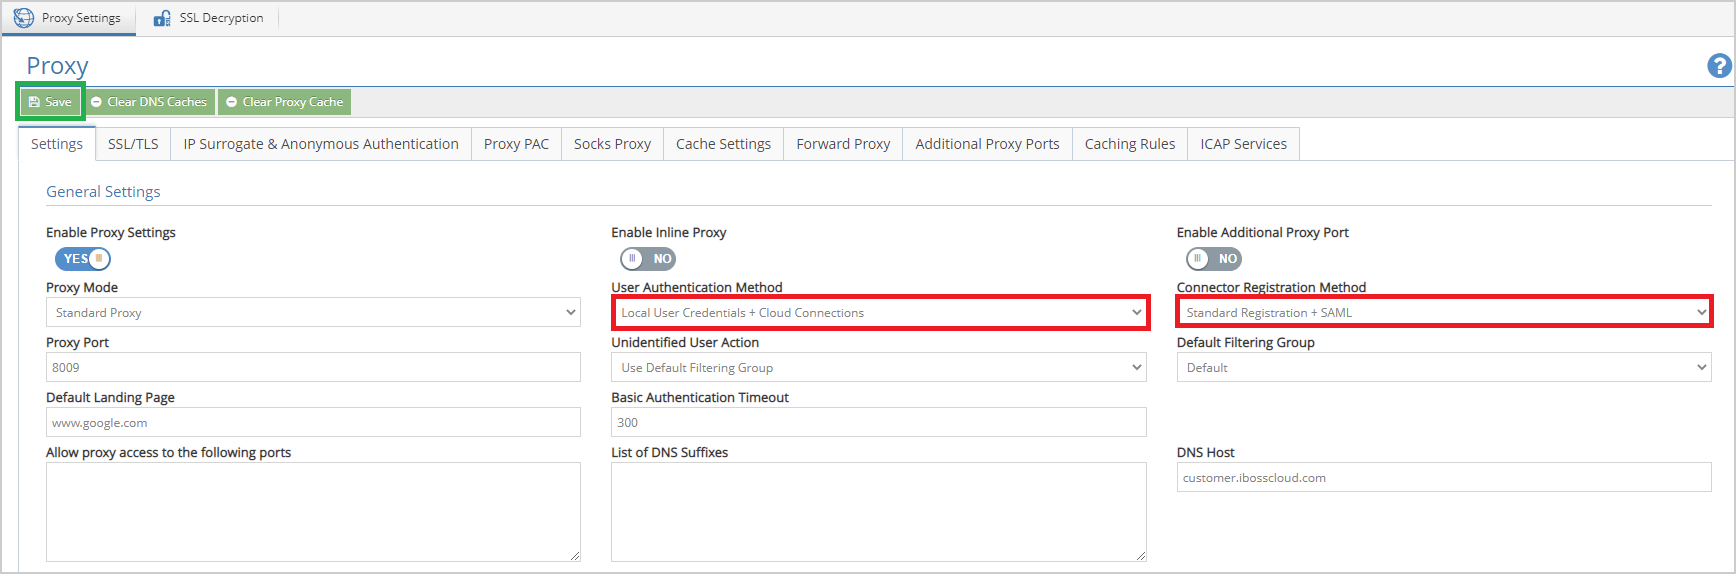
Next, the iboss Cloud proxy needs configuring to accept the user authentication and the registration type.
- Navigate to Proxy and Caching > Proxy Settings.
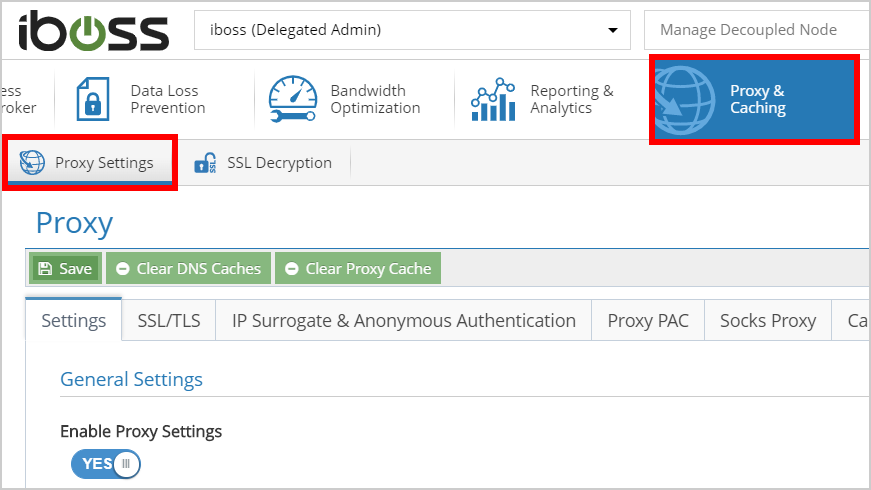
- Set " User Authentication Method" to " Local User Credentials + Cloud Connections."
- Set " Connector Registration Method" to " Standard Registration + SAML."
- Click " Save."
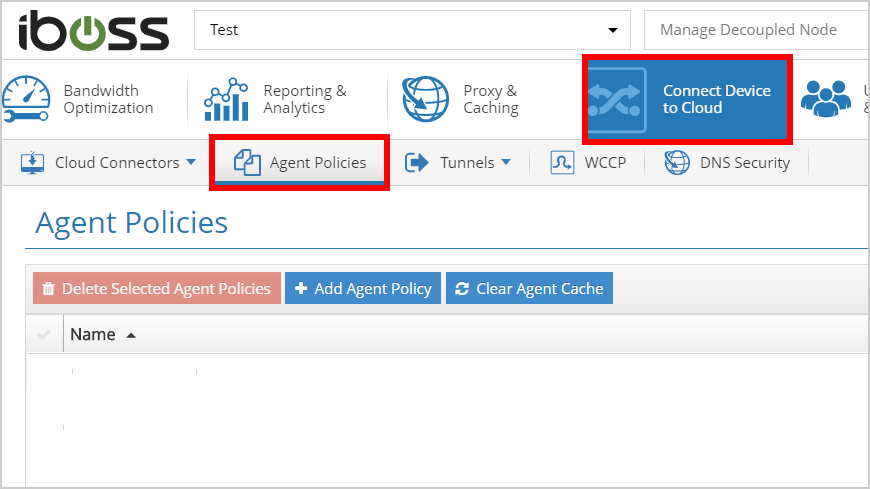
Next, we need to create an "Agent Policy" to install and enable the "iboss Desktop App and SAML."
- Navigate to Connect Devices to Cloud → Agent Policies and Click Add Agent Policy.
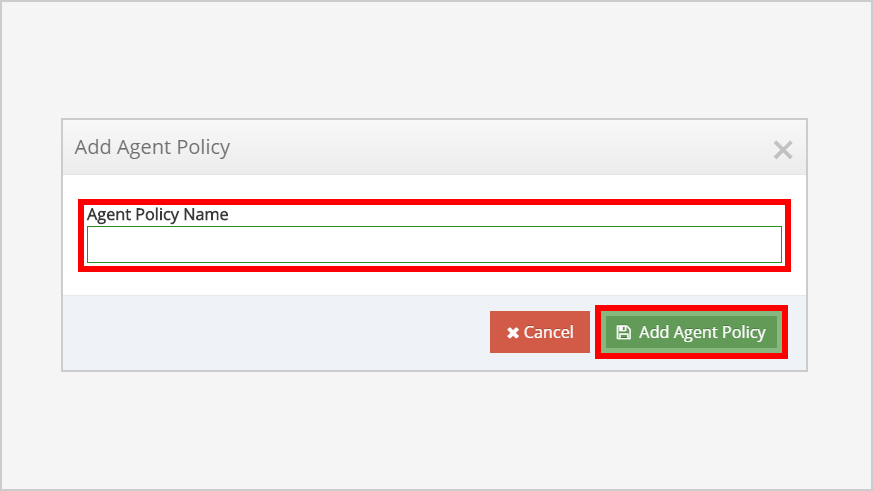
- Give an Agent Policy Name of " Enable Desktop App & SAML. Click Add Agent Policy.
- From the " Dynamic Linking" tab, select what groups to target/assign this policy to.
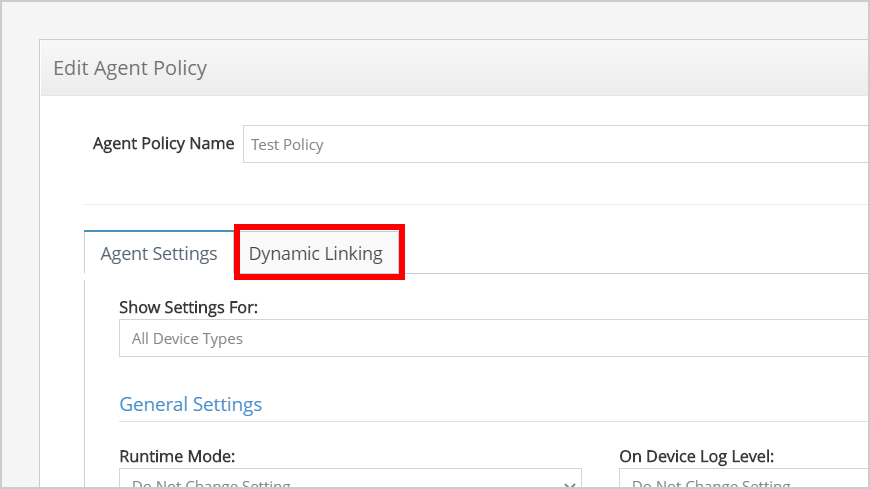
- From the Agent Settings tab, find the General Settings area and set the Runtime Mode to SAML.
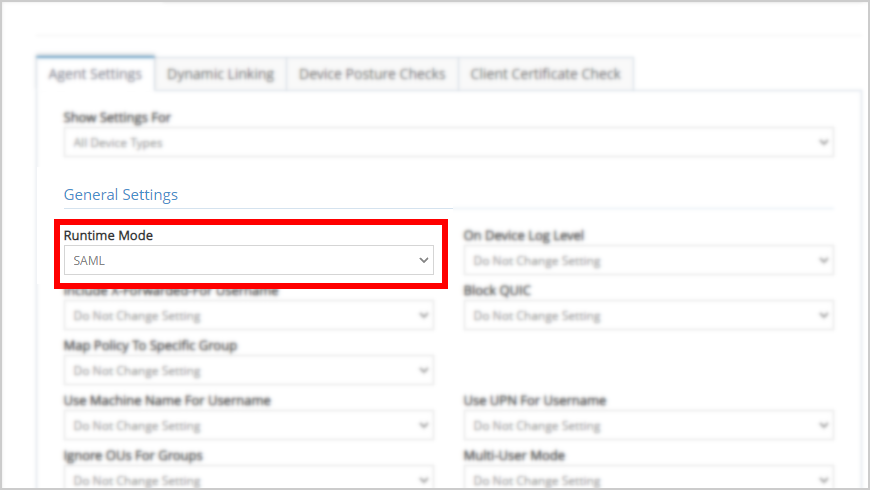
Important - Do not complete this step unless "Steps 5 & 6" have been completed. Otherwise, the targeted/assigned devices will lose connectivity.
- From the Agent Settings tab, find the Windows Desktop App area and set the Enable Windows Desktop App to enabled.
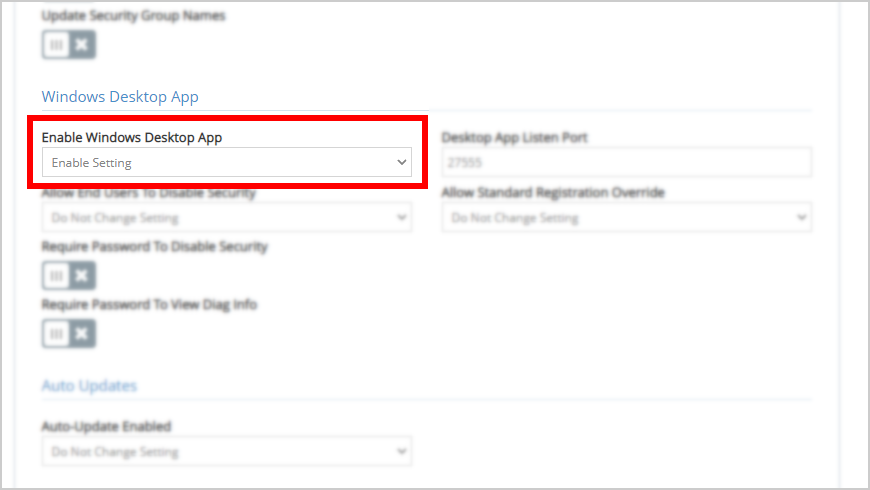
- Scroll to the bottom and click Save.
Further "Desktop App" reading can be found here: Desktop App for the Windows Connector.
Once the above Agent Polices have fully replicated within the Cluster, the Cloud Connector needs to pull these new Agent Policy settings.
The Cloud Connector will poll for new Agent policies every hour as default or if a restart, user event change, or network event change occurs. We would recommend restarting the PC and signing in again.
Once restarted and signed in, we should see the iboss Desktop App in a "Not Connected" state.
After the above Agent Polices have fully replicated within the Cluster, the Cloud Connector needs to pull these new Agent Policy settings.
The Cloud Connector will poll for new Agent policies every hour as default or if a restart, user event change, or network event change occurs. We would recommend restarting the PC and signing in again.
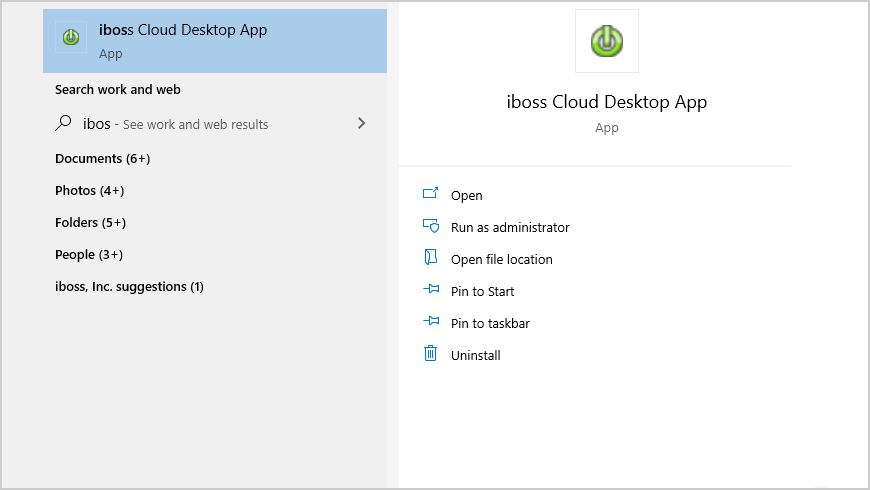
- Once restarted and signed in, locate the iboss Cloud Desktop App.
- Click Connect to Cloud.
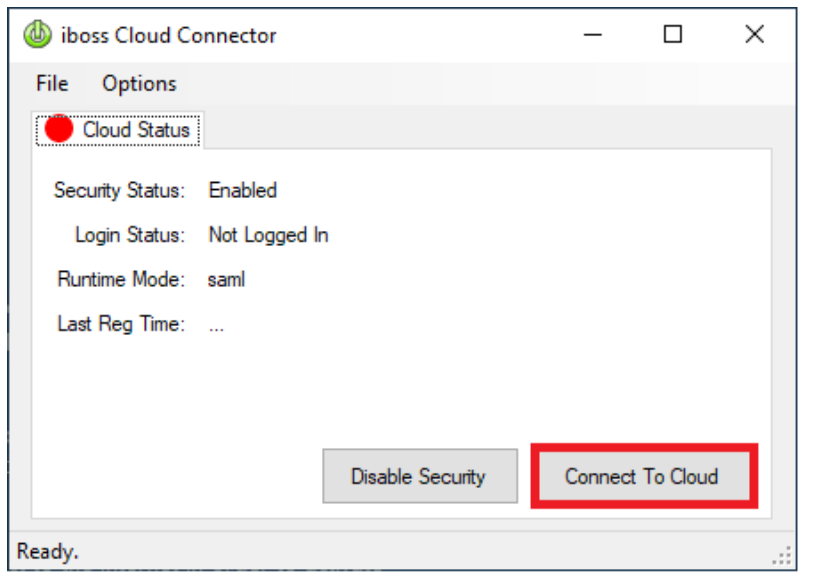
- This will begin the SAML registration process redirecting the user to the IDP for sign-in.
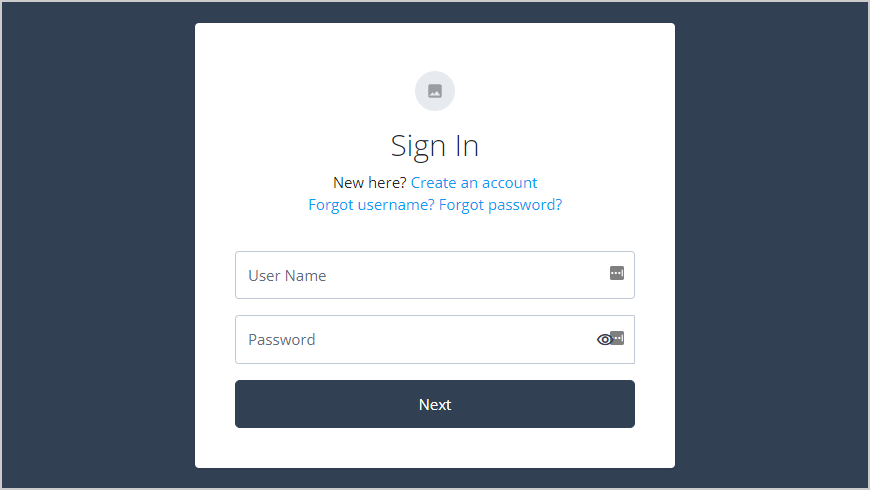
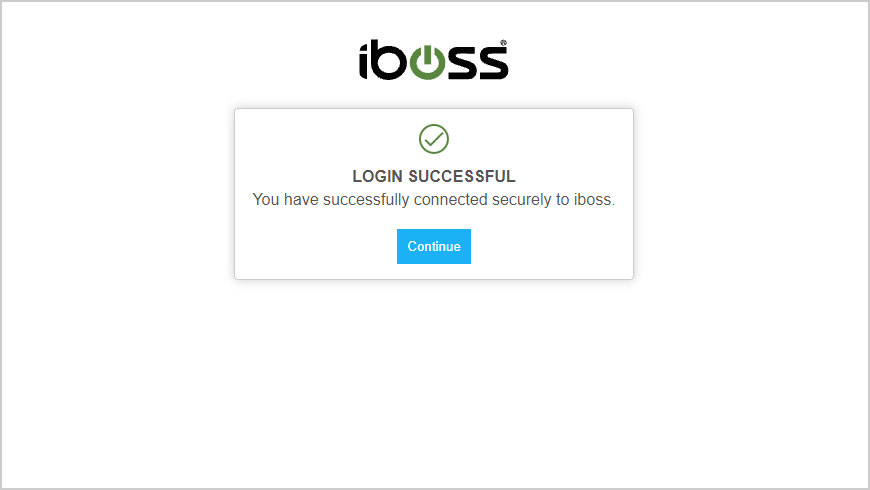
- A successful SAML authentication will notify the user in the browser.
The Cloud Connector pulls any "Agent Policy" change on a frequency of every hour or if a registration is forced, which can be done either via the below:
-
Logoff+Login
-
IBSA Service Restart
-
Device Reboot
-
Network Change
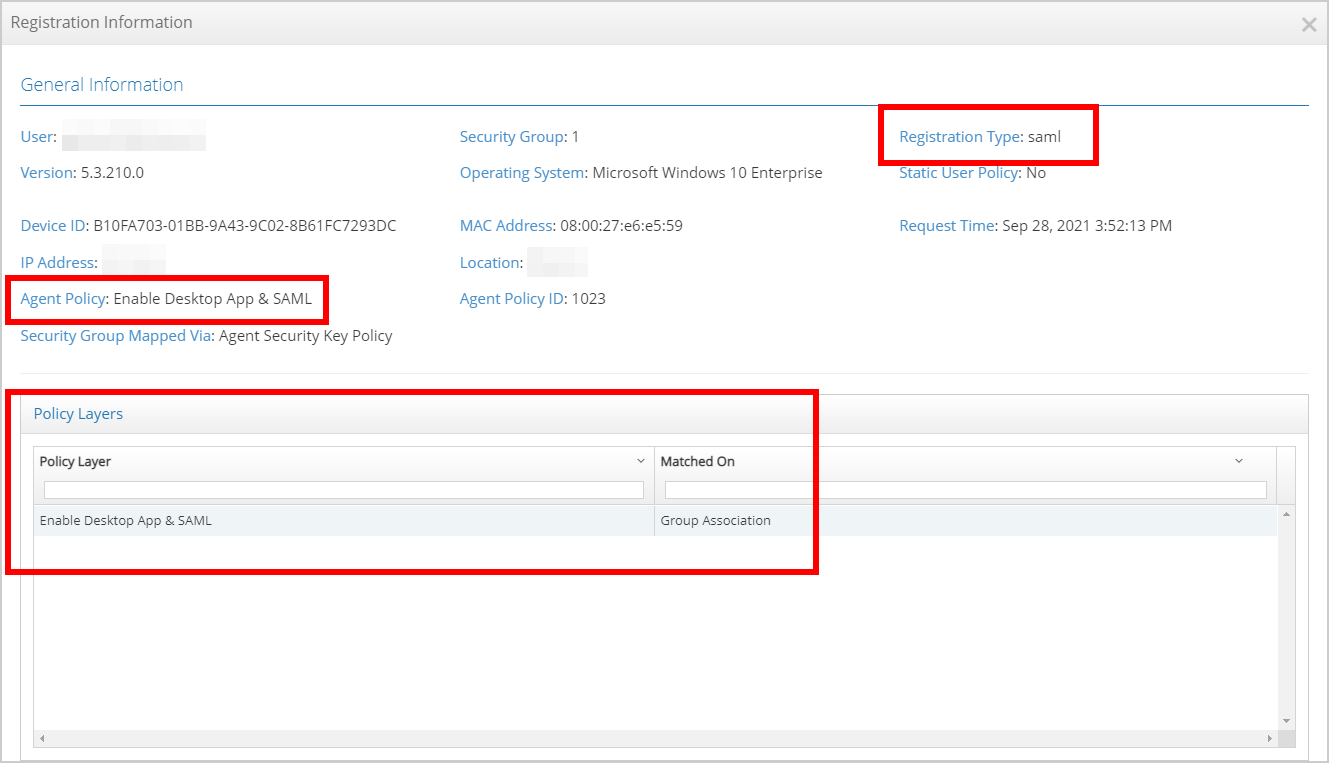
Once the registration occurs, the device assignments can be checked under the "Cloud Connected Devices" report and drill down on an example device.
- Under Users, Groups and Devices → Cloud Connected Devices.
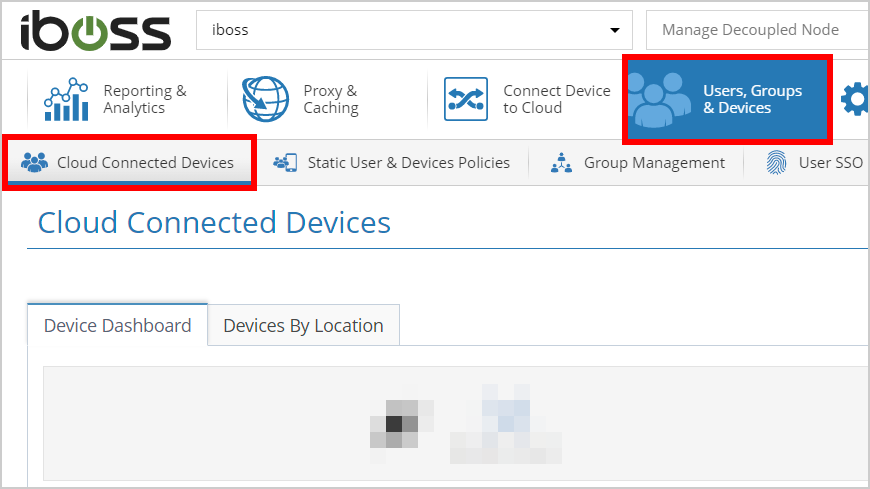
- "Double Click" on an example device:
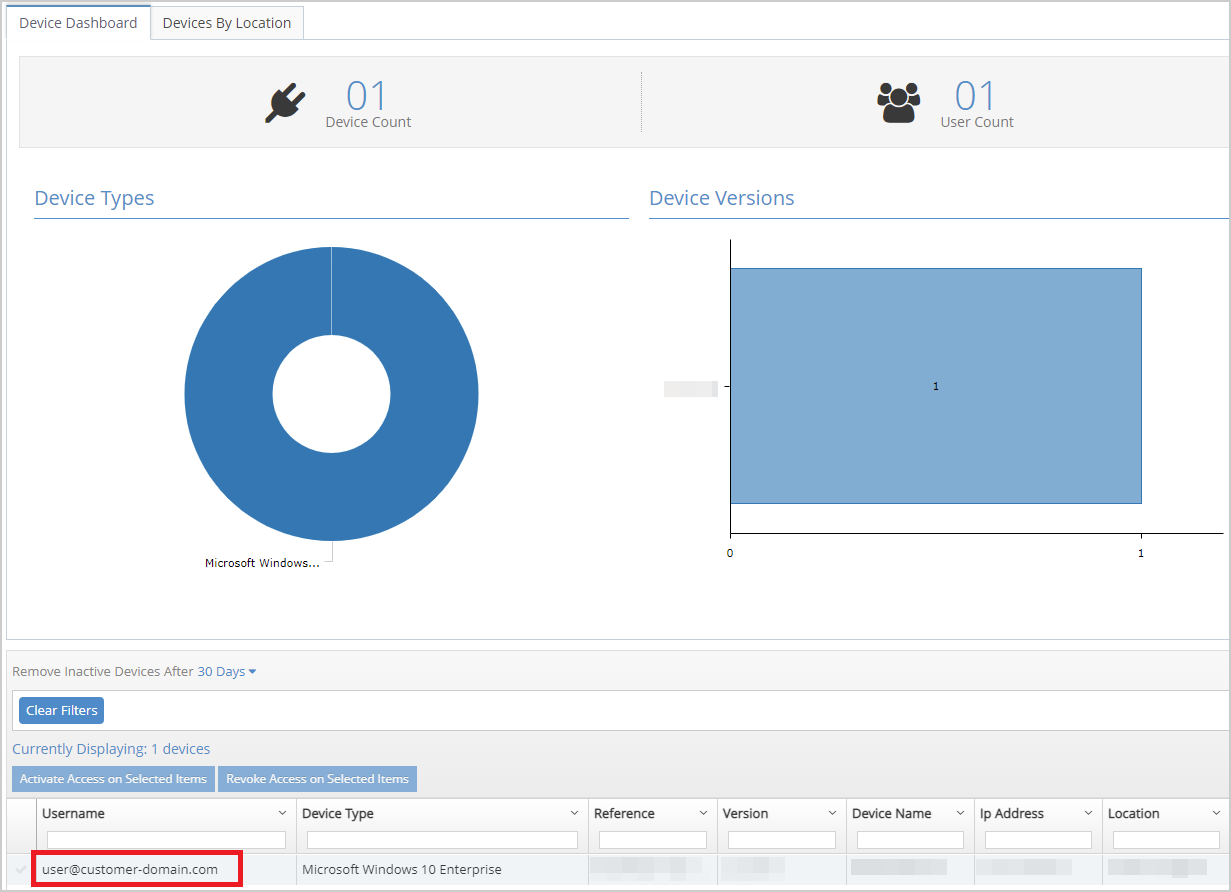
- Observe the " Registration Information" detailing what Agent policies have been assigned since the last Cloud Connector registration:
The client-side Cookie generated during a successful SAML assertion has a configurable lifetime.
This is called "Enable Session Timeout" and is disabled as default to never expire.
However, it can be set to have a finite expiry time forcing the user to have to reauthenticate.
- Navigate to Connect Devices to Cloud -> Cloud Connectors -> Advance Connector Settings.
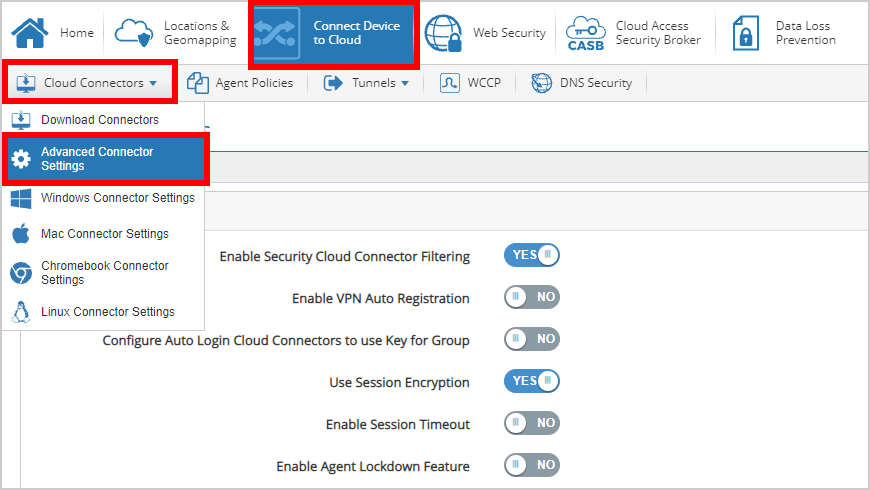
- From here, you can Enable Session Timeout, set a value in Session Timeout Minutes, and Save.