🌎 Deutsch
Example of a front-end workflow for developing a REDAXO website. (* stuff)
- A generic frontend workflow that does not necessarily require REDAXO but works in several contexts (static website, different CMS, web app).
- REDAXO and a static front-end prototype share all assets (CSS, JS, media, ...).
- The prototype is used for the complete frontend development. Implementation for REDAXO can be done separately (useful when working in a team).
- Switch between develop and production mode without touching REDAXO, there is no need to modifiy templates or modules.
- Yarn as a package manager
- Gulp as a task runner
- Sass and PostCSS for CSS (with Autoprefixer, cssnano and Bimmelbam)
- ES6 with Babel and Browserify for beautiful JavaScript
- Nunjucks templates (for the prototype, but could also be used for JavaScript components)
- A customizable Modernizr (because it works)
- Images get minified
- SVGs get combined and injected into the HTML (for icons)
- Bootstrap and Google Material Icons are included as external components (via npm)
- BrowserSync for live reload and for testing on different devices
Not included, but meaningful:
- Linting, so that code meets the requirements.
- Testing, because people are constantly making mistakes.
- Continuous integration (CI) to not always having to assemble the project by hand.
- Deployment and other Bimmelbam (means: stuff)
-
Install Node (>= 10), if not already available. Can be downloaded as a package directly from the website: https://nodejs.org
-
Install Yarn (1.x) if not already available (Manual).
-
Change to our directory in the terminal and fetch the required packages.
Attention, several hundred megabytes of data are coming through the line!$ yarn -
Use Yarn to install Gulp globally, if it is not already installed:
$ yarn global add gulp-cli -
Set up a localhost/vhost (for example,
http://local.bimmelbam) for our project that is able to run REDAXO. Target directory of the host is/app! -
Create an
.envfile (Environment) inside of the project root. Just copy the.env.exampleincluded in the package and adjust it accordingly:APP_HOSTcorresponds to the host you have previously set up,APP_ENVcan remain atdevelopmentfor the time being. -
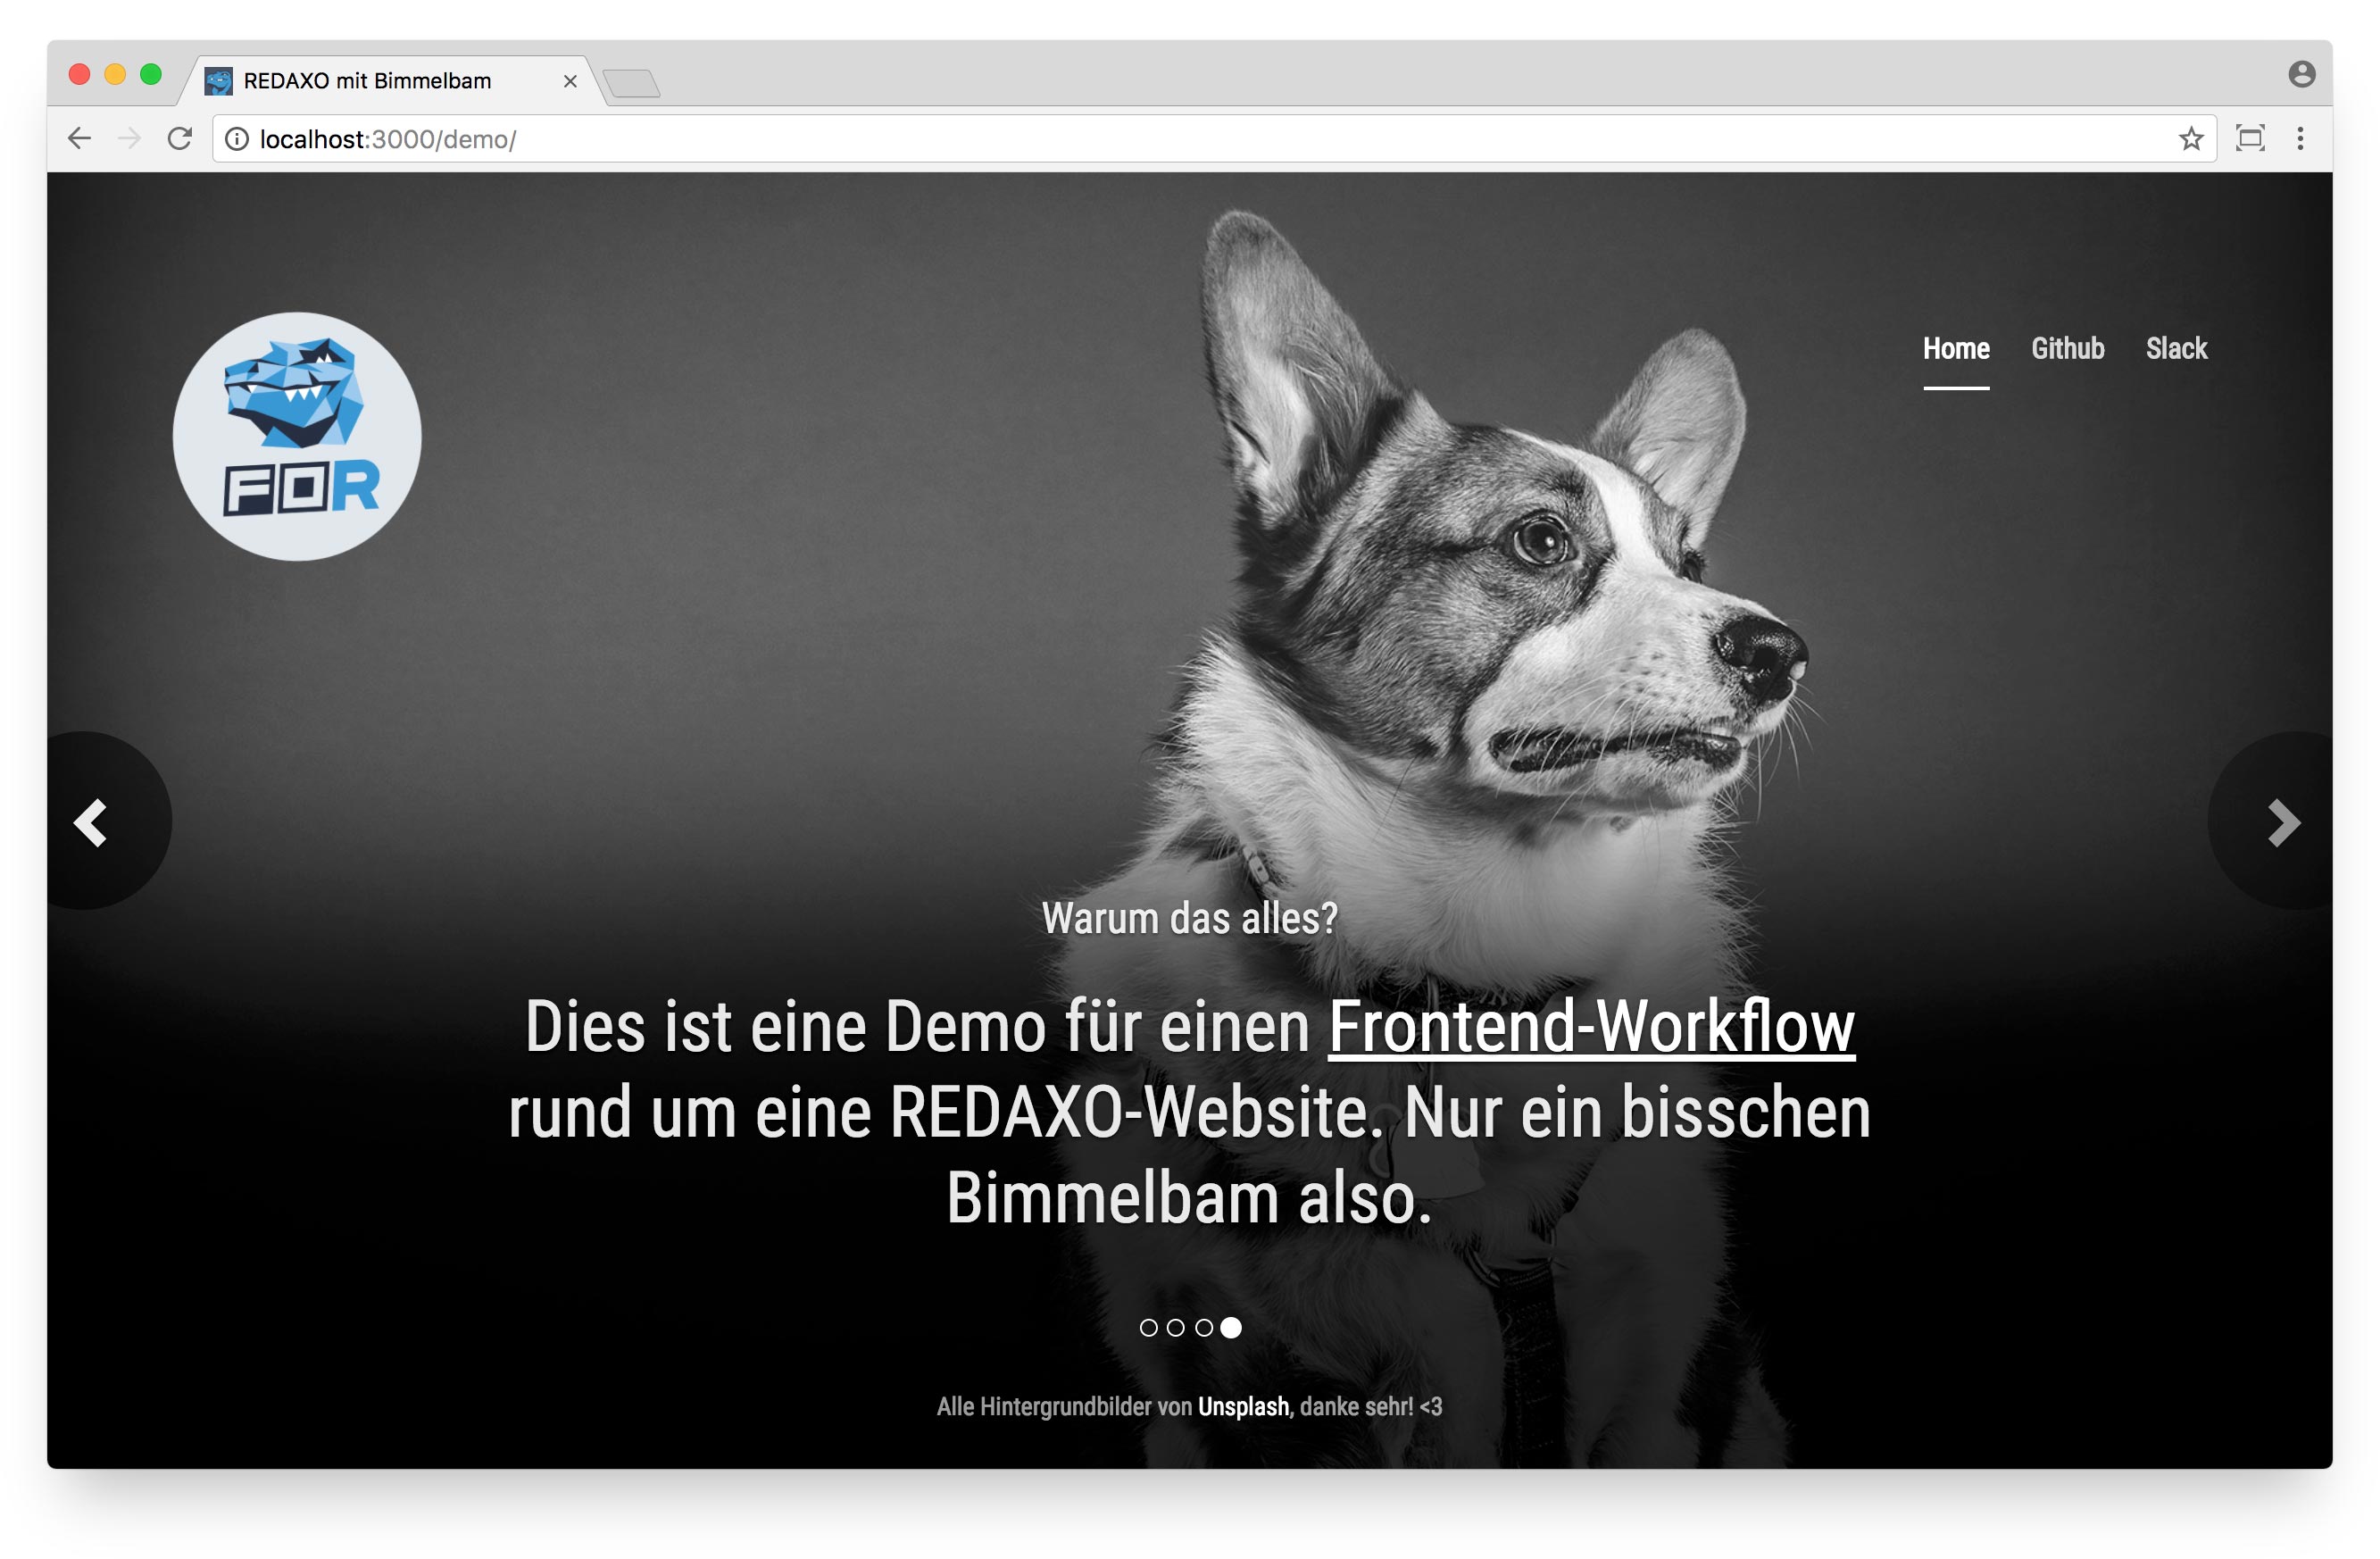
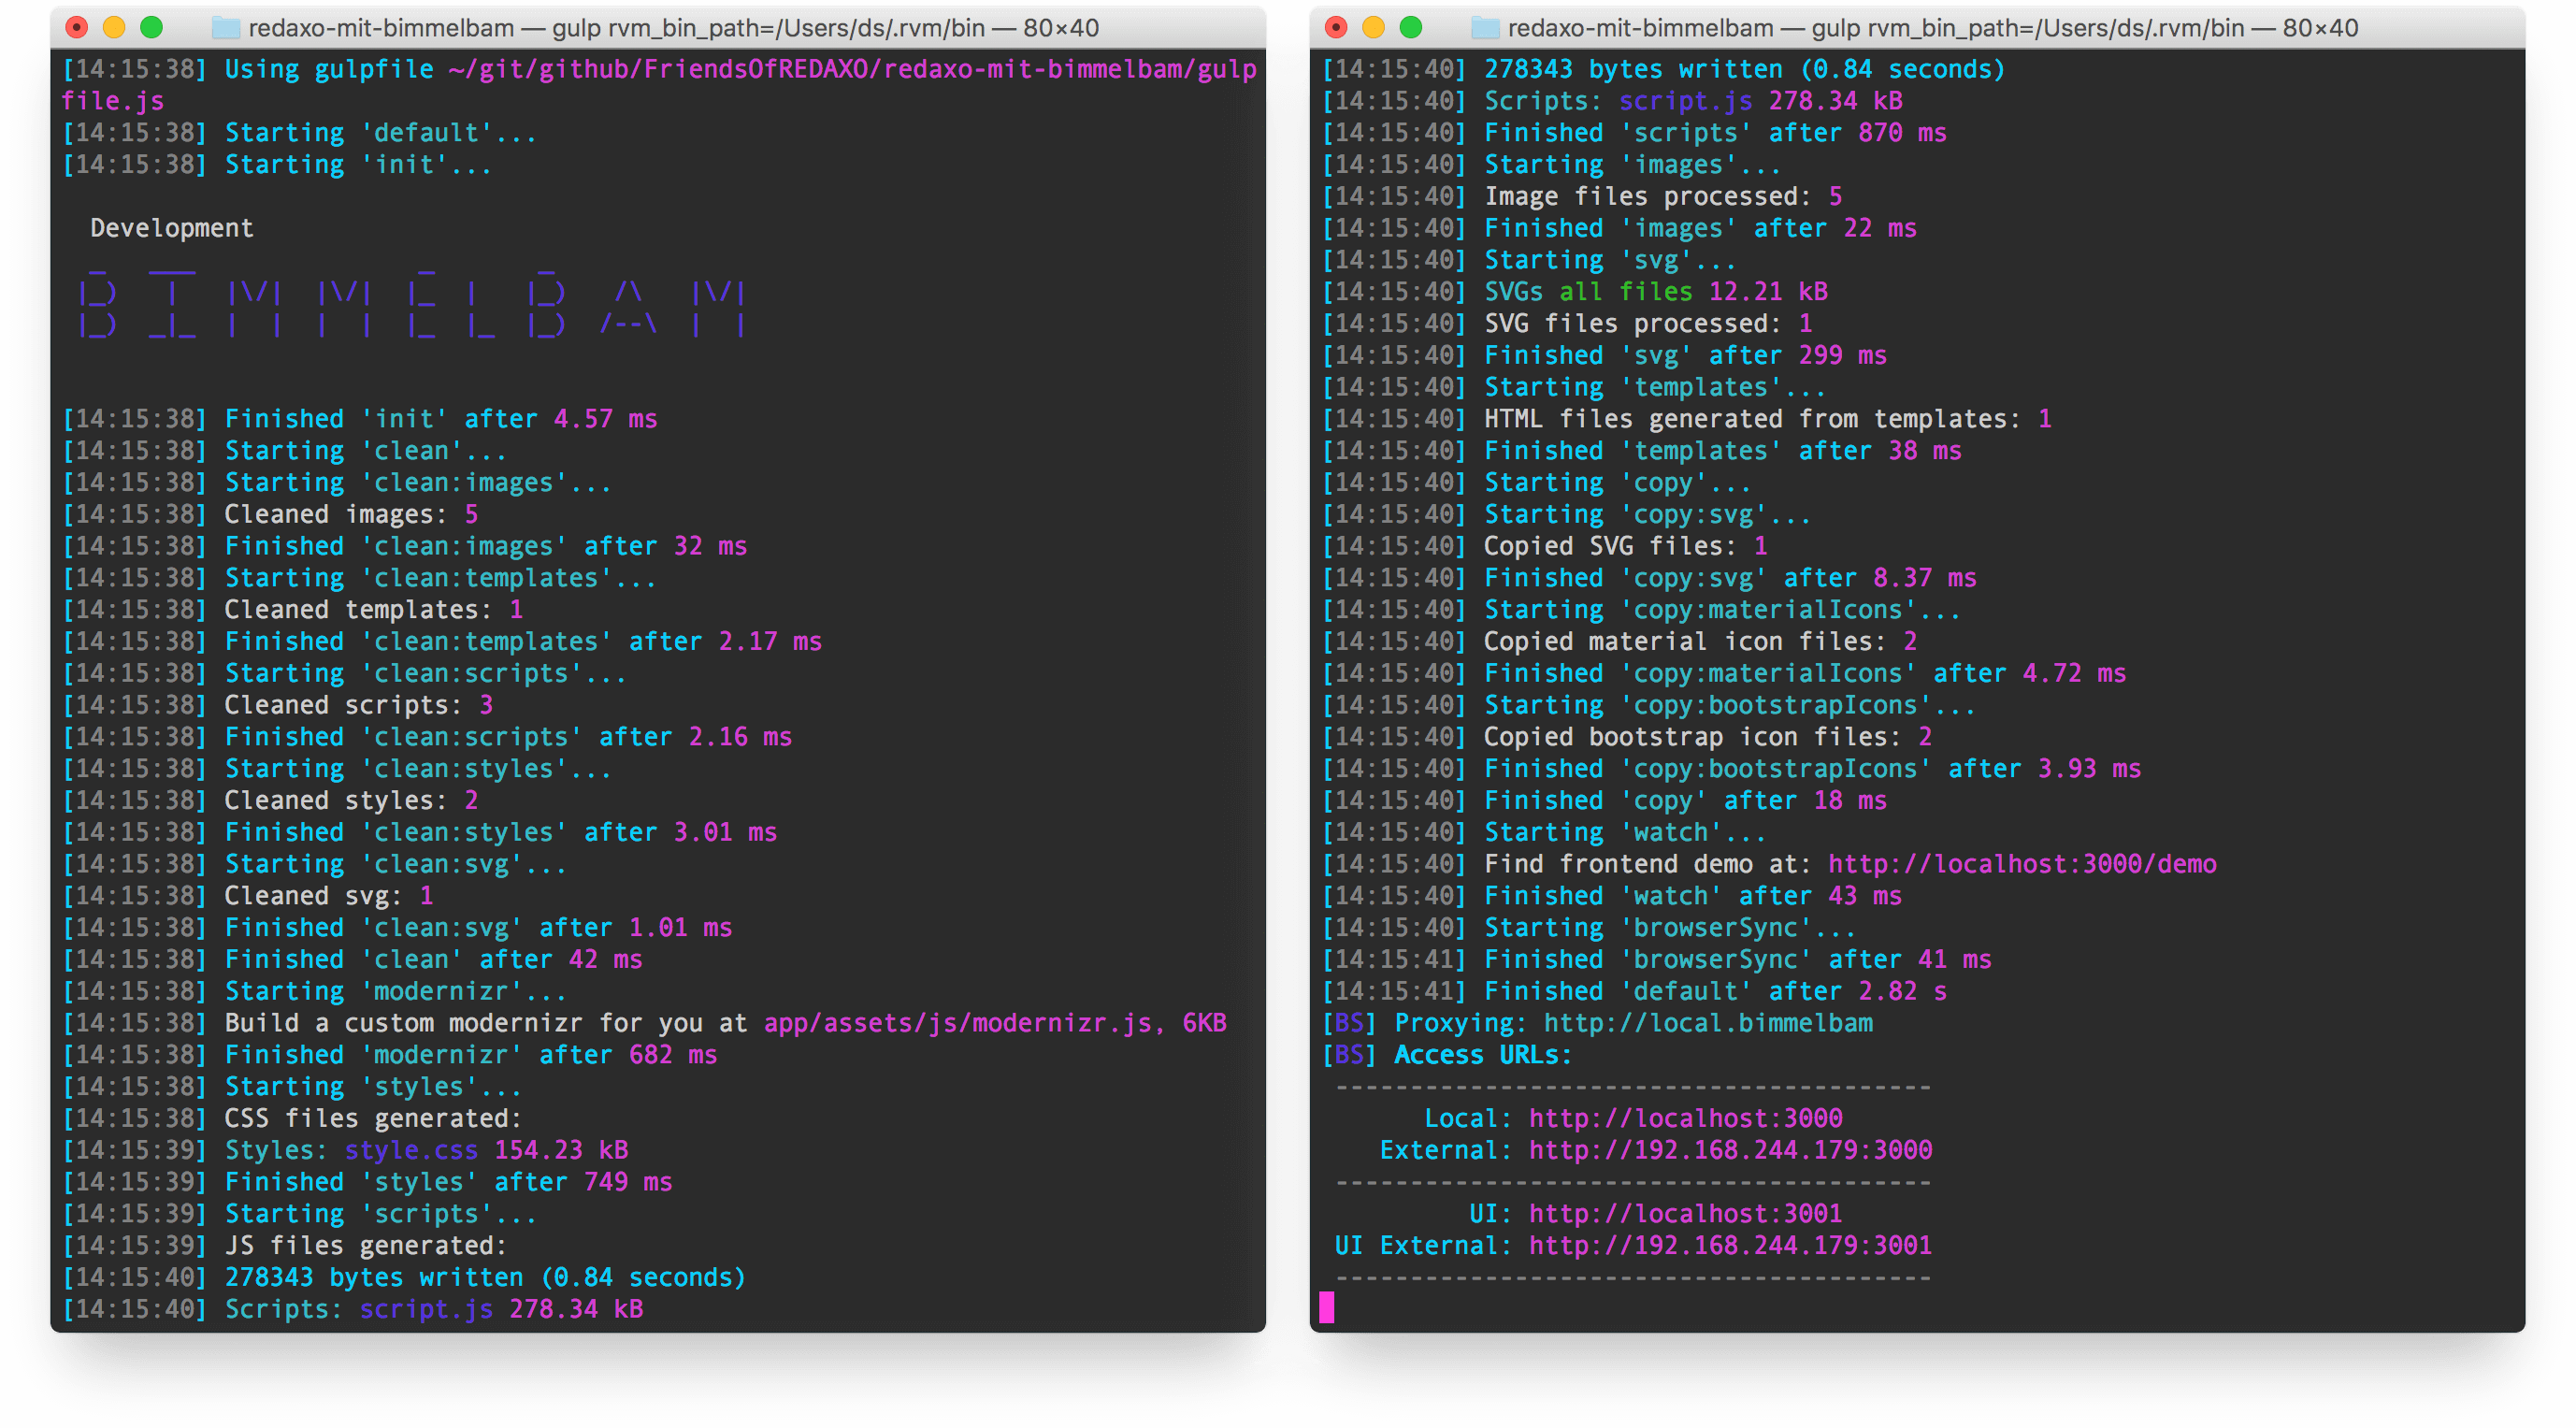
Start the front-end workflow. After that, our frontend prototype should be accessible via
http://localhost:3000/demo/:$ gulp
Does not work? Sorry :-(
No worries! Join the REDAXO Slack for help or leave a post on the Forum, we’ll try to support you!
This project does not contain a REDAXO installation. Once your gulp tasks have completed successfully, you can now manually add REDAXO into the /app directory. It already contains the common REDAXO folders.
Once your REDAXO is up and running, you can implement the website with templates and modules as usual. Take the HTML from the prototype (adapt file paths as required) and include the same assets. When done, you’ll see a working REDAXO website whose output is identical to the prototype.
If you prefer to develop your frontend within REDAXO from now on, you can discard the prototype. However, the intention of this project is to convince you to develop frontend outside of REDAXO using the prototype. Why? Because it’s more efficient and comfortable, and also because it can be done by fellow workers who concentrate exclusively on frontend development and don’t require REDAXO and PHP experience.
In addition, the workflow is quite generic. So you could use it in the same way for other projects, for example in combination with other CMS, for static websites or for web apps. ✌️
To get the site ready for production, turn on APP_ENV = production and run Gulp. JavaScript and CSS are minimized, source maps are removed and images are compressed. In REDAXO you do not have to modify anything, because all assets keep their paths. However, you should consider a solution to control the caching, such as using timestamp parameters (example: styles.css?v=1335939007, see also this solution for REDAXO).
The front-end workflow is complete, so we can now optimize the development environment for the backend. For example with Docker, to enable a consistent setup for the team and to be independent of the local system environment of the computer.
We can make use of the REDAXO docker images provided by Friends Of REDAXO to easily set up a local development environment.
Frontend workflow is the same as above, since we do not install Node, Yarn and Gulp within the Docker container, but continue to use it on your local machine. However, with Docker, you don’t need to follow step 5, the localhost.
Edit .env file
Update the APP_HOST:
APP_HOST=http://localhost:20080
👉 We use port 20080 for HTTP to avoid conflicts with the default port 80. That makes our setup more robust. If you use several Docker projects, you have to keep in mind that all these ports use and therefore only one can run at a time, not several at the same time.
Check the docker-compose.yml file:
All we need for our local Docker setup is the one docker-compose.yml file in our project root folder. It contains the Docker configuration. For easiest setup make sure to use the file coming with Bimmelbam.
Hint: If you want to use one of the recipes provided by docker-redaxo, you’ll need to edit ports (20080 instead of 80) and folders (app instead of html) according to bimmelbam’s requirements.
Afterwards, just start it up:
Start Docker container:
$ docker-compose up -d
Open REDAXO in the browser:
http://localhost:3000
👉 We still use the port 3000 to call in the browser, as defined in Bimmelbam (see config.js). Bimmelbam uses a proxy pointing to port 20080, where Docker provides Apache. Do not let that confuse you.
Stop Docker container:
$ docker-compose stop
If Docker is new to you, have a look at Instruction for Beginners. 🚀
If you want to customize your setup, you might be interested to read through the Recipes within our Docker-REDAXO-Repository.
If you have questions or need help, feel free to contact us in Slack Chat! You will receive an invitation here: https://redaxo.org/slack/.