Install Official Builds (Multiple instances)
Caution
Make sure you have followed this Update Dependencies section before!
Note: Multiple instances corresponds to the use of several printers on the Speeder Pad.
In this section, we will install 3 instances but you can install 2 if you want (no more than 3 is recommended).
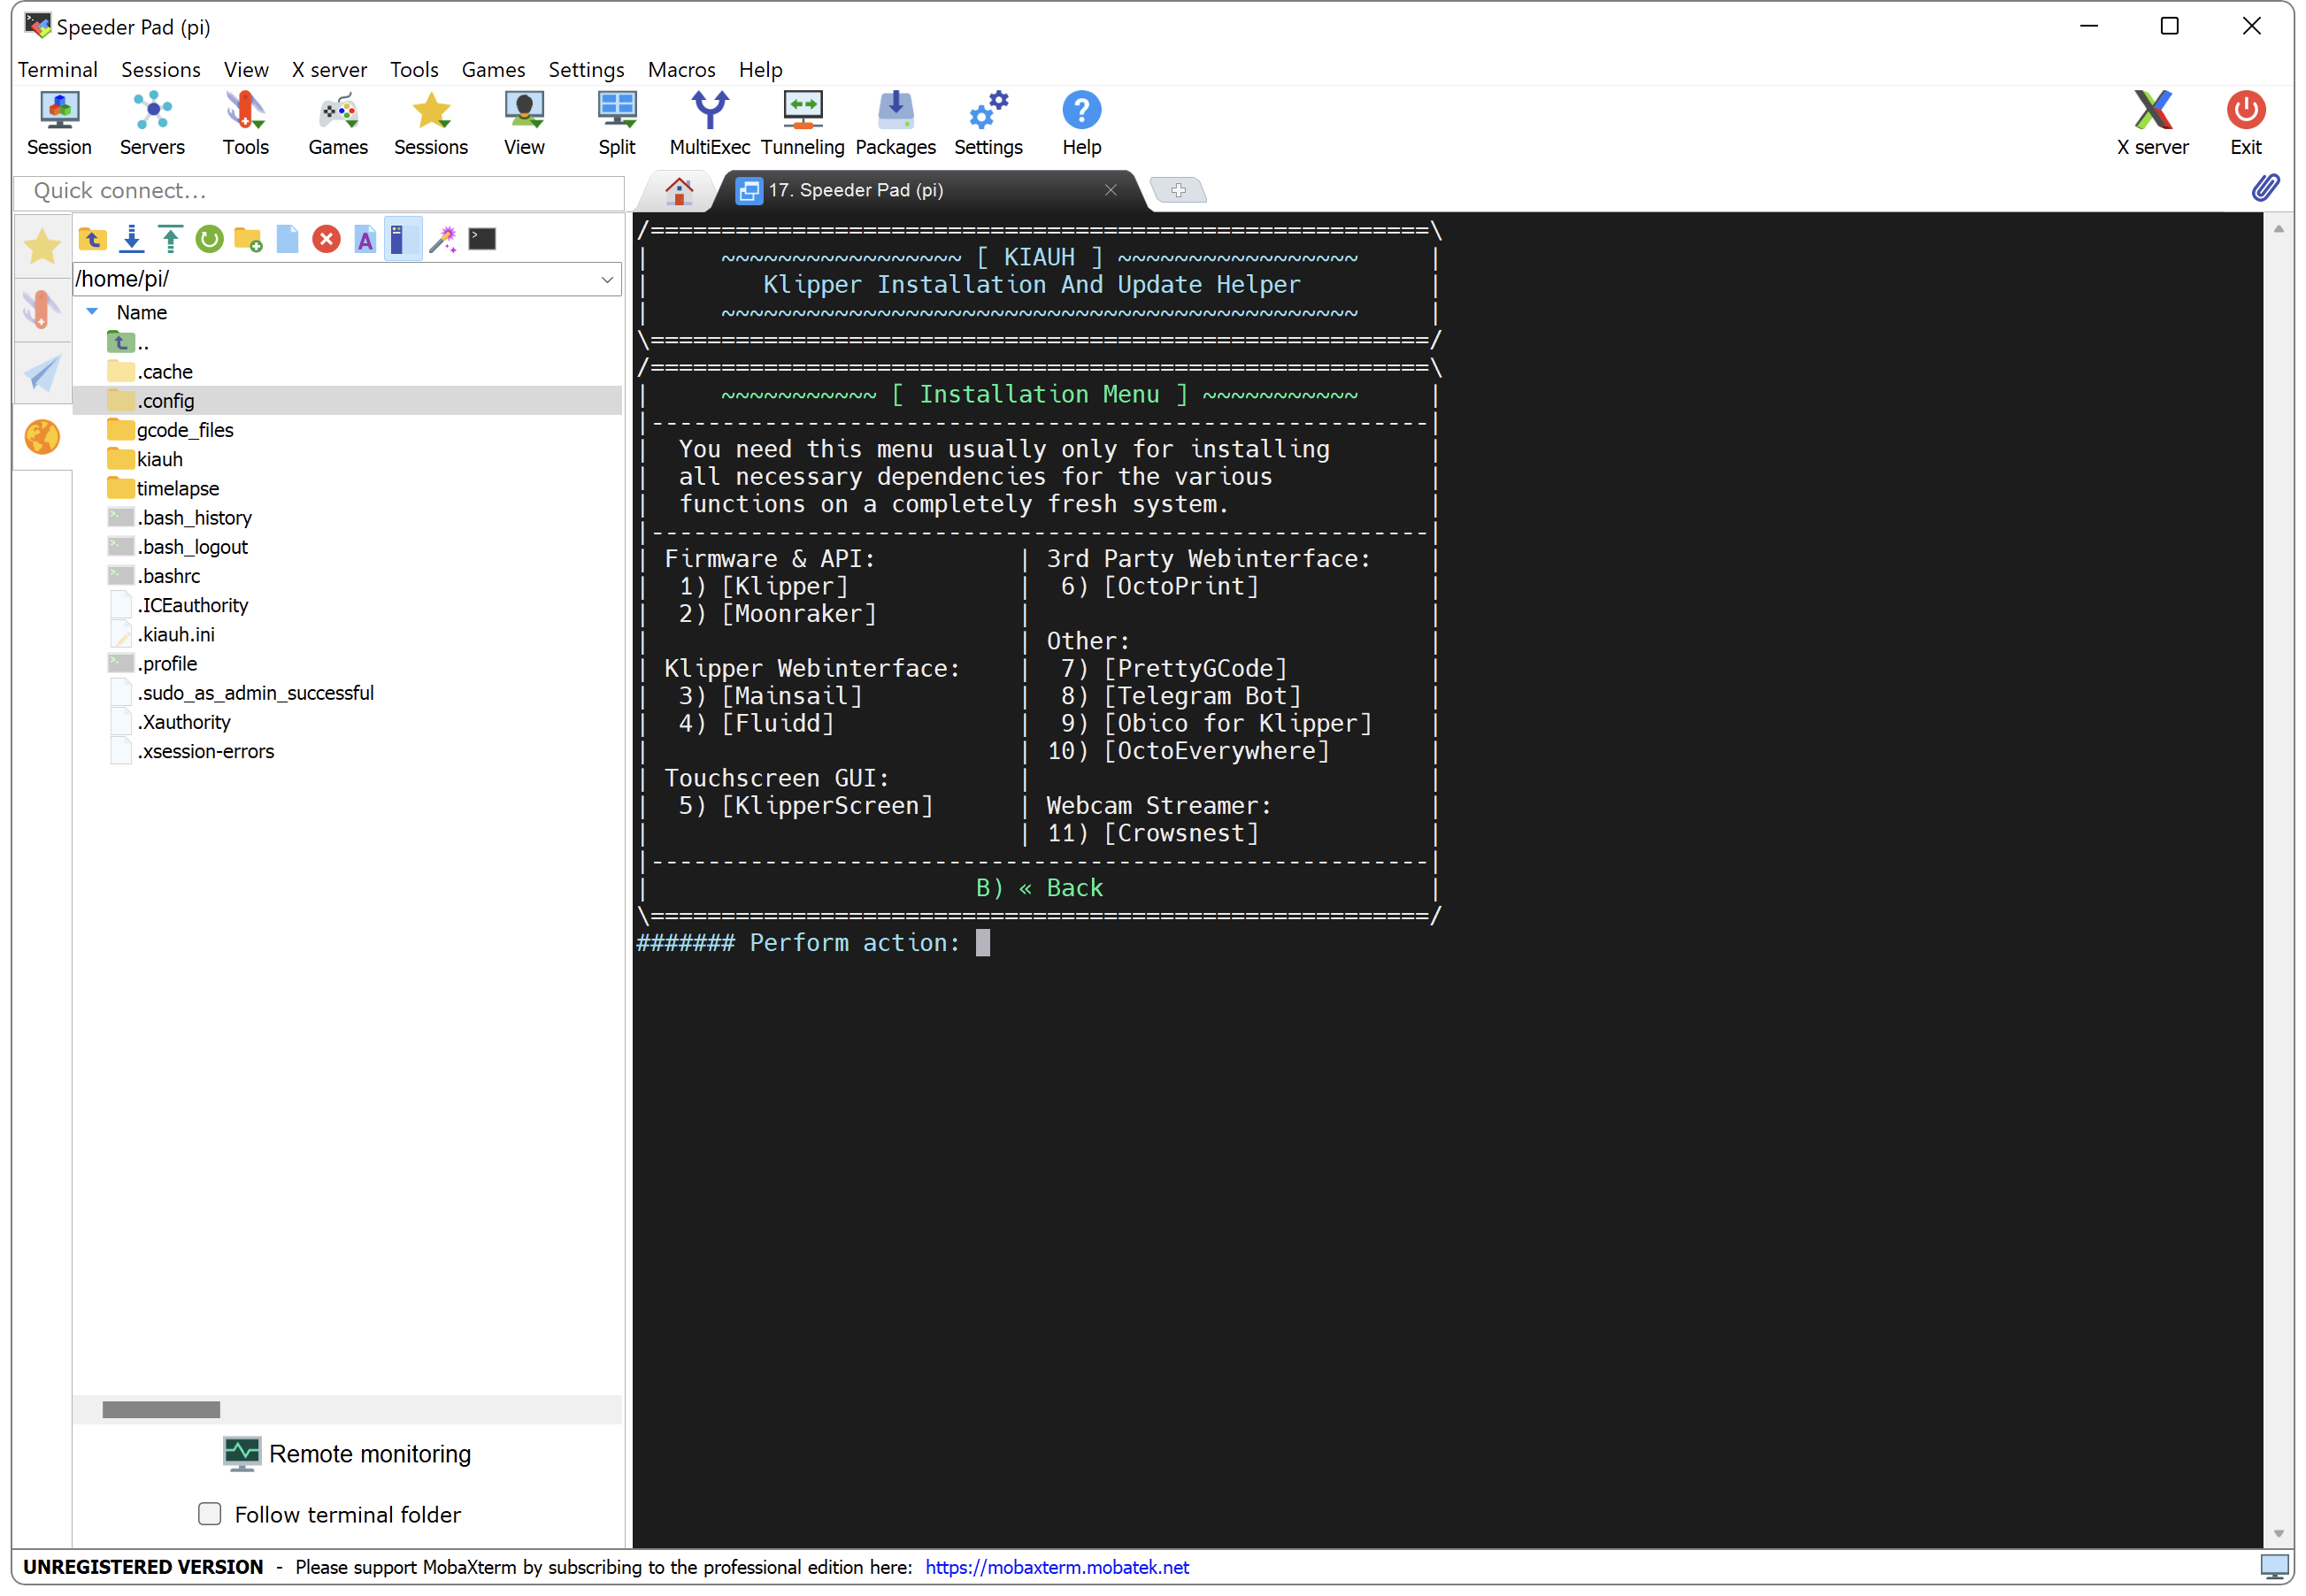
- Relaunch Kiauh by entering this command:
./kiauh/kiauh.sh - Enter in
1) [Install]menu by typing1thenEnter:
-
Install
1) [Klipper]by typing1thenEnter. -
Select
1) [Python 3.x] (recommended)by typing1thenEnter. -
Then enter the number of Klipper instances by typing
3andEnterto confirm:

- When asked to assign custom names, select NO by typing
NthenEnter:

-
When it's done, install
2) [Moonraker]by typing2thenEnterand confirm by typingY. -
Then enter the number of Moonraker instances by typing
3thenEnterand confirm by typingY:

- When it's done, you get your 3 instances with their IP addresses and ports, write them down they will be useful later:

-
Install
3) [Mainsail]by typing3thenEnterand select no by typingnwhen asked to add the recommended macros. -
When it's done, go back to main menu by typing
BthenEnter. -
Exit Kiauh by typing
QthenEnter. -
Enter the following commands (one at a time) to install KlipperScreen:
cd ~ && git clone https://github.com/Guilouz/KlipperScreen-Flsun-Speeder-Pad.git /home/pi/KlipperScreen./KlipperScreen/scripts/KlipperScreen-install.shNote: Installation may take several minutes.
-
When installer asks if you want to install KlipperScreen in standalone mode, select Yes by typing
Yand confirm withEnter. -
When installer asks to choose graphical backend, select Xserver by typing
Xand confirm withEnter. -
When installer asks to install NetworkManager for the network panel, select No by typing
Nand confirm withEnter. -
When it's done, enter this commands (one at a time):
cd ~ && ln -s ~/gcode_files/USB-Disk ~/printer_1_data/gcodes/USB-Diskln -s ~/gcode_files/USB-Disk ~/printer_2_data/gcodes/USB-Diskln -s ~/gcode_files/USB-Disk ~/printer_3_data/gcodes/USB-Disksudo reboot -
After reboot, go to your Mainsail Web interface then select the
Machinetab. -
Open the
moonraker.conffile and add the following lines at the end of the file:[update_manager KlipperScreen] type: git_repo path: ~/KlipperScreen origin: https://github.com/Guilouz/KlipperScreen-Flsun-Speeder-Pad.git virtualenv: ~/.KlipperScreen-env requirements: scripts/KlipperScreen-requirements.txt system_dependencies: scripts/system-dependencies.json managed_services: KlipperScreen -
Once done, click on
SAVE & RESTARTat the top right to save the file. -
You will get the latest versions of KlipperScreen which point to my repo (More info are available here: KlipperScreen-Flsun-Speeder-Pad).
-
Your Speeder Pad now running official builds with multiple instances.


• About
• Wiki Changelog
• KlipperScreen Changelog
• STL Files & Themes
• Restore OS Image File
• SSH Connection
• Change pi User Password
• Change Timezone
• Change Wi-Fi Location
• Update Dependencies
• Delete Flsun Builds
• Install Official Builds (1 instance)
• Install Official Builds (Multiple instances)
• V400 (MKS Nano V2.0 - STM32F103)
• V400 (Nano V2.1 Clone - GD32F303)
• V400 (BigTreeTech SKR 3.0)
• V400 (MKS Nano V3.0/V3.1)
• Super Racer (MKS Nano V3.0/V3.1)
• Super Racer (BigTreeTech SKR 1.3)
• Super Racer (BigTreeTech SKR 2.0)
• Fix Shutdown button in Mainsail
• Add Webcams Support
• Add Timelapse Support
• Add Exclude Objects Support
• Use Klipper TMC Autotune
• Use Neopixels Ring Light
• Use BigTreeTech KNOMI
• Calibrate your Printer
• Measure resonances with Raspberry Pi Pico
• Measure resonances with Fysetc Portable Input Shaper
• Start and End Gcode
• Enable Firmware Retraction
• Display Thumbnails in Mainsail and KlipperScreen
• Enable Root Access
• Change SSH Welcome Message and Cleanup Files
• Set a Static IP Address
• Change Boot Logo