Nextion Instructions
A detailed guide to the Nextion instruction set can be found here. These Nextion instructions are sent as MQTT messages to the HASPone to be sent to the display.
A common issue people encounter centers around the use of quotes in the Nextion instruction set. As a general rule, attributes which accept only numbers do not have quotes, and all other values must be enclosed in double quotes.
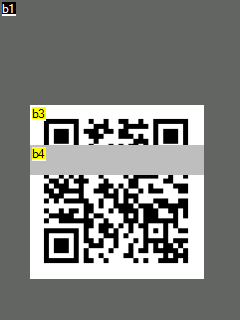
Objects are referenced by page number (not page name) and object ID (not object name) as shown in the Nextion editor. The Nextion notation for each object is of the form p[1].b[2] meaning page number 1, object ID 2. Confusingly, button object names will start at b0 but it might be object ID 2, or 7, etc. Other objects will be named similarly with different letters. For example, the first text field on the page will be automatically named t0. Ignore these names. They have nothing to do with the object ID, and all objects regardless of type are still referenced as p[<page number>].b[<object id>]

An object will have multiple attributes, some of which can be changed. For example, a button named p[1].b[2] may have a "txt" attribute which we'd refer to as p[1].b[2].txt. Not all attributes can be changed at runtime, the ones which can are shown in a green font in the Nextion editor (see the right pane of the image above.)
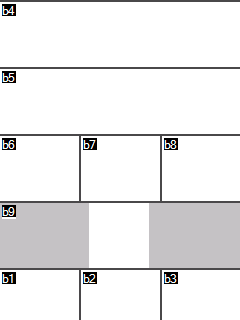
| Page 0 | Pages 1-3 | Pages 4-5 |
|---|---|---|
 |
 |
 |
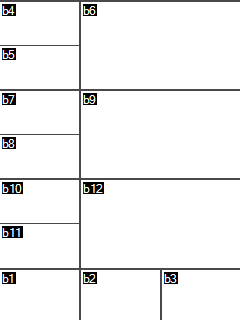
| Page 6 | Page 7 | Page 8 |
|---|---|---|
 |
 |
 |
| Page 9 | Page 10 | Page 11 |
|---|---|---|
 |
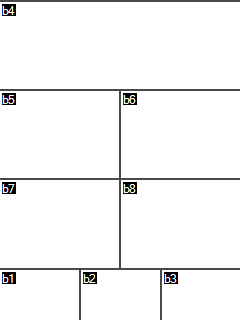 |
 |
One feature of the Nextion Editor is the Nextion Simulator, which allows the user to debug an HMI being edited. You've probably used this if you've worked on editing your own HMI file. You can run through the screens using your mouse to issue touch commands and feed it commands and see output in the text boxes provided.
The Nextion simulator allows you to run hardware-in-loop with your microcontroller. If you have a second USB UART kicking around (you could use a second WeMos or Arduino if you have one handy), connect the UART RX to pin D4 and the TX to pin D7 which are the pins you'd use to hook up a real panel. In the Nextion Simulator you can then select "User MCU Input", select your UARTs COM port, set the Baud to 115200, then click Start.
Now the Simulator will accept input from and send output to your flashed ESP8266 without having a Nextion on hand!
