This is a helper library for showing notifications on android devices in an easy way ;)
These instructions will help you to use this library inside your projects
This library was built with androidX, so you should migrate into androidX to use this library with out any problem. For migration you can use Migrating to AndroidX
Step 1. Add the JitPack repository to your build file, Add it in your root build.gradle at the end of repositories:
allprojects {
        repositories {
            ...
            maven { url 'https://jitpack.io' }
        }
    }
Step 2. Add the dependency
dependencies {
    implementation 'com.github.HamidrezaAmz:MagicalNotifier:1.1.6'
}| Variables | Description |
|---|---|
title |
Title of notification |
subTitle |
sub-title of notification |
smallIcon |
This use as small icon of notification, should be android res address |
largeIcon |
This use as large icon of notification (Avatar), should be andrid res address |
actionButtonOne |
First action button of notification |
actionButtonTwo |
Second action button of notification |
actionButtonThree |
Third action button of notification |
bigPictureUrl |
Big picture url, notification will show after downloading picture |
bigText |
Big text variable, you can set big text into it |
EnumNotificationType |
If you want to use default notification types you can use EnumNotificationType |
new MagicalNotifier.Builder(this)
                .setNotificationType(EnumNotificationType.SIMPLE)
                .setTitle(NOTIFICATION_TITLE)
                .setSubTitle(NOTIFICATION_SUB_TITLE)
.show();new MagicalNotifier.Builder(this)
.setNotificationType(EnumNotificationType.SIMPLE_WITH_AVATAR)
.setTitle(NOTIFICATION_TITLE)
.setSubTitle(NOTIFICATION_SUB_TITLE)
.setLargeIcon(R.drawable.ic_avatar)
.show();new MagicalNotifier.Builder(this)
.setNotificationType(EnumNotificationType.SIMPLE_WITH_AVATAR_AND_BUTTON)
.setTitle(NOTIFICATION_TITLE)
.setSubTitle(NOTIFICATION_SUB_TITLE)
.setLargeIcon(R.drawable.ic_avatar)
.setActionButtonOne(new ActionButton("Update", EnumNotificationAction.OPEN_URL, "https://www.google.com/"))
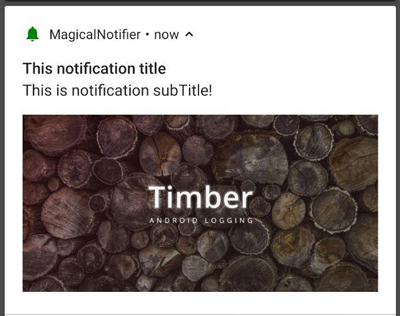
.show();new MagicalNotifier.Builder(this)
.setNotificationType(EnumNotificationType.BIG_PICTURE)
.setTitle(NOTIFICATION_TITLE)
.setSubTitle(NOTIFICATION_SUB_TITLE)
.setBigPictureUrl("https://www.androidhive.info/wp-content/uploads/2018/09/android-logging-using-timber-min.jpg")
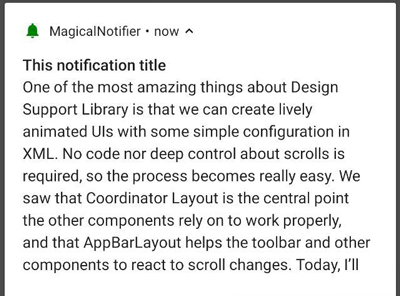
.show();new MagicalNotifier.Builder(this)
.setNotificationType(EnumNotificationType.BIG_TEXT)
.setTitle(NOTIFICATION_TITLE)
.setSubTitle(NOTIFICATION_SUB_TITLE)
.setBigText("One of the most amazing things about Design Support Library is that we can create lively animated UIs with some simple configuration in XML. No code nor deep control about scrolls is required, so the process becomes really easy. We saw that Coordinator Layout is the central point the other components rely on to work properly, and that AppBarLayout helps the toolbar and other components to react to scroll changes. Today, I’ll show you how to use Collapsing Toolbar Layout to create awesome effects in a very easy way.")
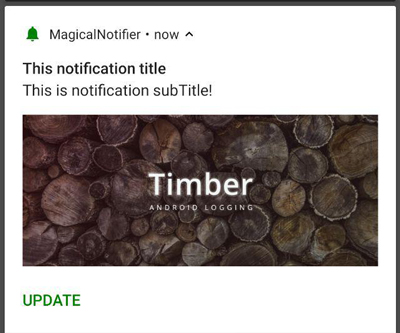
.show();I recommend to use this type of notification, you can set any property that you want, then notification check your inputs and decide what to show, so you can mix notification facilities with each other. For example look at this code snippet
new MagicalNotifier.Builder(this)
                .setTitle(NOTIFICATION_TITLE)
                .setSubTitle(NOTIFICATION_SUB_TITLE)
                .setBigPictureUrl("https://www.androidhive.info/wp-content/uploads/2018/09/android-logging-using-timber-min.jpg")
                .setActionButtonOne(new ActionButton("Update", EnumNotificationAction.OPEN_URL, "https://www.google.com/"))
.show();If you want to update title or subTitle of a notifiaction you should pass an id for your notification and use same MagicalNotifier object, check out this example
int notificationId = 8585;
MagicalNotifier magicalNotifier = new MagicalNotifier.Builder(this)
                .setNotificationId(notificationId)
                .setTitle(NOTIFICATION_TITLE)
                .setSubTitle(NOTIFICATION_SUB_TITLE)
                .show();
You can update notification
magicalNotifier.getBuilder().notifyTitle(notificationId, "Title updated");


