Heba El-Shimy
IBM Cloud Developer Advocate
@heba_el_shimy
Github: HebaNAS
This repository will contain several demos covering different functionality available on IBM Watson Studio. Each demo will be enclosed in a separate folder along with its resources such as datasets and tutorial written as README.md.
- Create a model and deploy it from a notebook in Watson Studio (02-CreditCardApprovalModel and 03-LoanApprovalModel).
- Create a model using Watson Studio's Automatic Modeler (04-CreditCardApprovalWMLModeler).
- Create a model using IBM SPSS Modeler (05-LoanApprovalSPSSModeler).
- Create an Interactive Dashboard and share it (06-CustomerDemographicsDashboard).
- Create an Image Classifier using Watson Visual Recognition (07-SignatureFraudDetectionVisualRecognition).
- Create a Deep Learning Model using Watson Studio's Neural Network Modeler, adjusting model's hyperparameters and run experiments (08-SignatureFraudDetectionNNModeler).
- You'll need an IBM Cloud Account Sign up for IBM Cloud here: https://ibm.biz/WatsonStudioTutorials
Note: Whenever prompted to choose a country/location/region, choose United States/US-South.
-
Create an Object Storage instance by choosing it from the catalog.

-
Don't change any settings and click Create.

-
Congratulations! You've created the first Cloud Service Instance.

-
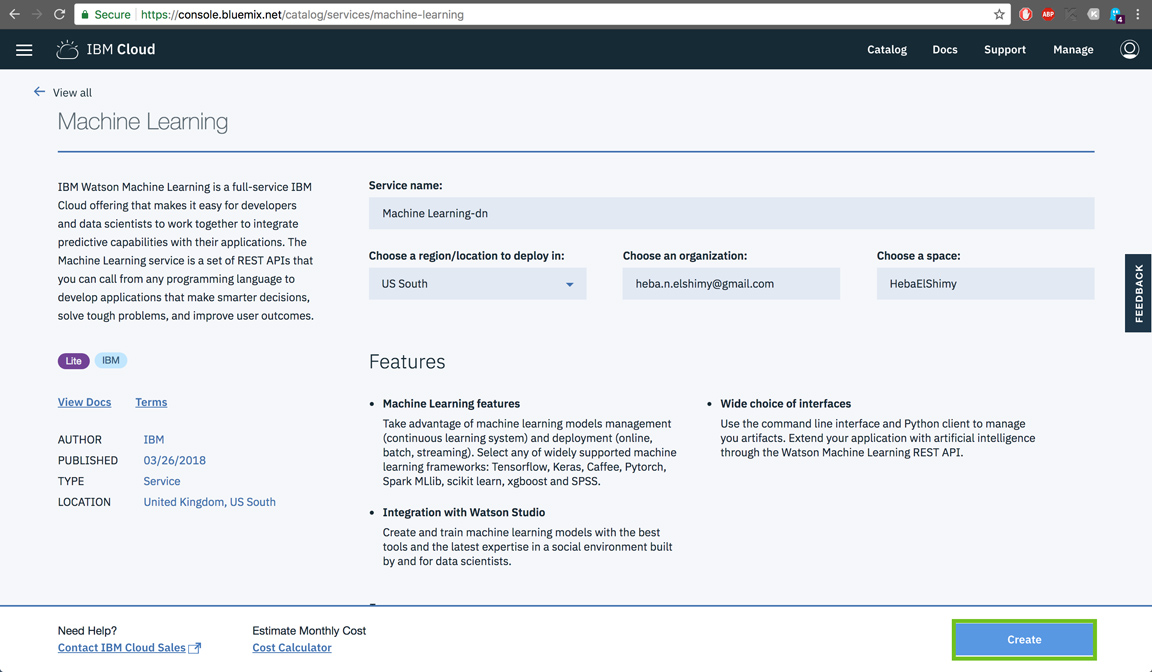
Create a Machine Learning instance by choosing it from the Watson category.

-
Don't change any settings and click Create.

-
Whenever you need to access your credentials for this service or any other, refer to the image below.

-
Create a Watson Studio instance by choosing it from Watson category.

-
Don't change any settings and click Create.

-
Click on Get Started to get redirected to Watson Studio Platform.

-
To start following the demos, you will need to create a New Project.

-
Select Complete to include all available tools into the project.

-
Type a name for your project and make sure the object storage is selected, then click Create.

-
Now let's start working on Data Science projects!