Library to use HW262 shield using on Arduino


- DS18B20 Programmable Resolution 1-Wire® Digital Thermometer
- LM35 Precision Centigrade Temperature Sensor
When using the LM35, you must remove jumper J1 from the board and place the sensor on J4 like this:

To use the DS18 sensor, make sure that jumper J1 is on the board and connected like this:


After to download and install the library into you IDE, write respective header on your project. Then create invoke shield object by HW262:
#include <hw262.h>

void setup(){
  HW262.begin();
 HW262.display.clear();
}

void loop(){
  // Write your code here
}Hw262 includes 4 independent leds named d4, d3, d2, d1. Follow snnipet show how to use it:
HW262.ledOn(D1_PIN);     // Turn on d1
HW262.ledOff(D1_PIN);    // Turn off d1
HW262.ledToggle(D3_PIN); // Toggle state of d3
Buzzer included on this board can be use it like this:
  HW262.buzzerOn();     // Turn on buzzer
  HW262.buzzerOff();    // Turn off buzzer
HW262.buzzerToggle(); // Turn state of buzzerThe R10 showed on early schematic is connected to A0, an analog pin from Arduino UNO. To get level voltage on A0 by potenciometer R10, use whatever those methods:
  unsigned char measure = HW262.readPinPot();    // Gate value from A0 (0-254)
unsigned char voltage = HW262.getVoltagePot(); // Get voltage on pin A0Hw262 includes 3 independent switches named s1, s2, s3.But... how to know it was pressed?
  bool switchState = IsPressed(S1_PIN);    // Read state of switch 1

  if(switchState)
  {
    Serial.println("Don't touch this! - MC Hammer");
  }
You can connect an Temperature sensor LM35 by dedicated socket showed on early sensors picture. Be careful with sensor connections in order to avoid damage it.
By default, hw262 library initialize the board with LM35's features. Here is an usage examples:
  unsigned char measure = HW262.tempSensor.readLm35Sensor(); // Read value on A4 (0-254)
  float temp = HW262.tempSensor.measureCentigrads()/100; // Read temperature (°C) with 2 decimals
Whether you omit /100 at last line and - for instance - real temperature is 23°C you will obtain 2300 as output.
After initializing the library, you can automatically utilize the sensor by adding this line to your code:
uint32_t temp = HW262.ds18.getTemp();Whether you need to customize features of the HW262.ds18 sensor, you can modify the sensor object using the inherited features fromDallasTemperature.h.(link to library docs)
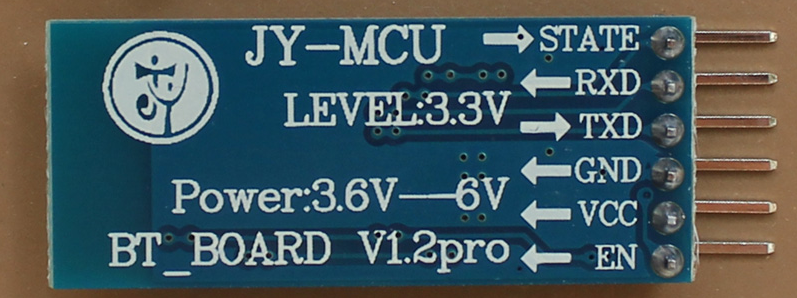
Here is a simple example to use bluetooth:
#include <hw262.h>

uint32_t wTime = 1500:

void setup()
{
  HW262.begin();
   HW262.display.clear();
}

void loop()
{
  String temp = String(HW262.ds18.getTemp())+"°C";
  Serial.println(temp);
  delay(wTime);
}
Notice that you only have to use the Serial library from the default Arduino libraries. The hw262 library sets the serial port using HW262.begin() before it is used. You can connect any sensor with a UART port like this:

🏷️: on hold
✅: completed
🚧: working on
✅ Bluetooth
✅ Temperature Sensor DS18
🚧 Infrared receiver
🚧 Voice module
🚧 APC220 wireless module
🚧 Enable write letters on display
🚧 Enable write float numbers
🚧 Custom display characters