This repository will not be updated. The repository will be kept available in read-only mode. Refer to https://developer.ibm.com/patterns/category/blockchain/ for other blockchain code patterns.
In this code pattern, we will create an Android app that tracks the user's physical steps with Blockchain capabalities using Kubernetes. The blockchain framework implementation used is Hyperledger Fabric. The users are registered to the Blockchain network anonymously and get rewarded with some "coins" for the steps they take. The users can trade their coins for some swag and these transactions are executed in the Blockchain network. This Android app was used in KubeCon Europe 2018.
This code pattern is for developers who wish to provide data anonymity and security to their users. Their users will be more confident to use their app if it gives them more control over their privacy. The developers can also extend the pattern to use the backend from different platforms.
When you have completed this code pattern, you will understand how to:
- Build a native Android app and use Google Fit for its steps data
- Deploy a Blockchain Network in Kubernetes
- Integrate the Android app with the Blockchain network

- The REST API is how the mobile app will interact with the blockchain network. The API will acknowledge the request and the mobile app will receive a unique key (random numbers and letters) which will be used to get the blockchain’s response later.
- The API just stores the request in a queue in RabbitMQ. The queue has 2 channels, which are for the user (Fitcoin org) and the seller (Shop org). The requests can either be:
- User enrollment
- Query data from the blockchain network (number of kubecoins of a user, products that are for sale, contracts, etc…)
- Invoke or perform a transaction (send steps to receive kubecoins, claim a product, complete a transaction, etc…)
- The execution workers use the Hyperledger Fabric Node.js SDK to perform above requests. They are listening to the requests from RabbitMQ.
- The workers send the requests to the Blockchain network and are then processed. The blockchain network uses NFS to persist the ledger and state database.
- The workers receive the response and then persists it in the redis database with the unique key from (# 1).
- The mobile app will continue to wait for the blockchain’s response results that should be in the redis database. This is where the unique key is used. The mobile app will query the redis database with the unique key.
- The Registration microservice is used to create a user or update the user’s steps. When the blockchain network enrolls a user, this service uses the user id assigned by the blockchain network.
- When a user is registered, it calls a Cloud Function to generate a random name and avatar for the user.
- The data from the microservices are persisted in a MongoDB. This is where the user’s data (steps, name and avatar) and mobile assets (booklet/articles in the first view of mobile app) are persisted.
- The mobile assets microservice is used to query the MongoDB to get dynamic data for the mobile app. The booklet in the first view uses the database for its content.
- The leaderboard microservice is used to get the standings of the users.
The first time the user opens the app, he gets anonymously assigned a unique user ID in the Blockchain network. They also get assigned a random avatar and name which will be stored in MongoDB. This data will be used for the Leaderboard. The 3 microservices (Leaderboard, Mobile Assets, Registration) outside of the blockchain network are Node.js web apps to get data from the MonoDB. As users walk around, their steps will be sent to the blockchain network and they will be rewarded with "Kubecoins". These coins can be used in the blockchain network to trade assets. The assets we have are some swag (stickers, bandanas, etc.) for the KubeCon conference. Users can see and claim them using the app. Once they claim a product, they'll get a Contract ID. They'll show the Contract ID to the seller (us) and we will complete and verify the transaction in our dashboard and give them the swag. The users can also check how they are doing with their steps compared to other people in the Standings view in the mobile app or in the Kubecoin dashboard.
- IBM Cloud Kubernetes Service: IBM Cloud Kubernetes Service manages highly available apps inside Docker containers and Kubernetes clusters on the IBM Cloud.
- Hyperledger Fabric v1.0: An implementation of blockchain technology that is intended as a foundation for developing blockchain applications or solutions for business.
- Compose for MongoDB: MongoDB with its powerful indexing and querying, aggregation and wide driver support, has become the go-to JSON data store for many startups and enterprises.
- Compose for RabbitMQ: RabbitMQ is a messaging broker that asynchronously communicates between your applications and databases, allowing you to keep seperation between your data and app layers.
- Compose for Redis: An open-source, in-memory data structure store, used as a database, cache and message broker.
- Cloud Functions: Execute code on demand in a highly scalable, serverless environment.
- Blockchain: Distributed database maintaining a continuously growing list of secured records or blocks.
- Container Orchestration: Automating the deployment, scaling and management of containerized applications.
- Serverless: An event-action platform that allows you to execute code in response to an event.
- Databases: Repository for storing and managing collections of data.
-
Create a Kubernetes cluster with IBM Cloud Kubernetes Service to deploy in cloud.
-
Install Node.js
-
Install Docker by following the instructions here for your preferrerd operating system. You would need docker if you want to build and use your own images.
-
Install Android Studio.
$ git clone https://github.com/IBM/android-kubernetes-blockchain
Create the following services:
- Get your Compose for RabbitMQ and Redis credentials from the main page of each respective service in your IBM Cloud Dashboard


- In
containers/blockchain/configuration/config.js, modify the values forrabbitmqandredis(starting on line 12) with your own credentials.
chaincodePath: 'bcfit',
rabbitmq: 'amqps://admin:QWERTY@portal-ssl334-23.bmix-dal-yp-abc10717-6f73-4f63-b039-a1d2485c1566.devadvo-us-ibm-com.composedb.com:38919/bmix-dal-yp-abc10717-6f73-4f63-b039-a1d2485c1566',
redisUrl: 'redis://admin:QWERTY@sl-us-south-1-portal.23.dblayer.com:38916',
- Configure the yaml files to use your MongoDB instance. Get the certificate and URL in your Compose for MongoDB dashboard.
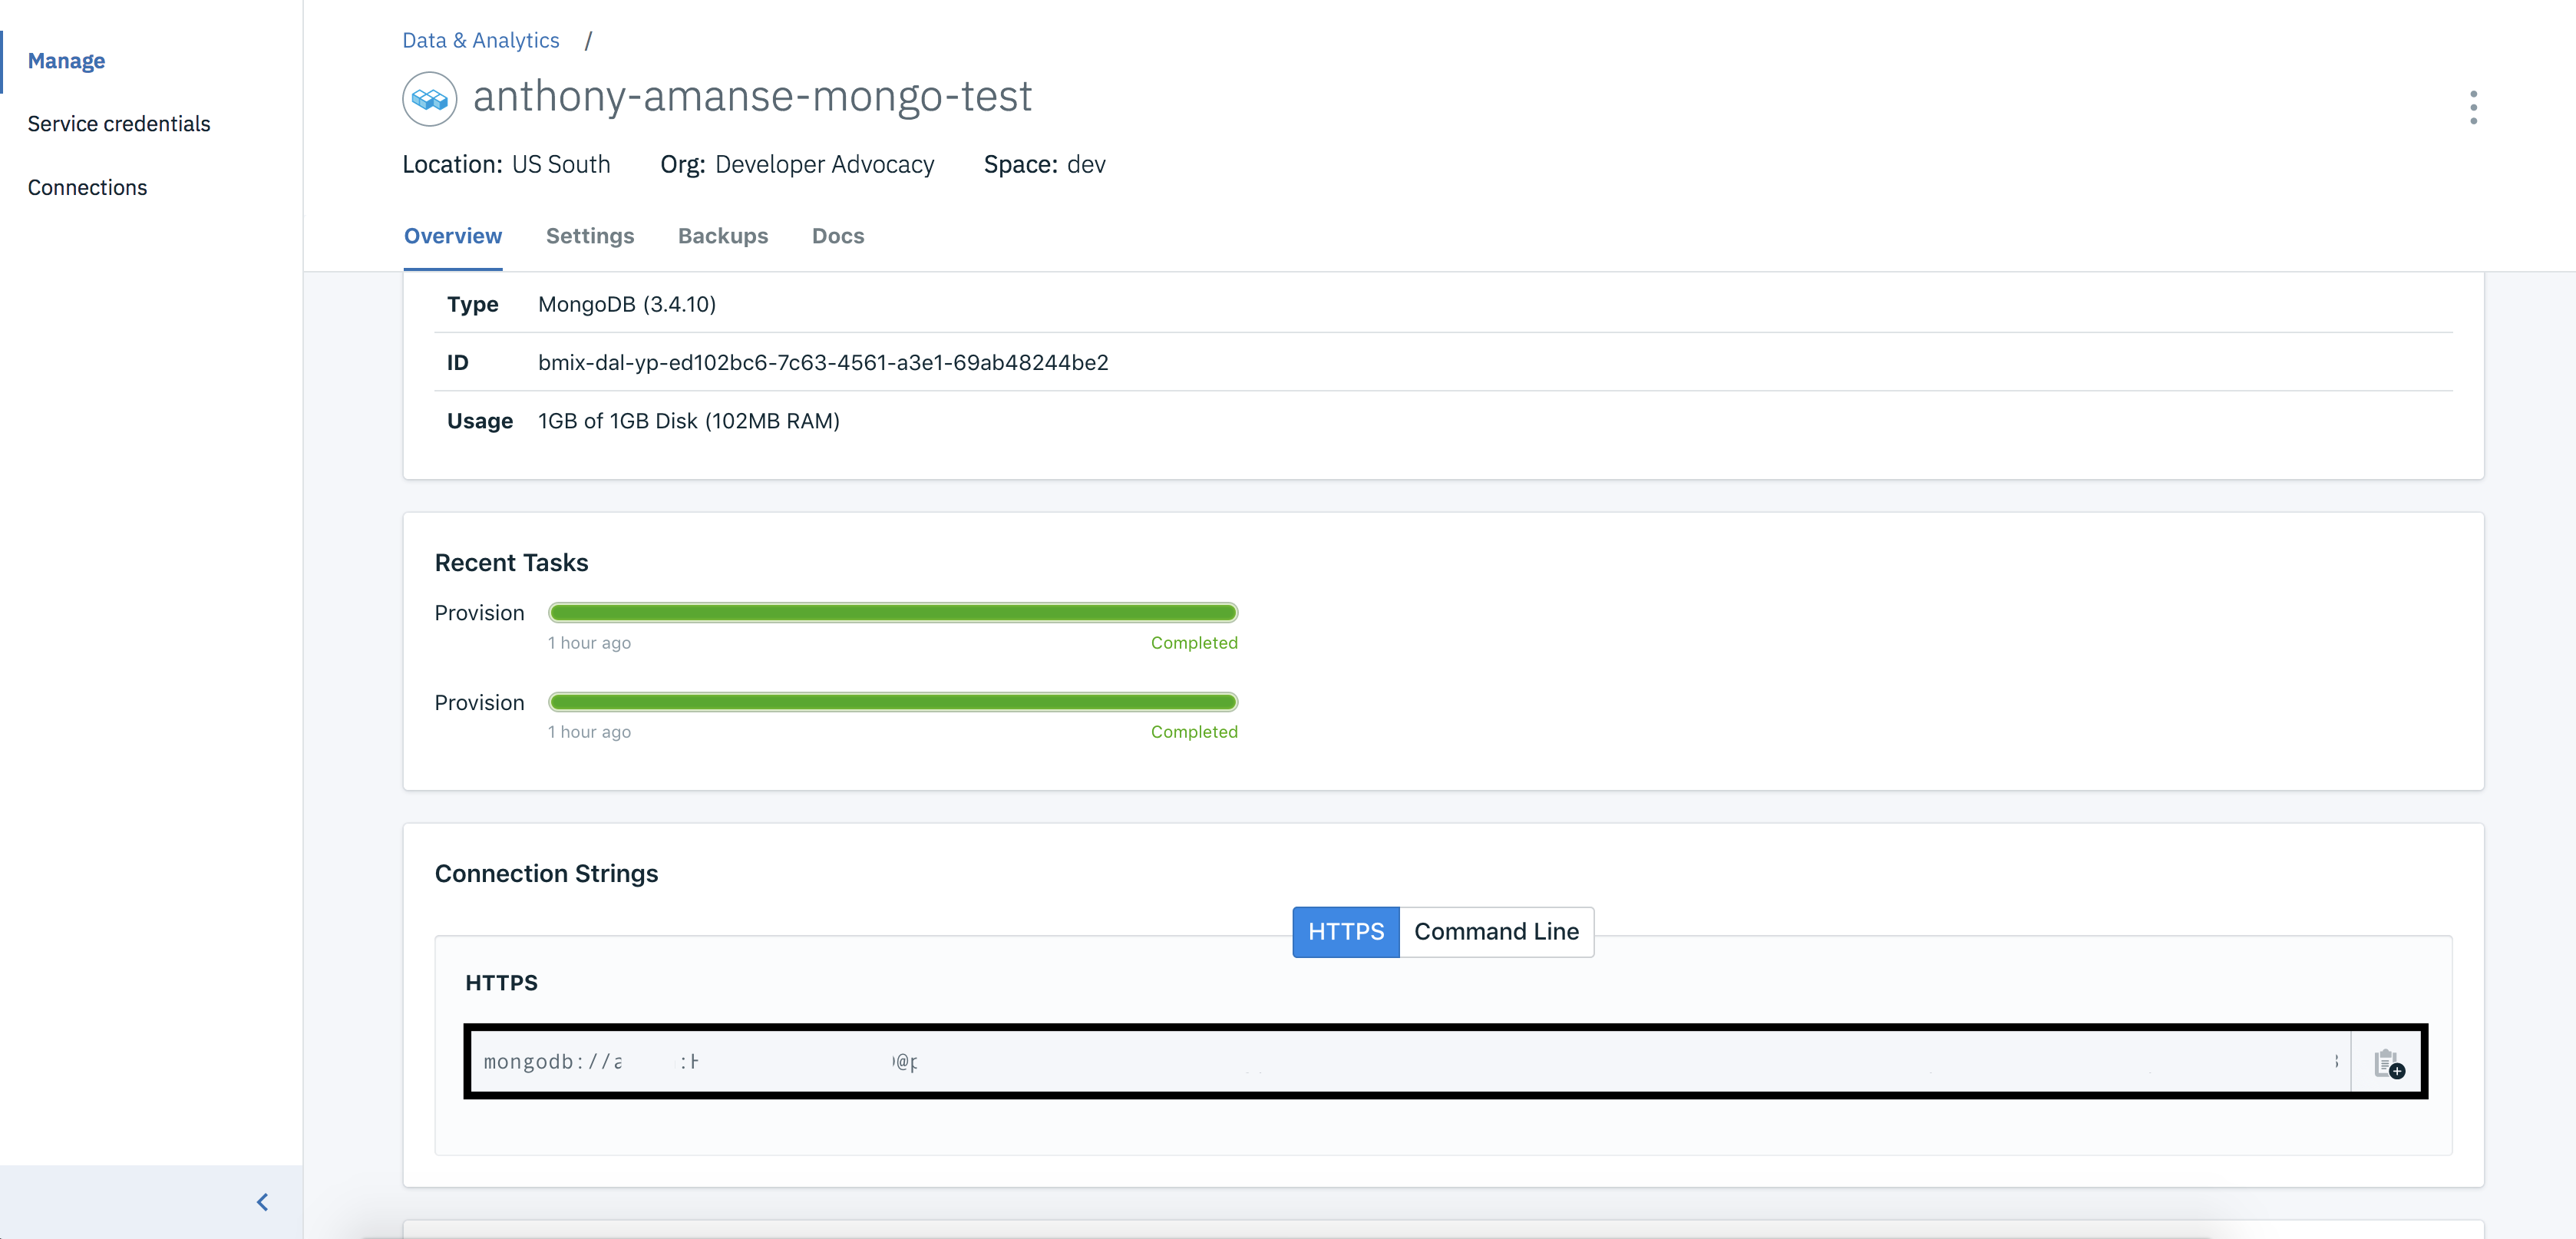
- Add the MongoDB URL in
leaderboard-api.yaml,mobile-assets.yaml,registeree-api.yamlin the environment variable ofMONGODB_URL
...
env:
  - name: MONGODB_URL
    value: 'mongodb://admin:QWERTY@sl-us-south-1-po...'
...
- Build and push the images in Docker Hub. The provided script will help you build and push the images quicker. This will also modify the Kubernetes yaml files to use your your newly built images.
you will need to be logged in using
docker login
$ ./buildAndPushImages.sh <YOUR_DOCKERHUB_USERNAME>
- Deploy the microservices in Kubernetes. The provided script will help you run
kubectlcommands. You will need to point yourkubectlCLI to your IKS.
$ ./deployNetwork.sh
- Test the blockchain network using its API client.
$ kubectl get svc rabbitclient-api

# NAME               CLUSTER-IP      EXTERNAL-IP     PORT(S)          AGE
# rabbitclient-api   172.21.40.201   169.61.17.000   3000:30726/TCP   14m
- Use the external IP of the service to do a curl request
$ export URL="http://169.61.17.000:3000"

$ curl -H "Content-Type: application/json" -X POST -d '{"type":"enroll","queue":"user_queue","params":{}}' "$URL/api/execute"

# you should get something like this
# {"status":"success","resultId":"7f90764a-8660-45f2-904d-47d8fb87a900"}
- Check the result using the
resultIdyou got above. You should get a user ID.
$ curl $URL/api/results/RESULT_ID

# RESULT_ID from the previous step is 7f90764a-8660-45f2-904d-47d8fb87a900
# you should get something like this
# {"status":"done","result":"{\"message\":\"success\",\"result\":{\"user\":\"50f97085-376d-40b3-8992-a9a2e6d18668\",\"txId\":\"2fcddeae9ddece5c818fed626601fba80711f3583944f8e53632972792954e09\"}}"}

# if you {"status":"pending"}
# try again or check if the resultId you copied is correct
- Well done! Your blockchain network is ready to be integrated with the Android app. Proceed to the next step to deploy more Microservices that are needed for the mobile app.
- You would want to expose the backend you deployed so that the Android app can communicate with it. With Kubernetes Ingress, this would allow you to expose these microservices. You can use the provided Ingress Subdomain that came with the IBM Cloud Kubernetes Service.
$ bx cs cluster-get <Your cluster name here>

# You should look for these values
# ..
# Ingress Subdomain:	anthony-blockchain.us-south.containers.mybluemix.net
# Ingress Secret:		anthony-blockchain
# ..
- Modify
ingress-prod.yamlto use the provided subdomain you have
...
spec:
  tls:
  - hosts:
    - <Your-ingress-SUBDOMAIN-here>
    secretName: <Your-ingress-SECRET-here>
  backend:
    serviceName: mobile-assets
    servicePort: 80
  rules:
  - host: <Your-ingress-SUBDOMAIN-here>
...
- Apply the Kubernetes Ingress resource
$ kubectl apply -f ingress-prod.yaml
- Open the
androidfolder in the Android Studio IDE. The project is configured to do REST calls to the Kubernetes backend. You would need to change theBACKEND_URLvariables to your own Ingress Subdomain in these Java files:- ContractListAdapter
- LeaderboardsFragment
- MainActivity
- QuantitySelection
- ShopFragment
- TechFragment
- UserFragment

The line would look something like:
...
String BACKEND_URL = "https://anthony-blockchain.us-south.containers.mybluemix.net";
...- You could test the android app either in an emulator in Android Studio or on a real device. To test the tracking of steps, you would need a real device and an OAuth 2.0 Client ID. This authorizes your app to use the Google Fit API.

- Once you open the app, you are automatically enrolled in the Blockchain network. If you go to the Shop view, you'll also notice that it doesn't have any Swags available for trade. You would need to register a seller and add some products.
$ export URL="https://<Your-ingress-subdomain>"
$ curl -H "Content-Type: application/json" -X POST -d '{"type":"enroll","queue":"seller_queue","params":{}}' "$URL/api/execute"

# you will get something in the format of
# {"status":"success","resultId":"dfb6ef43-4eb2-467d-8c05-93ed5d0b517f"}
# using the result ID you got above, do:

$ curl "$URL/api/results/dfb6ef43-4eb2-467d-8c05-93ed5d0b517f"

# You will get:
# { "status":"done",
#   "result": "{\"message\":\"success\",\"result\":{\"user\":\"351a9993-c204-4f75-a38c-ccaba49929bc\",\"txId\":\"15698a529b7c1bc98725cb61177c621bac9de03347567c405bd68e1ff96b120a\"}}"}

# The ID of the seller would be 351a9993-c204-4f75-a38c-ccaba49929bc
- And now, add some products using the seller ID
$ export SELLER_ID=<seller ID you got from step above>

$ curl -H "Content-Type: application/json" -X POST -d '{"type":"invoke","queue":"seller_queue","params":{"userId": "'"$SELLER_ID"'", "fcn":"createProduct","args":["'"$SELLER_ID"'","eye-sticker","Eye sticker","100","1"]}}' "$URL/api/execute"
$ curl -H "Content-Type: application/json" -X POST -d '{"type":"invoke","queue":"seller_queue","params":{"userId": "'"$SELLER_ID"'", "fcn":"createProduct","args":["'"$SELLER_ID"'","bee-sticker","Bee sticker","100","1"]}}' "$URL/api/execute"
$ curl -H "Content-Type: application/json" -X POST -d '{"type":"invoke","queue":"seller_queue","params":{"userId": "'"$SELLER_ID"'", "fcn":"createProduct","args":["'"$SELLER_ID"'","em-sticker","M sticker","100","1"]}}' "$URL/api/execute"
Learn more about the chaincode functions for this project here
- The app is configured to reward users with 1 Kubecoin for every 100 steps they take.
- Hyperledger Fabric Node SDK: Node SDK to interact with the Hyperledger Fabric network.
- Google Fit: Give your app the capability to get and update fitness information.
- iOS version: A native iOS version of the app ineracting with the Hyperledger Fabric network.
- Hyperledger Fabric Tutorials Want to learn more about Hyperledger Fabric? Check out some tutorials.
- Kubernetes on IBM Cloud: Deploy and manage your containers in Kubernetes on IBM Cloud
This code pattern is licensed under the Apache Software License, Version 2. Separate third party code objects invoked within this code pattern are licensed by their respective providers pursuant to their own separate licenses. Contributions are subject to the Developer Certificate of Origin, Version 1.1 (DCO) and the Apache Software License, Version 2.