![]()
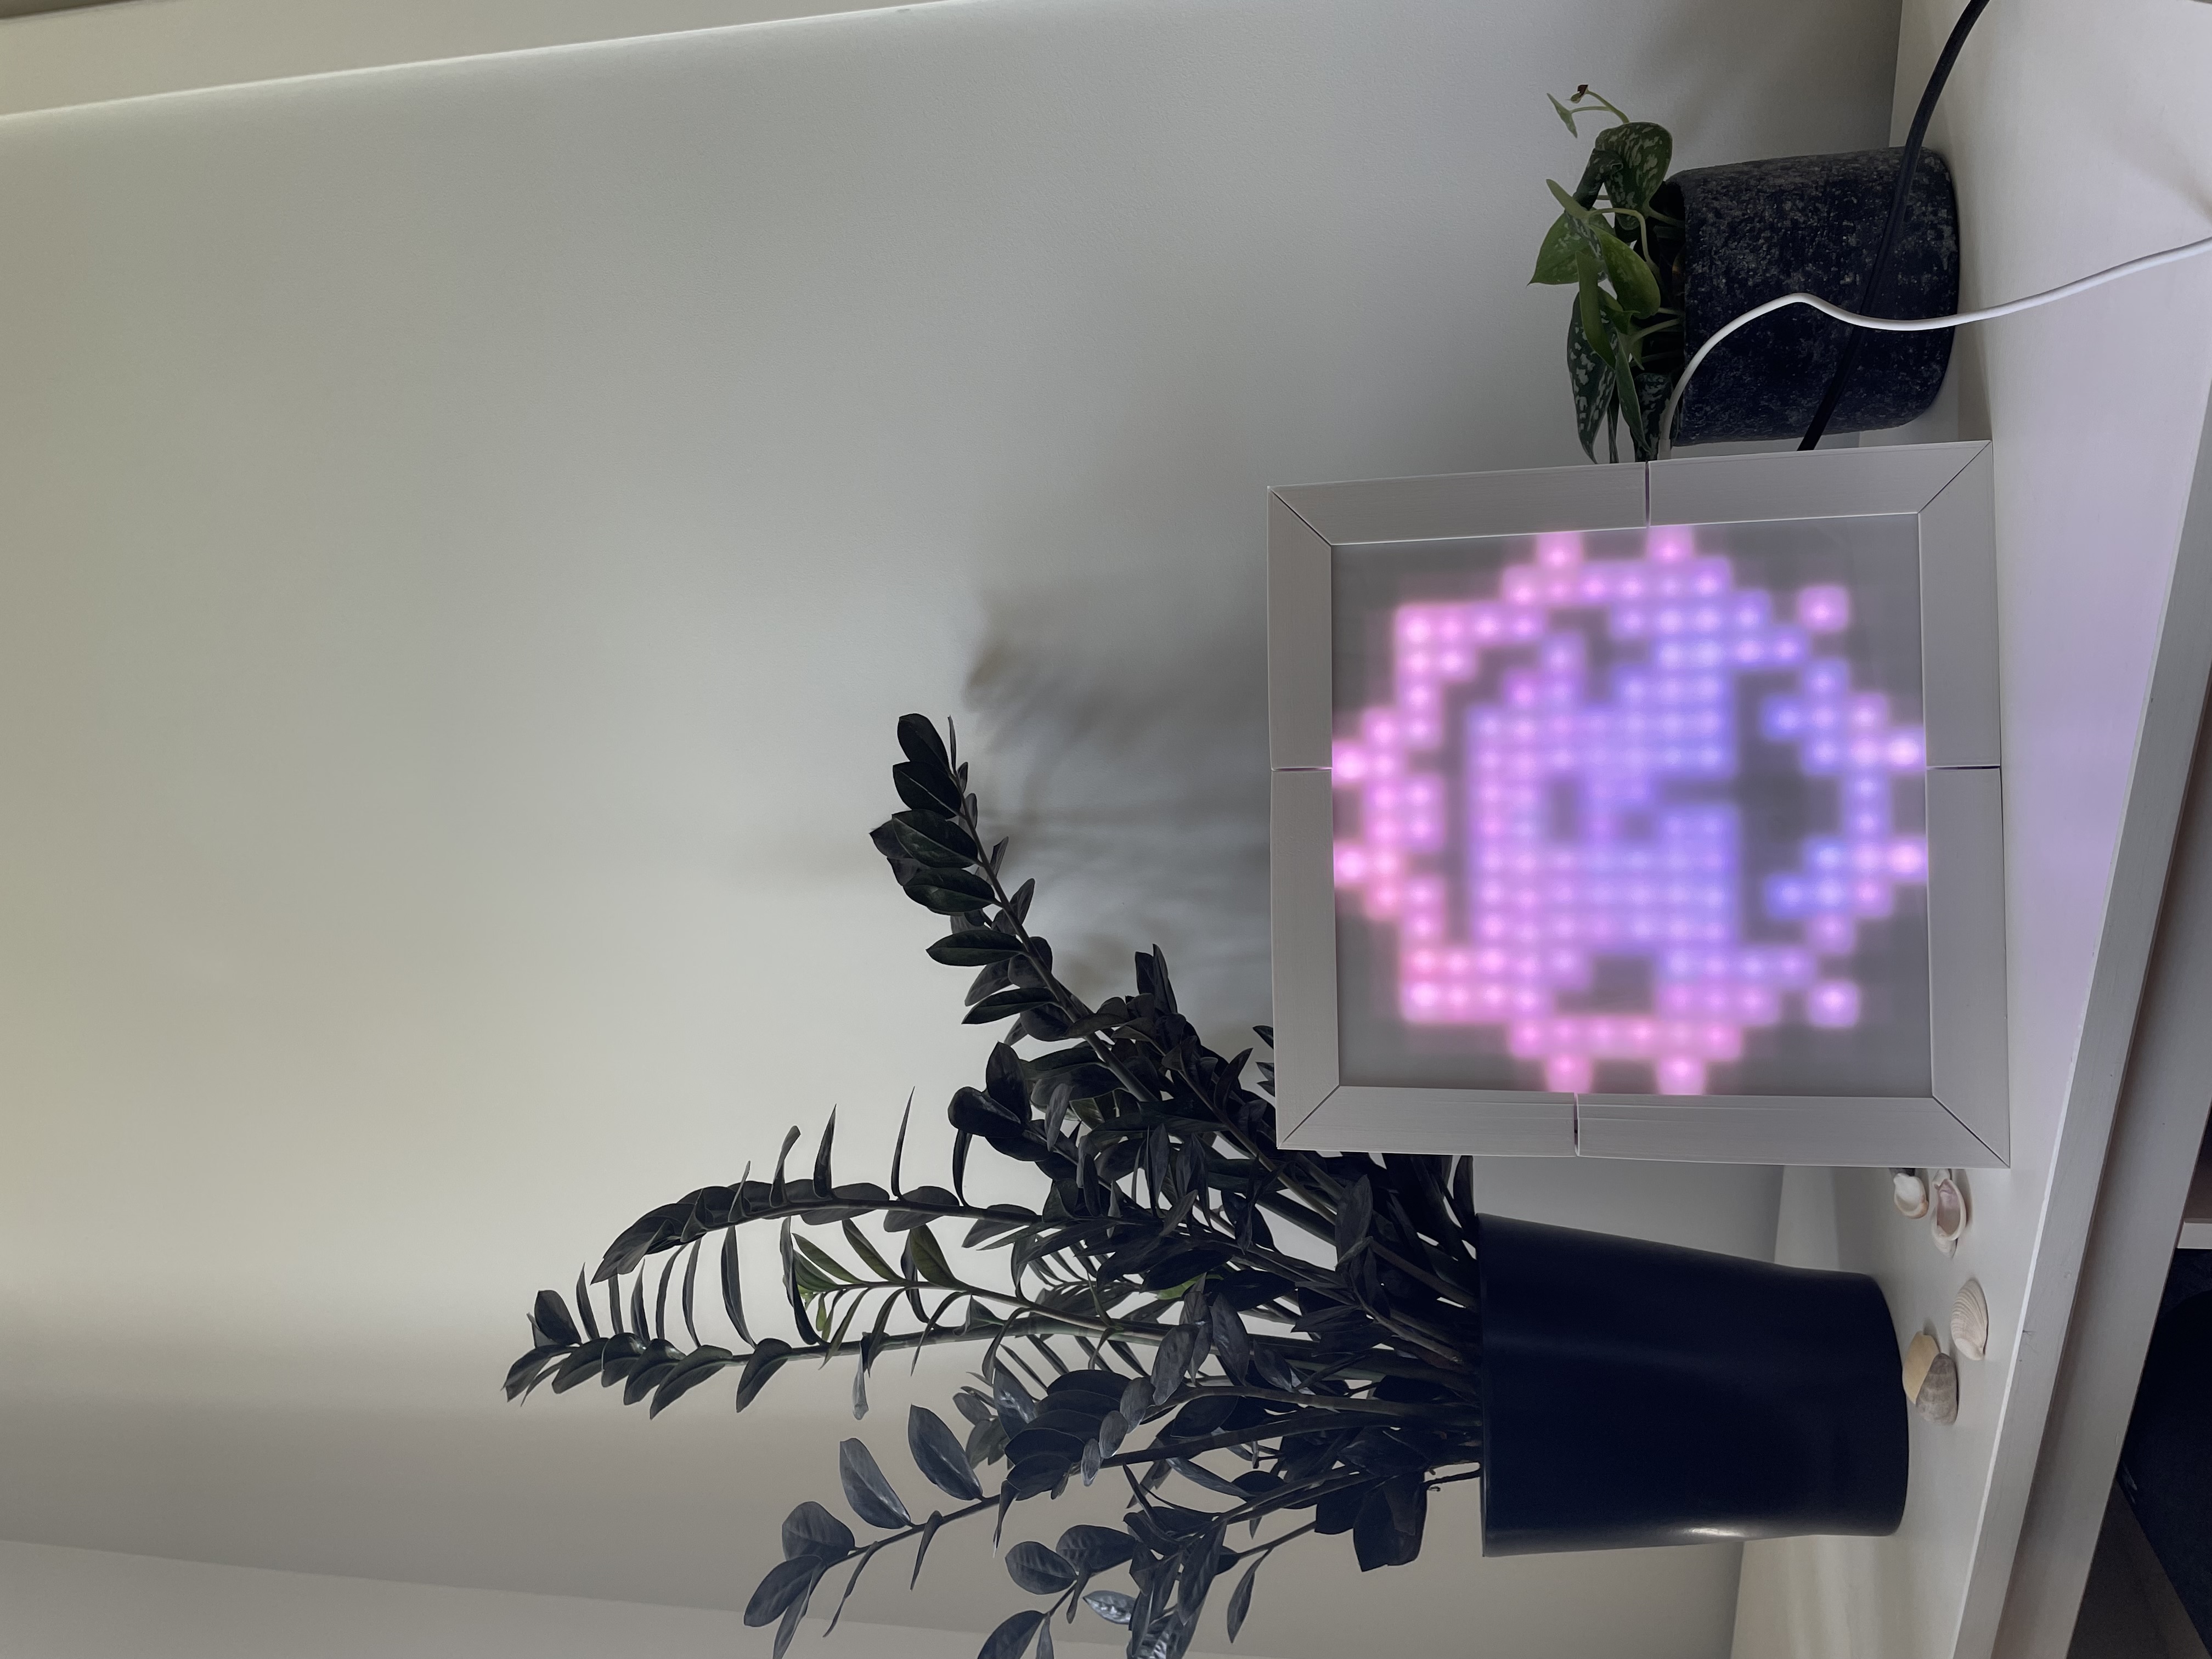
The Z LED Frame project brings digital art to life with the power of the Zephyr RTOS. It's a DIY project that allows you to create your own customizable LED frame, capable of displaying images, animations, and potentially even streaming your own downconverted video (not yet there 😊).
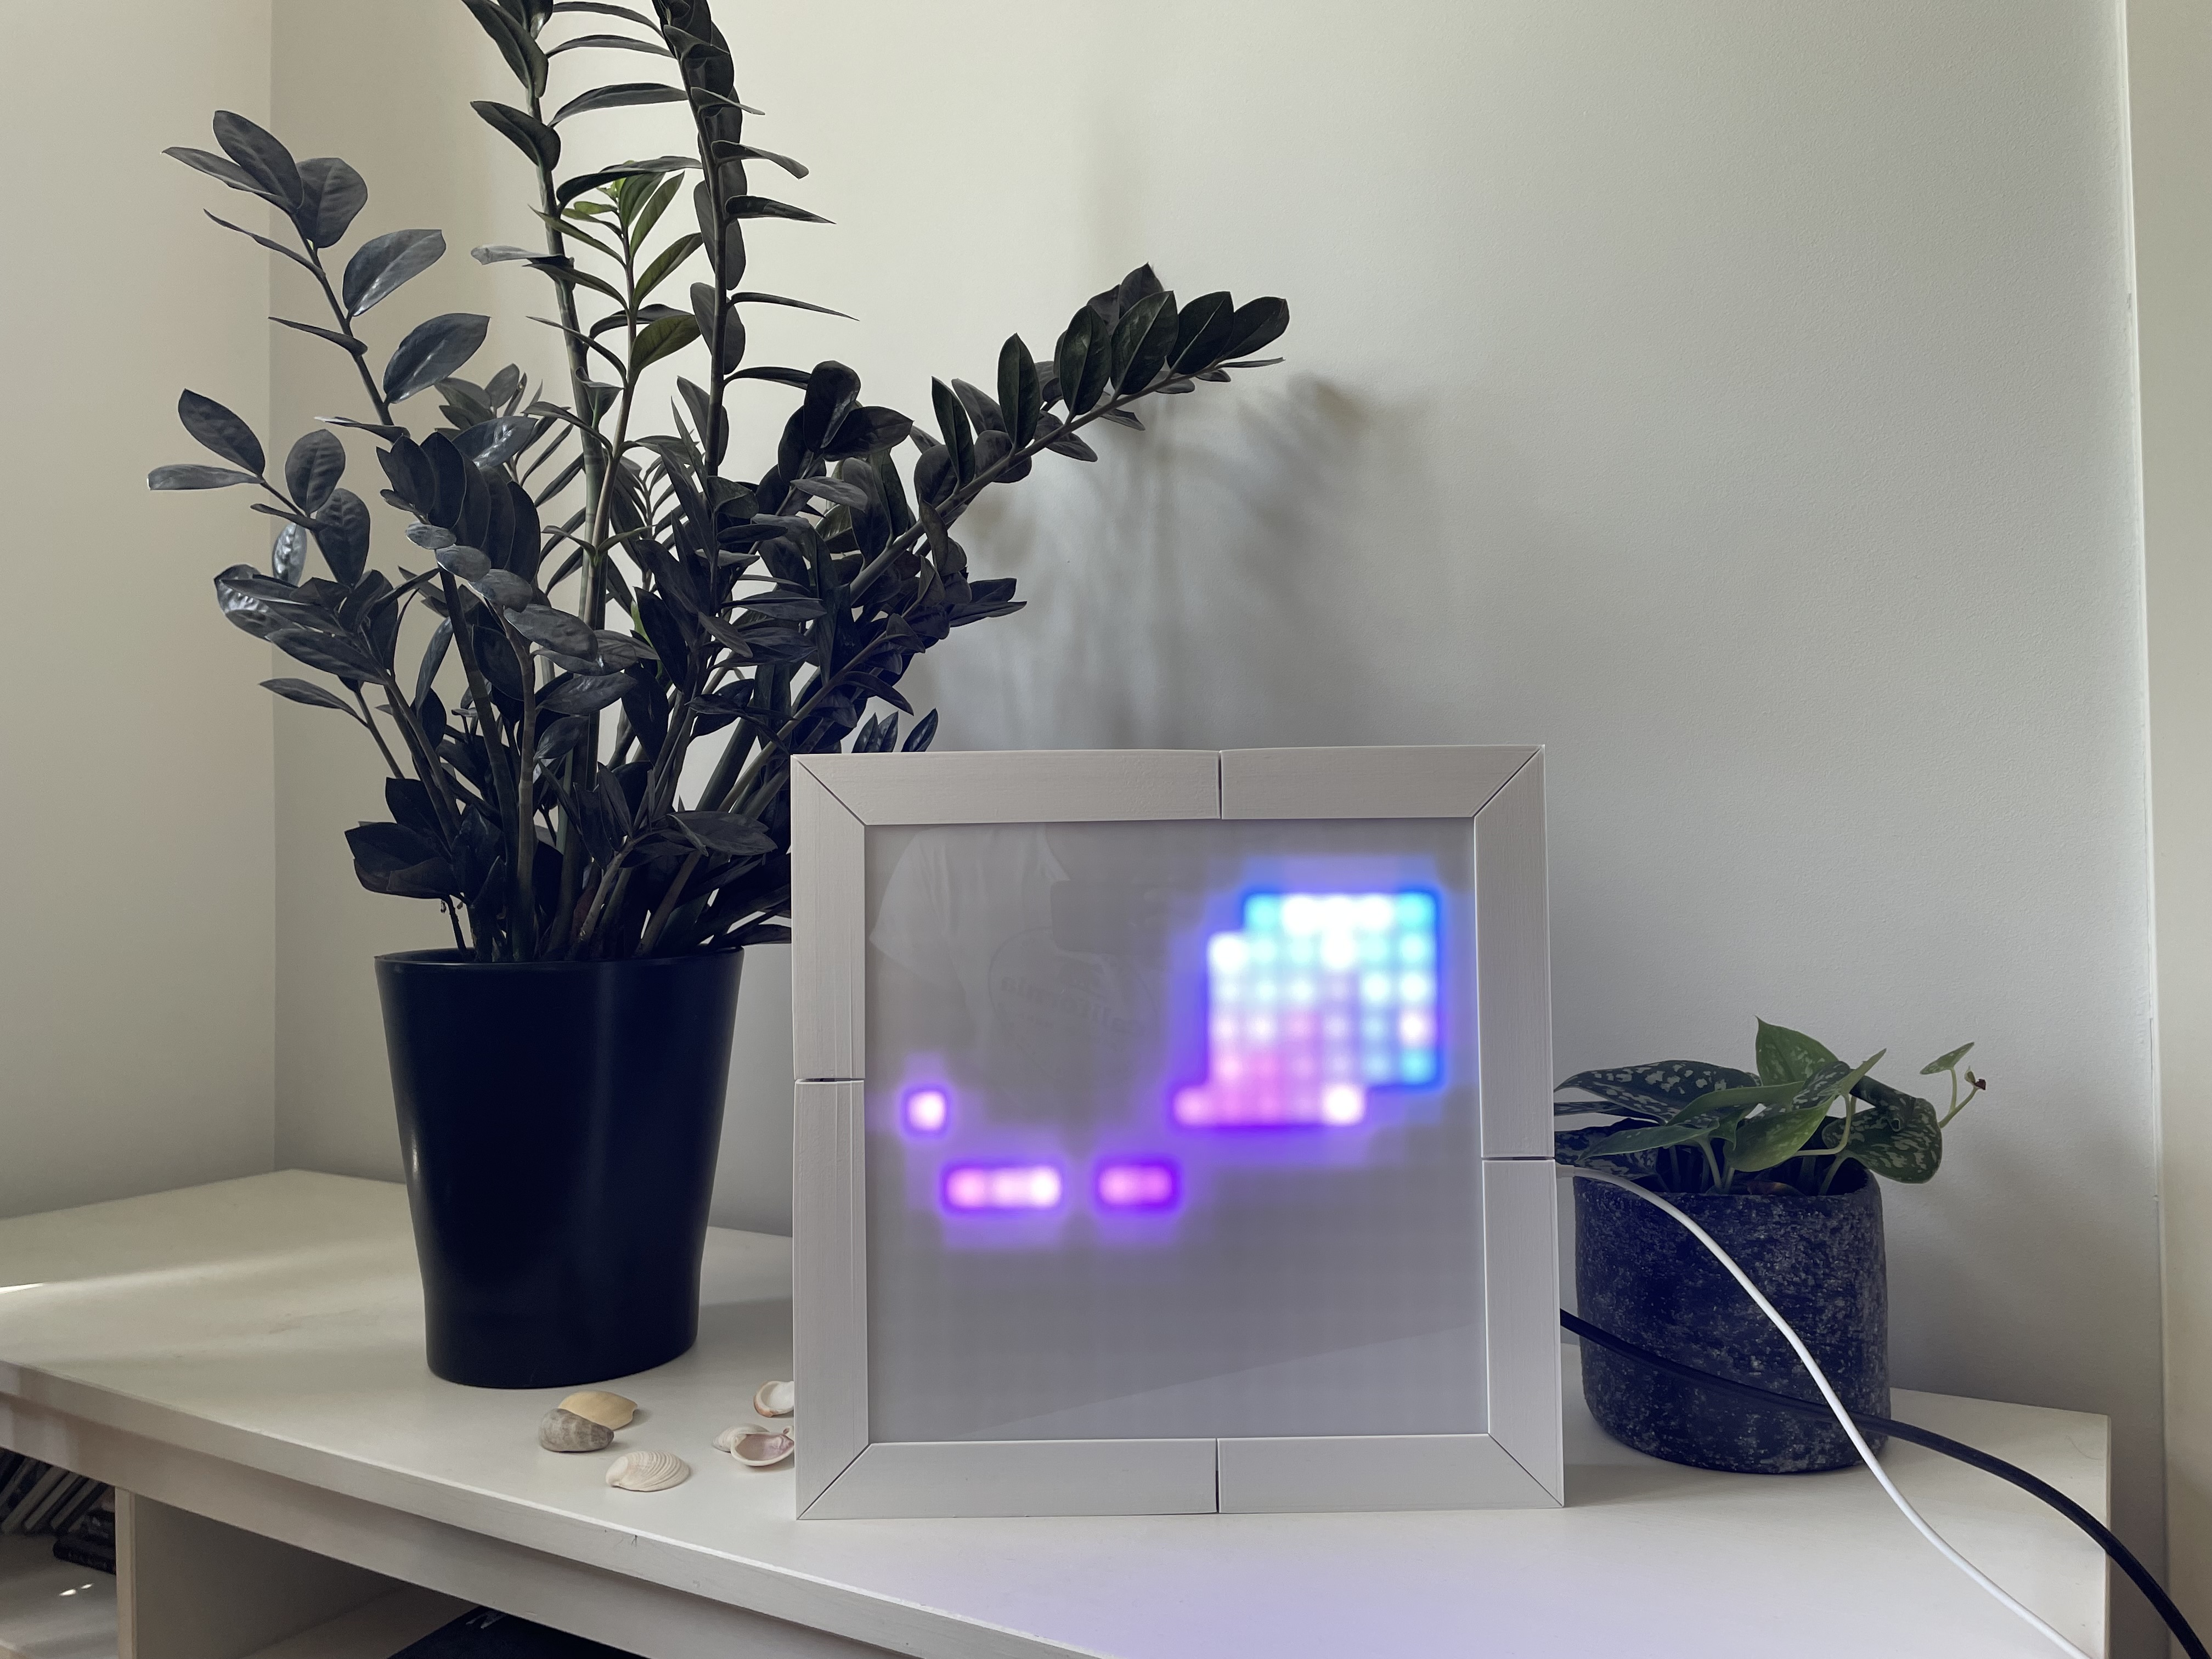
- Customizable LED matrix display (NEO-pixels style)
- Basic HTTP server for image processing and display control
- Extensibility in mind!
- DIY Hardware guide included!
Designed with DIY spirit in mind - composable and IKEA style HW - print them yourself, assemble them yourself. Zephyr installed and configured according to the official guide
Bill of Materials:
- ESP32 Wroom or compatible dev board
- WS2812B LED strip - 16x16 - matrix - around 5 meters of the strip
- 16A @ 5V(actually 7-8A) AC/DC PSU should get you covered
- Power switch, cables and jumpers for ESP32 and Power connection
- Plexiglass 2mm 80% opaqueness 30x30cm
- Filament - YMMV - half of the 1kg spool? I used whole for prototyping
Important: Remember to call the shell initialization from Zephyr before calling all west commands, like: source /path/to/your_zephyr_project_directory/.venv/bin/activate
Right now the project supports Zephyr 3.5 (update to Zephyr 3.6 coming soon)
- Clone the repository:
git clone https://github.com/JDuchniewicz/zled-frame
- Build the software:
west build -p auto -b esp32_devkitc_wroom zled_frame
- Flash the code to ESP32:
west flash
- 3D print all components from PETG or something durable
- Assemble according to the guide
- Insert the Power switch to the Frame Right Edge Lower
- Insert the ESP32 in the holder
- Solder the wires and the power switch and connect them to the PSU and ESP32
- Power up your Z LED Frame.
- Run the ESP32 shell:
west espressif monitor
- Connect to the Wi-Fi of your choice (in the ESP32 shell):
wifi connect "network_name" password - Connect to the same network as the Frame via your preferred device.
- Use the web interface to upload and display your images.
- Marvel at your artwork
For detailed usage instructions, refer to the blog series about it.
Any contributions you make are greatly appreciated. I would most appreciate PRs with concrete Feature Requests or fixes.
This project is licensed under the GPL-3.0 license - see the LICENSE file for details.
Jakub Duchniewicz - j.duchniewicz@gmail.com
ZDS 2024 Presentation Link: TODO fill :)