![]()
Disclaimer: this is an early project. It's subject to change and have bugs
Live demo | Clone to get started
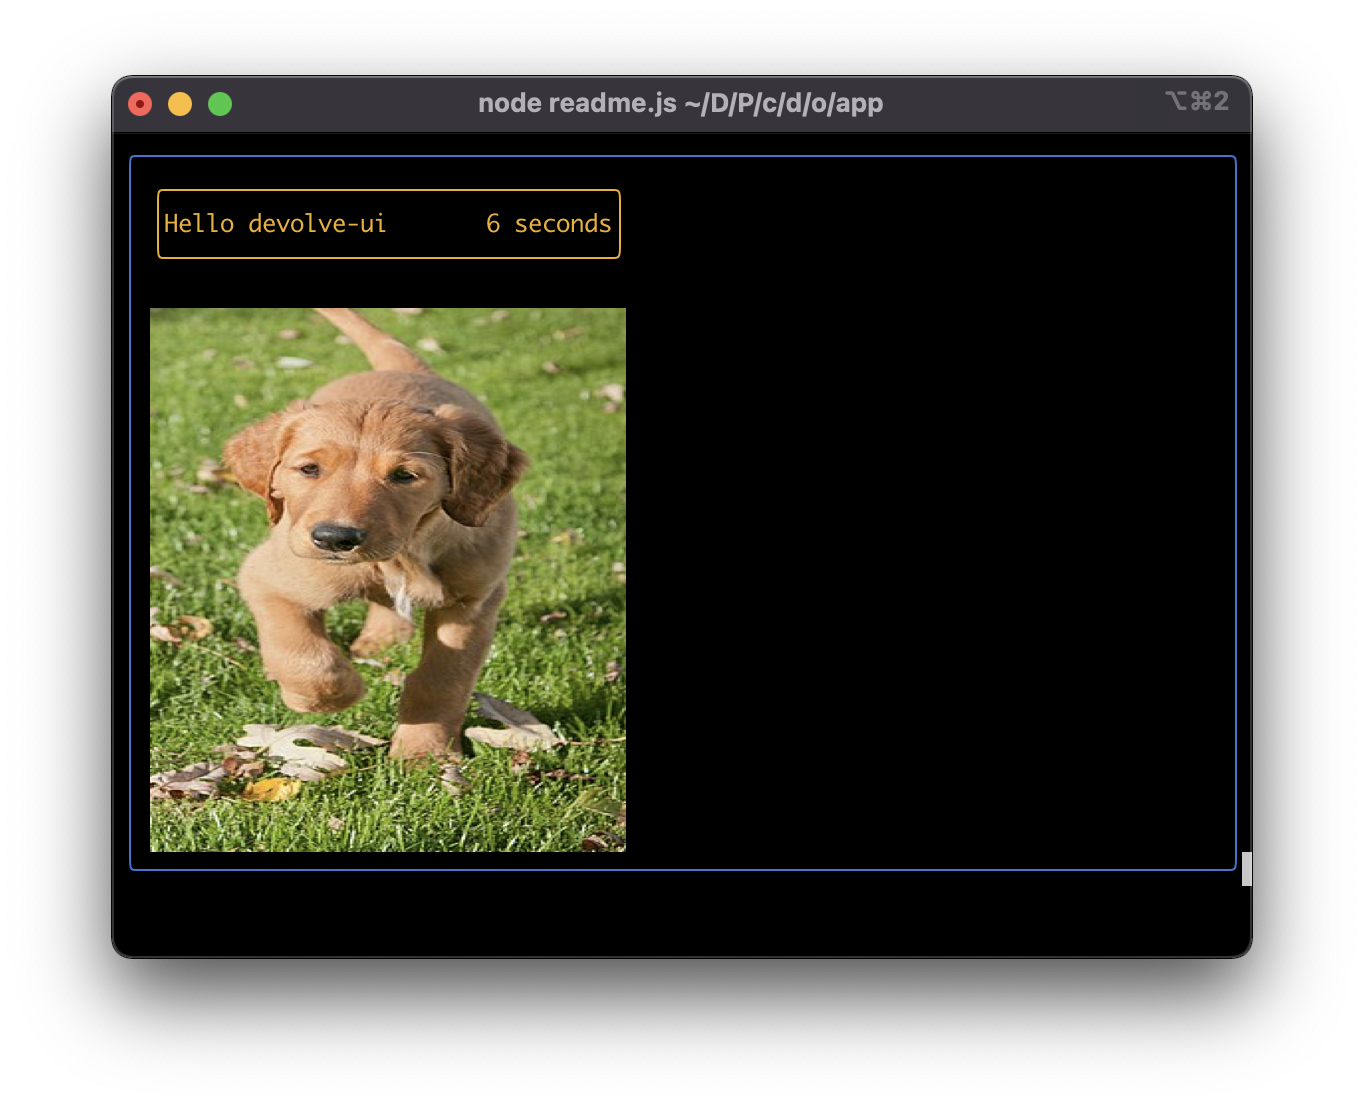
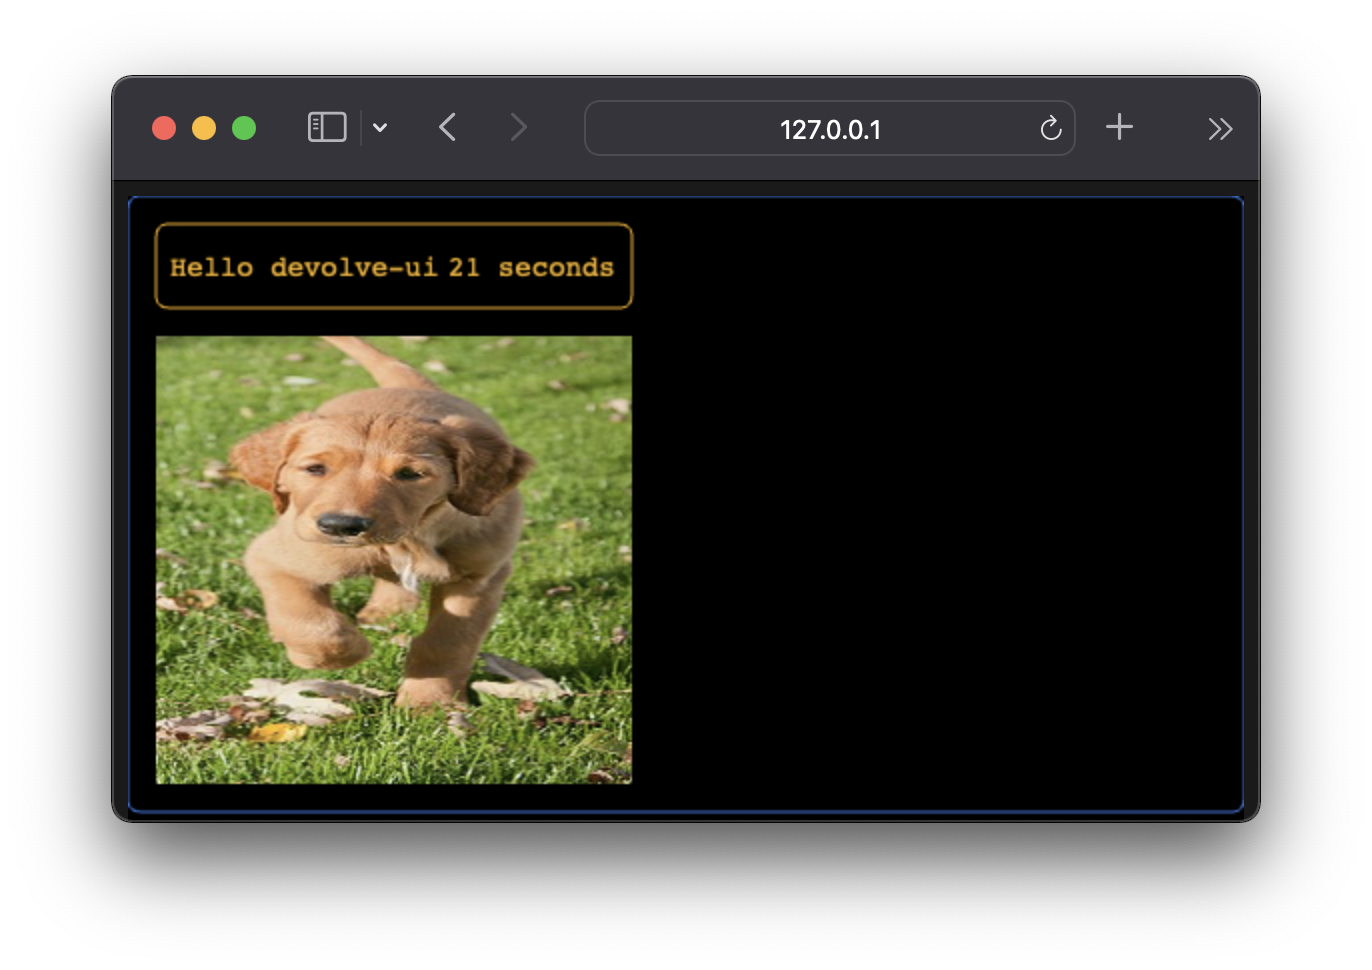
devolve-ui is a super simple graphics library for canvas-based websites (games) and TUIs. A single devolve-ui app can be embedded in a website and run on the command line via node.
devolve-ui is JSX-based like React, but renders to canvas or terminal instead of DOM. It should not be used for traditional web pages.
Example:
// https://github.com/Jakobeha/devolve-ui-demos/src/readme.tsx
import { DevolveUI, useState, useInterval } from '@raycenity/devolve-ui'

const App = ({ name }) => {
  const counter = useState(0)
  useInterval(1000, () => {
    counter.v++
  })

  return (
    <zbox width='100%'>
      <vbox x={2} y={2} gap={1}>
        <zbox width='100%'>
          <hbox width='100%'>
            <text color='white'>Hello {name}</text>
            <text color='white' x='100%' anchorX={1}>{counter.v} seconds</text>
          </hbox>
          <color color='orange' />
        </zbox>
        <source src='dog.png' width='100%' />
      </vbox>
      <border style='single' color='orange' width='prev + 4' height='prev + 4'/>
    </zbox>
  )
}

new DevolveUI(App, { name: 'devolve-ui' }).show()

// Works in node or browser (with additional pixi.js script)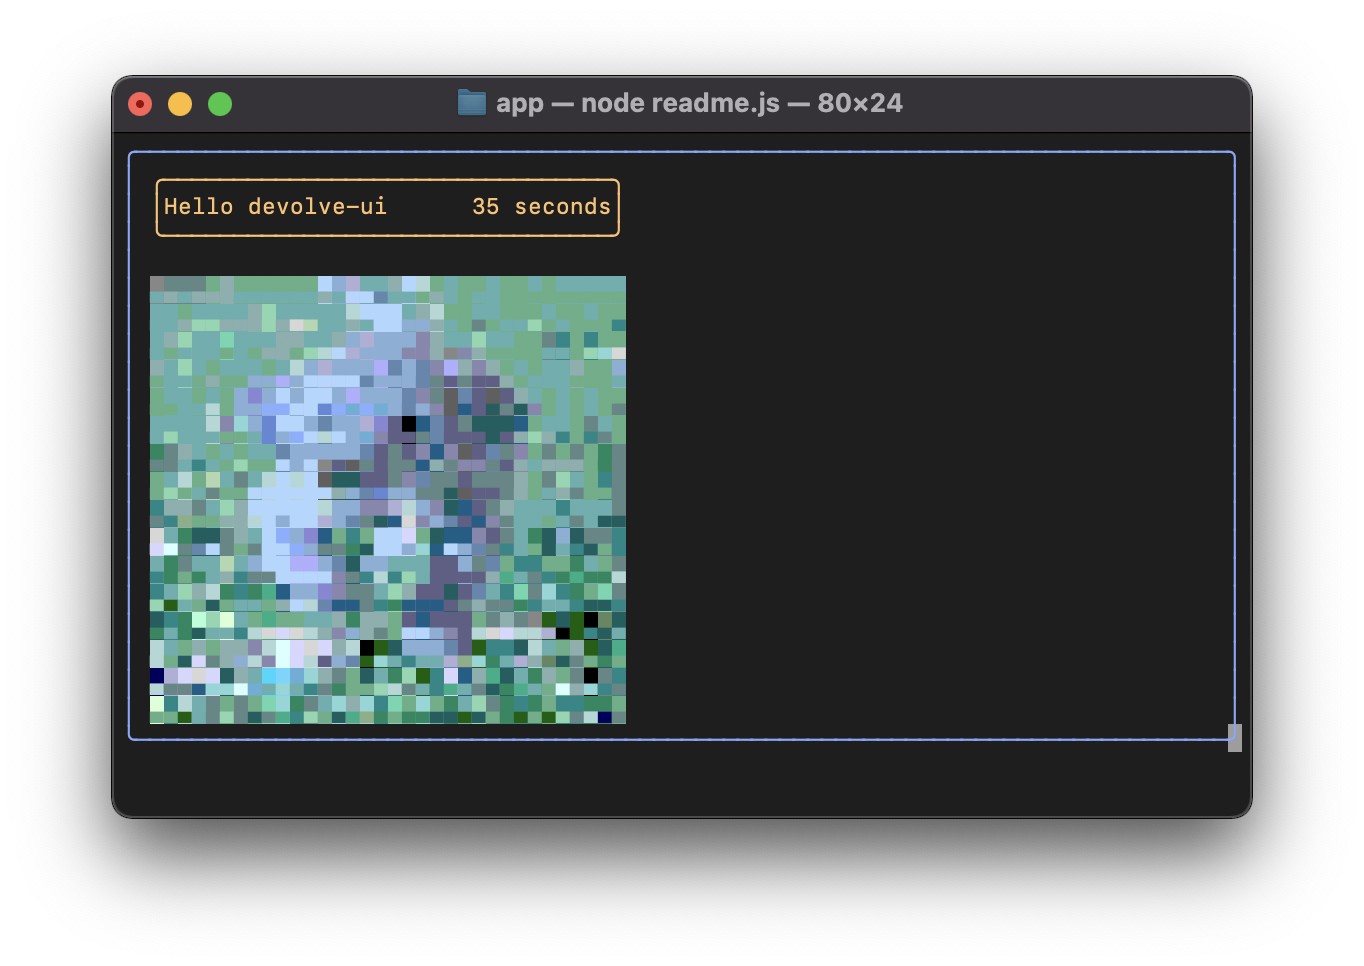
Important setup information: if adding to an existing project, besides installing, you must add this to your tsconfig.json for JSX support:
{
  "include": [
    /* you probably have this */
    "src/**/*.ts",
    /* but make sure to also add this */
    "src/**/*.tsx"
  ],
  "compilerOptions": {
    /* ... */
    /** if using esbuild, otherwise "jsx": "react" */
    "jsx": "preserve",
    "jsxImportSource": "@raycenity/devolve-ui",
  }
}
Pro tip: If you debug TUIs in IntelliJ, you can see console outputs in a separate tab from the terminal output!
# if you don't have pnpm installed, uncomment the next line
# curl -fsSL https://get.pnpm.io/install.sh | sh -
pnpm add @raycenity/devolve-uidevolve-ui is built using esbuild. The package manager used is pnpm. Linting is done by standard, however we use a slightly modified version removing some warnings (ts-standardx.mjs). Docs are generated by mkdocs. Feel free to submit issues / pull requests on the Github.
devolve-ui is cross-platform (isomorphic): a devolve-ui application may run in both web browsers and terminals (via node.js). When the application is run in the terminal, graphics are much simpler and certain effects and animations are removed, hence the name "devolve"-ui.
When a devolve-ui application is run in the web browser, it uses pixi.js for rendering.
devolve-ui uses JSX and React-style components: you write your UI declaratively and use hooks (useState, useEffect, useLazy, useInput) for local state and side-effects. Your UI is literally a function which takes the global state, and returns a render of your application.
Unlike React, the lowercase JSX nodes (views) which devolve-ui uses are not HTML elements, they are:
hbox,vbox,zbox: Layout child viewshbox: Places children horizontallyvbox: Places children verticallyzbox: Places children on top of each other (no position offsets)
text: Contains textsolid: Renders a solid colorborder: Renders a bordersource: Renders an image, video, or other external graphic- (WIP unstable)
pixi: Can only be created viaPixiComponent. These contain custom pixi components in the browser, and are invisible in TUIs.
Another notable difference is the layout system. devolve-ui does not use CSS, instead all node bounds are calculated using only the parent and previous child. As a result, you must specify bounds much more explicitly. See the Implementation section for more.
State and contexts are also handled differently. Essentially, useState returns a proxy instead of a getter / setter array. The code in React:
const [value, setValue] = useState(0)
setValue(value + 5)
translates in devolve-ui to:
const value = useState(0)
value.v += 5 // or value.v = value.v + 5
See the State / Lenses and Contexts sections for more detail.
Prompt-based GUI is a new-ish paradigm where your application interfaces with the UI via prompts. devolve-ui has built-in support for prompt-based GUI via the PromptDevolveUI class. Read this article for more.
Instead of useState returning a getter/setter array ([value, setValue]), it returns a lens. You can get the value of the lens with lens.v, and set the value with lens.v = newValue.
The key advantage of lenses is that if the lens contains an object, you can get a lens to its property foo via lens.foo. For example:
const parentLens = useState({ foo: { bar: { baz: 0 } } })
parentLens = { foo: { bar: { baz: 5 } } }
is equivalent to
const parentLens = useState({ foo: { bar: { baz: 0 } } })
const childLens = parentLens.foo.bar.baz
childLens.v = 5
This is particularly useful when you pass the child lens to a child component, like so:
const Parent = () => {
  const lens = useState({foo: {bar: {baz: 'hello'}}})
  // This prints 'hello world' for 2 seconds,
  // then prints 'goodbye world'
  return (
      <vbox>
        <text>{lens.foo.bar.baz.v}</text>
        <Child lens={lens.foo.bar.baz}/>
      </vbox>
  )
}

const Child = ({lens}) => {
    useDelay(2000, () => {
        lens.v = 'goodbye'
    })
    return (
        <text>world</text>
    )
}
Contexts allow you to pass props implicitly, similar to React contexts. However, contexts in devolve-ui work slightly different: they are hooks instead of components.
// const fooBarContext = createContext<FooBar>() in TypeScript
const fooBarContext = createContext()

const Parent = () => {
  fooBarContext.useProvide({ foo: 'bar' })
  return <box><Child /></box>
}

const Child = () => {
  const value = fooBarContext.useConsume()
  // value is { foo: 'bar' }
  return <text>{value.foo}</text>
}
There are also state contexts, which combine the functionality of contexts and states: a state context is a context which provides a state lens instead of a value. Children can mutate the state, and the mutation will affect other children who use the same provided context, but not children who use a different provided context.
// const fooBarContext = createStateContext<FooBar>() in TypeScript
const fooBarContext = createStateContext()

const Grandparent = () => {
  // In the first parent, value is { foo: 'bar' } for the first 5 seconds, and { foo: 'baz' } after
  // because MutatingChild sets it
  // In the second parent, value remains { foo: 'bar' } because that child doesn't set it
  return (
    <box>
      <Parent>
        <MutatingChild />
      </Parent>
      <Parent>
        <Child />
      </Parent>
    </box>
  )
}


const Parent = ({ children }) => {
  fooBarContext.useProvide({ foo: 'bar' })
  return <box>{children}</box>
}

const MutatingChild = () => {
  const value = fooBarContext.useConsume()
  // value is { foo: 'bar' } for the first 5 seconds, and { foo: 'baz' } after
  useDelay(5000, () => { value.foo.v = 'baz' })
  return <text>{value.foo.v}</text>
}

const Child = () => {
  const value = fooBarContext.useConsume()
  // value is { foo: 'bar' } forever
  return <text>{value.foo.v}</text>
}
Regular (non-state) contexts are called props contexts and are essentially implicit props passed from parents to their children. State contexts are essentially implicit state passed from parents to their children. See this article for more explanation.
core: The main code of devolve-uicore/hooks: Built-in hookscore/hooks/intrinsic: Hooks requiring package-private functions and support inVComponentcore/hooks/extra: Hooks that you could create from the intrinsic ones
core/vdom: The "DOM" in devolve-ui: nodes, attributes, and JSX.
renderer: Platform-specific renderingprompt: Prompt-based GUI helpers.
VView: Virtual "DOM" node, e.g.box,text,color. Immutable: a new view is created on change.VComponent: Component. Manages state, effects, input, etc. and renders aVViewBounds: A view's bounds depend on the parent and previous view: thereforeBoundsare literally a function from parent and previous view properties to aBoundingBox. See src/core/vdom/bounds.ts