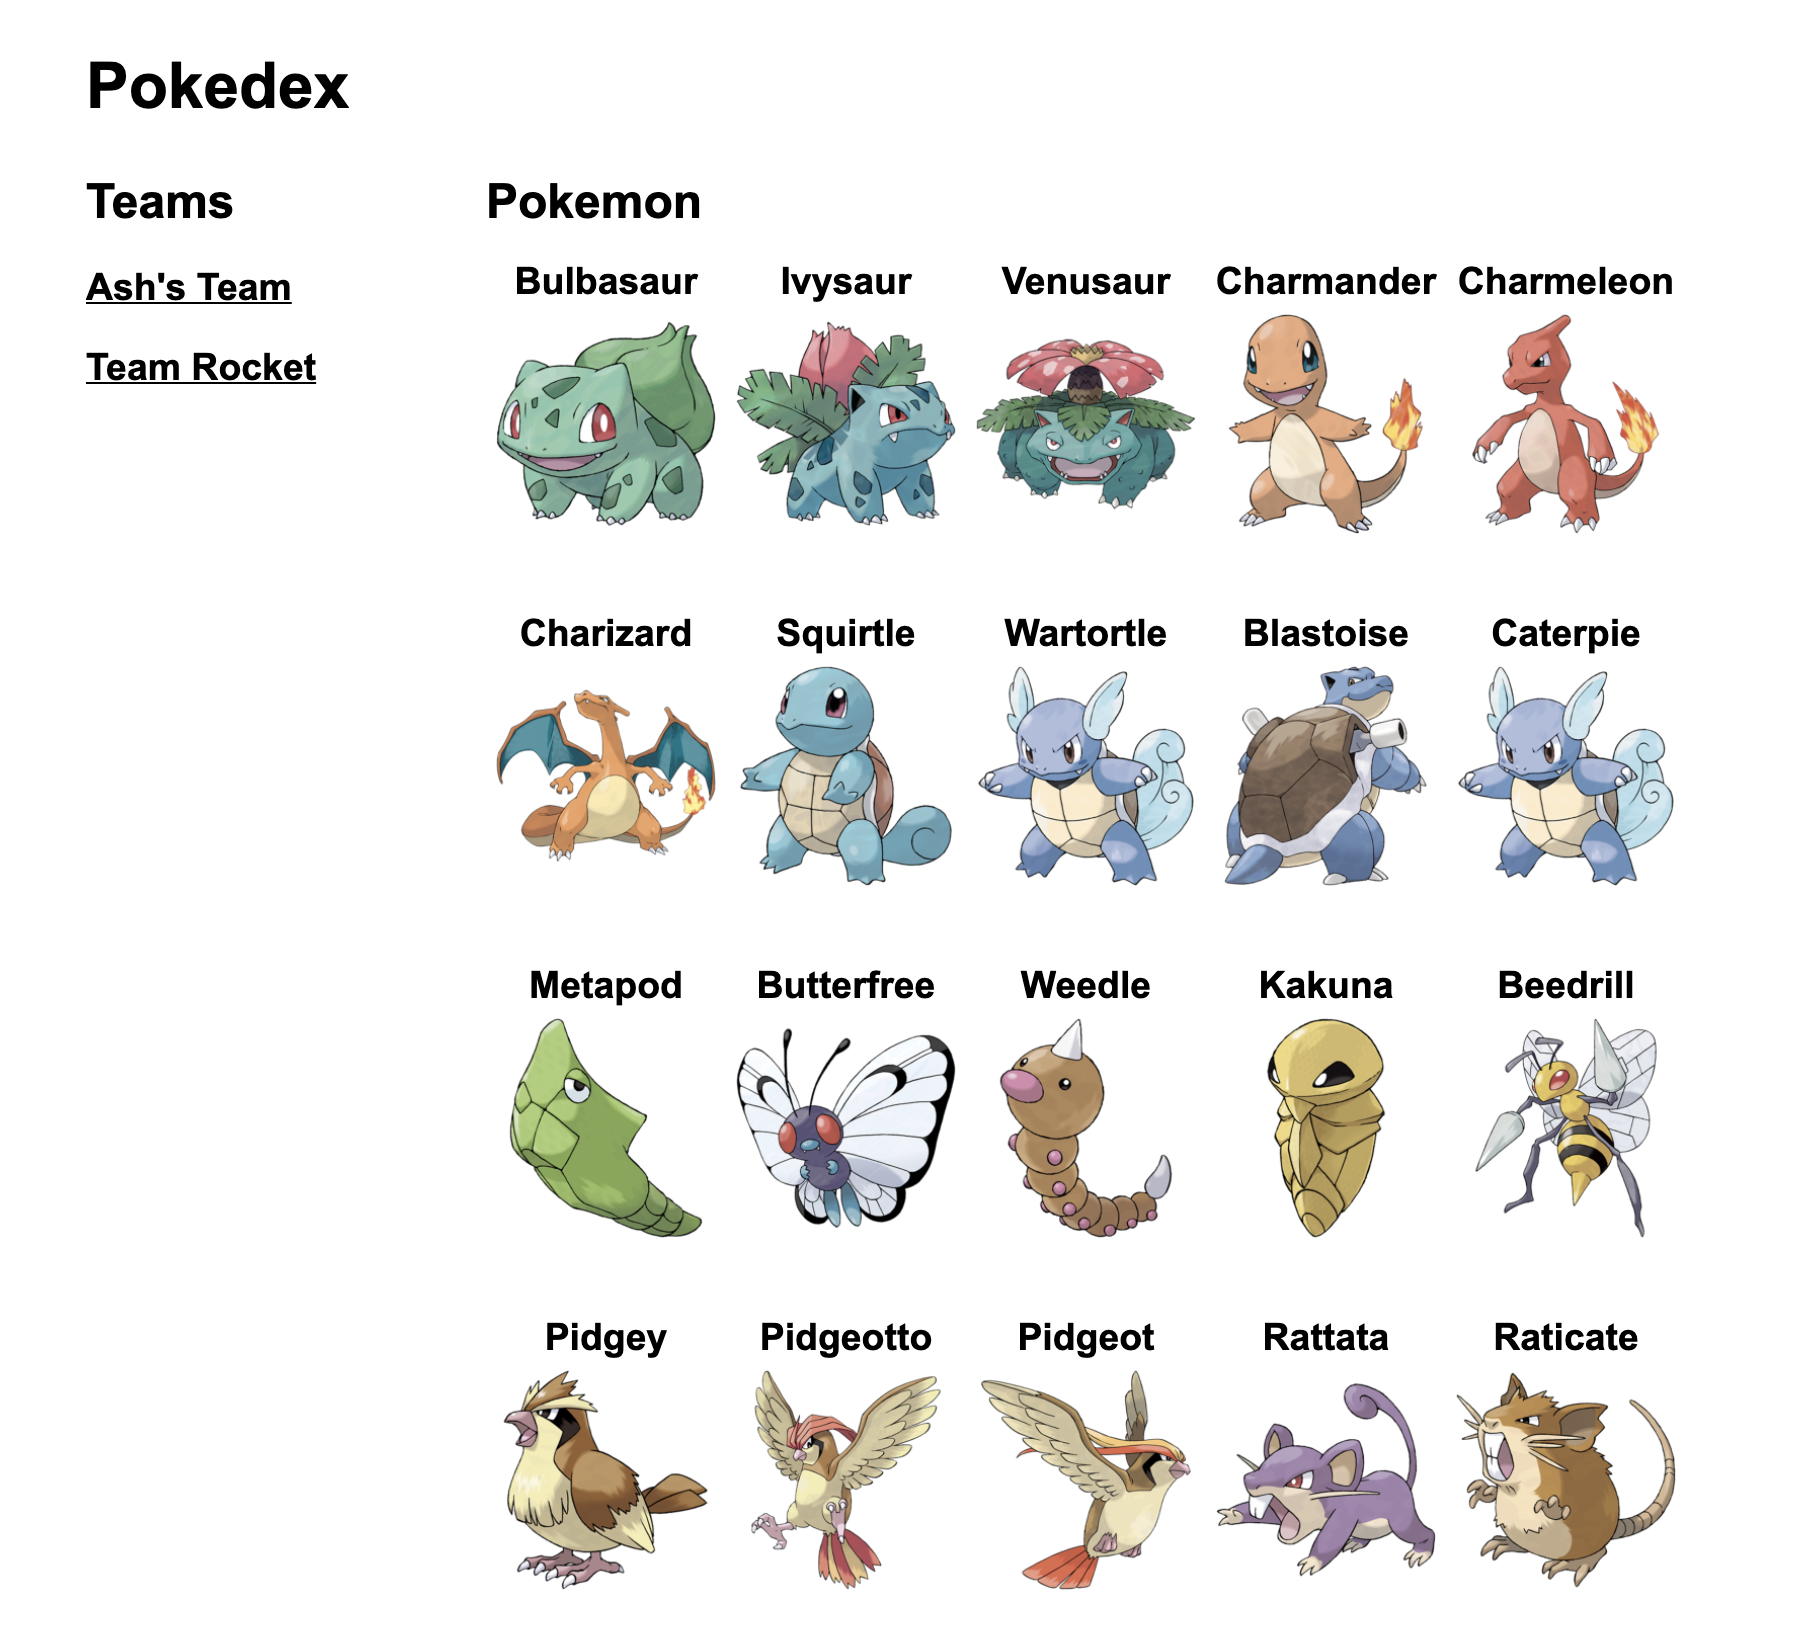
For this exercise, you'll be creating a Pokedex that displays all of the original 151 Pokemon and detail pages for each Pokemon. This will also allow you to view teams and edit them. The application is also live at https://fast-badlands-06972.herokuapp.com/ if you would like to see how it works.
- HTML
- CSS
- JavaScript
- jQuery
- AJAX
- API calls
- Command Line
- Git
- GitHub
- REST
- HTTP
- Flask
- Python
For you
/templates- Contains all of the HTML templates in your application. For example:/templates/index.htmlis for the homepage located atlocalhost:5000, and/templates/pokemon/detail.htmlis for an individual pokemon's page located atlocalhost:5000/pokemon/:idwhere:idis the Pokemon's ID number. For example,localhost:5000/pokemon/1should be the page for Bulbasaur. There are similar pages for your team pages at/templates/teams./static/css- Contains each of the CSS files for each of the HTML files in/templates. So/static/css/index.cssis for/static/css/index.htmland/static/css/teams/detail.cssis for/templates/teams/detail.html/static/js- Contains each of the JavaScript files for each of the HTML files intemplates. So/static/js/index.jsis for/templates/index.htmland/static/js/teams/detail.jsis for/templates/teams/detail.html. This folder also containsjquery.min.jsfor jQuery. It's already installed in each of your HTML files in/templatesand you can see how it's installed there./api/teams.py- Contains the routes for the teams APIlocalhost:5000/api/teamsin Flask. There are a number of Flask end points that need to be fixed according to the REST pattern. Read the comments there.
Do not touch
README.md- The instructions you're reading right now.setup.sh- The file that will set your application up for you. See the "Setup" instructions below.requirements.txt- A file that stores all of your Python dependencies (e.g. Flask) so when you runpip install -r requirements.txt, you'll download all the dependencies you need. For more information, see "How setup.sh works"app.py- The Python file that starts your web application. This file is written using the Flask framework, and it's been commented with some information to help you understand how it works. For this exercise, you should not change anything in this file, but feel free to explore. We will be working on the server side code in the next exercise.api/pokemon.py- Contains the routes for the pokemon APIlocalhost:5000/api/pokemon. Take a look at this file for some hints to complete the teams API atapi/teams.py.api/__init__.py- A file that makes it easy for the files in/apito be used inapp.py. For more information, look up Python modules and packages..gitignore- A file that tellsgitwhich files to ignore when you use version control./data- A folder that contains all of the Pokemon and teams data for your application. In future exercises, this will be replaced with other ways of storing data./venv- A folder that contains all of your virtual environment files and downloaded dependencies frompip. For more information, see "How setup.sh works"/__pycache__- You'll probably have this folder generated. It is something created by Python 3 when you run it, and you can safely ignore it.
These instructions are a simplified version of the Flask installation instructions and quickstart. If you have any questions, feel free to reach out to me.
- Clone this repository using
git cloneandcdfrom your command line into the repository folder. - Make sure you have Python 3 installed. You can check this by seeing if the command
python3works in your command line. If you successfully runpython3, you can exit the interpreter by typingquit()then hitting Enter. If you don't have Python 3 installed, follow these instructions. - From the root of the repository, run the following command:
sh setup.sh. This is a file I've written to automate the initial setup of this application. It will start your app automatically, and you can go tolocalhost:5000in a web browser to view it. If you want detailed instructions on how this file works, go to "How setup.sh works" below. - Whenever you're about to work on your application, make sure to run
. venv/bin/activatefirst to start your virtual environment, then you can runflask runfrom the root of your repository to start your application.
- To stop your server it's running in the command line, hit
Control + Cto stop the server. - If you change your HTML files, you'll have to restart the server to see changes.
- Python 3 comes with venv, a "virtual environment" to manage packages like
Flaskthat you'll need to run your application. When you first clone this repository, runpython3 -m venv venvfrom the root of the repository to create a virtual environment for your application. This will create a few folders and files related to venv, in avenvfolder. - Once you've set up a virtual environment, whenever you're about to work on your app, make sure to run
. venv/bin/activatefrom the root of the repository. You should then see(venv)prefixed in your command line to show that you're using the virtual environment. After you do this, you should be able to download packages and run your application. - Once you are using the virtual environment, make sure you install all the dependencies for this application by running
pip install -r requirements.txt(if you're using Python 3, you might need to usepip3instead ofpip. You only need to do this once and don't need to again when you want to run your application. - Once you have
Flaskproperly installed, make sure you set your environment variables so Flask knows what file to start with. In this repository, the app starts with the fileapp.py. If you renameapp.pyor want to use a different file as the entrypoint, you'll have to runexport FLASK_APP={FILENAME}and replace{FILENAME}with the correct filename to make sure the app runs. - Once you have everything setup, you should be able to run
flask runand your server should start listening. Go to a browser atlocalhost:5000and you should see your app running.
You'll be focusing on the front end of the application and doing some back end work building out a REST API. Future exercises will be built on top of the knowledge you gain from this exercise. In addition to the requirements below, you can see the full solution of this application running at https://fast-badlands-06972.herokuapp.com/.
NOTE: If you edit or delete a team on the live app, it will actually delete it. If you need the app to refresh with data again, please let me know
- Home Page (
localhost:5000) - Your home page should have the following:
- A sidebar section to the left of the pokemon grid that lists all the teams in your application (Teams section)
- In the Teams section, it should have a heading at the top called "Teams"
- Below the heading in the Teams section, a list of all the teams from the Teams API at
localhost:5000/api/teams. Hint: this may not work until you fix the API! - Each team listed in the Teams section should link to that teams detail page, located at
localhost:5000/teams/:id.
- Team Detail Page (
localhost:5000/teams/:id, where:idis the ID of the team) - For each team, there's a detail page that includes the following:
- A link to go back to the home page.
- A link to edit the current team that takes you to
localhost:5000/teams/:id/edit. - A link to delete the current team using JavaScript/jQuery/AJAX and takes you to the home page after.
- A heading with the team's name.
- The team's description underneath the team.
- A table that lists all the pokemon in a team. This should include the pokemon's image, name, level, and types.
- The name of the pokemon should be a link that takes the user to the pokemon's detail page. For example, if a team has Bulbasaur in it, clicking on "Bulbasaur" in the table should take you to
localhost:5000/pokemon/1.
- You should get the team information using JavaScript/jQuery/AJAX and fetch the data from the internal server at
localhost:5000/api/teams/:id, where:idis the ID of the team. Hint: this may not work until you fix the API! - You should get the Pokemon information using JavaScript/jQuery/AJAX and fetch the data from the internal server at
localhost:5000/api/pokemon/:id, where:idis the ID of the Pokemon. - For which files to change, make sure to read the "Files and folders" section of this README.
- Team Edit Page (
localhost:5000/teams/:id/edit, where:idis the ID of the team) - For each team, there's an edit page that includes the following:
- A link to go to back to the team's detail page.
- A form that allows the user the edit the team data.
- A section titled "Team Name" with a field to modify the team name.
- A section titled "Description" with a field to modify the team description.
- A table that allows the user to modify pokemon that are in the team:
- It should display the pokemon's image
- It should display the pokemon's name, with a link to the pokemon's detail page at
localhost:5000/pokemon/:id - It should let the user change the pokemon's level
- It should display the pokemon's types
- It should let the user remove a pokemon from the team and hide their row in the table
- A submit button that takes all of the information on the page (name, description, pokemon level, removed pokemon) and submits an AJAX request to change the team. Hint: this may not work until you fix the API! Think about which HTTP method you would use according to REST to make this work.
- Team API (
localhost:5000/api/teams) - The teams API is located at/api/teams.pyand you'll need to fix the different routes there:
- You'll need to read the comments to understand REST and HTTP methods and conduct your own research
- An API endpoint using
GETat/api/teamsthat returns all of the teams as JSON - An API endpoint using
GETat/api/teams/:idthat returns one team as JSON - An API endpoint using
PUTat/api/teams/:idthat takes the request body, parses it as JSON, replaces the team at ID :id with the request body, then returns the updated team data as JSON - An API endpoint using
DELETEat/api/teams/:idand deletes the team with the ID :id
- Do not use a CSS framework or library like Bootstrap.
To properly complete this exercise, you'll need to understand a few concepts in a number of different technologies:
In HTML and CSS:
- How forms are written in HTML
- Styling forms with CSS
In jQuery and JavaScript:
- How to use jQuery with the
$()function. - What
$(document).ready()in jQuery does and how to use it to run your code. - How to select elements on your page using
$()using CSS selectors. - How to change an element's content using the
html(),text(), andappend()methods. - How to change an element's attributes using
attr(). - To make writing stings with variable data easier, look up template literals in JavaScript.
- What AJAX is and how to properly make requests to an API.
- What REST is and how it's used to structure APIs.
- How to use the
$.ajax()method in jQuery. There are a lot of options for$.ajax(), but you only need to pay attention to method, url, contentType, data, and success. Figure out what each of these are for and how to use them. - To properly use
$.ajax()and the success option, you'll need to understand JavaScript callbacks. - Making different
$.ajax()calls using different HTTP methods (GET, POST, PUT, PATCH, DELETE). - How to redirect users to a different page using JavaScript.
- Using data attributes for data held in an HTML element (e.g.
data-attr-id). - Using JavaScript array methods (
.filter(),.map(), etc.).
In Flask and Python:
- Writing routes in Flask to fix an API.
- What an HTTP request is and the different parts to it: URL, method, status code, content type, headers, body
- Using the REST pattern to understand how an API is structured and what each URL in an API should do.
- Writing different routes in Flask based on the HTTP method (
GET,POST,PUT,PATCH,DELETE). - How handle request body in Flask when it’s sent from an AJAX request (e.g.
request.get_json()). - How to return Python dictionaries as JSON in Flask (e.g.
jsonify). - Using
globalin Python to get access to variables outside of a function scope. - List methods (
map(),filter(), etc.) and how to uselambdain Python.
Here are some helpful places to look:
- W3Schools has a pretty straightforward tutorial on jQuery: https://www.w3schools.com/jquery/
- The jQuery documentation is also helpful, but it can be overwhelming: https://api.jquery.com/
- Vinay Sahni wrote one of my favorite pieces on building a REST API which should be very informative: https://www.vinaysahni.com/best-practices-for-a-pragmatic-restful-api
- The Flask documentation is my go-to source for understanding it: https://flask.palletsprojects.com/en/1.1.x/
Look around in different places and different mediums to learn.