Week 2

Take a peek at the overall structure of this course here!

- Editor: Visual Studio Code
- JavaScript engine: Chrome "V8" (more info)
- Quick note on organizing content: files, folders, libraries, directory structure
It's important (and empowering) to be on top of your tools! See Keyboard Shortcuts.
- Open Chrome, right-click on any page and "Inspect", go to the "Console" tab. (Shortcut is
Ctrl+Shift+J) - Used for debugging with console.log
- Can set global variables (testing)

If necessary, download the files from the p5.js website
Also useful: The p5.js documentation
- Round braces (), curly brackets {}, square brackets []
- Semicolons
- Indentation with tabs and spaces
- Remember to use comments
- Always keep your code TIDY! (see shortcut for "Format Document" in Keyboard Shortcuts)
- Declaring variables with
letandconst(also, why we don't usevar) - Variable scope
- Investigating types using
typeof- Number (includes Infinity, NaN)
- String (double quotes, single quotes, and backticks)
- Boolean
- Null
- Undefined
- Object
Open the developer console and try to create one variable for each of the types that we have seen.
Example:
let numVar = 30;
typeof numVar
// Expected output: Numberfunction setup() {
createCanvas(500, 500);
let xpos = width / 2;
let ypos = height / 2;
}
function draw() {
ellipse(xpos, ypos, 50, 50);
}The program above gives an error due to problems with variable scoping. Variables initialized inside a pair of curly braces { let num = 15; } only exist within the local scope of those curly braces. To make variables accessible everywhere, we can create global variables which are initialized outside any functions:
let xpos = width / 2;
let ypos = height / 2;

function setup() {
  createCanvas(500, 500);
}

function draw() {
  ellipse(xpos, ypos, 50, 50);
}
However, this still gives us an error because the p5.js variables width and height do not have any value until the canvas is created, which happens in setup(). So, we need to initialize the variables globally, then assign their values locally.
Complete the following piece of code by assigning the variables inside of setup:
// Initialize variables
let xpos;
let ypos;

function setup() {
  createCanvas(500, 500);
  // Assign values to xpos and ypos
  // TO-DO
}

function draw() {
  ellipse(xpos, ypos, 50, 50);
}
Conditions and Logic
- If and Else
- Comparison operators
===,!==,<,>,<=,>= - Logical operators
||(OR) and&&(AND)
Read the following program, and try to guess what it does.
yourName = prompt("What is your name?");
if (yourName === "Balrog") {
  console.log("YOU SHALL NOT PASS!");
} else if (yourName === "Frodo" || yourName === "Sam") {
  console.log("Pass quickly, halfling!");
} else {
  console.log("Who are you?");
}
Once you are ready, copy and paste the program into the developer console and answer the question such that you are allowed to pass ("Pass quickly, halfling!").
The following program checks whether a given number, num, is larger than 10.
let num = 100;
let condition = (num > 10);
if (condition) {
  console.log("The condition is true.");
} else {
  console.log("The condition is false.");
}
Modify the boolean variable condition such that the condition is true when num is both greater than 10 AND smaller than 50.
The following program animates a ball starting in the middle of the canvas, moving it towards the right of the screen until it leaves our view.
let xpos;
let ypos;

function setup() {
  createCanvas(windowWidth, windowHeight);
  xpos = width / 2;
  ypos = height / 2;
}

function draw() {
  background(0);
  ellipse(xpos, ypos, 100, 100);
  // Move the ball towards the right
  xpos = xpos + 5;
}
Add a conditional statement (if statement) which checks whether the x-position xpos of the ball is greater than the width of the canvas. If the condition is true, reset the ball's position by setting xpos to 0.
Expected output: Here
Begin with the following template, and edit the two lines defining xOutOfBounds and yOutOfBounds such that the ball bounces on all edges of the window, never leaving the screen.
let xpos;
let ypos;
let xdir = 5;
let ydir = 5;
function setup() {
createCanvas(windowWidth, windowHeight);
xpos = width / 2;
ypos = height / 2;
}
function draw() {
background(0);
ellipse(xpos, ypos, 100, 100);
// Move the ball
xpos = xpos + xdir;
ypos = ypos + ydir;
// Change x-direction if the ball hits the left or right boundaries
let xOutOfBounds = false; // TO-DO: Change this!
if (xOutOfBounds) {
xdir = -xdir;
}
// Change y-direction if the ball hits the left or right boundaries
let yOutOfBounds = false; // TO-DO: Change this!
if (yOutOfBounds) {
ydir = -ydir;
}
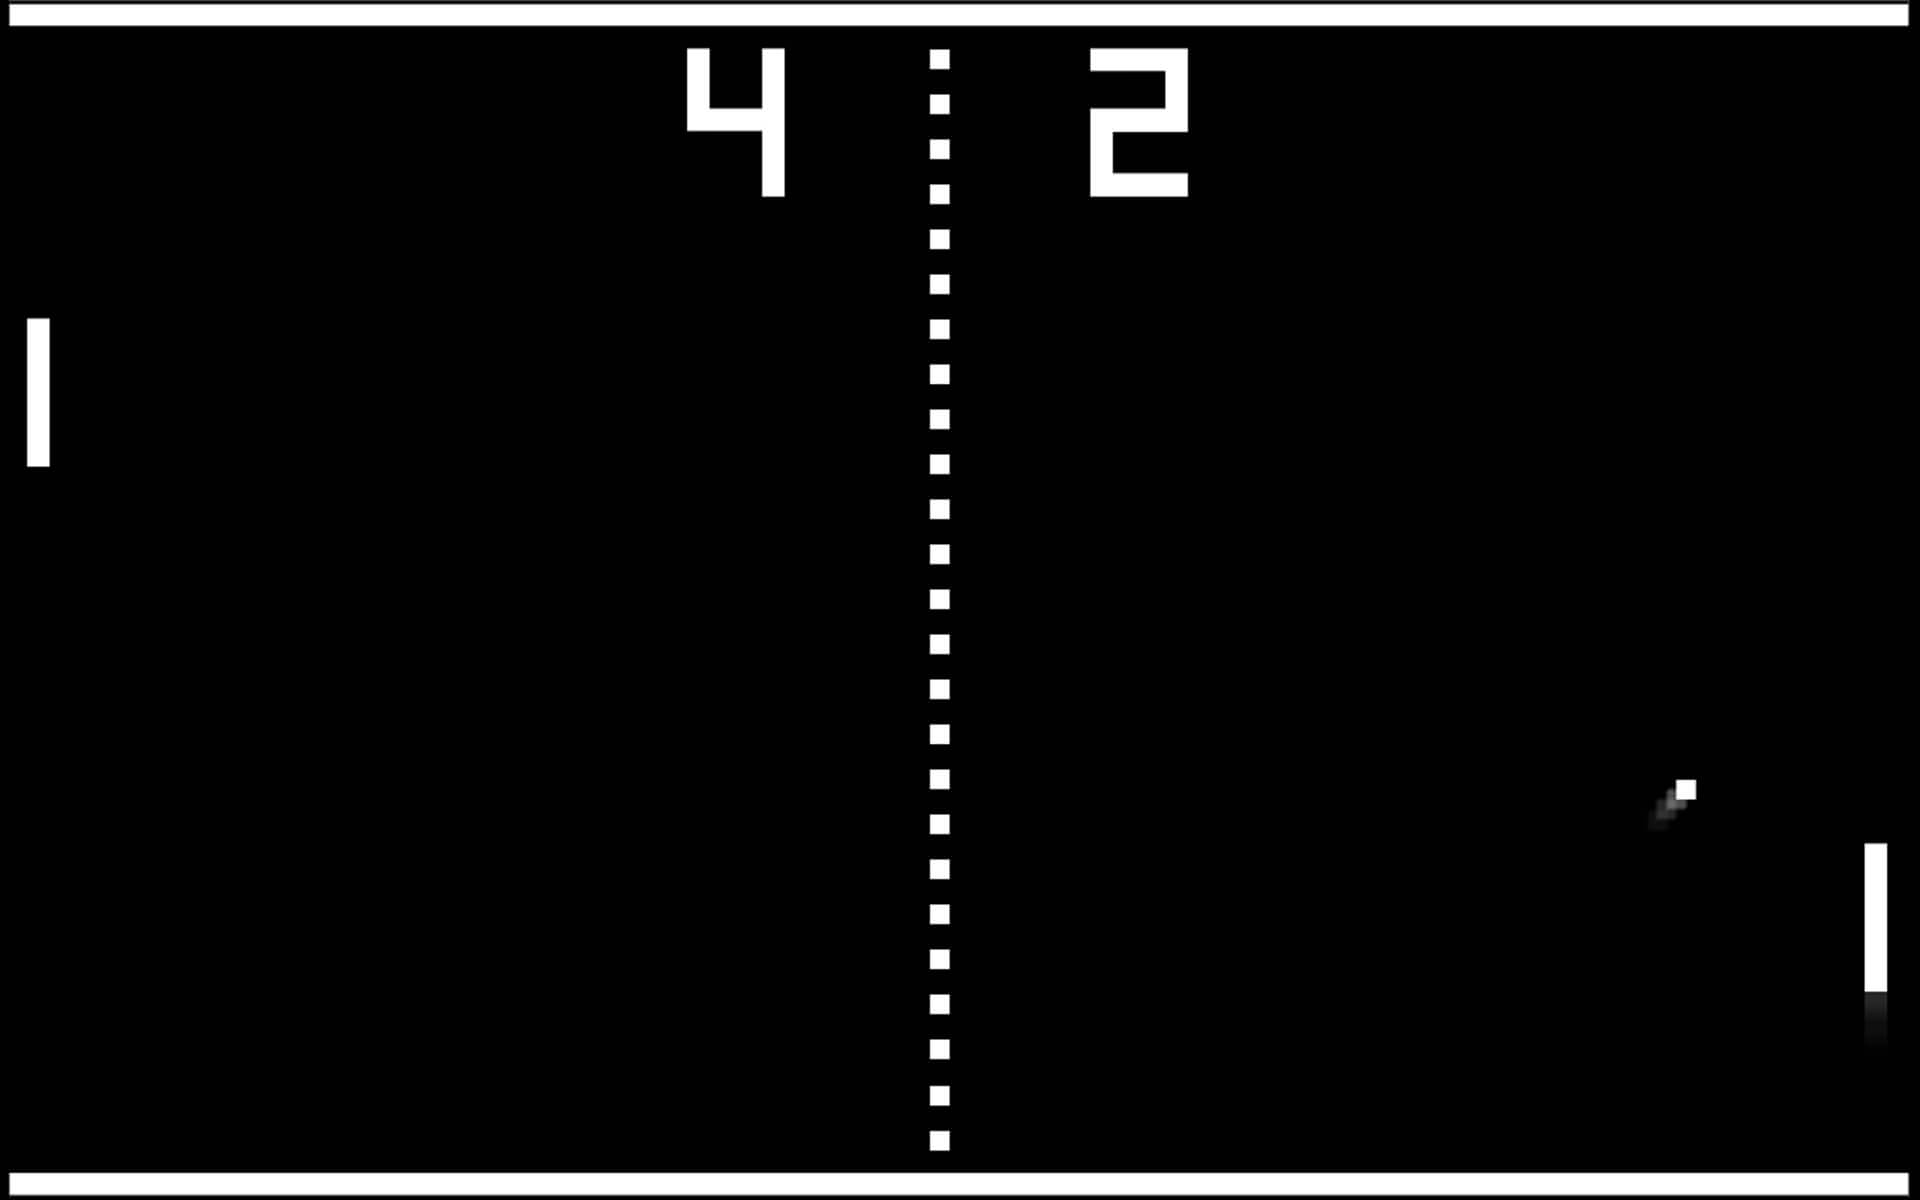
}Once that's done, you can try adding more elements to the program to replicate the gameplay of the classic Pong game! Some ideas:
- Add a paddle (see rect) controlled by mouse position, which the ball bounces against
- Create a variable to keep track of the score, updating it when the ball hits against particular walls and display that score on the screen
See this week's demo for inspiration!
Please fill up the feedback form so that I can improve future sessions!