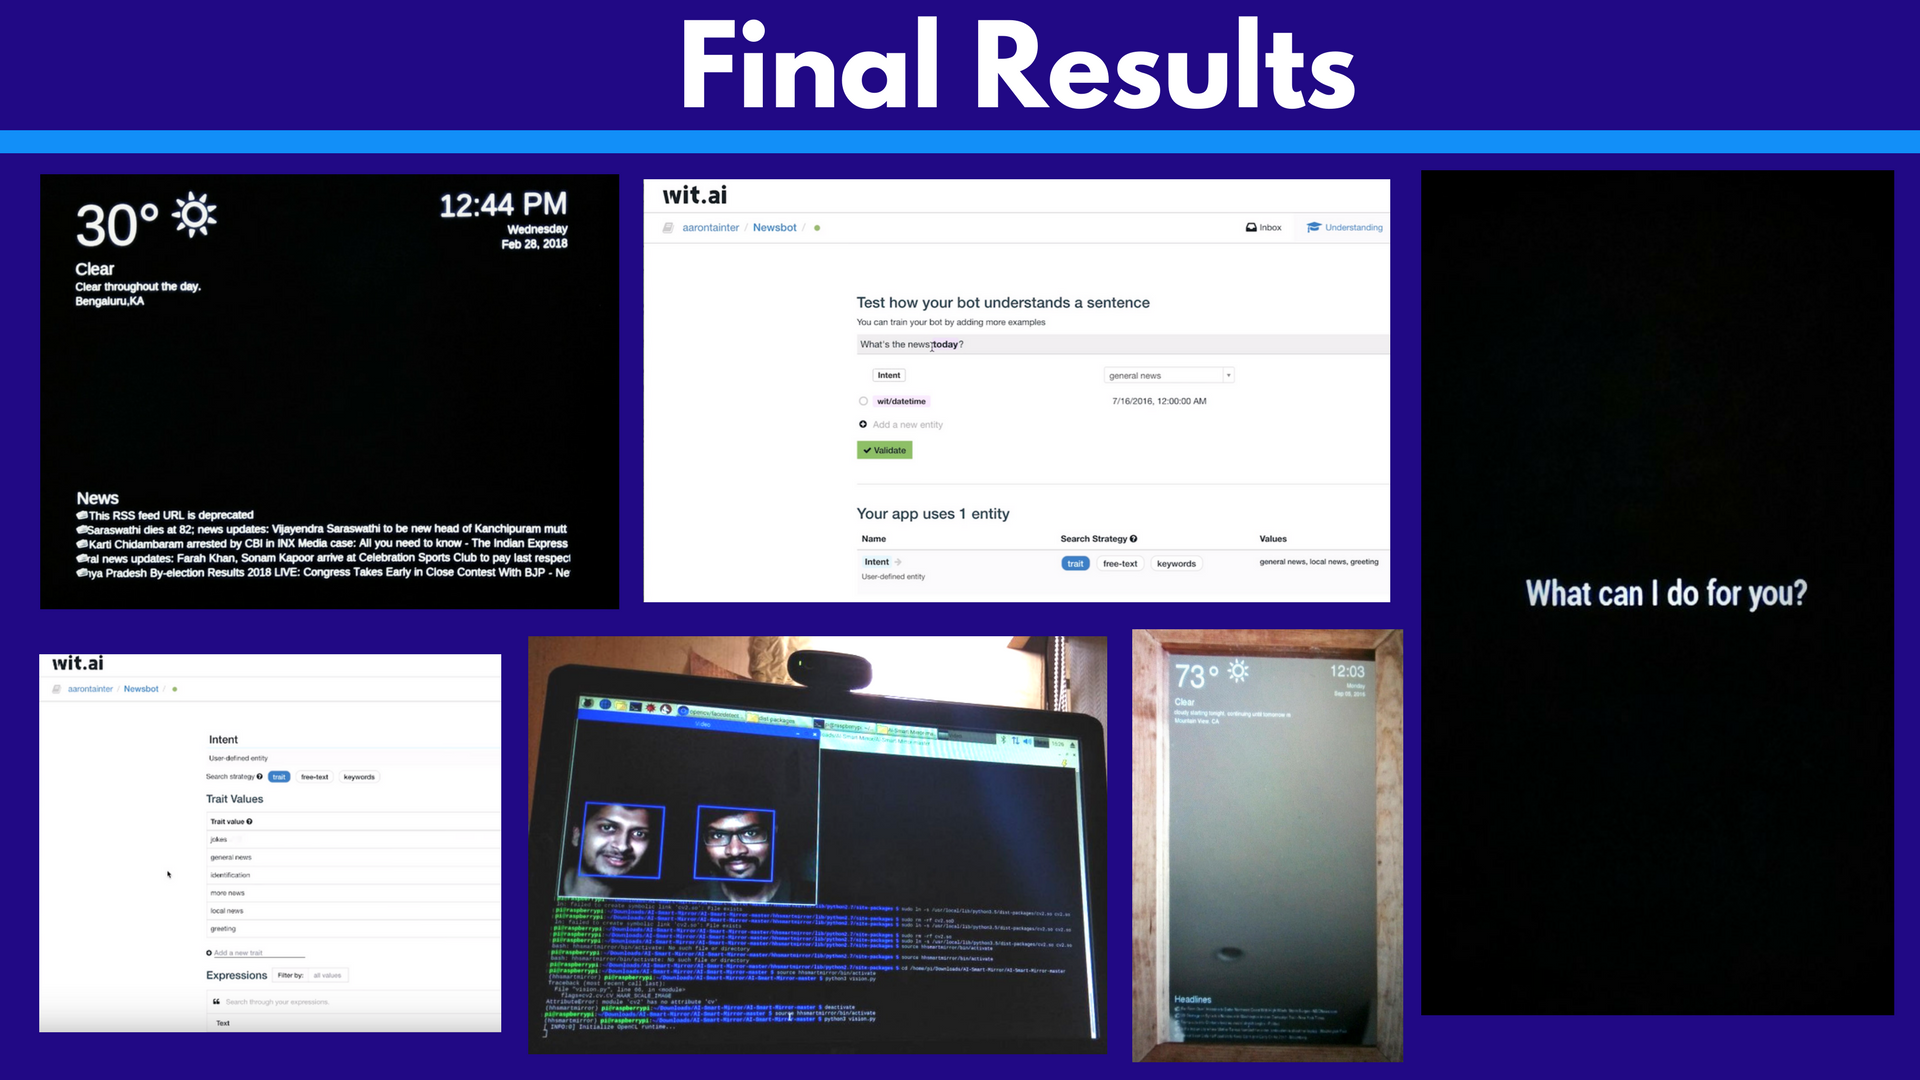
Raspberry Pi powered home smart mirror. ( IOT: It displays weather, local news, etc. + AI: NLU (Natural Language Understanding) is built off the popular wit.ai engine, you can train it to be even smarter. )
IOT: When the Raspberry pi is connected, Code Repository is available online for smart mirror,download the repository If you have git installed, clone the repository. Open terminal, git clone git@github.com:HackerHouseYT/Smart-Mirror.git Alternatively, you can download a zip file containing the project (green button on the repository page) Navigate to the folder for the repository cd Smart-Mirror Install your dependencies Make sure you have pip installed before doing this, if not, use the command: pip install –r reqirements.txt This will install your requirements sudo pip install -r requirements.txt This command will run pip Now all your dependencies are installed. Add your api token Make sure vim is installed on your system: sudo apt-get install vim Use vim to edit you file vim smartmirror.py This will open up my file and it has 3 variables set:

(1)IP-Set the IP address of Raspberry pi. As the IP address is used for location to determine the weather of the location. (2):country code-you can replace this with your own country code. (3)weather_api_token:This is derived from a site called forecast.io. Replace weather_api_token with the token you got from forecast.io.You can obtain the API token by registering and creating an acoount at forecast.io. Hit Esc button and ZZ to save. Running After saving we can come back to our console and we need to install one more thing before running the application i.e Python Imaging tk and it can be done using: sudo apt-get install python-imaging-tk once we are done with this,we can run the application using the following command python smartmirror.py
Output Depending on the network connection, it might take a few seconds to startup,

The above picture depicts the typical display of a Smart Mirror using IOT. ->Press enter for Maximized full screen and press Esc for minimized o/p screen. Later on, let’s hook up our Raspberry pi onto the Smart Mirror and set it up so that it up runs the application. The display might be in the landscape orientation therefore, (*)In order to switch from Landscape to portrait orientation, We’ll have to open the file config.txt in /boot folder so use: sudo vim/boot/config.txt
scroll down till the bottom and add a variable called, display_rotate=1 This rotates the monitor so that it is in portrait orientation. Press Esc and wq! This is to save the file. Later on, we need to restart the Raspberry pi. Now in the portrait orientation, run the application and press enter to make it full screen and we have our very own smart mirror set up! Original developers: https://github.com/HackerShackOfficial/Smart-Mirror
AI:
STEP 1 : Create AI_smart_Mirror folder inside that clone magic mirror repository this needs to be running before we can start up our AI client because it is dependent on this front-end running because it sends HTTP calls to this front-end so you can clone this repository or download it download a zip here if you want to clone it you have to have get installed so if I tag git clone and the name of this repository it will clone into a folder on raspberry pi.
STEP 2 : Installation of node.js and npm on raspberry pi. The next thing I'm going to want to do is make sure I have no js' installed and nodejs is basically a JavaScript server which this magic mirror uses to run.
Step 1: First remove existing old version from Raspberry Pi
pi@raspberrypi:~ $ sudo -i
root@raspberrypi:# apt-get remove nodered -y
root@raspberrypi:# apt-get remove nodejs nodejs-legacy -y
root@raspberrypi:~# exit
Step 2: Installing n will automatically install latest stable version of Node.js curl -L https://git.io/n-install | bash
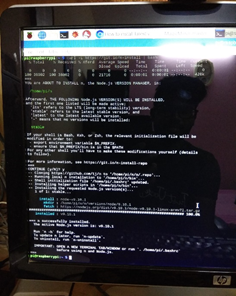
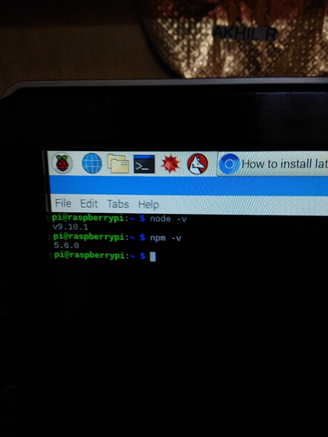
Step 3: Verify your installation version pi@raspberrypi:~ $ node --version pi@raspberrypi:~ $ npm --version
STEP 4: NPM install will install the dependencies that magic Mirror needs okay now it's finished installing it might throw some errors but it should still run regardless of these errors.
STEP 5: NPM start it will start this program called electron which is basically a web browser inside of an application and then it tells us that we need to create a config file
STEP 6: I go into magic mirror I can copy both of these folders over to my magic mirror project inside magic mirror there's a modules folder and you'll just have to copy those files and paste them in this folder so I can actually just do that in finder so I have this is in my AI smart mirror repository I can go into magic mirror copy these two files and then if I go into magic mirror and paste those files and modules that will work and then if I go back to my AI smart mirror and I copy this config file go to magic mirror and in the config folder paste this file if I go back to terminal and return to my magic mirror folder
STEP 7:TO CHECK IF MY MAGIC MIRROR IS WORKING Type NPM start it starts the magic mirror application and I can test that this works by going to a web browser and typing localhost 8080 slash statement question mark text equals and then any text that you want to display and if I go over to my smart mirror it seems that everything's working and it displays that text and you can clear that statement if you want by doing slash clear and now it's gone you can also stop the magic mirror application by pressing ctrl C
STEP 8:LINUX BREW INSTALLATION
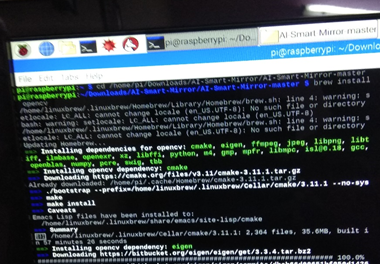
We need to install a few dependencies in order for this to work so we are going to use linuxbrew to do that, linuxbrew is sort of like homebrew for Mac OS,Raspbian use it to install dependencies and you can also use it to uninstall things. The installation script installs Linuxbrew to /home/linuxbrew/.linuxbrew if possible and in your home directory at ~/.linuxbrew otherwise.
Paste at a Terminal prompt:
sh -c "$(curl -fsSL https://raw.githubusercontent.com/Linuxbrew/install/master/install.sh)"
Follow the Next steps instructions to add Linuxbrew to your PATH and to your bash shell profile script, either ~/.profile on Debian/Ubuntu or ~/.bash_profile on CentOS/Fedora/RedHat.
test -d /.linuxbrew && PATH="$HOME/.linuxbrew/bin:$HOME/.linuxbrew/sbin:$PATH"
test -d /home/linuxbrew/.linuxbrew && PATH="/home/linuxbrew/.linuxbrew/bin:/home/linuxbrew/.linuxbrew/sbin:$PATH"
test -r /.profile
You’re done! Try installing a package:
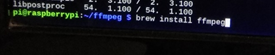
brew install hello
If you’re using an older distribution of Linux, installing your first package will also install a recent version of gcc./.bash_profile && echo "export PATH='$(brew --prefix)/bin:$(brew --prefix)/sbin'":'"$PATH"' >>/.bash_profile
echo "export PATH='$(brew --prefix)/bin:$(brew --prefix)/sbin'":'"$PATH"' >>
STEP 9:INSTALLATION OF FFMPEG
I'm going to run brew install ffmpeg command and so that ffmpeg is used by our speech recognition module to transcode and play audio.
STEP 10:Install open cv Install openCV with brew tap homebrew/science brew install opencv
Check the version with cd /usr/local/Cellar/opencv ls
STEP 11:SETTING UP A VIRTUAL ENVIRONMENT Set up a virtual environment for Python since our AI code is written in Python we want an easy way to install dependencies and not affect anything else on your system so we have this script in the AI smart mirrored directory called setup SH (use the command cat setup.sh) and this just creates a virtual environment called hacker house smart mirror or HH smart mirror and then it makes that virtual environment active and then installs all the dependencies in that virtual environment so I'm going to run sudo ./setup.sh and this will automatically install the dependencies for us.

STEP 12:ACTIVATION OF THE VIRTUAL ENVIRONMENT Now that everything is installed we need to run source .hhsmartmirror/bin/activate and running this command will activate our virtual environment within the context of this terminal session so every time you open up a new terminal window and want to start this program you'll have to activate your virtual environment and then you know it's active when you have this parenthesis HH smart mirror in front of your terminal session. ok so now we need to do a couple more things to get this working inside of a the models folder so in the repository there is a.A models folder inside of the models folder there are two models facial-recognition model is used for detecting faces so when we have our webcam hooked up this is basically just a bunch of data points that help the computer vision code determine if there's a face in the image we'll use that for our facial recognition module there's also a wit training data zip and wit AI is what we're using for natural language understanding.
STEP 13: Link the cv.py and cv2.so files and replace $VERSION with the version you found Deactivate the virtual environment
deactivate ln -s /usr/local/Cellar/opencv/$VERSION/lib/python2.7/site-packages/cv.py cv.py ln -s /usr/local/Cellar/opencv/$VERSION/lib/python2.7/site-packages/cv2.so cv2.so
Check that the files are there ls
STEP 14: Edit the bot.py file We have our wit.aI token so we’re just going to edit this and make sure my value is within the quotes and paste it here and you can also notice that there's this weather API token .We got the API token from forecast.IO , forecast.IO has now changed to dark sky net so if you go to dark sky net you can create another account and get an API token from these guys so if I scroll down to the bottom click dark sky API sign up it will give you a API token that you can replace in here. Okay We've edited both those tokens in my bot.py file.
Step 15:Test the launch phrase(Output) We need to make sure that we start our magic mirror before we start the AI portion so I'm going to go into magic mirror directory and type NPM start okay so now that has started I'm going to go back to my AI smart mirror folder using the cd commands and reactivate the virtual environment using source hhsmartmirror/bin/activate and type Python3 bot.py.


Original developers:
https://github.com/HackerShackOfficial/AI-Smart-Mirror
https://github.com/MichMich/MagicMirror