Character Effects
This guide assumes you already have a model prepared for FFXV and will step you through adding character effects to it.
This applies to Steam Workshop mods for outfits and character model replacements.
If you have not yet got a model prepared, please refer to this guide to get started.
WARNING: There have been bugs noted with baking to vertex colours in Blender 3.2.
It is currently recommended to work in Blender 3.0 until such a time as these issues are resolved.
We are unsure if this has been resolved in Blender 3.3 at this stage.
- Introduction
- Preparing the Model
- Creating colorSet
- Creating colorSet1
- Creating colorSet2
- Testing Character Effects
Vertex colours are RGB values associated with a particular vertex on a model. This information can be used for any number of things, but this guide will specifically cover what they are used for on FFXV character models.
Workshop mods that are created without Vertex Colour information will still function correctly in-game, but they will not express the effects outlined in the table below.
| Appearance | Purpose |
|---|---|
This layer is split into three channels which each control a different effect. These are:
|
|
| This layer is responsible for blood and bruising. Each channel masks a separate texture, and the textures are different for clothing than they are for skin. This effect is very subtle. | |
| This layer contains baked Ambient Occlusion (AO) information for jackets. The reason this is separate to the AO texture is so that the shadows can be removed when the jacket is removed. However, Workshop mods do not support removable jackets, so this layer is not applicable. |
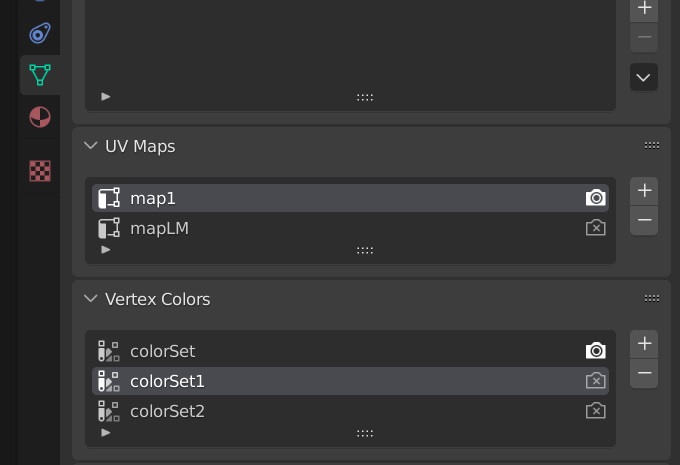
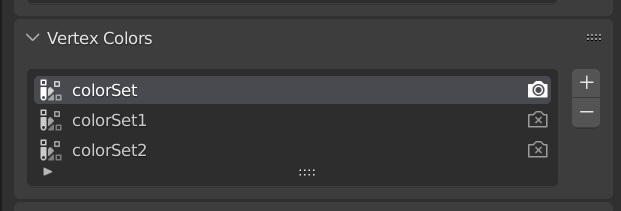
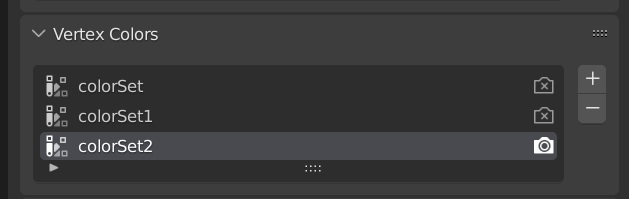
If you are working with a mesh without vertex colour layers, simply add three colour layers to each mesh, and name them colorSet, colorSet1, and colorSet2 in that order. To do this, select your mesh, go to the Object Data Properties tab then next to Vertex Colors, hit the + button three times. You can double click a layer to rename it.
NOTE: The Vertex Colors panel is called Color Attributes in Blender 3.2+
If you are working with a mesh with vertex colour layers (such as a Flagrum-imported FFXV model), then this is handled differently. Some models will import with a colorSet3, which is always a copy of another vertex colour layer. This doesn't serve any purpose and should be deleted. Some colour layers on certain models also do not match with the appearance displayed on the above table and will cause issues when put in-game because of this. For the layers that are correct, it is recommended that you leave these as they are. For the layers that are not correct, it is recommended that you rebuild them following this guide. Regardless of how you approach this, you should have a colorSet, colorSet1, and colorSet2 on each mesh in your model.
Blender has the ability to bake vertex colour information from materials. We will take advantage of this to easily generate the required colour layers for each mesh.
This layer is split across the three RGB channels. The table below shows what each channel looks like in isolation so you can visualise what each one should look like. You may refer back here while creating each channel to compare your progress.
| Red | Green | Blue |
|---|---|---|
Select the mesh you wish to start with, then create a new blank material. As this is being setup for the vertex colours for a mesh named "Tops" in this example, I will name it "Tops_vcolors" to keep track of what it's for.
The red channel controls the presence and intensity of magic damage effects such as burns from fire, or ice from cold spells.
This is by far the most involved part of this whole process, so don't let it scare you. It only gets easier from here.
You can see from the example image that the amount of redness on clothing and hair is quite high, while the amount on skin is very low. It is also more intense on top. To replicate this effect, we can use a light source above the model.
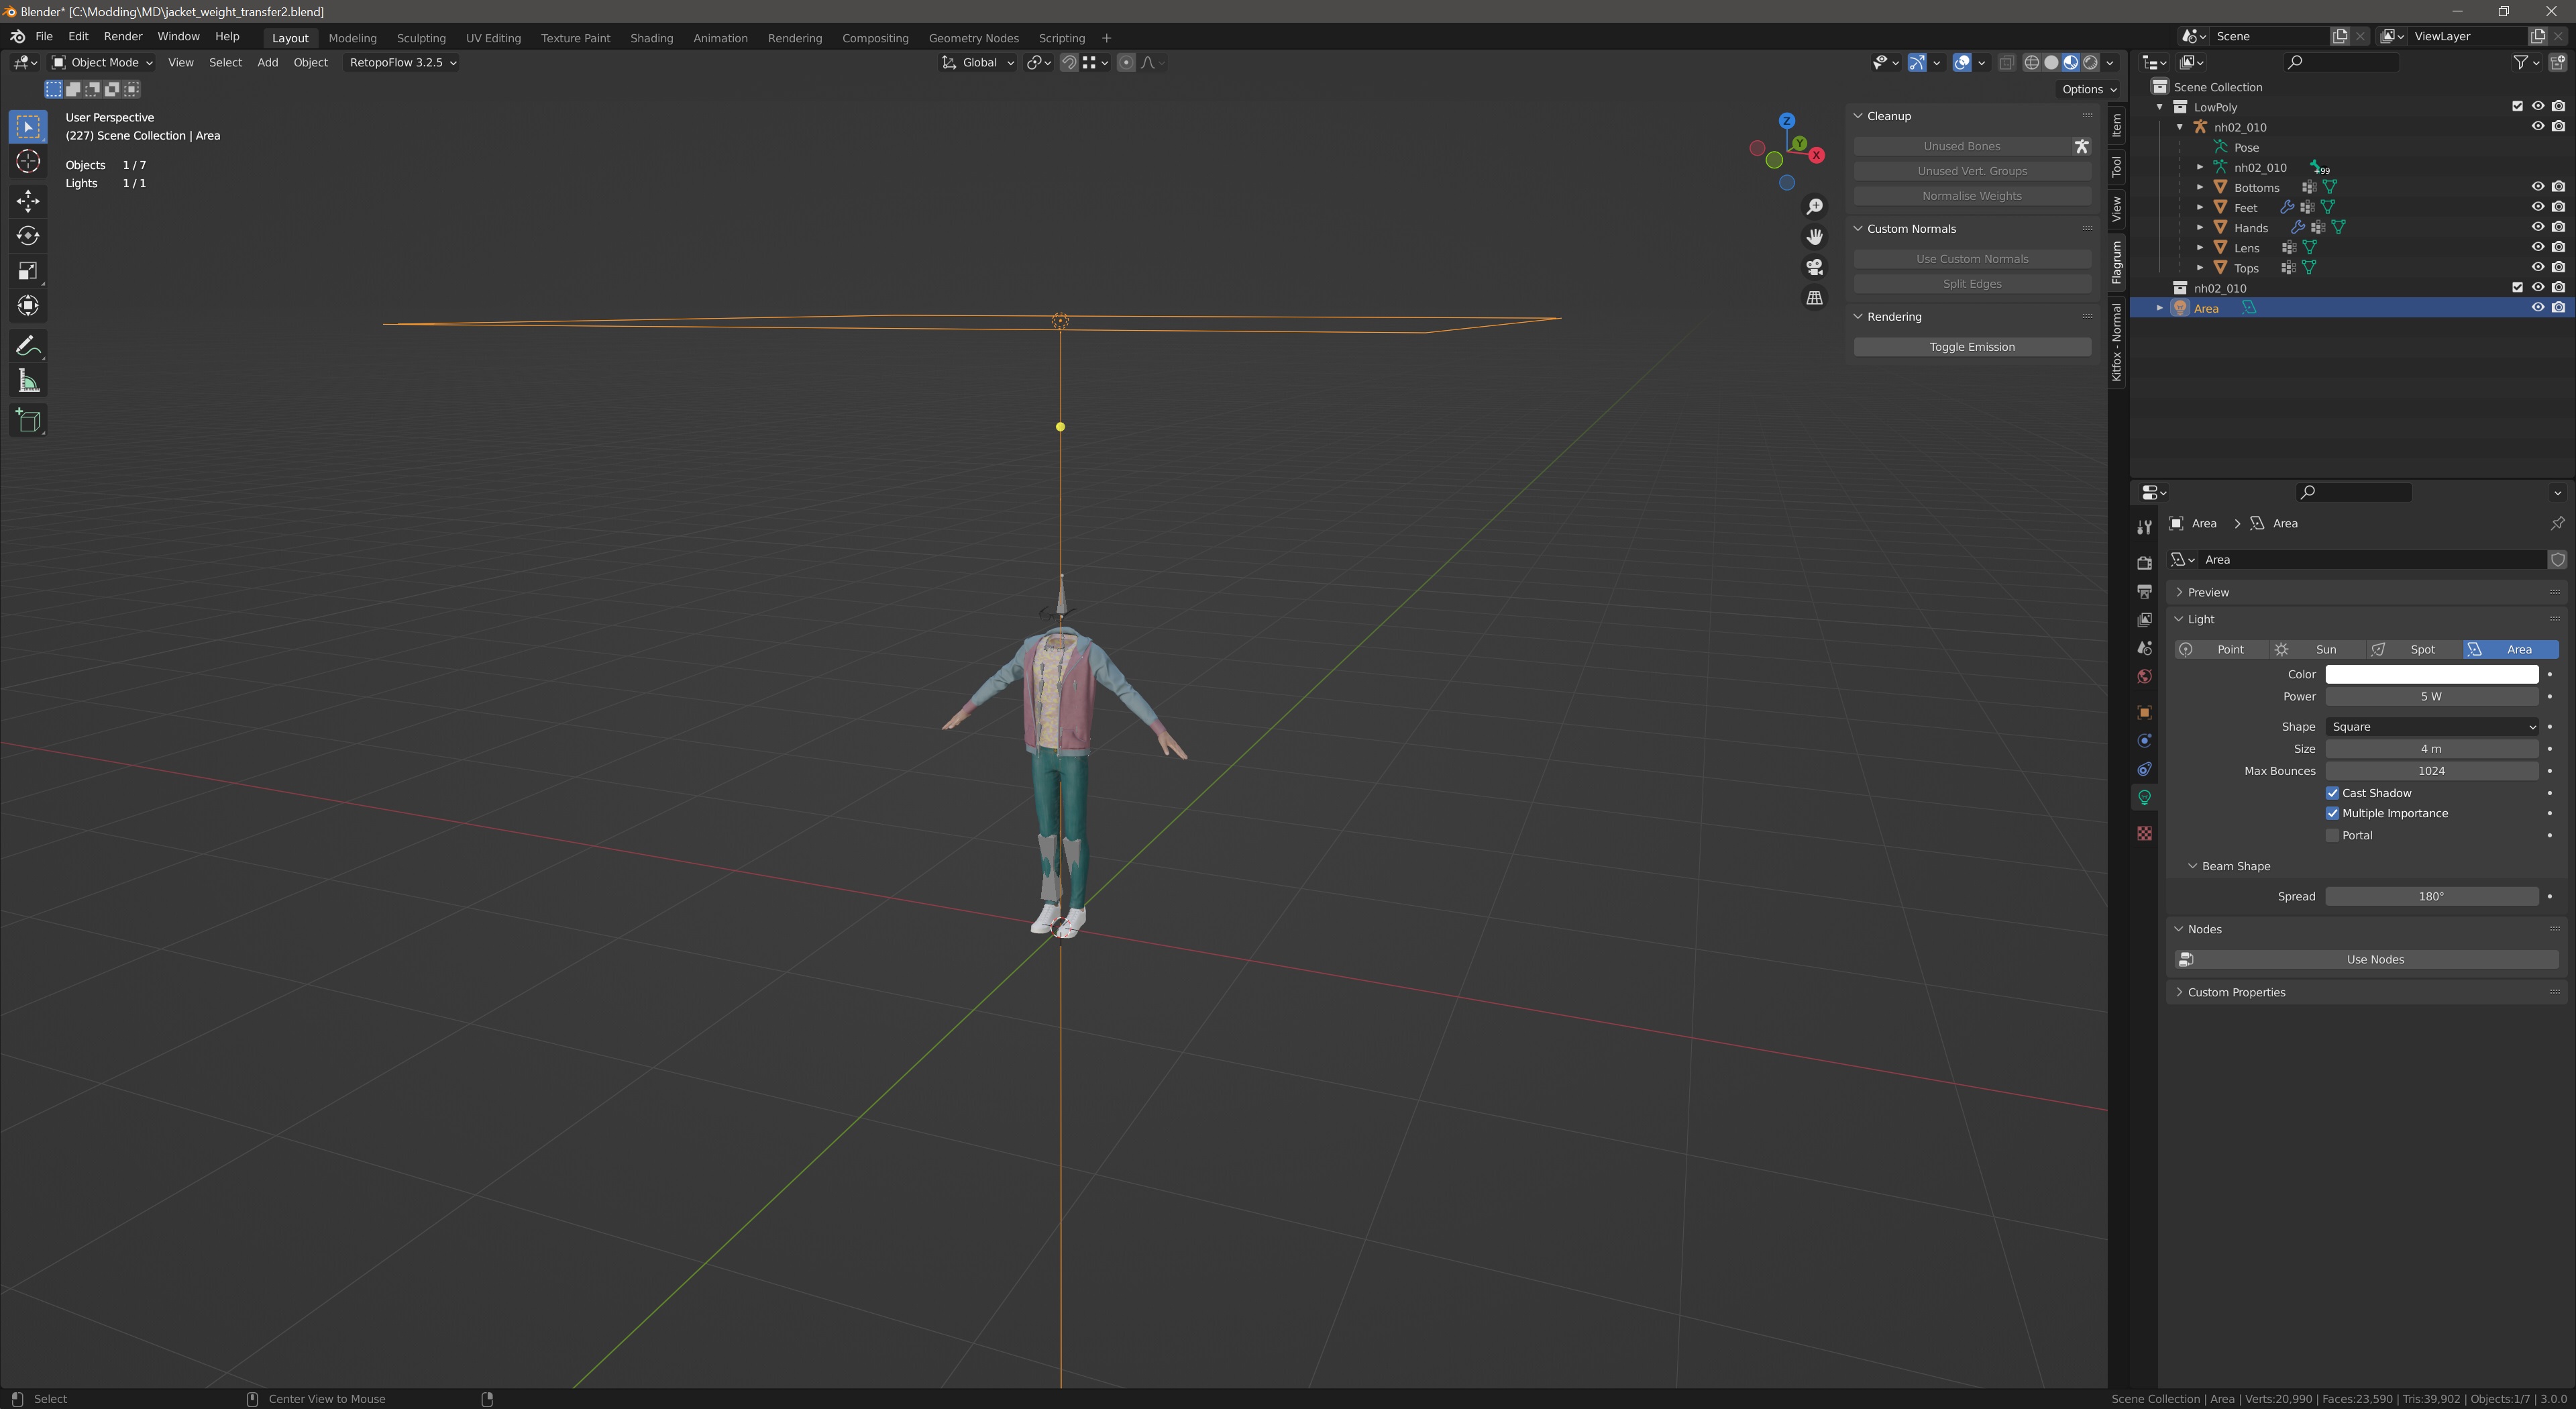
Back in 3D view, add an Area Light to the scene. Shift + A > Light > Area.
Move it 3m above the ground above the model. G > Z > 3.
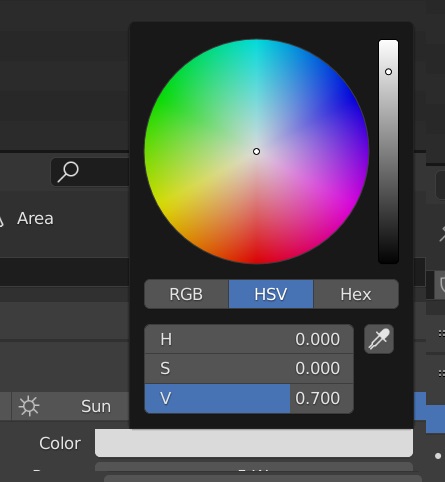
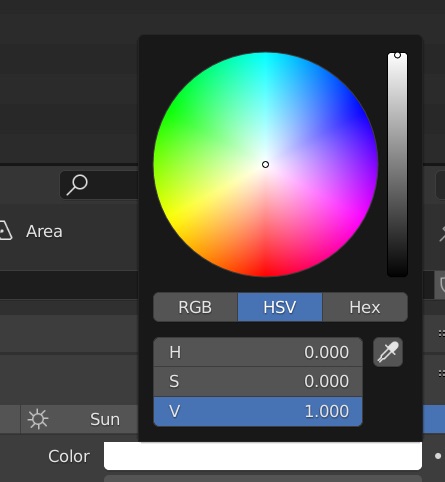
You will need to change the intensity of the light according to whether the mesh is skin or not. For this guide we'll do so by adjusting the colour of light source. Feel free to adjust the light however you see fit, but this method seems to work well.
| Skin | Not Skin |
|---|---|
 |
 |
Please also note the other light settings in the below image as they have also been adjusted.
Since the "Tops" mesh in this example is clothing, I have set this light up accordingly. It should look something like this.
Next, this light needs to be baked to a texture so it can be plugged into the the material. Back in the material, create a new Image Texture Shift + A > Texture > Image Texture.
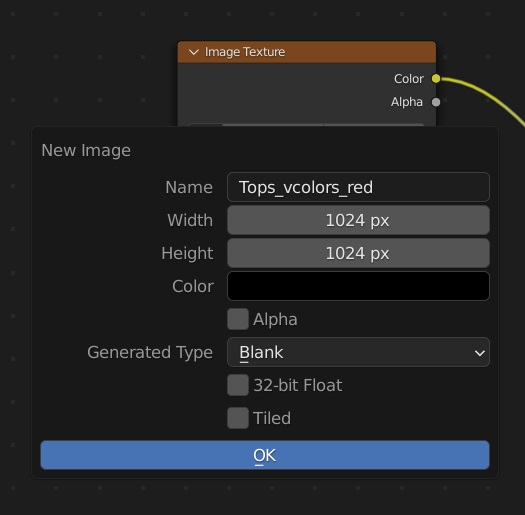
Now hit the New button on the Image Texture node to create a blank texture we can bake to.
These settings will work fine. Give it an appropriate name so you can identify it in the next step.
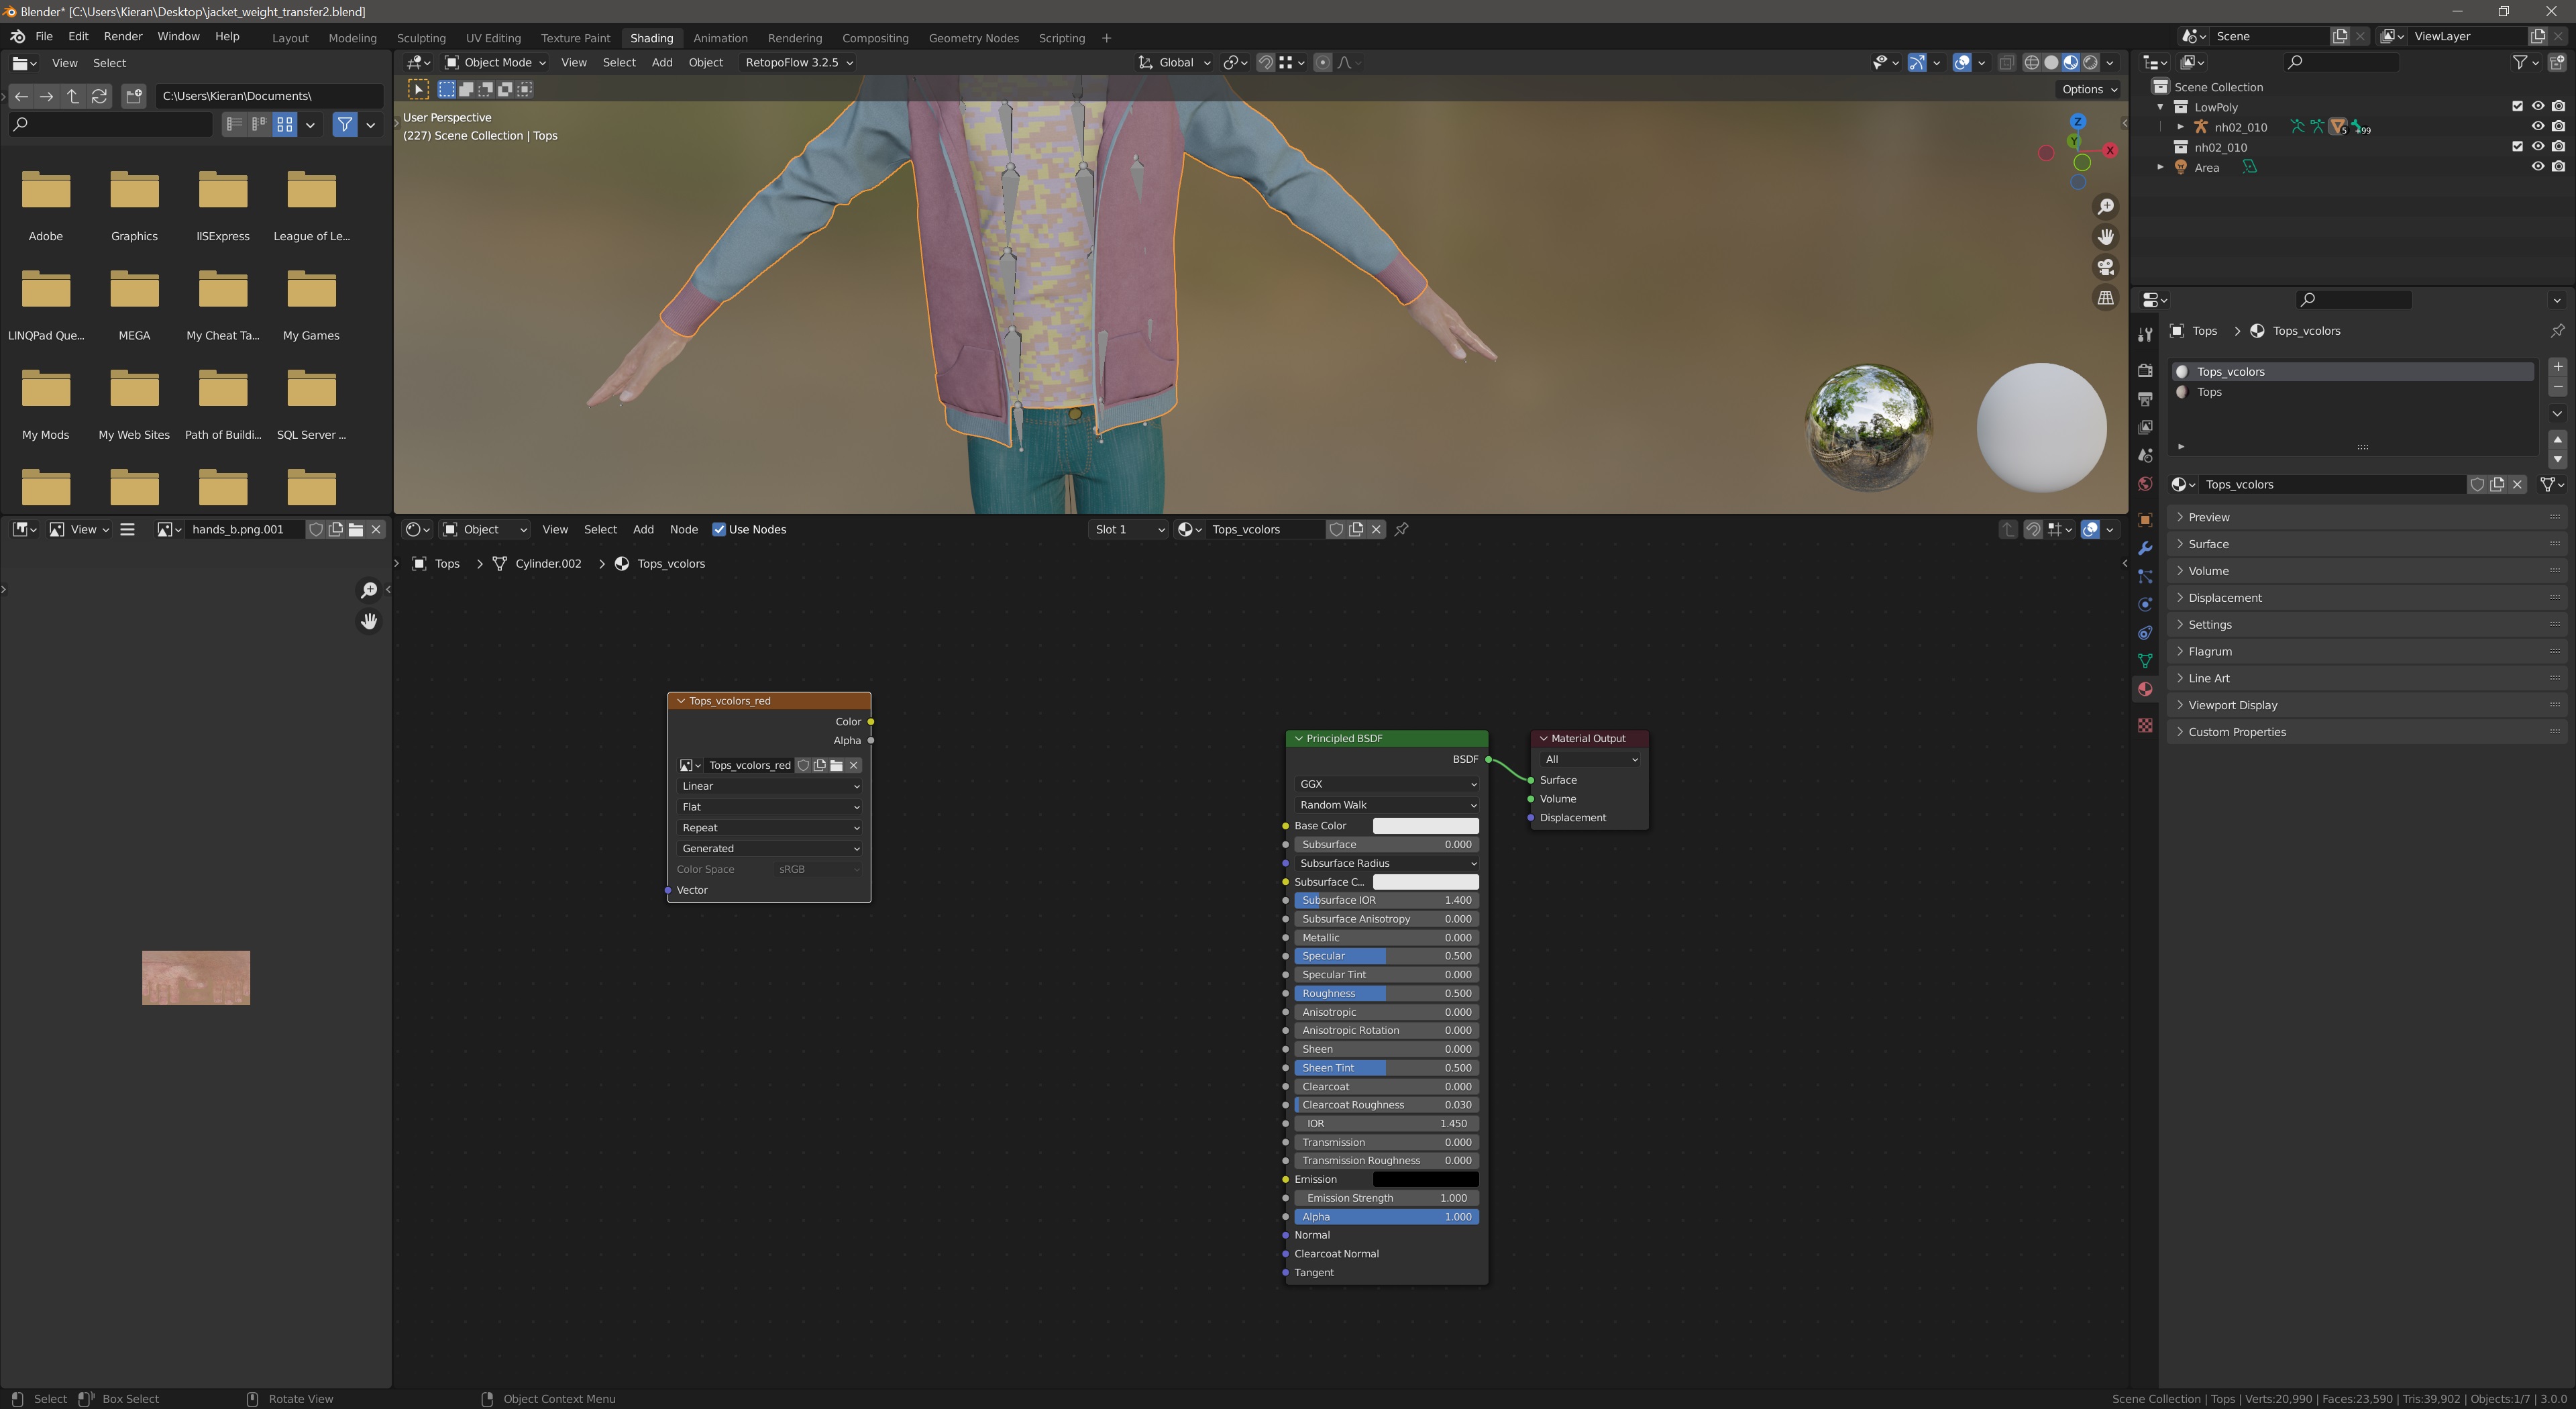
Before proceeding, it is vital that nothing is plugged into the Principled BSDF inputs, the Base Color on the Principled BSDF is set to white, and the output is plugged into Surface. Also ensure the mesh is still selected.
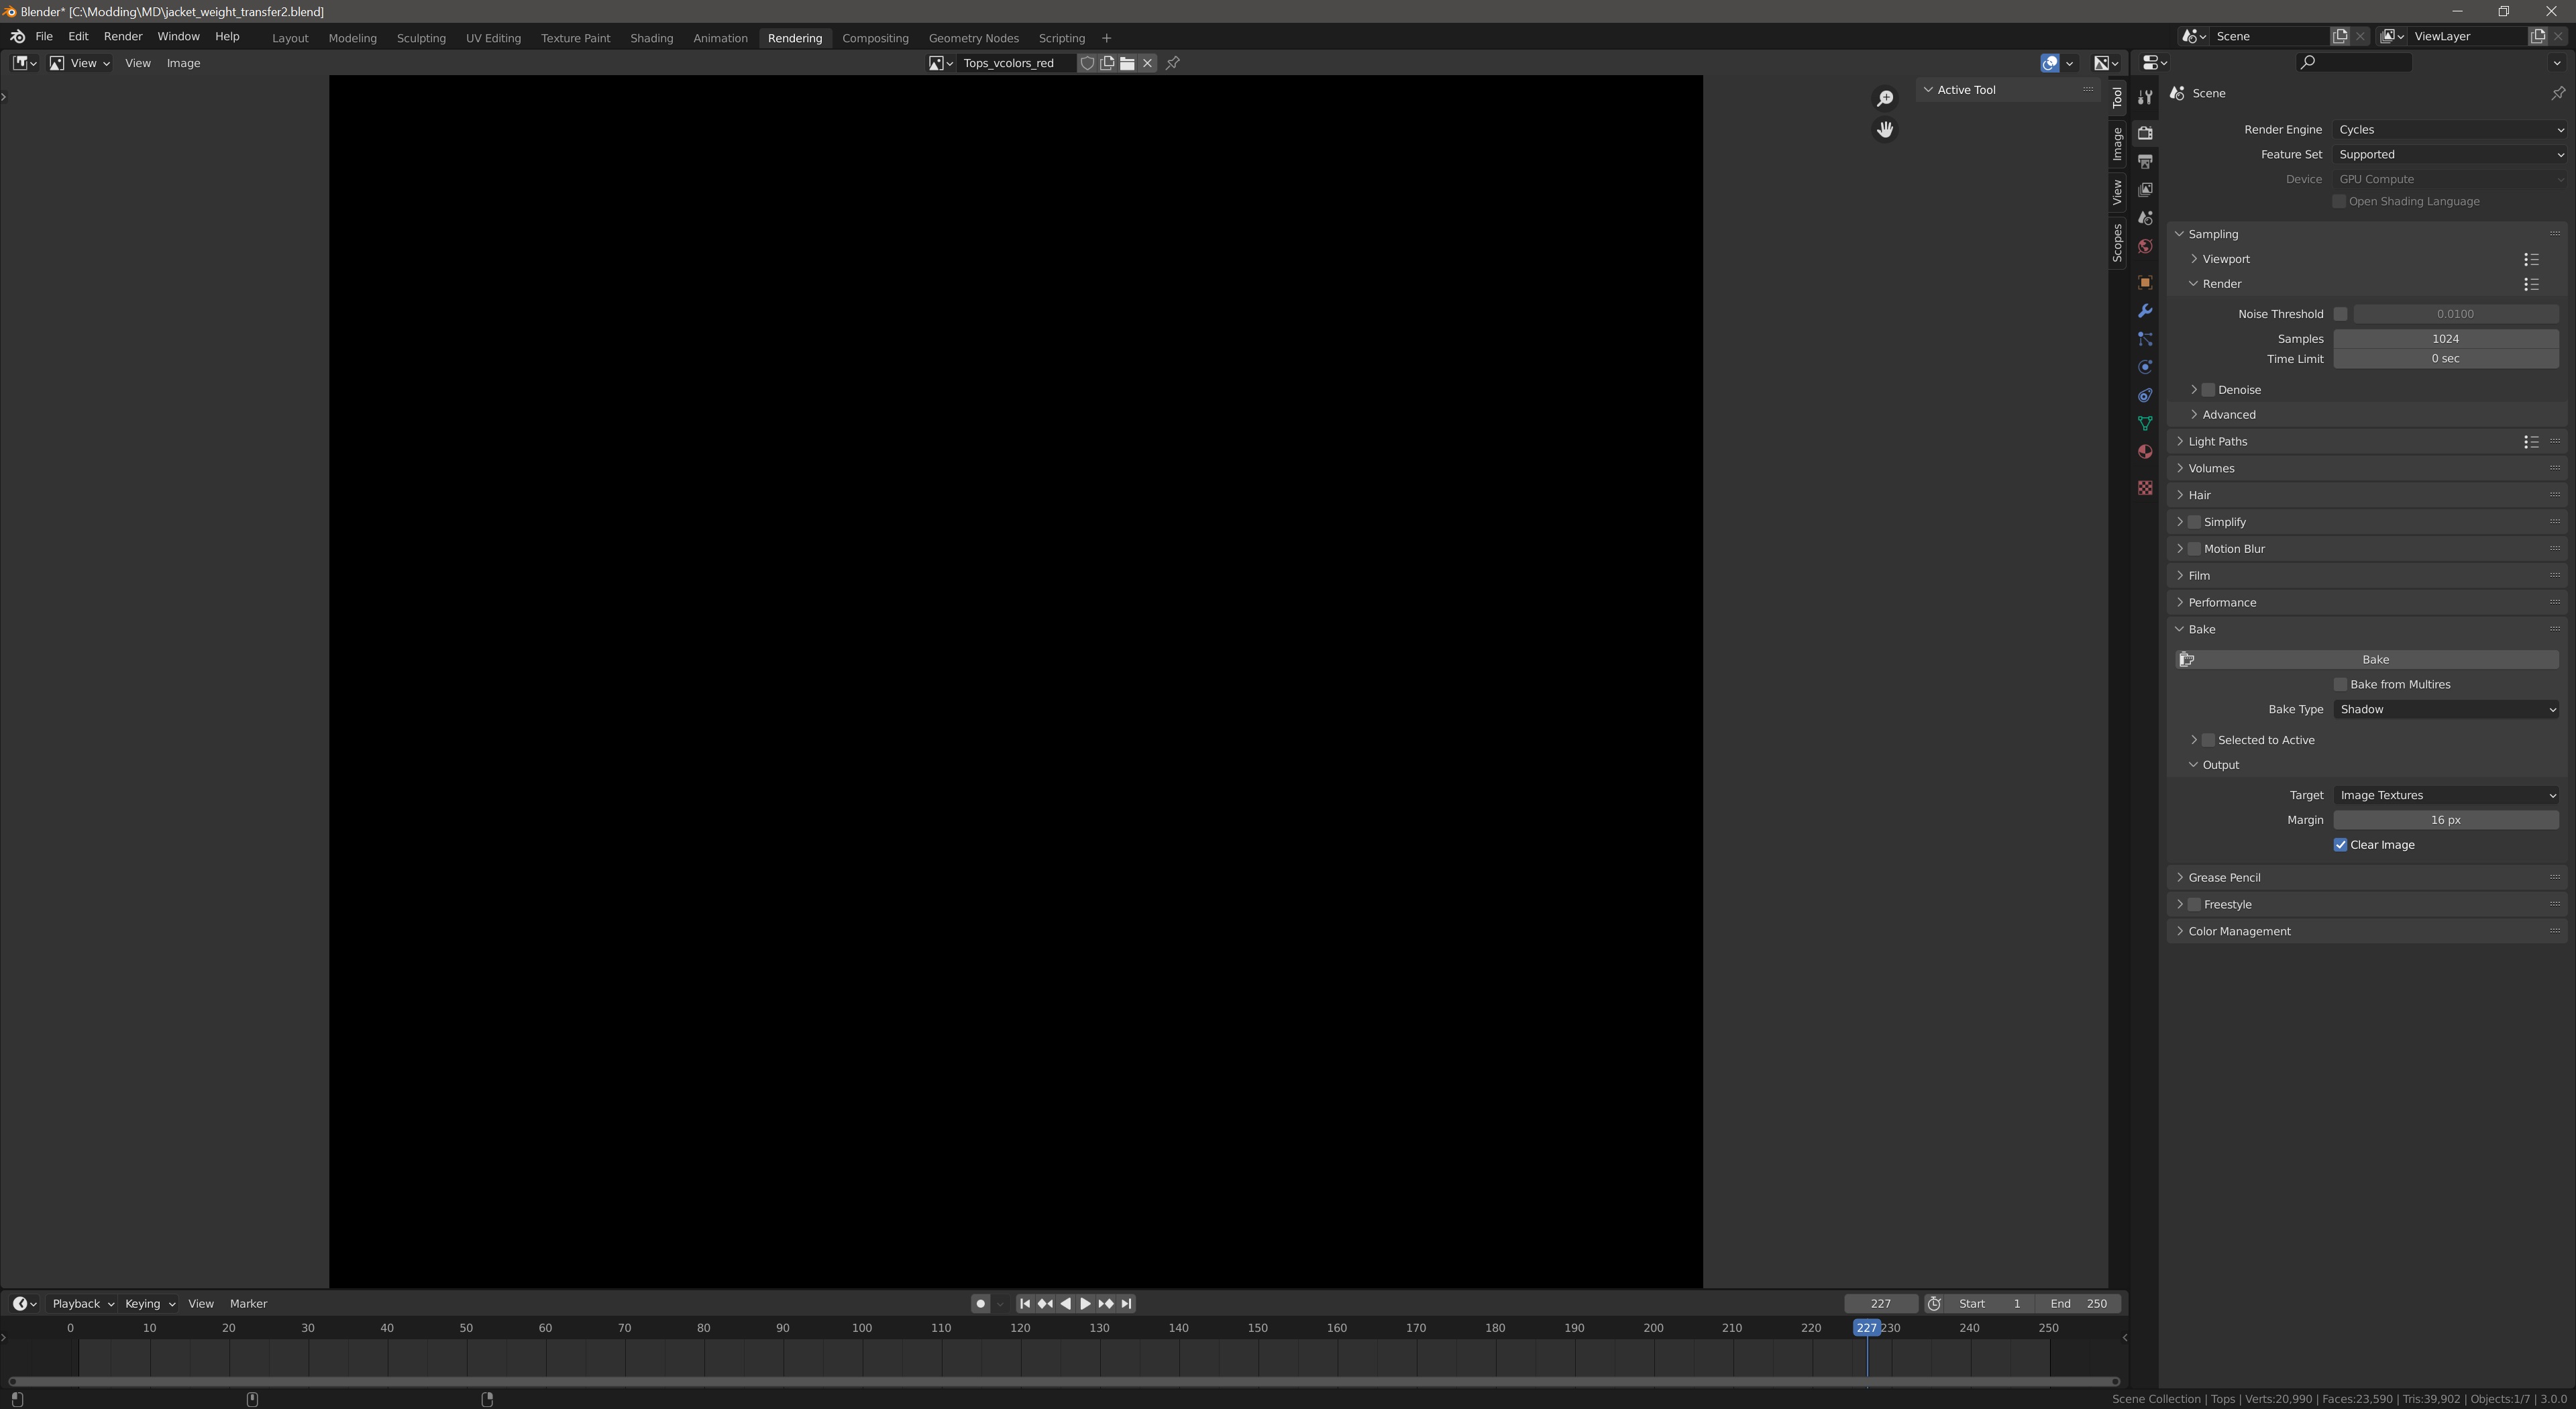
Finally, switch to the Render tab and select the image you just created. Ensure your render engine is set to Blender Cycles, your bake type is set to Shadow (as we are baking the light source), and your output target is set to Image Textures. The quality of this bake isn't very important as it will lose most of its detail anyway. This is because game models are low-poly, and we can only have one colour per vertex, so it is inherently low-resolution. Due to this, just use 128 samples to keep things quick.
Once you have set everything up, hit Bake and if you have done everything correctly, you should now have some black and white lighting on the texture.
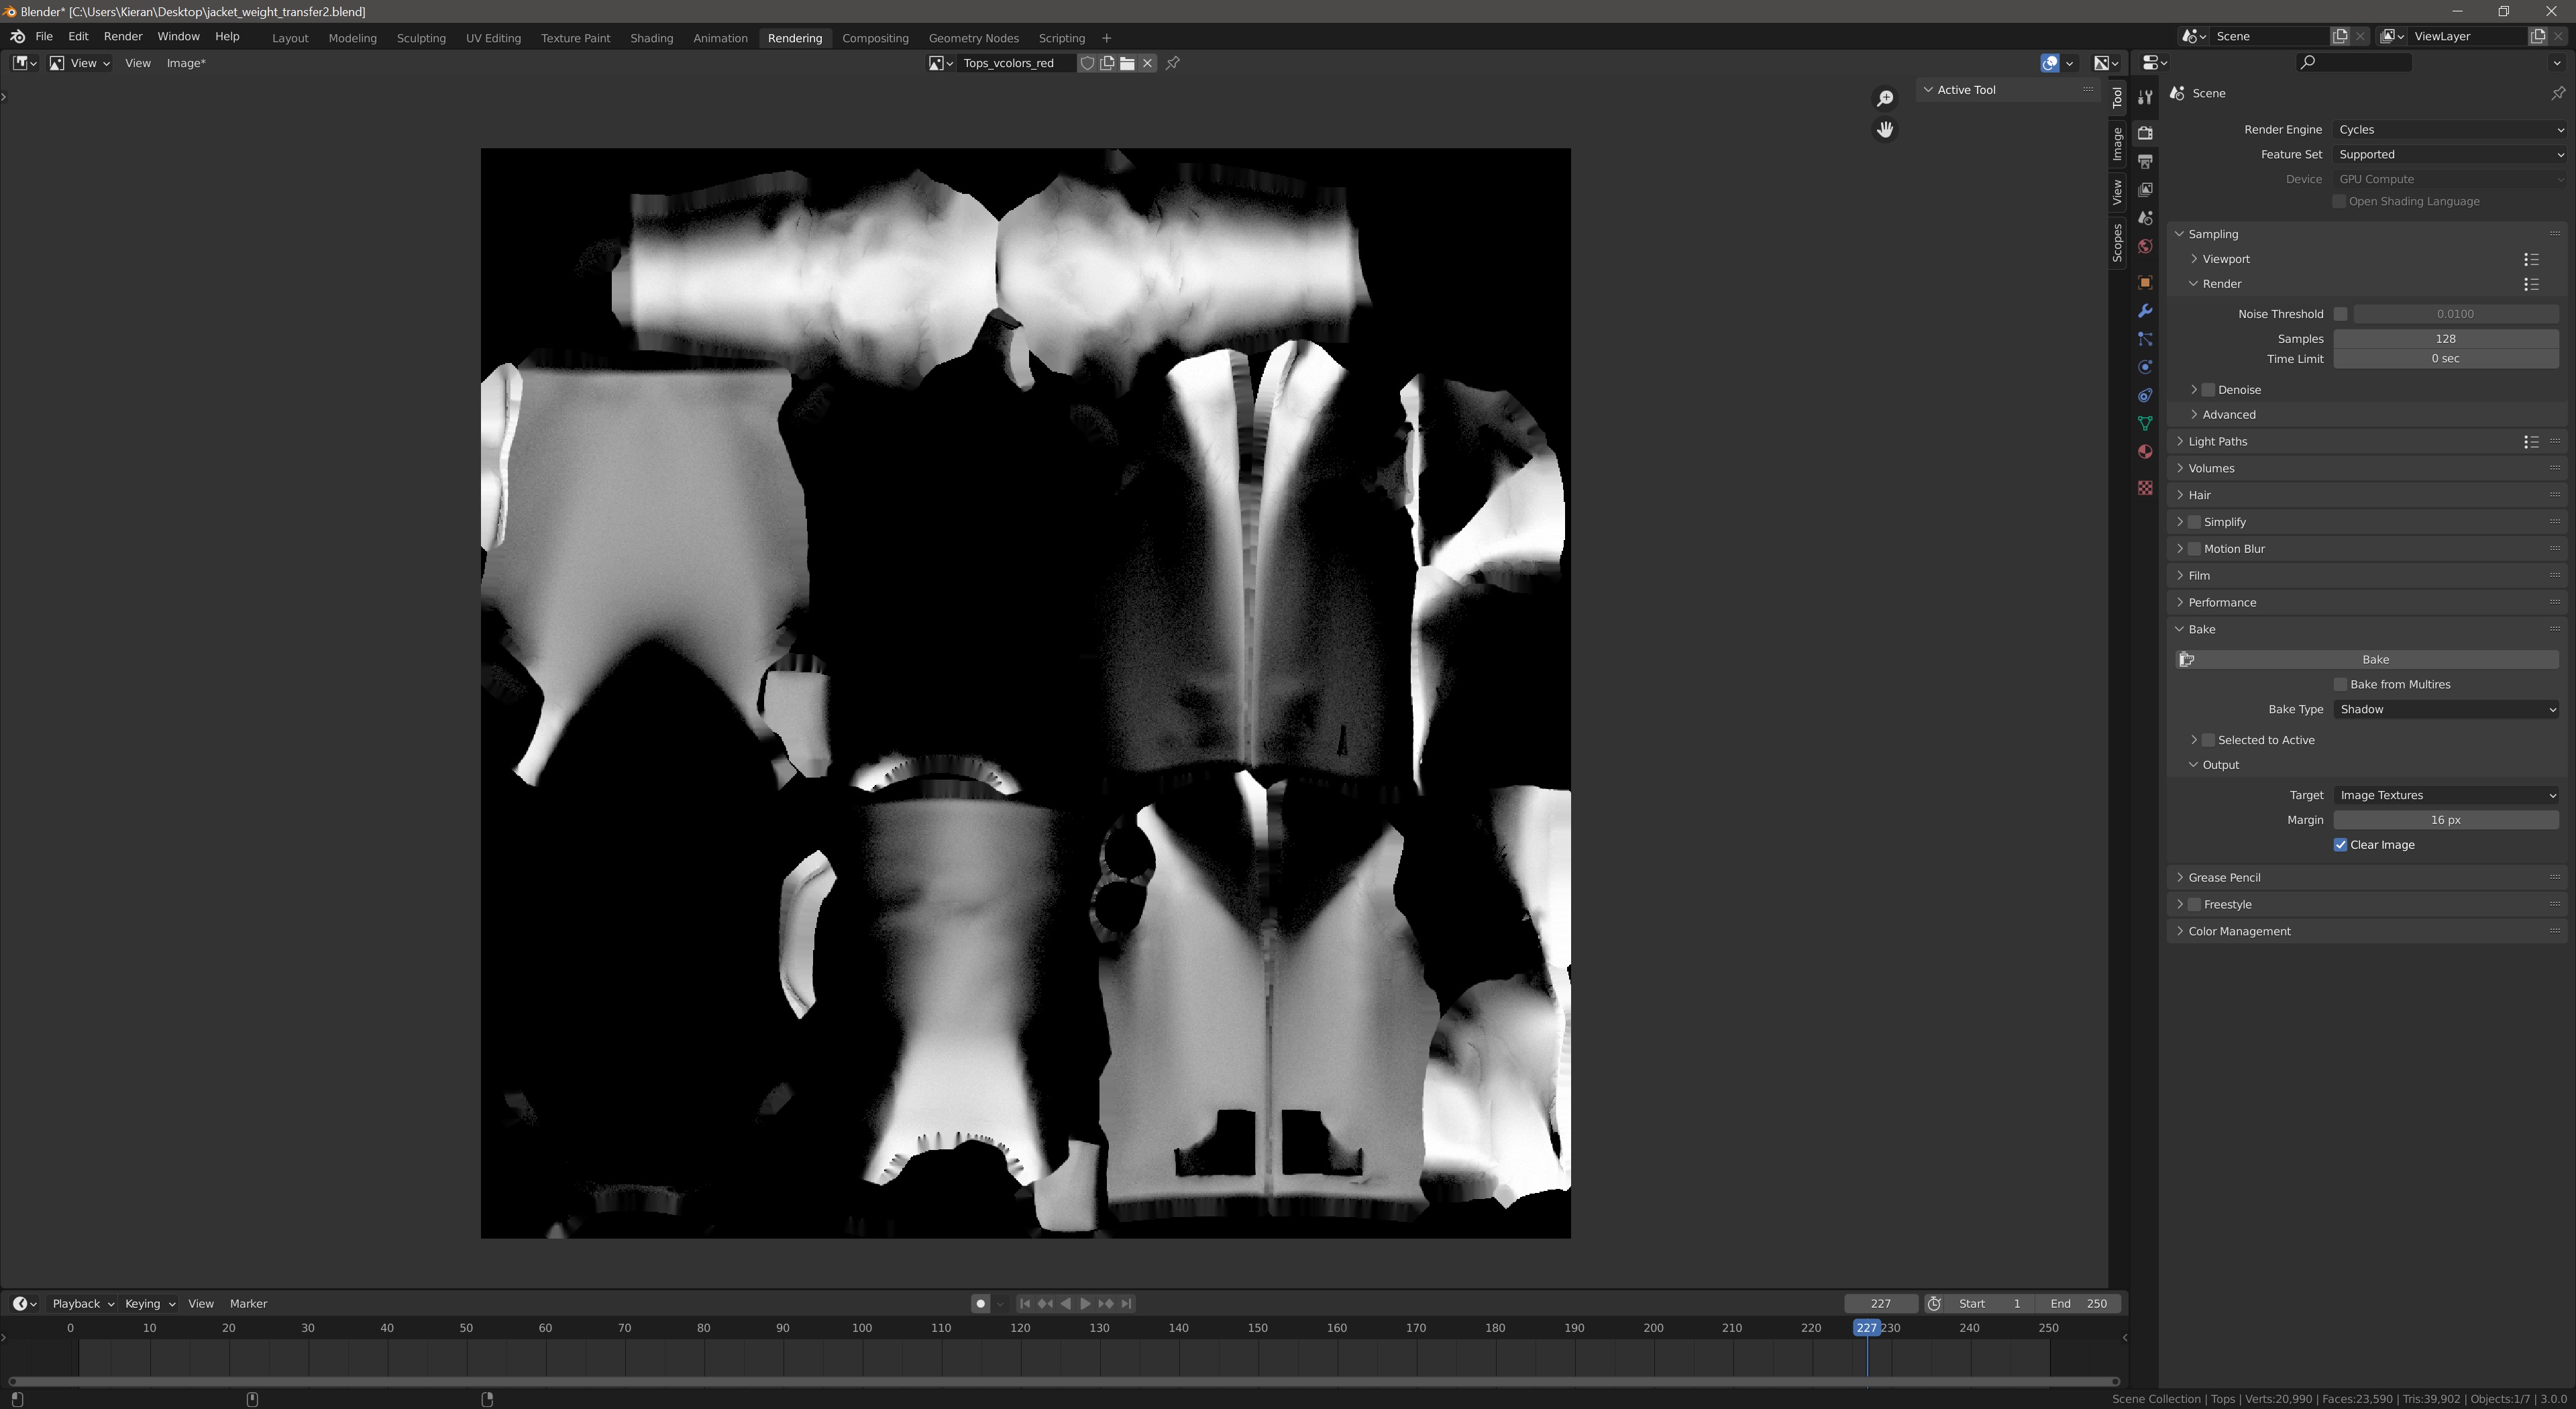
Please note that the light settings required may vary drastically from model to model. This particular setup was done on a model that had a normal map and MRS texture plugged in prior. You may temporarily plug the Image Texture into the Principled BSDF to preview what the result looks like. If it does not look similar to the example image in the table at the start of this section, try switch over to Rendered View and play with the light settings until you get something that looks similar. Then try the bake again.
The green channel controls where sweat appears on the model, and how much. To put it simply, you generally want maximum intensity on skin, and zero intensity on clothing. This can be done extremely simply while combining the three channels, so it will be covered later in the guide.
You may want some mid-range intensity on clothing that would get sweaty like t-shirts, but that won't be covered in this guide. If you would like to learn how to do this yourself, you basically just need to create an image texture as we did for the red channel, then you can use Texture Paint mode to paint some mid-greys in the appropriate places.
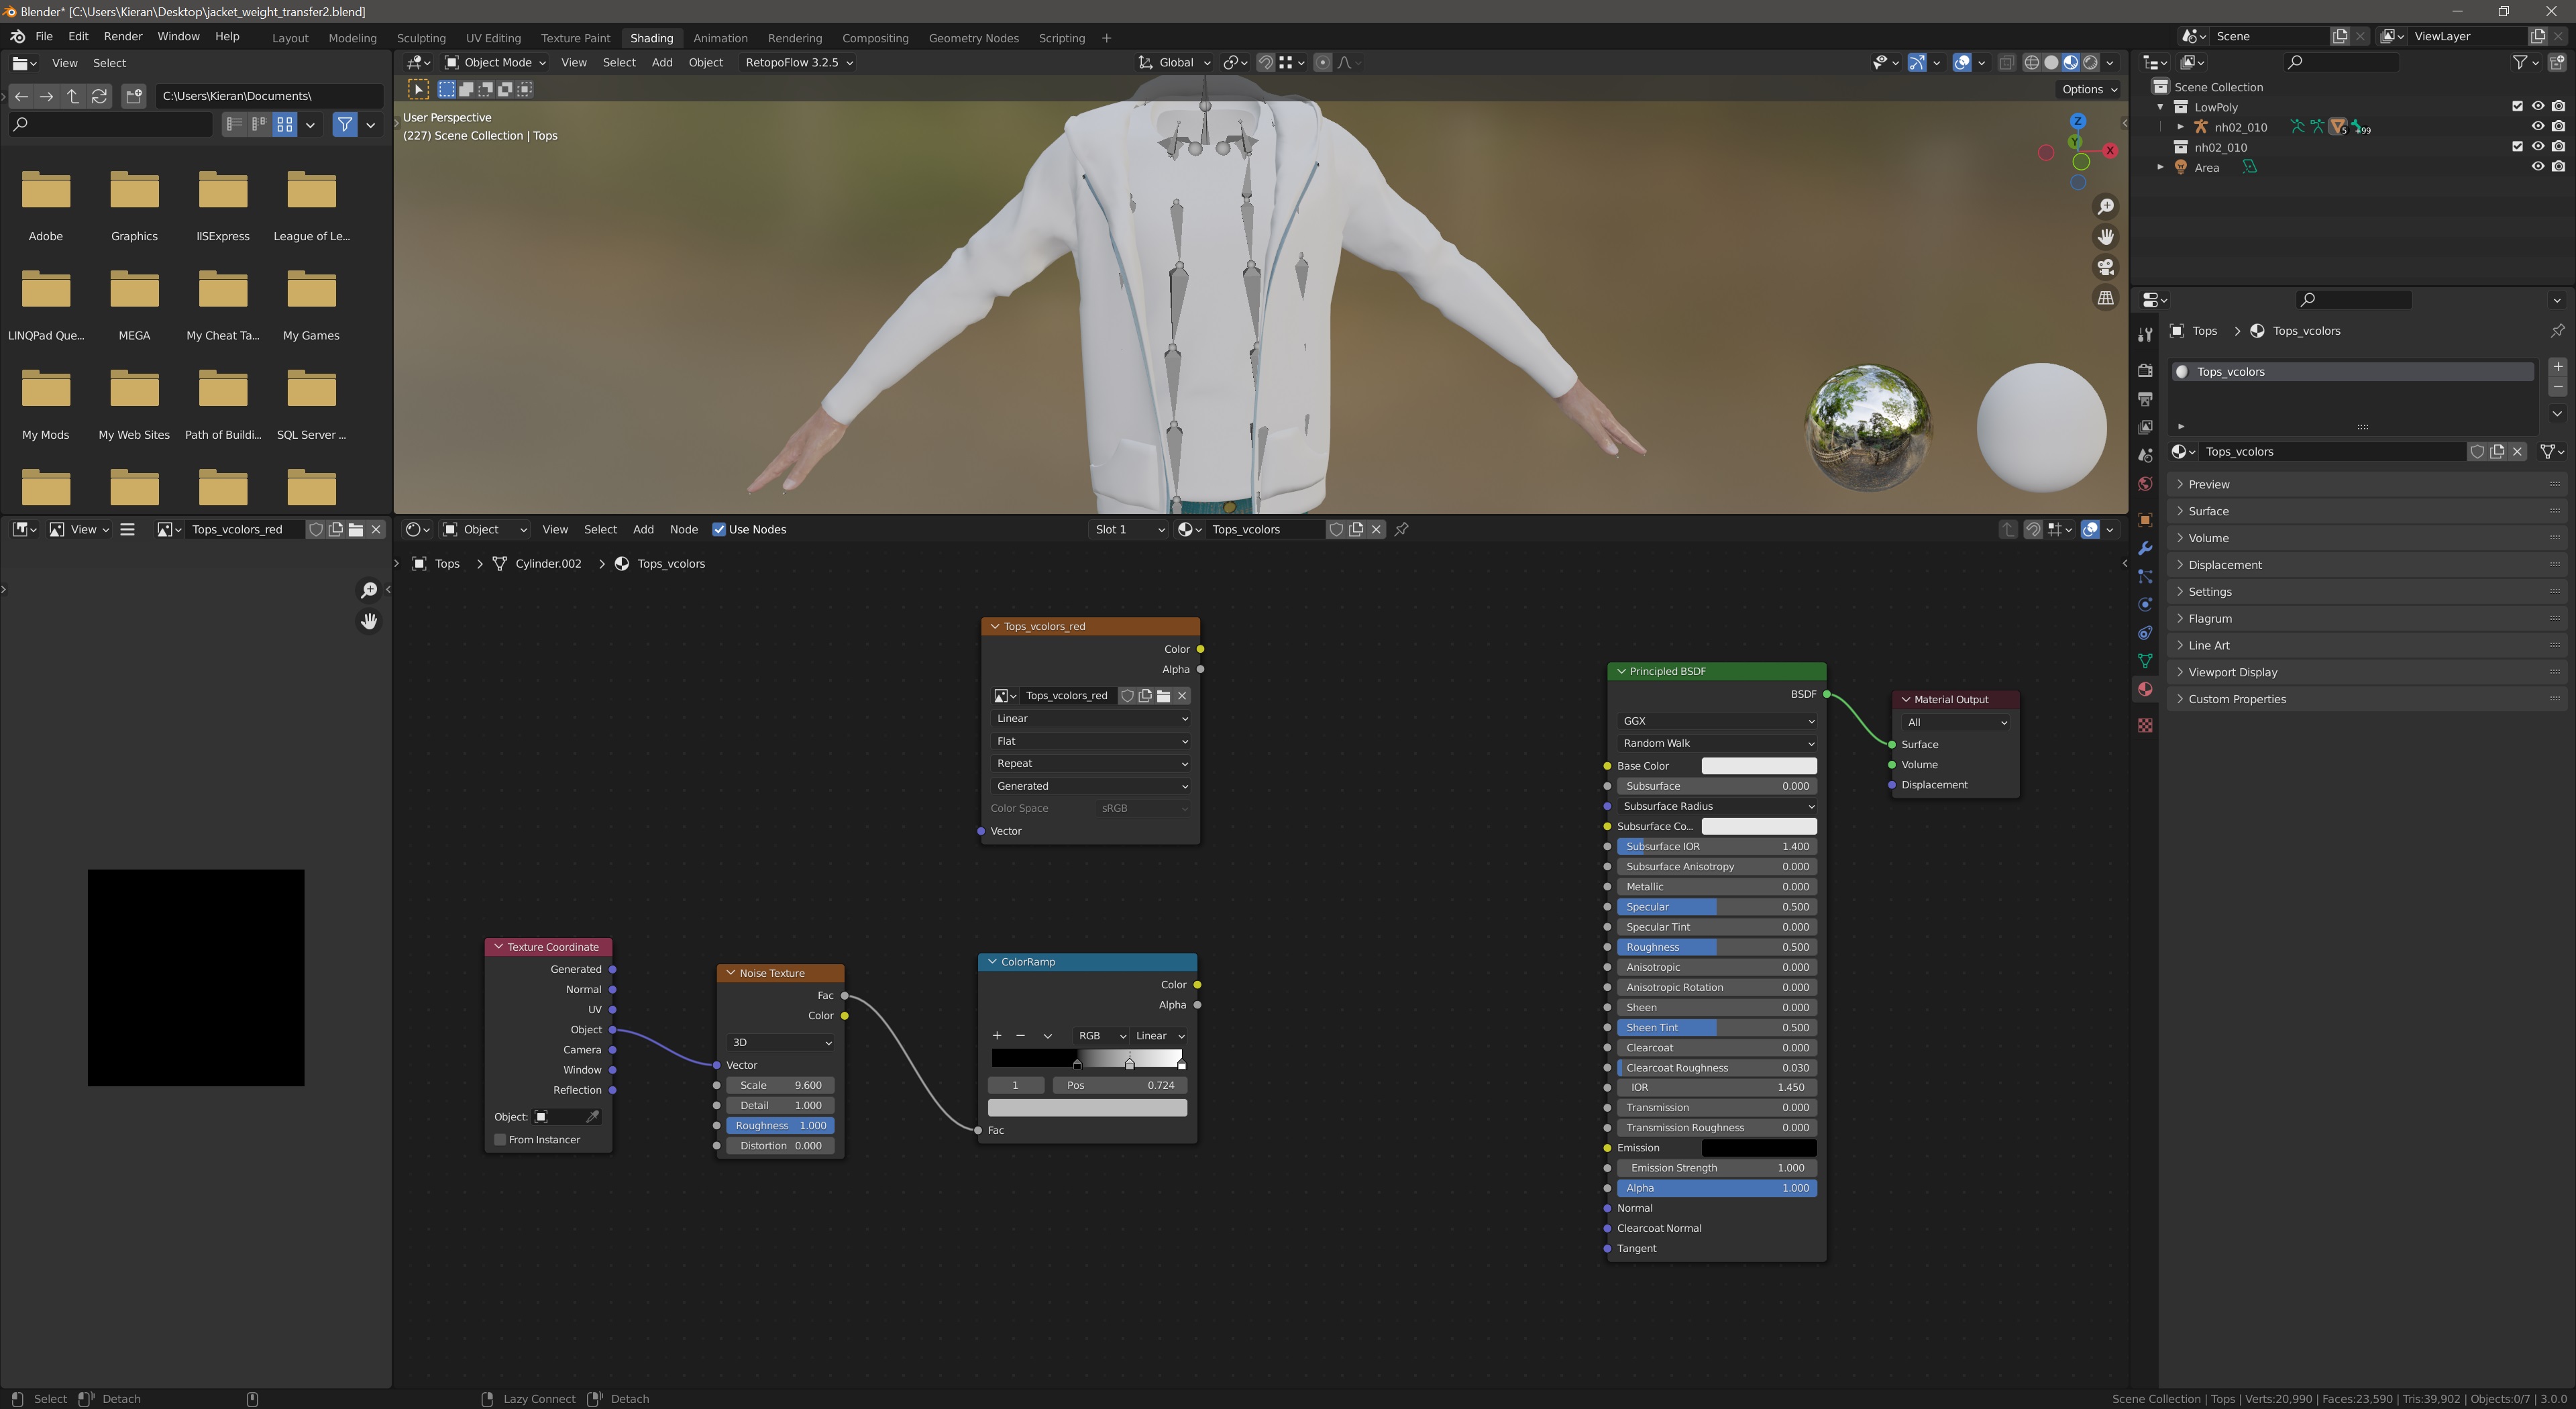
The blue channel controls the amount of dirt the gets on the model when the character gets dirty, and where it's applied. To keep the appearance of the dirt nice and varied, we will create a noise texture.
Back in the material, create a Noise Texture node. Shift + A > Texture > Noise Texture.
Set the Scale value to 8.9, Detail value to 1.0, and Roughness value to 1.0. You can adjust these values as you see fit, but these defaults work well.
As we need to apply this texture cleanly to the model, we will also need to plug the object's texture coordinates into the noise texture. Create a Texture Coordinate node Shift + A > Input > Texture Coordinate. Plug the Object port into the Vector port of the noise texture.
Finally, we need to use a Color Ramp node to correctly apply the desired intensity of the noise texture to the model. Create a Color Ramp node Shift + A > Converter > Color Ramp. Referring back to the blue channel image in the table at the start of this section, notice how certain parts such as skin, gloves, and boots get much dirtier (the lighter parts are where the dirt will be applied) while the clothing does not get as dirty and has less contrast. For the high-contrast areas, add an extra colour stop by clicking the + button on the node. You can then adjust the colour of each stop and the position to produce different results. You may temporarily plug the Color Ramp node into the Base Color of the Principled BSDF to see the results of your changes in real-time. Below are some examples of each setup.
| Skin, Gloves, Boots | Clothing |
|---|---|
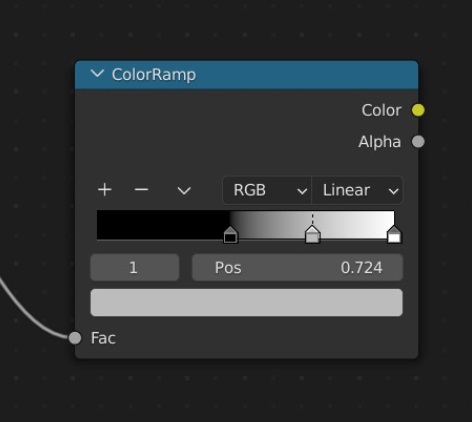 |
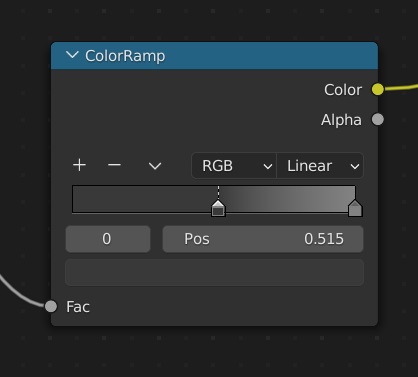 |
Once the blue channel is setup correctly it should look something like the image below.
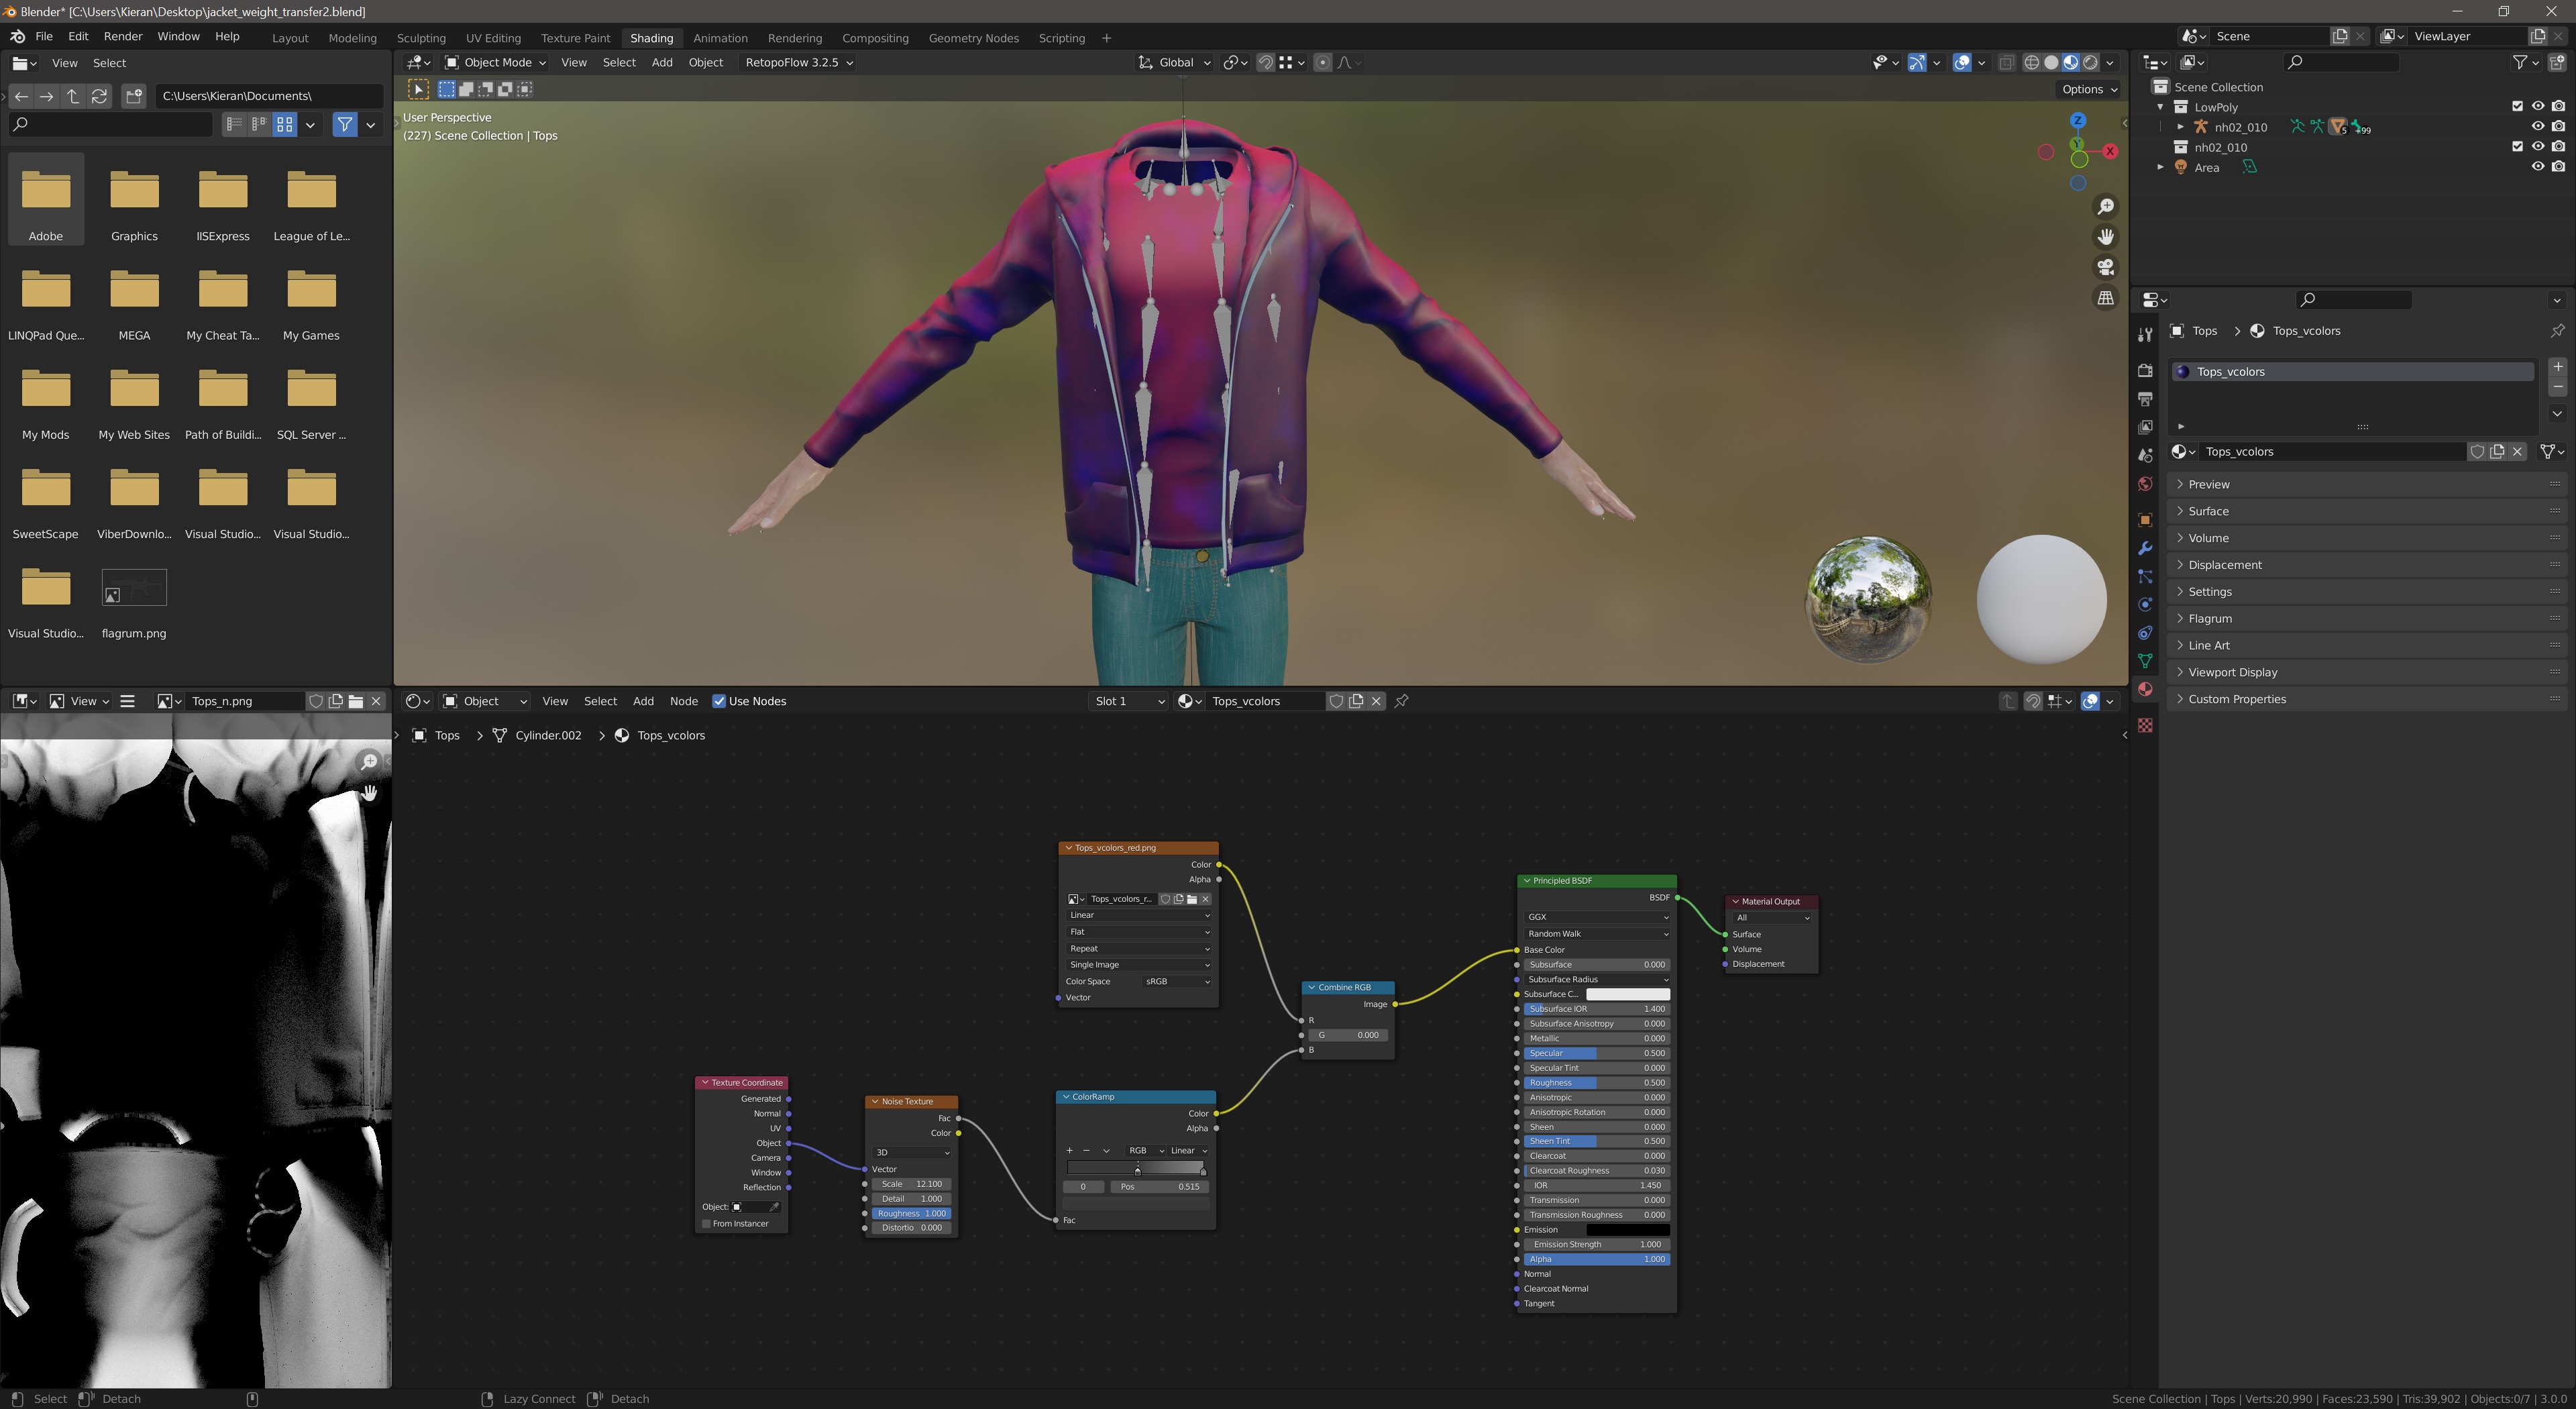
The three channels must now be combined to create the final result.
- Create a Combine RGB node
Shift + A > Converter > Combine RGB - Plug the
Combine RGBnode into theBase Colorport on thePrincipled BSDF - Plug the Image Texture from the red channel into the
Rport on theCombine RGBnode - Set the
Gchannel on theCombine RGBnode to 1.0 for skin, or 0.0 for clothing as discussed in the Green Channel section - Plug the Color Ramp from the blue channel into the
Bport on theCombine RGBnode
You should now have something like this, and a result that is similar to colorSet from the table at the start of this guide.
This one is much quicker and easier than the light bake. Make sure your material from the above step is applied to the mesh, and ensure the colorSet vertex colour layer is selected and set as the render target (camera icon).
- Change the bake type to
Diffuse, as we are using theBase Colorof the material as the source for the bake - Change the output target to
Vertex Colorsas this is where we need to bake to - Hit
Baketo finish the process
NOTE: If you are using Blender 3.2+, Vertex Colors has been renamed Color Attributes.
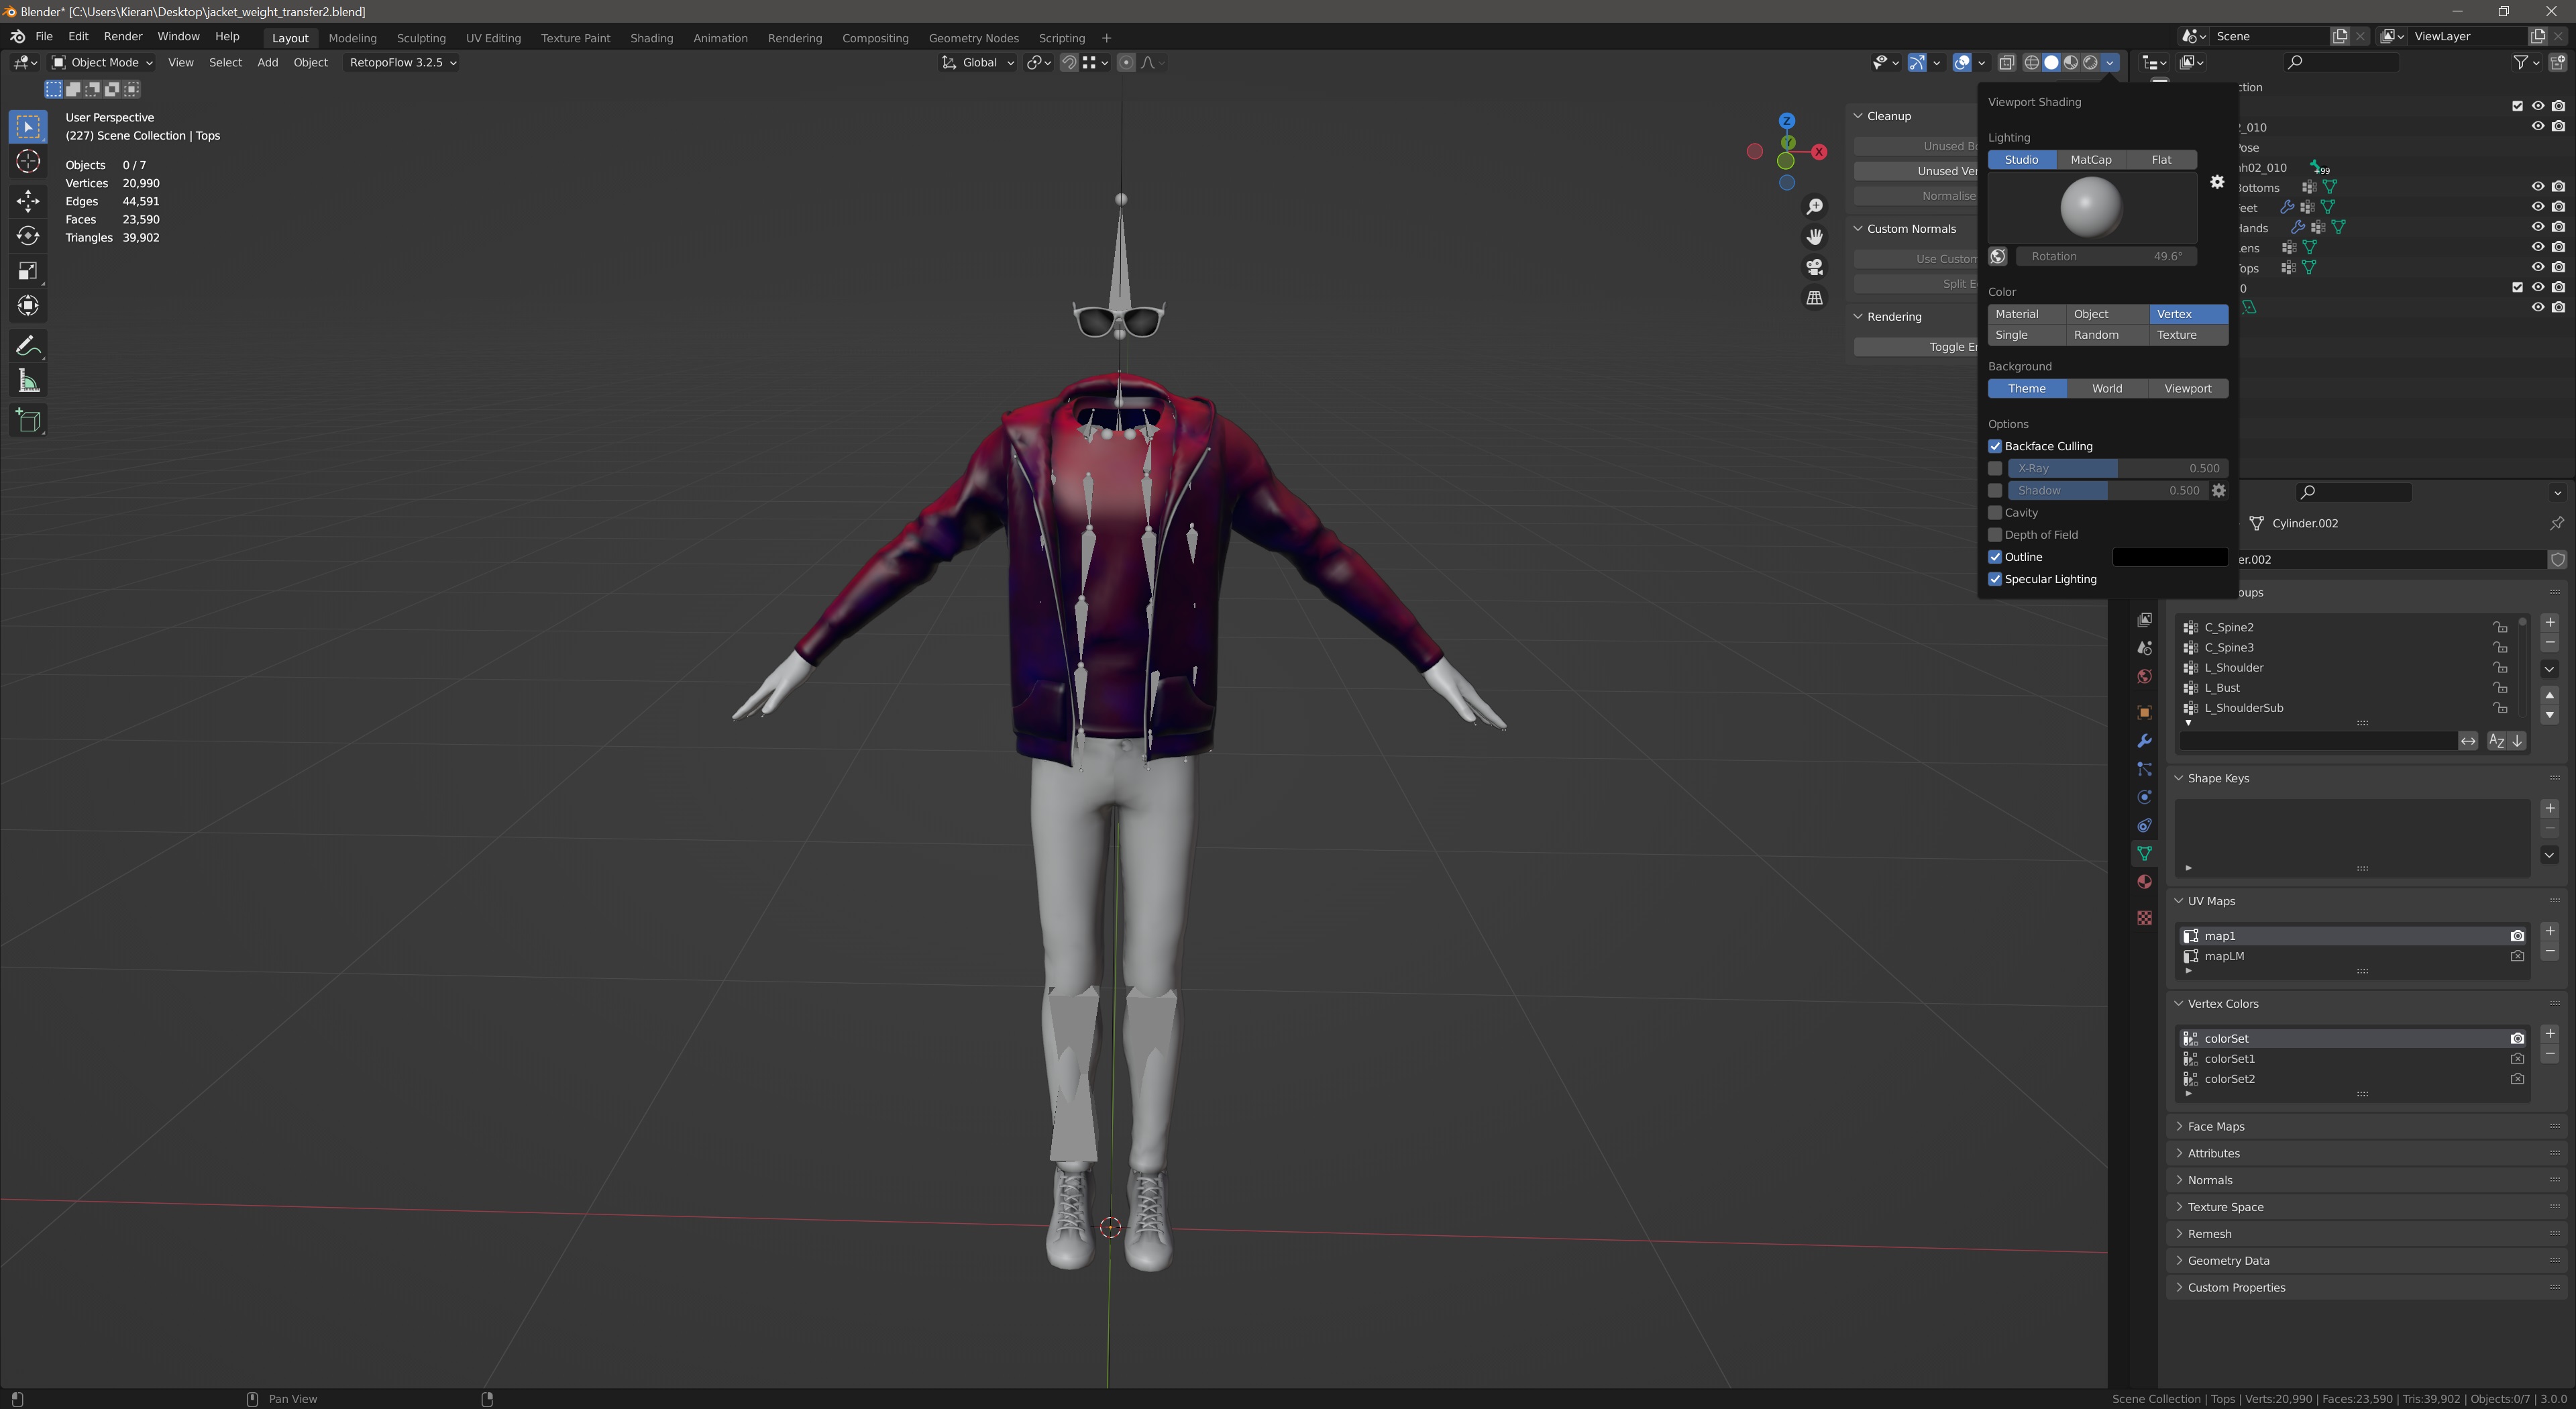
Your result should look similar to the colorSet image in the table at the start of this guide. You can view the result by changing the Viewport Shading colour to Vertex as shown in the image above.
Now that the vertex colours have been baked to colorSet, this material is no longer needed. You may wish to keep it in-case you want to make any adjustments and rebake again later, but it is safe to delete it if you want to clean up the workspace. Alternatively, you may also want to reuse it for the other meshes, which you can do as well. You will just need to bake a new red channel and adjust the blue and green channels if required.
As noted in the colorSet table, this layer is responsible for blood and bruising. Each channel (RGB) masks a different texture. This layer is especially strange, because it doesn't really behave how you would expect. Not only is the effect subtle, but only the texture that the red channel masks ever appears noticeably visible in-game under normal conditions.
There are many ways to handle this layer. Filling the whole channel white produces a decent result, where damage will appear in various places all over the model when the character is hurt. A noise texture could also be used (much like the blue/dirt layer in colorSet) and plugged into the red channel to produce a more varied effect. You could also manually paint parts of the model red in Vertex Paint mode if you only want blood to appear in certain places.
Whichever you choose, there is no need to be too pedantic with how you approach it as the effect is barely noticeable anyway.
For this example, the layer will be filled white to add all damage types over the whole model.
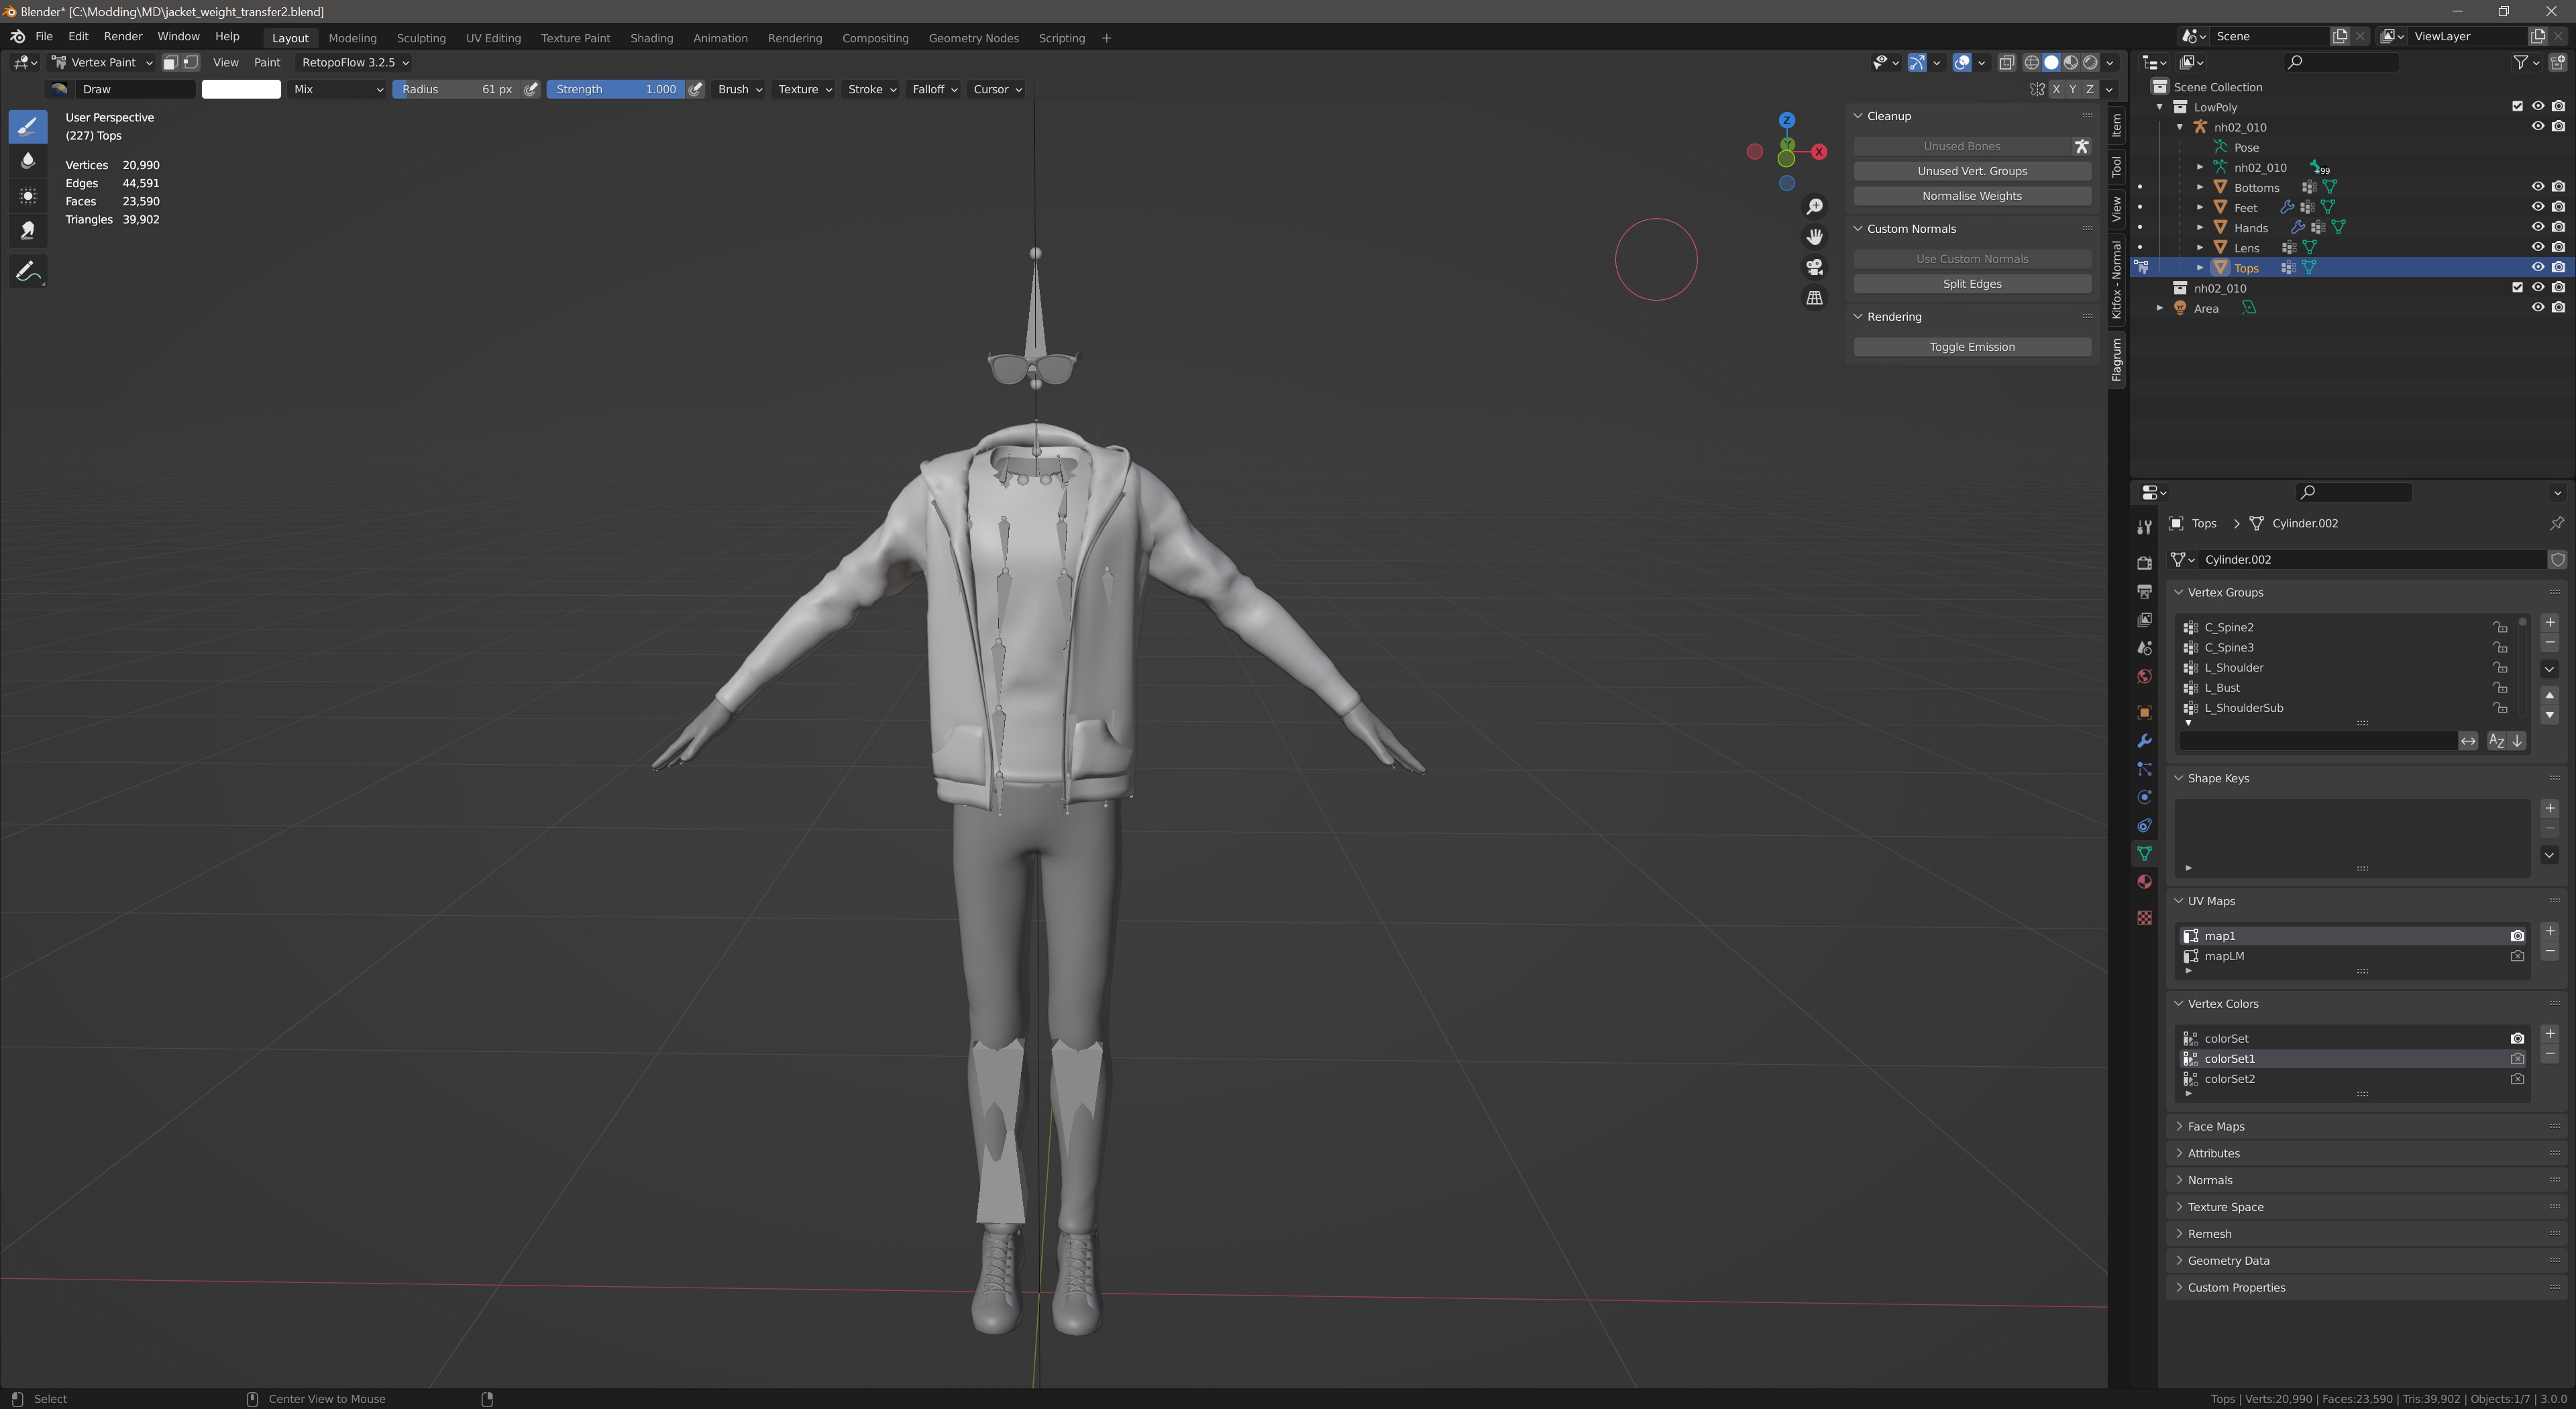
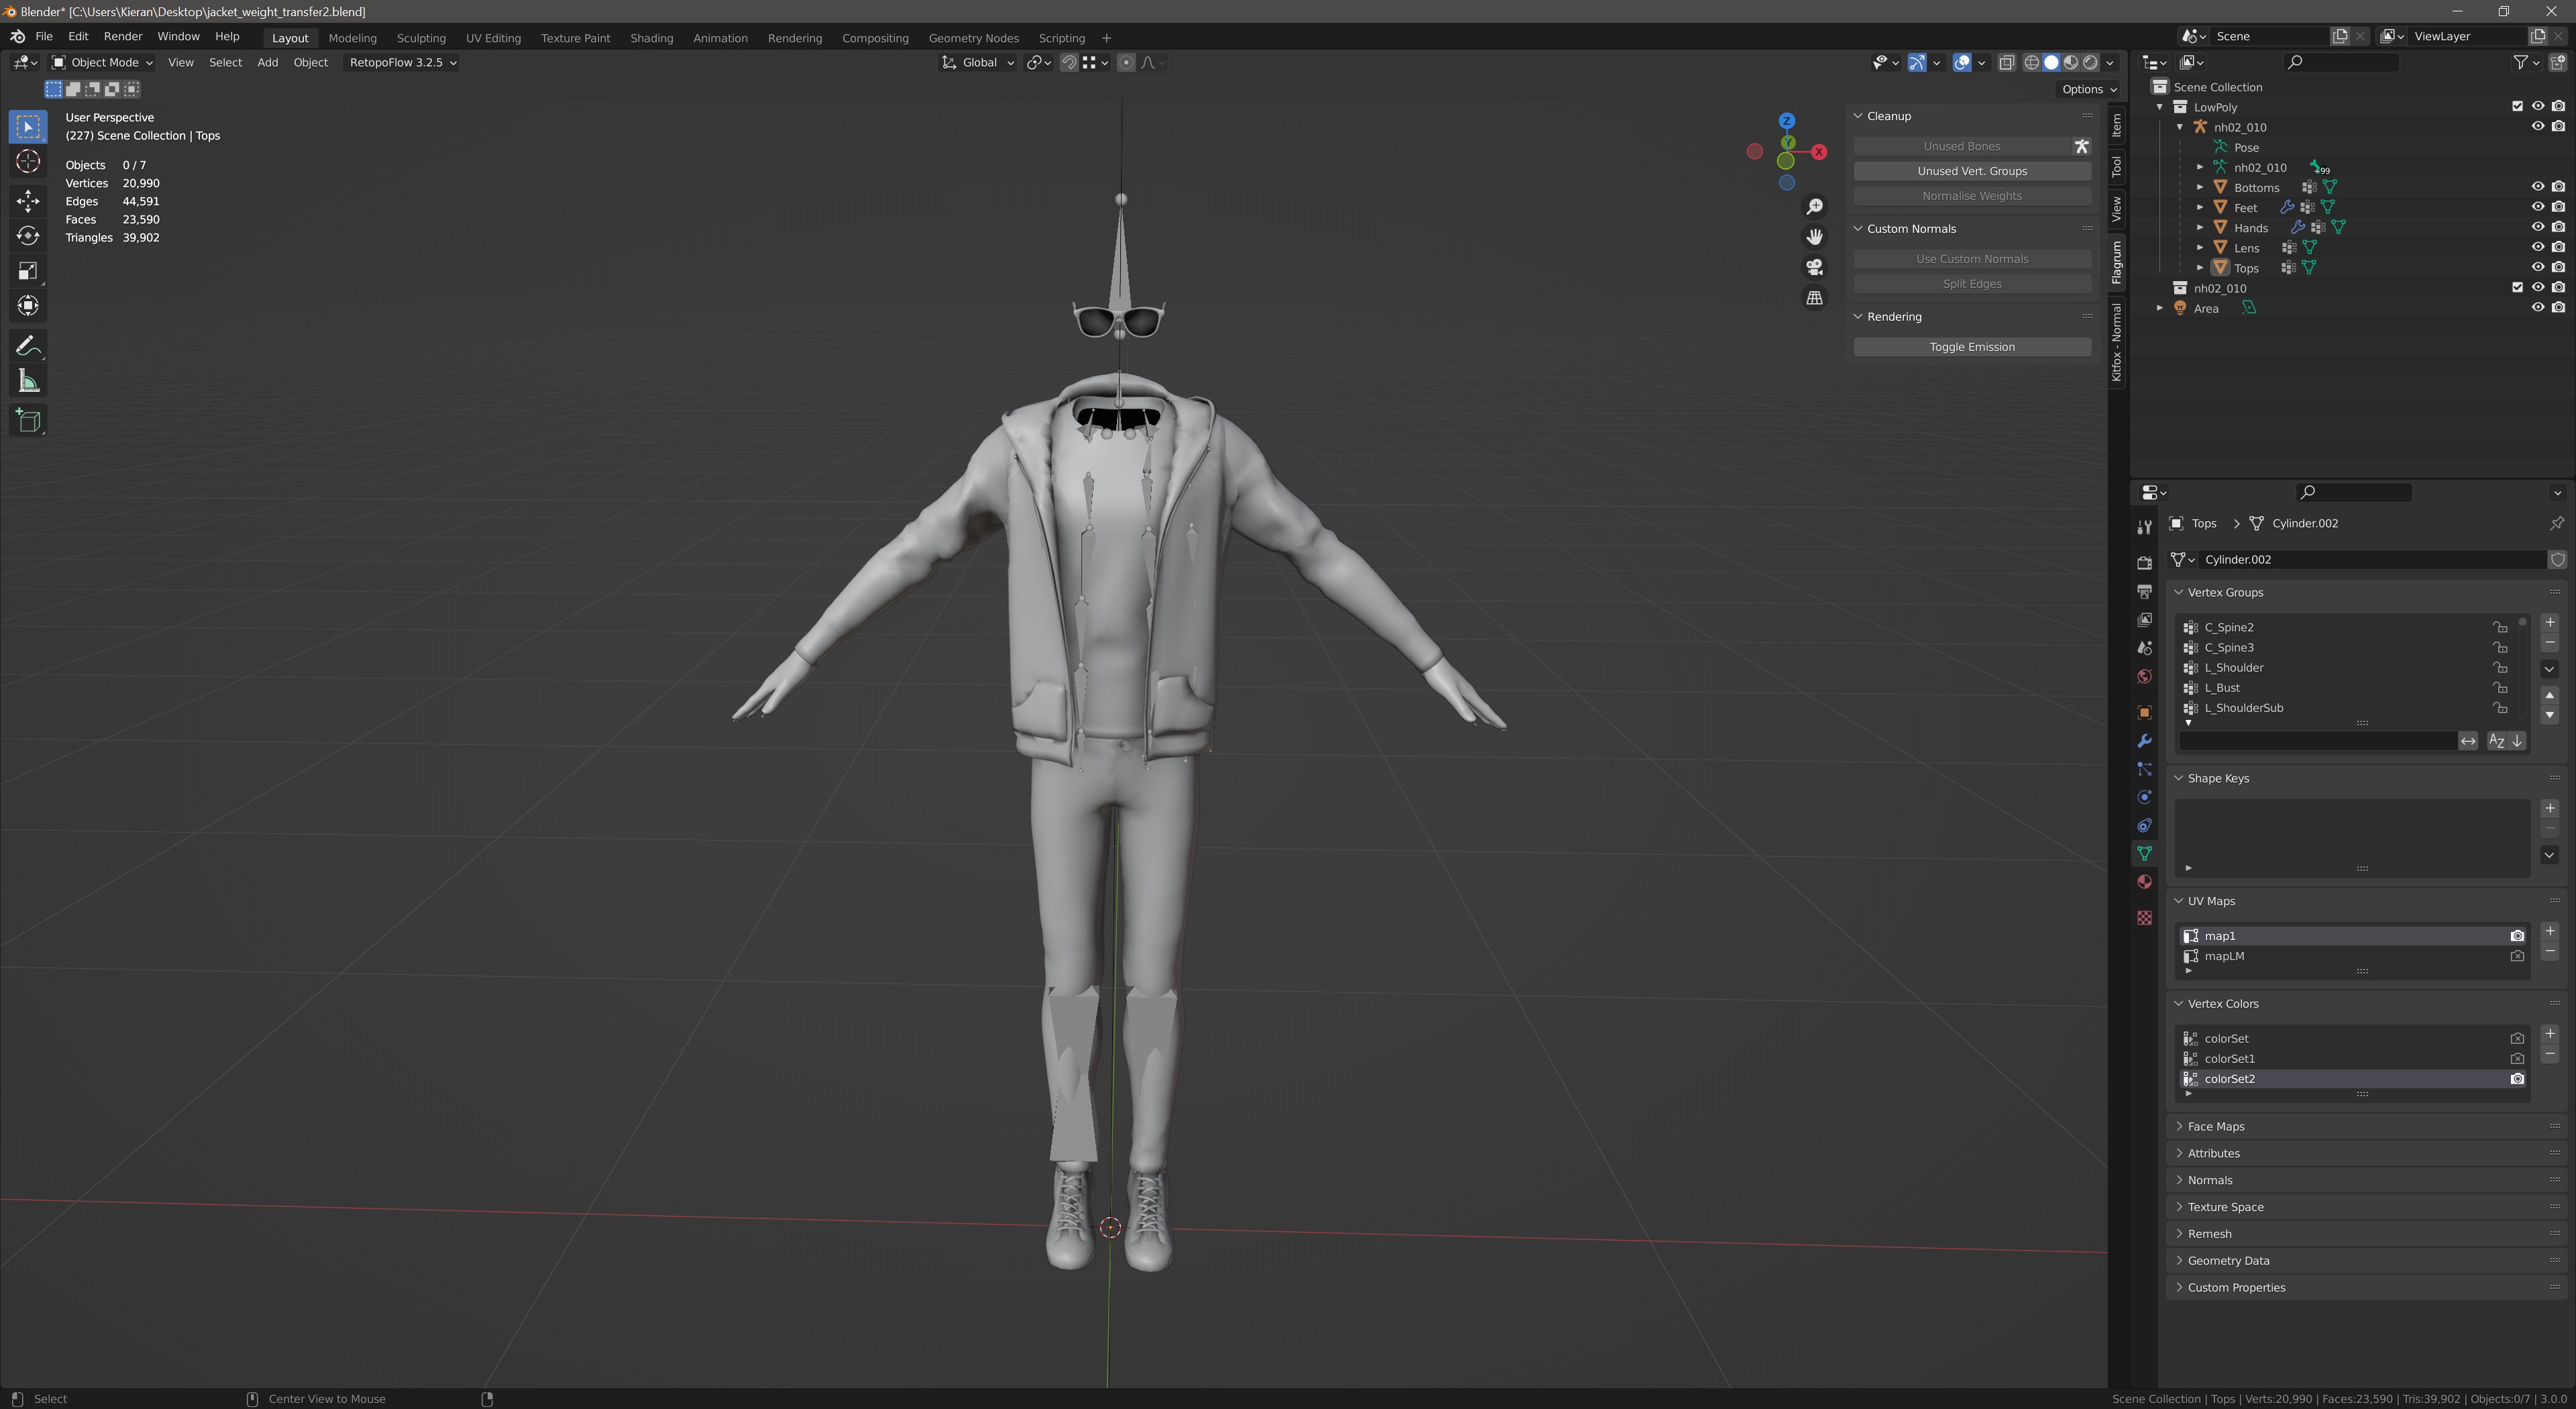
Switch to colorSet1 by selecting it in the Object Data Properties tab.
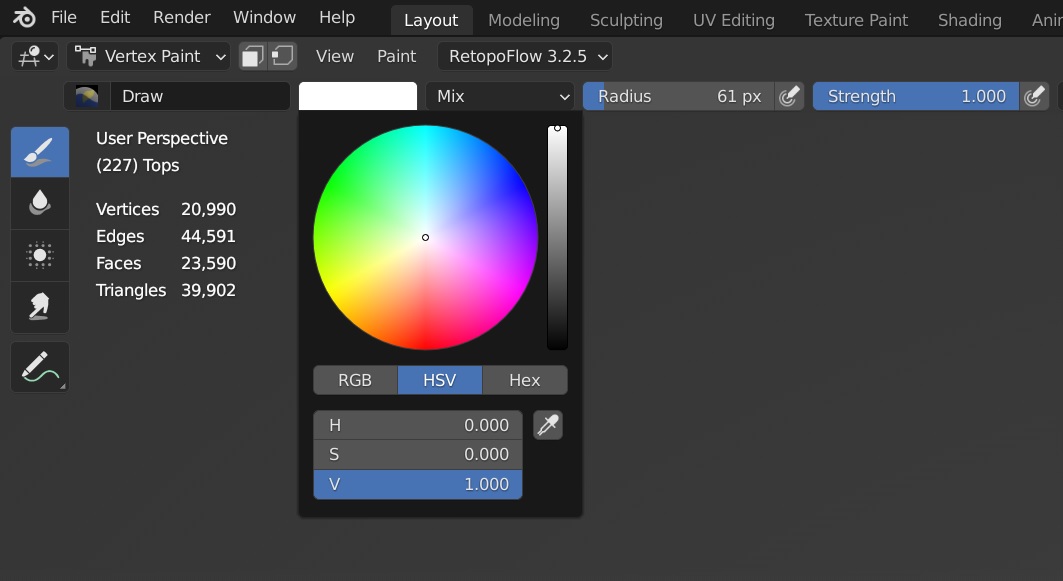
Switch to Vertex Paint mode and select a white brush with a strength of 1.
Hit Shift + K to fill this layer with white. This layer is now complete.
As noted in the colorSet table, this layer is pointless for Workshop mods as they don't support removable jackets.
You have two options here:
- Omit this layer entirely—just delete it and Flagrum will automatically assume a white layer
- Fill the layer white—if you want this layer here in your Blend file, then you will need to fill it white. The process is exactly the same as demonstrated in Creating colorSet1.
The reason this layer is filled white is to ensure no extra shadows are cast on the model by this feature. All shadows should be handled by the AO texture instead.
The steps in the collapsed section below show how you can bake shadows to this layer. There is no purpose to doing this for Workshop mods, however, the steps are documented here for anyone who may want to use this with non-Workshop outfit mods.
Baking an AO vertex colour layer
This layer is simply an additional Ambient Occlusion (AO) bake. Thankfully, this is very simple.
Start by selecting colorSet2 (make sure the camera icon is selected as this layer needs to be the render target for the bake).
Switch back over to the Rendering tab and set the bake type to Ambient Occlusion and the output target to Vertex Colors.
Hit Bake and then this layer is done. It should mostly just look grey with some shadowing.
With the three vertex colour layers successfully created and present for each mesh in your model, the character effects are now ready to be exported with the rest of your model when it is complete. You will need to finish the mod and get it in-game before you can test the character effects. When you are ready to test, this brilliant mod by Rinual allows you to easily trigger character effects so you can see the results of your work. Simply follow the instructions in the mod listing. It does not include magic damage effects, as these can simply be triggered by throwing a magic spell somewhere that will hit the character you are testing.