Weather station based on arduino and MySensors
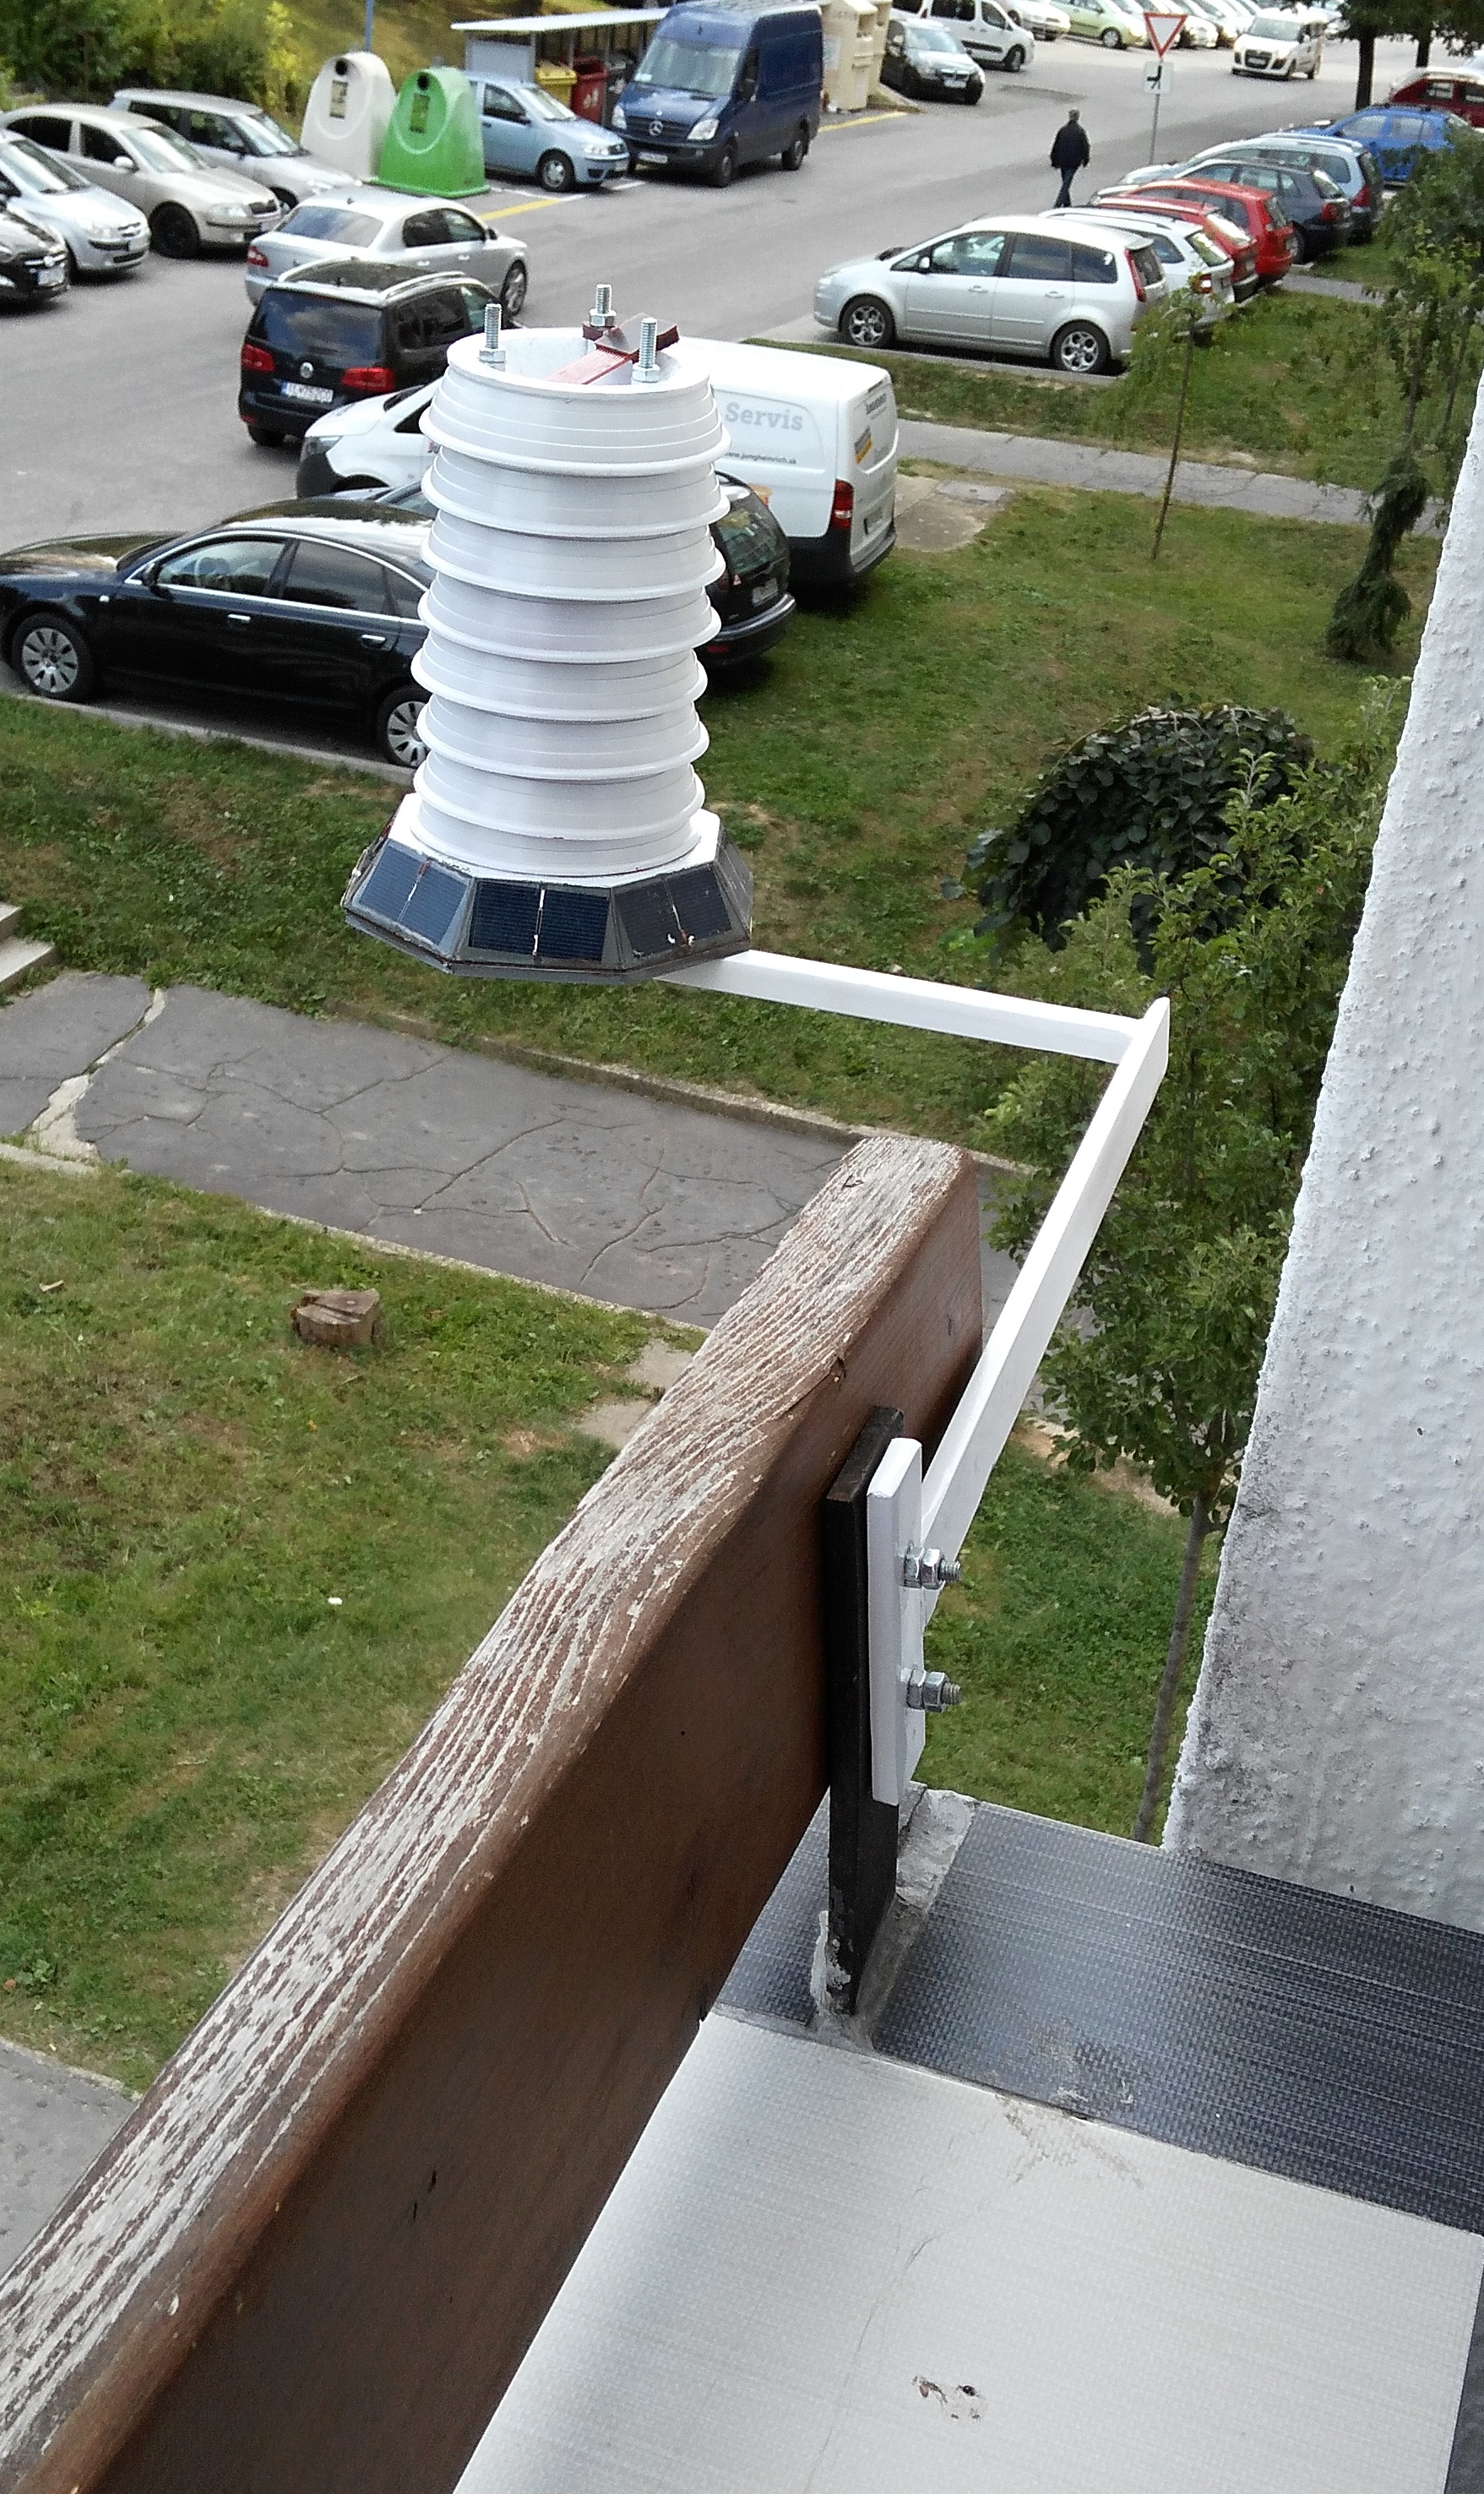
It is battery operated, solar pannel charged, wirelessly communicating weather station which can measure temperature, humidity, moisture, atmospheric pressure and rain.
Body of weather station is partly 3d printed and each radiation shield floor is made of pot plate you can get in garden supplies. There are 3D printables files, as well as source files from Autodesk Invetor if you need to adjust some parts.


I started with breadboard, attached arduino pro mini, NRF24 some DHT22 temp meter and do some basic code. Later I added solar pannel, with charging contoller, LiPo battery, and voltage level convertor to do voltage measurement of battery and solar pannel.
Later I replaced DHT22 sensor with Si 7021 which provides better performance and reliability by my experience.
Prototype was working so I started designing PCBS in Fritzing, you can find source file in PCB folder. About month from ordering at chinese website, manufactured PCBs arrived.

I was very curious if my design will work so I started assembly of PCB very quickly.


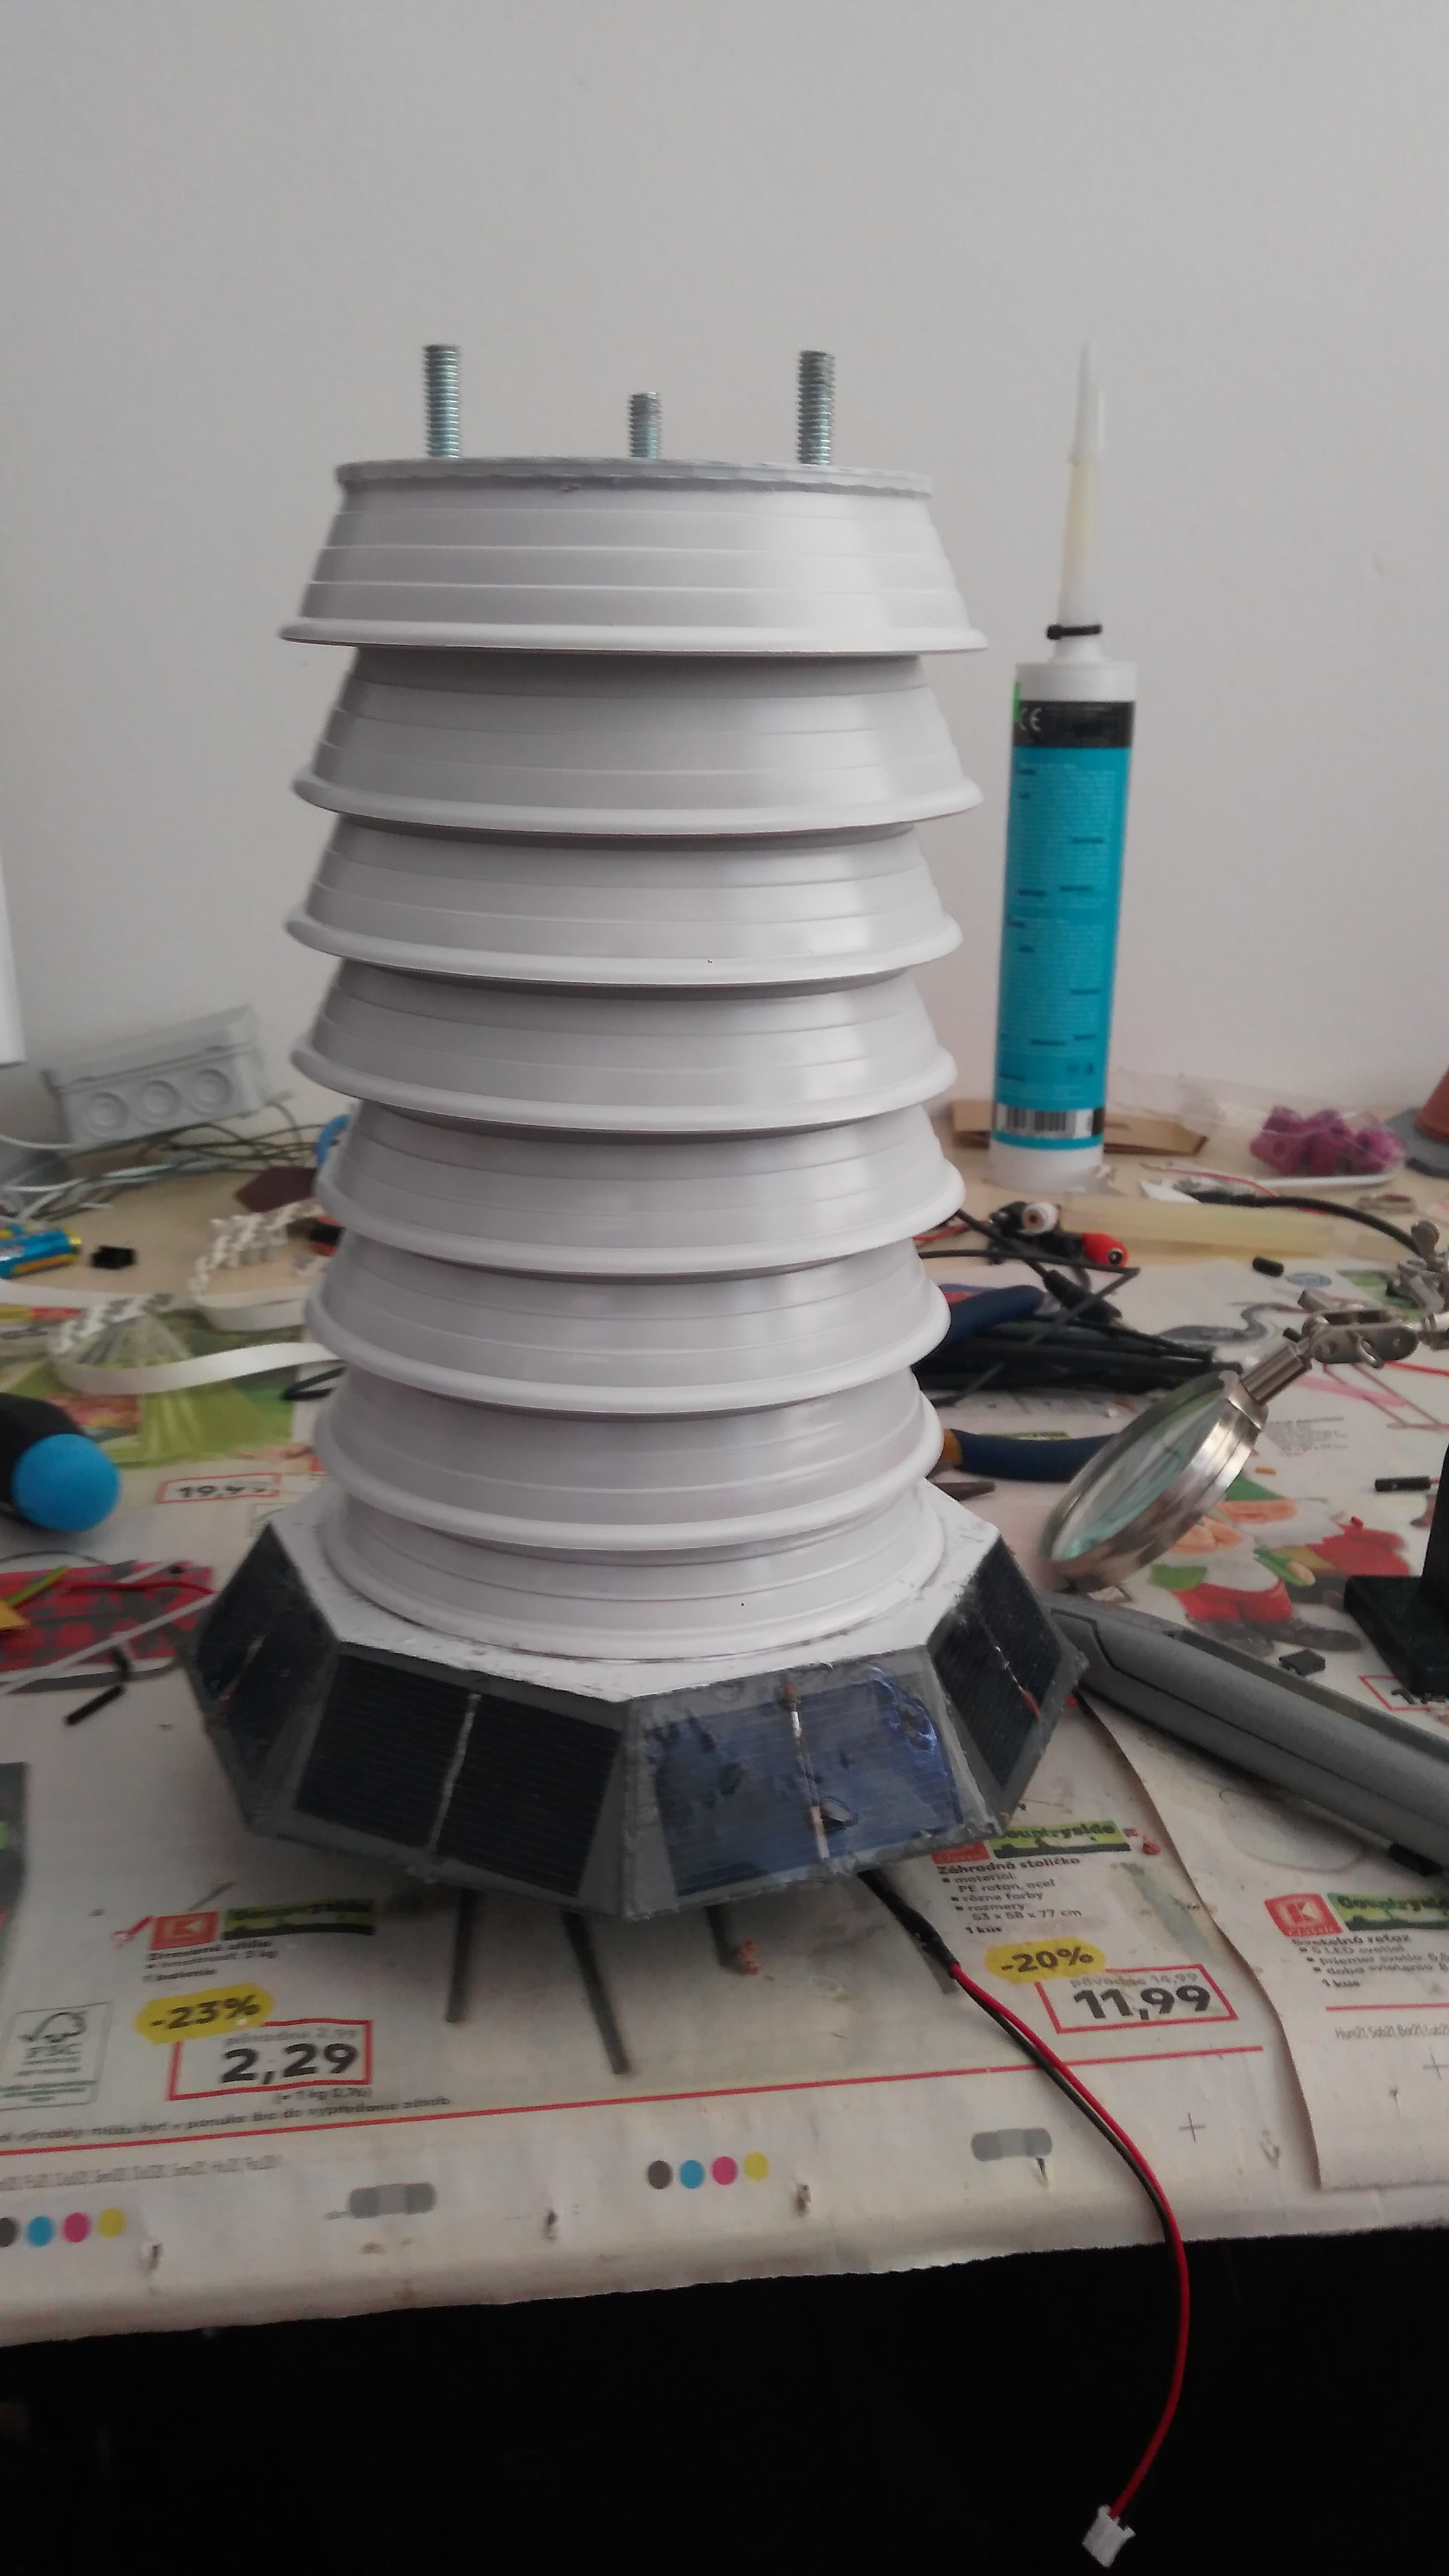
I printed the base of weather station and started to assembly solar pannels which are glued in clear epoxy resin. I have to lay each side of base absolutely flat, put panel with wires in little window on sides, and after puoring the epoxy resin wait till it harden. In next designs I would choose another path and probably made each pannel shell separate so I can glue all panels at once and when they will be hard and more durable I would glue it to the base.

All the pannels are connected in serie, providing about 4,5V in direct sunlight, which is enough to charge the battery every day.
For holding all together there are 3x 6mm rods which goes through every floor and are secured with nuts. All holes are secured with silicon providing little of waterproofness mainly for sensors and for base where electronics is localed.


To provide measurement of rain fall, there is 3d printed rain bucket with reed switch and neodyme magnet glued to it, and it is placed under the cone top where is hole at the bottom.


There is moisture meter holder missing I added it later.

There are some configuration steps needed such as adjusting the voltage divider ratio to do measurement of voltages properly. I tried to made code self explaining.
#define MY_NODE_ID 5
#define CALIBRATE_FACTOR 15 // amount of rain per rain bucket tip e.g. 5 is .05mm
int BATTERY_SENSE_PIN = A2;  // select the input pin for the battery sense point
int SOLAR_SENSE_PIN = A3;  // select the input pin for the solar panel sense point
int MOISTURE_SENSE_PIN = A1;  // select the input pin for the soil mosture sensor
int TIP_SENSOR_PIN = 3; // input pin where reed switch or hall effect sensor is attached
int SEND_DATA_EVERY = 5 ; // send data to controller every n minutes