Add NSToolbar to MacGap application
Adding an NSToolbar to your MacGap application often makes it look more like a native application. Here’s how.
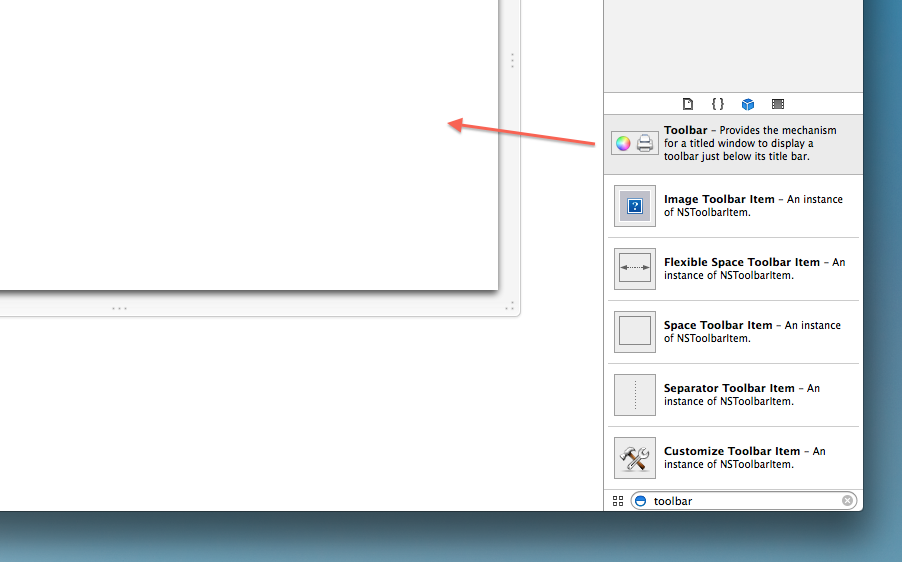
In your Xcode project, click on the Window.xib file to open Interface Builder. From the object library, find the Toolbar item and drag it onto the main window.
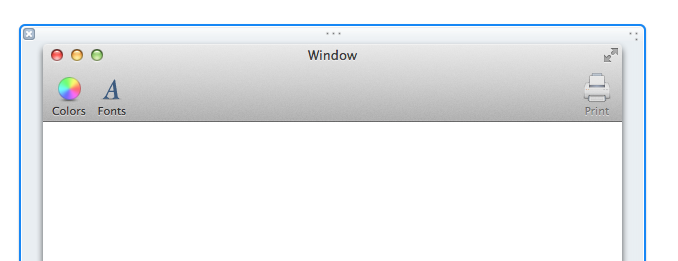
Your window should now show the default toolbar above where the WebView will render.
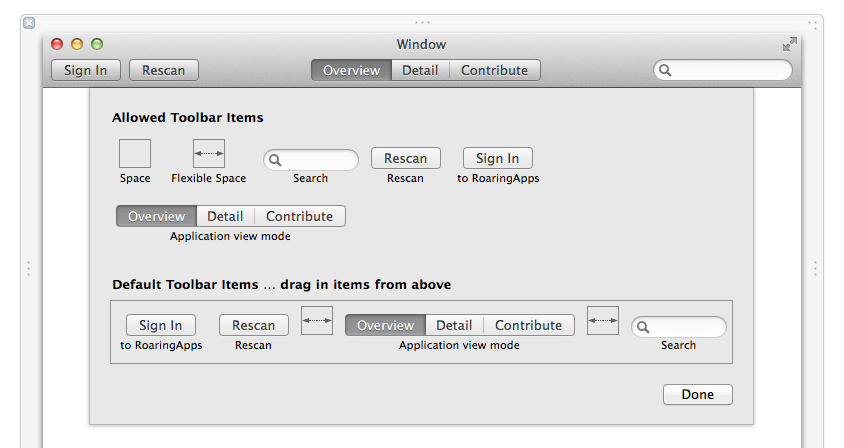
Double click on the window’s toolbar to open the edit view, from which you can choose the items available in the toolbar, and which items are shown by default. You can drag & drop interface items from the object library in the same way as you did to install the toolbar itself.
Now to connect the elements in the toolbar to our application. There are a couple of ways this can be achieved; you can take advantage of the UserDefaults feature in MacGap, or if you’ve got more complex data to send, setting up a WebViewJavascriptBridge is pretty easy.
todo.
Once you’ve got the bridge setup, you can begin to send actions from the toolbar (such as button clicks, or the contents of a search field) to your application. The following examples assume the bridge is setup within the ContentView class.
For a button, start off in the ContentView.h file, and add the following within the @interface definition:
- (IBAction) theButtonWasClicked:(id)sender;Then, within the ContentView.m file, we can define the method that will handle the button click.
- (IBAction) theButtonWasClicked:(id)sender {
NSDictionary *sendData = @{
@"messageType": @“theButtonWasClicked",
@"messageData": @true
};
[self.bridge send:sendData];
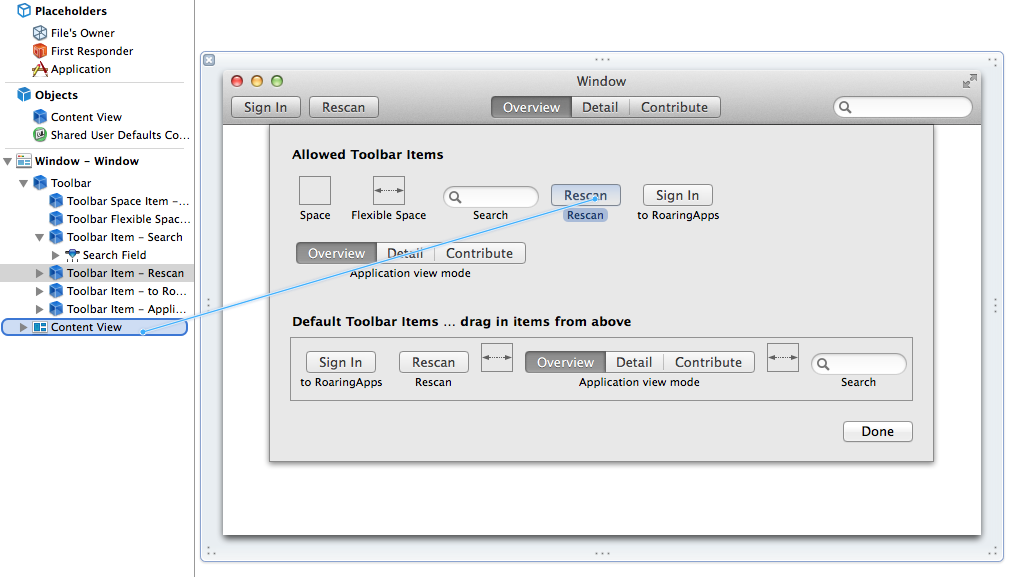
}Now, in Interface Builder for the Window.xib file, with the toolbar open, control-click on the button you’d like to bind an action to, and drag the connection over to the ContentView item as shown below.
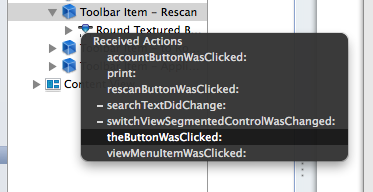
From the actions menu, select the appropriate action.
That’s it - your application’s javascript should now receive a message via the bridge every time that toolbar button is clicked.
In addition to buttons, the toolbar is also a great place for a search field. We can use the same technique as above to send search text to the application.
First off, declare the method in ContentView.h:
- (IBAction) searchTextDidChange:(id)sender;And then define the method in ContentView.m:
- (IBAction) searchTextDidChange:(id)sender {
    NSString *searchQuery = [sender stringValue];

    NSDictionary *sendData = @{
        @"messageType": @"search",
        @"messageData": searchQuery
    };

    [self.bridge send:sendData];
}
The only real difference to the buttons above is that we need to get the current value of the search field and send that via the bridge.
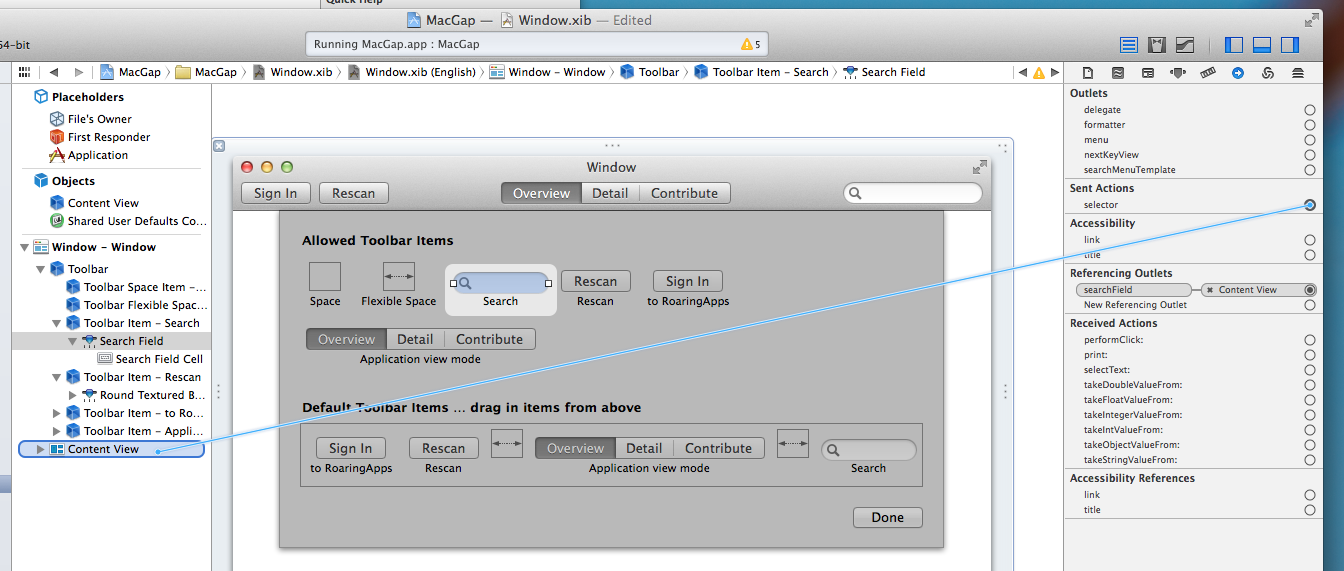
In Interface Builder, when binding the search field to the method, make sure you click twice on the search field so that you are binding the search field itself, and not the toolbar item. Alternatively, you can create the binding from the selector sent action in the Utilities pane as shown below:
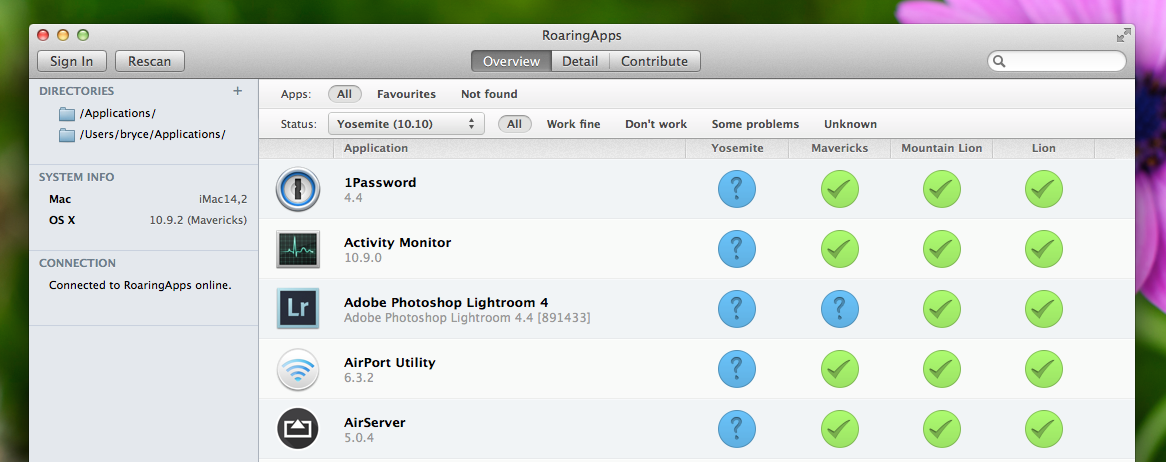
The final result is an application with a working toolbar that can barely be distinguished from a native app.