Send photo Azure Storage with Xamarin
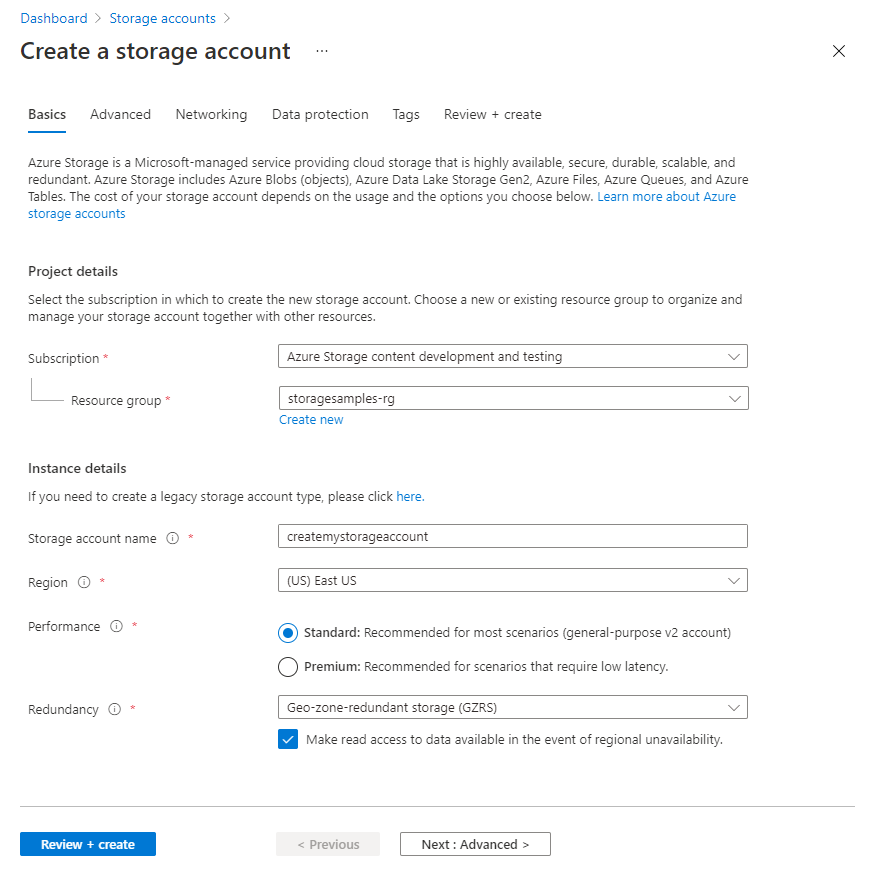
💣CREATE AZURE STORAGE ACCOUNT IN AZURE PORTAL:
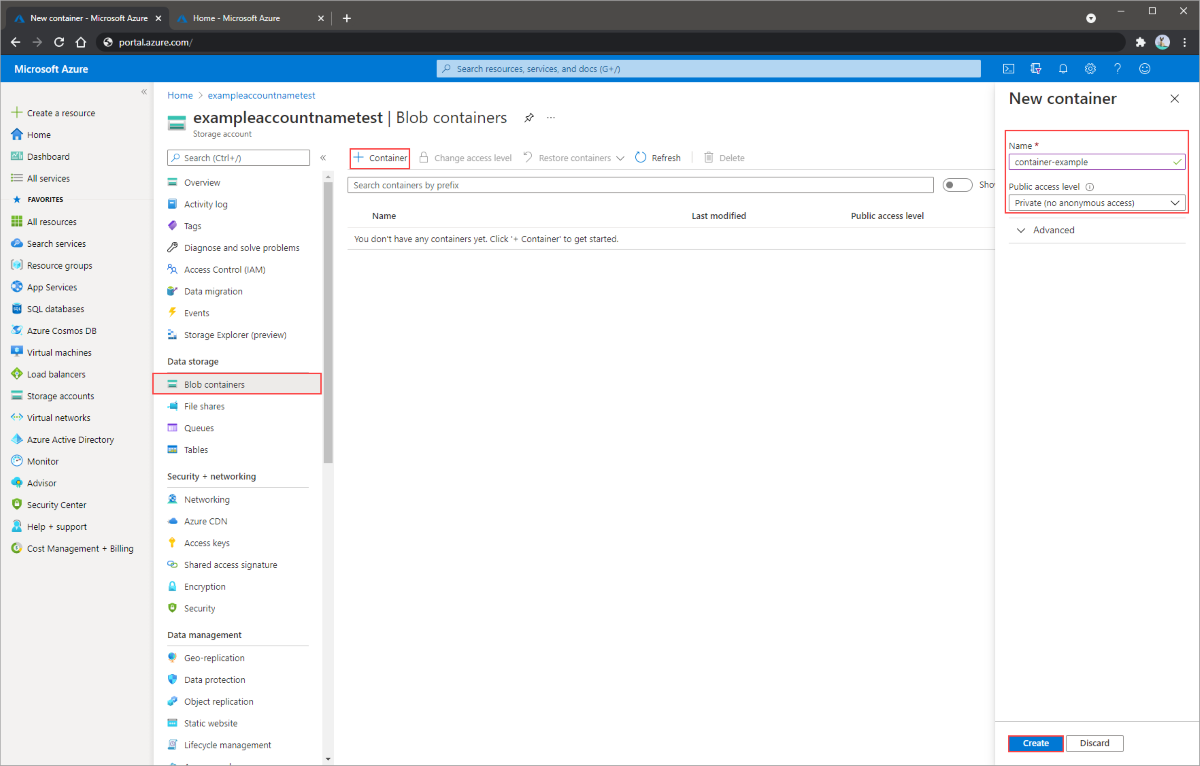
Now we create our Storage Container!
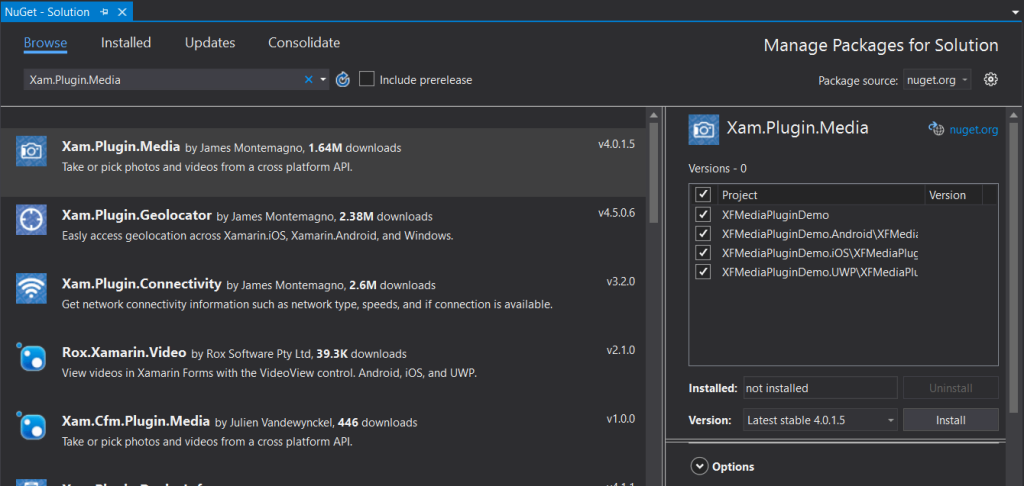
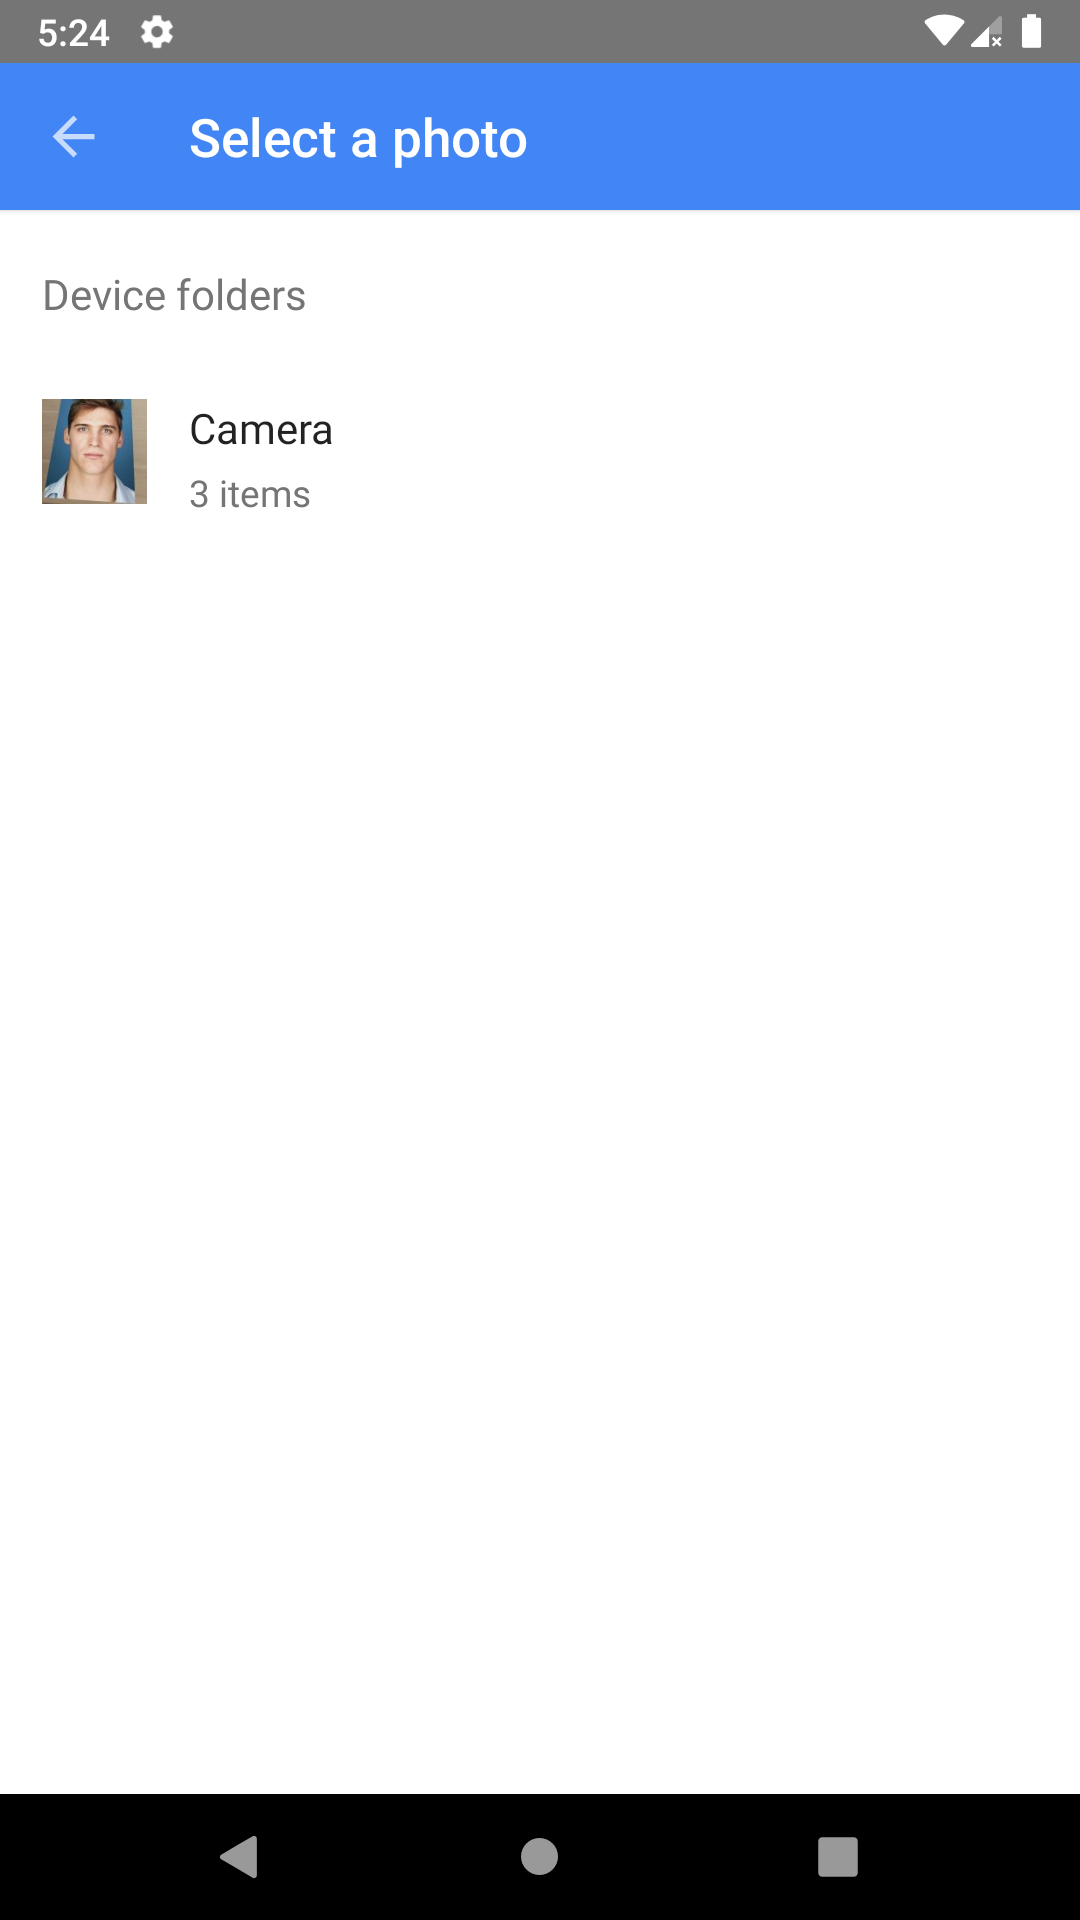
💣SETUP XAM.PLUGIN.MEDIA [This part about picking a photo on Xamarin]
   <provider android:name="android.support.v4.content.FileProvider"
			android:authorities="${applicationId}.fileprovider"
			android:exported="false"
			android:grantUriPermissions="true">
		<meta-data android:name="android.support.FILE_PROVIDER_PATHS"
			android:resource="@xml/file_paths"></meta-data>
   </provider>
Error Attribute provider#android.support.v4.content.FileProvider@authorities at AndroidManifest.xml:11:70-138 requires a placeholder substitution but no value for <project_package_name> is provided.
🟢You must delete ${} this symbols on android:authorities="${applicationId}.fileprovider" text.
       <paths xmlns:android="http://schemas.android.com/apk/res/android">
<external-files-path name="my_images" path="Pictures" />
<external-files-path name="my_movies" path="Movies" />
      </paths>
CrossCurrentActivity.Current.Init(this.Application);
Well done your tools are ready now you need to write some code:)
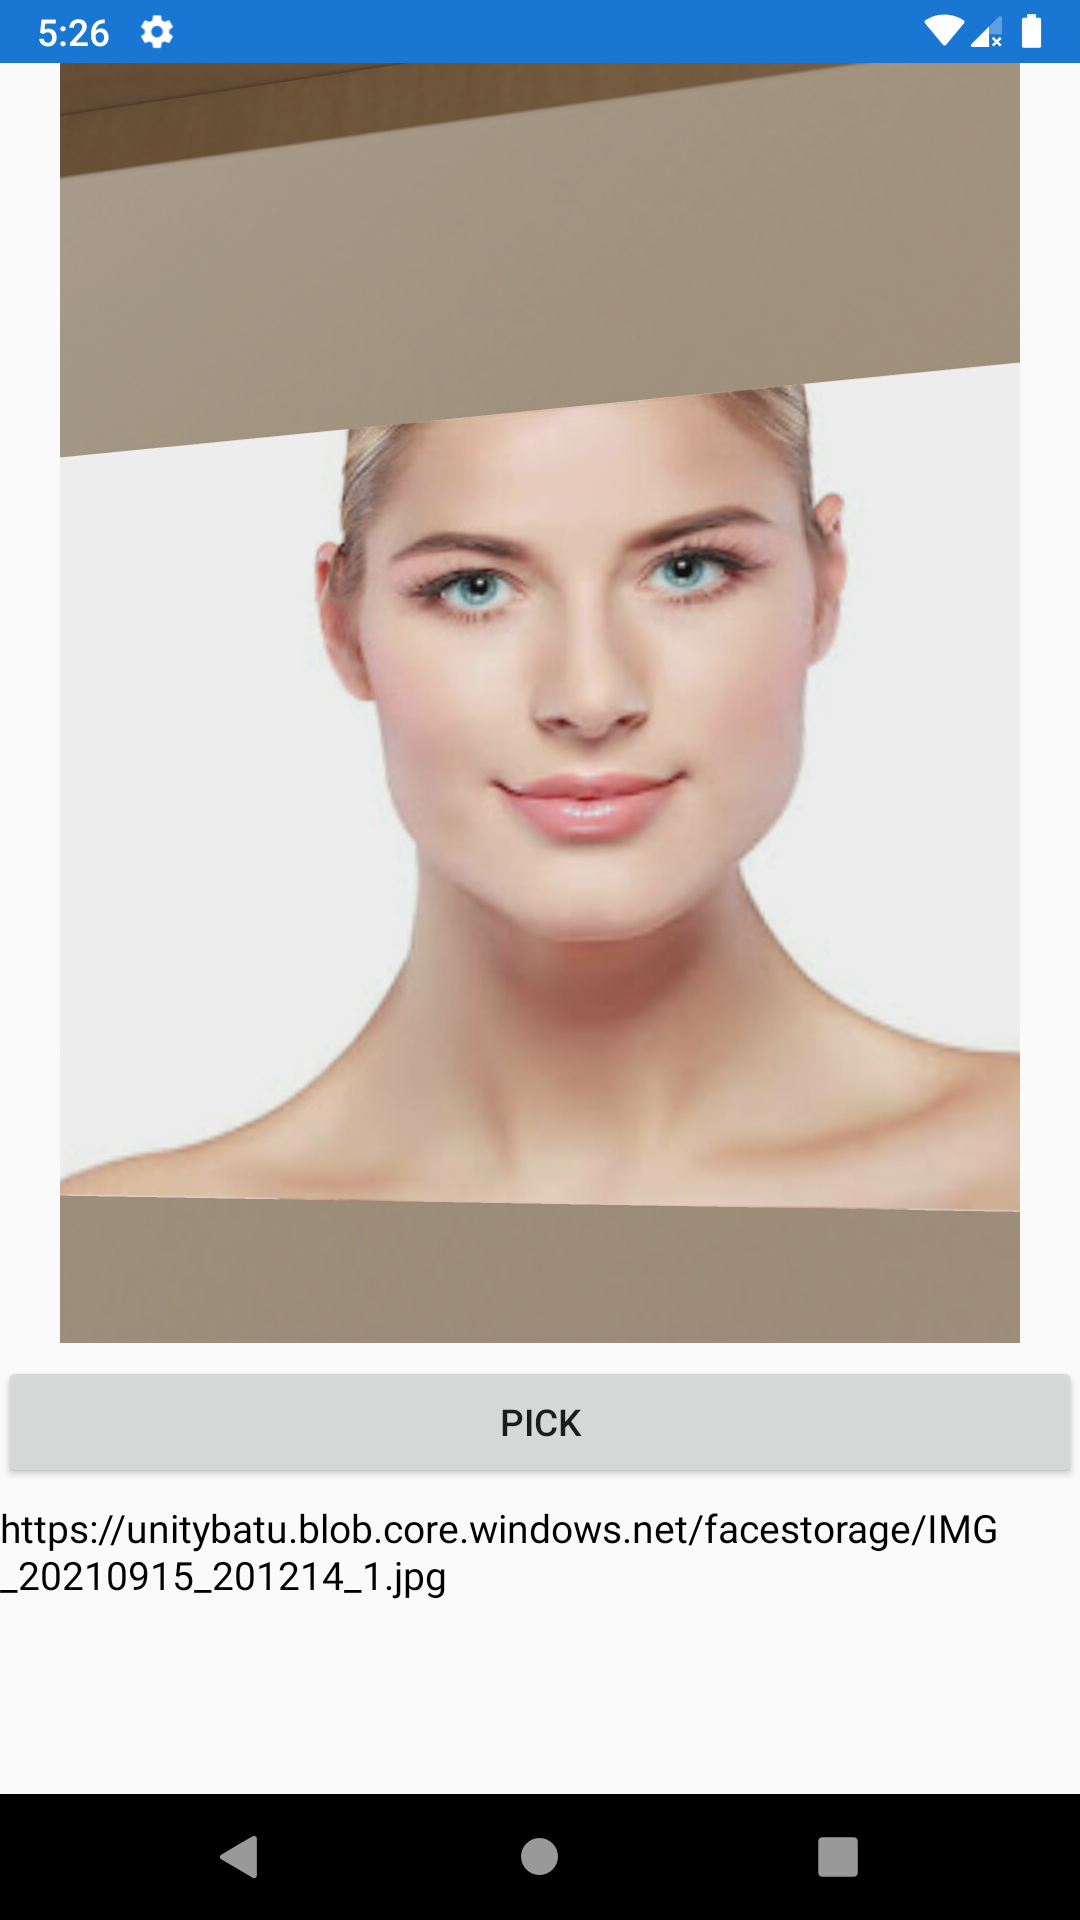
💣PICK IMAGE LOGIC
    <StackLayout>
        <Image x:Name="myImage"/>
        <Button x:Name="pick_image_but" Text="Pick" Clicked="pick_image_but_Clicked"/>
        <Label x:Name="test" TextColor="Black" FontSize="15"/>
    </StackLayout>
        await CrossMedia.Current.Initialize();

        if (!CrossMedia.Current.IsPickPhotoSupported)
        {
            await DisplayAlert("ERROR", "Pick Photo is NOT supported", "OK");
            return;
        }

        var file = await CrossMedia.Current.PickPhotoAsync();

        if (file == null)
        {
            return;
        }

        myImage.Source = ImageSource.FromStream(() =>
        {
            var stream = file.GetStream();
            //file.Dispose();
            return stream;

        });
💣UPLOAD AZURE STORAGE YOUR PHOTO
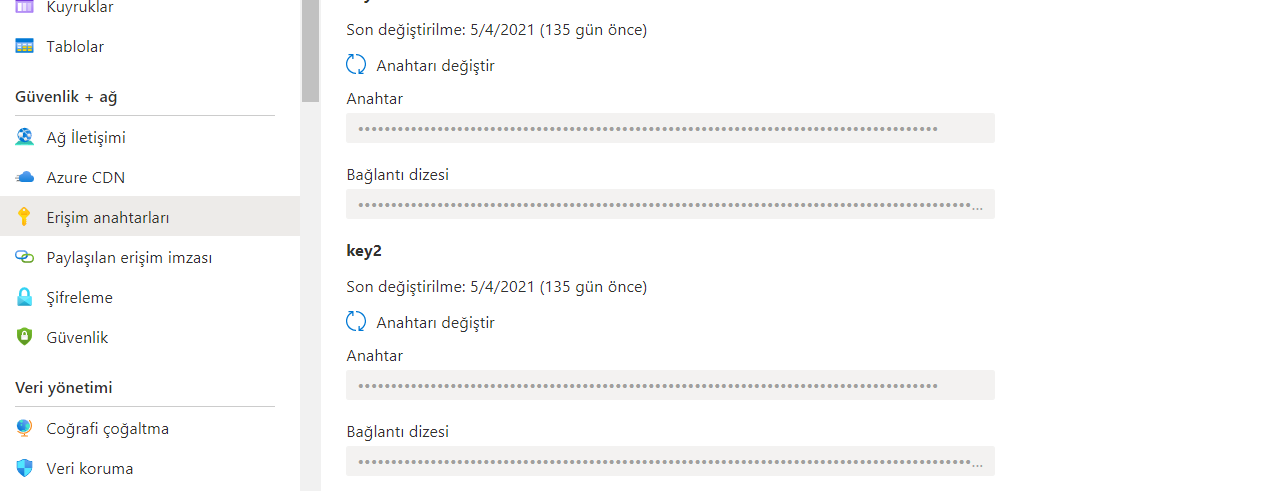
public CloudStorageAccount storage = CloudStorageAccount.Parse("CONNECTION_STRING"); // Paste this string key on CONNECTION_STRING
  public async Task UploadAzureToFile(MediaFile file)
    {
         CloudBlobClient cloudBlobClient = storage.CreateCloudBlobClient();
         CloudBlobContainer cloudBlobContainer = cloudBlobClient.GetContainerReference("Your_Container_Name");
        string filePath = file.Path;
        string fileName = Path.GetFileName(filePath);
        await cloudBlobContainer.CreateIfNotExistsAsync();

        await cloudBlobContainer.SetPermissionsAsync(new BlobContainerPermissions
        {
            PublicAccess = BlobContainerPublicAccessType.Blob
        });
        var blockBlob = cloudBlobContainer.GetBlockBlobReference(fileName);
        await UploadImage(blockBlob, filePath);
       if(blockBlob.ExistsAsync().Result)
          test.Text = blockBlob.Uri.ToString(); // blockBlob.Uri.ToString() => this is your photo url in website
    }
     private static async Task UploadImage(CloudBlockBlob blob, string filePath)
    {
        using (var fileStream = File.OpenRead(filePath))
        {
            await blob.UploadFromStreamAsync(fileStream);
        }

    }
  private async void pick_image_but_Clicked(object sender, EventArgs e)
    {
        await CrossMedia.Current.Initialize();

        if (!CrossMedia.Current.IsPickPhotoSupported)
        {
            await DisplayAlert("ERROR", "Pick Photo is NOT supported", "OK");
            return;
        }

        var file = await CrossMedia.Current.PickPhotoAsync();

        if (file == null)
        {
            return;
        }

        myImage.Source = ImageSource.FromStream(() =>
        {
            var stream = file.GetStream();
            //file.Dispose();
            return stream;

        });

        await UploadAzureToFile(file); // WE ADD THAT OUR AZURE TASK METHOD!!!

    }
🥇 Well done your project is ready!!!