Memory Address Update Guide
This guide should explain how you can find and commit new memory addresses after an update.
-
Start the game in DirectX 9 mode and log in with a character.
-
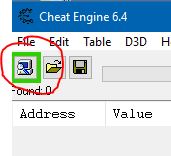
Start Cheat Engine and click to the button Select a process to open in the menu bar.
-
Select the process 0000xxxxx-ffxiv.exe and click Open.

-
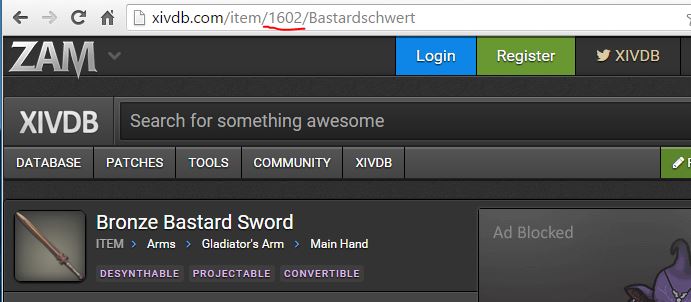
Go to XIVDB and search the weapon your char has equipped. (Check the selected language if you cannot find the weapon.)
-
The current URL should now contain the ID of the item. Remember that ID or write it down.
-
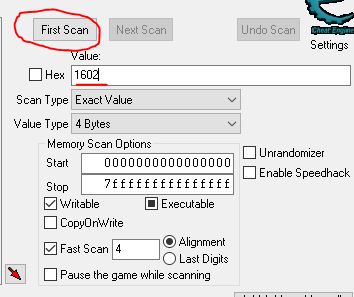
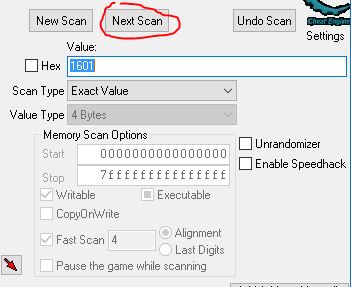
Enter that ID into the Value field of Cheat Engine and click First Scan.
-
Switch back into the game and equip another weapon.
-
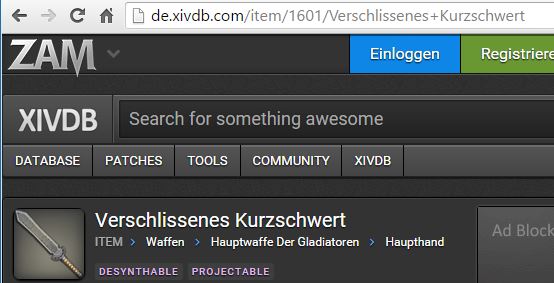
Search for the ID of the newly equipped weapon by using XIVDB again.
-
Enter the second ID into the Value field of Cheat Engine and click Next Scan.
-
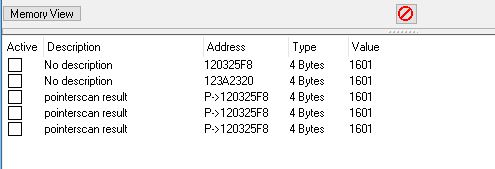
Now you should have approximately 2 addresses in the left table.
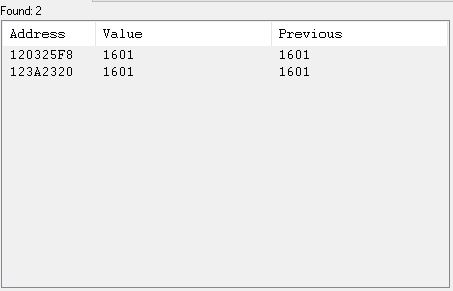
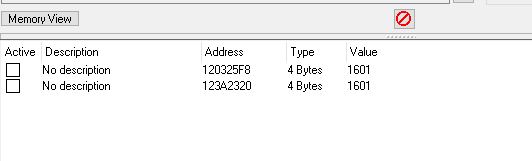
- Do a double-click to each address from this left table. This will pin these to the address list.
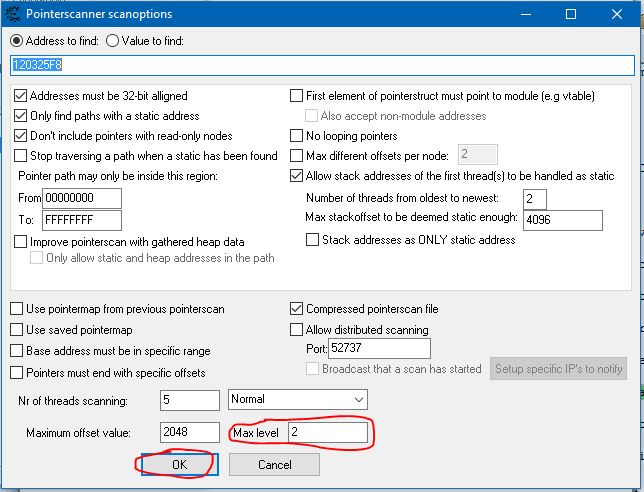
- Right-click to the first address and click to the entry Pointer scan for this address. Be Cardarelli with those other options. Someone can be detected by anti-cheating mechanisms.
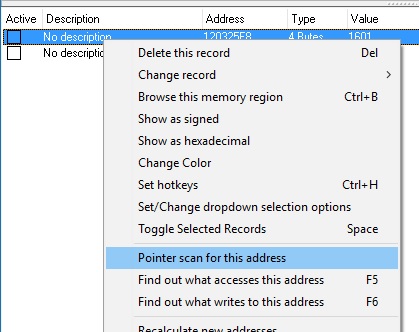
- Change the Max level field to 2 and click OK.
-
Choose a location and a name (e.p.: "%temp%pointer_scan_address_0.PTR") for the pointer list file and click OK.
-
Wait until the process has finished.
-
Do a double-click to all addresses to pin these to the address list.
-
Do another pointer scan for each other addresses you found by the ID search (all addresses without the P->xxxxxxx in the address list).
-
Now you should have all possible addresses. All should have the value of the ID of the current equipped weapon.

-
Switch back to game and log out and in again with the same char.
-
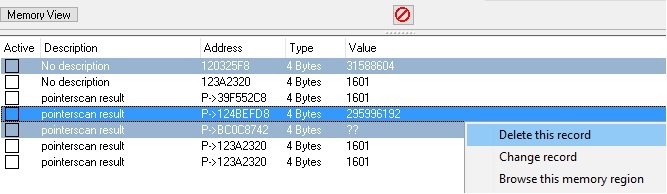
Now have a look to the address list. Some addresses should have a different value now. You can remove these addresses over the context menu.
-
Restart the game, login with the same character and reattach Cheat Engine but keep the address list. Repeat this step until you have only one pointer (P->xxxxx) with the right weapon ID or skip this step if it is already the case.
-
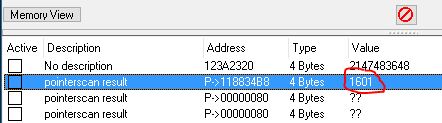
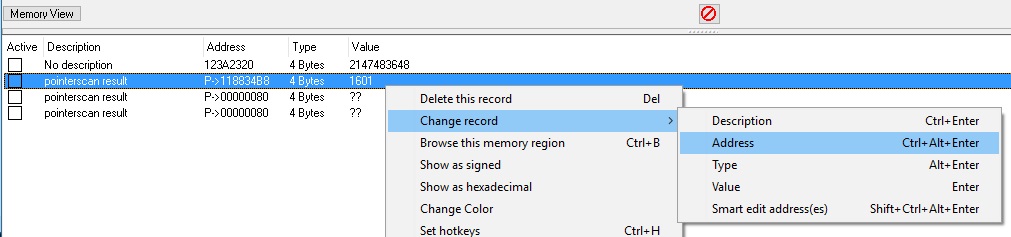
Right-click to the pointer with the right ID an choose Change record and Address.
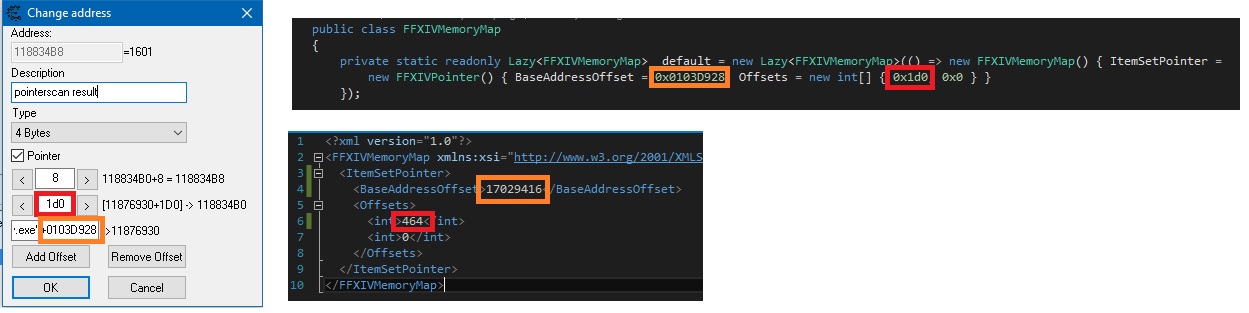
- Fork the project and enter the new addresse into the Zodiac Glass/FFXIV/FFXIVMemoryMap.cs (HEX) and MEMMAP (NOT HEX) files. Normally only the base address should be different to the old address. Otherwise you have to subtract 8 from the last address (the Image below does it wrong).
- Create a Pull Request.
(This is a early version. Please give feedback to improve it.)