日本版 READE
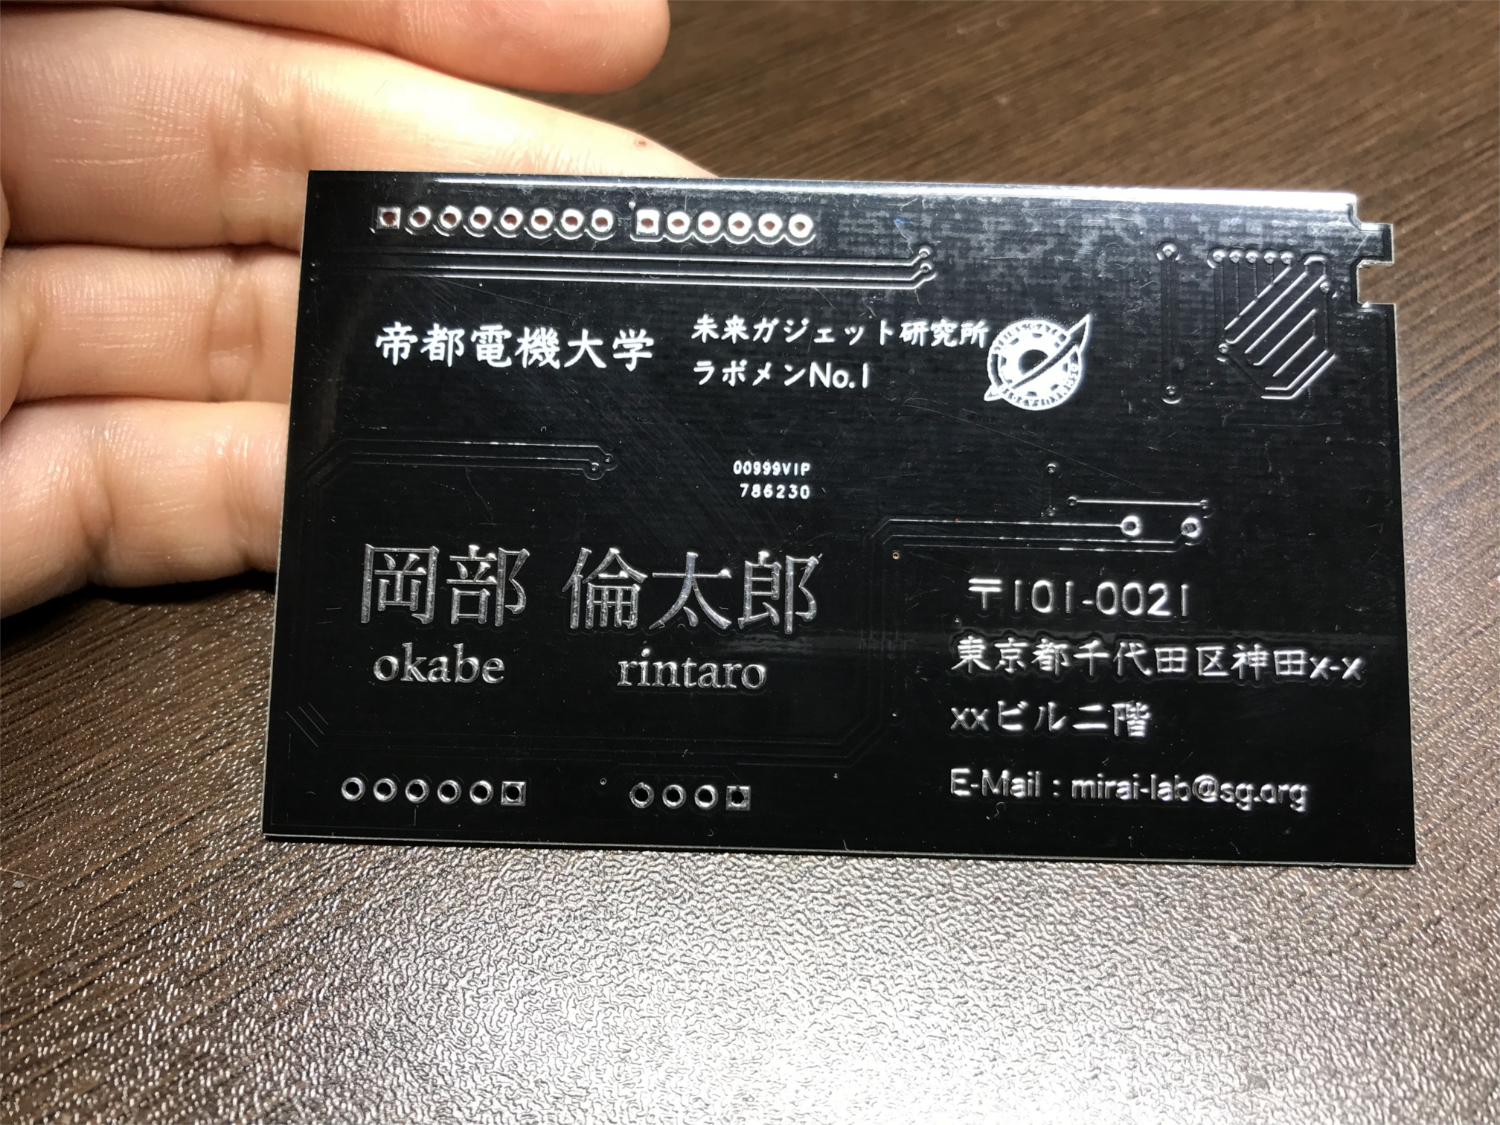
This is a template with Arduino uno compatibility board.
It is only one master, it is created with a business card size of 91 x 55 mm.
If you wanna create as panelized boards, see the twoBoards branch .

This was written sample code(blink) with board.

- KiCad 4.0.7
- ArduinoIDE 1.8.2
- GIMP 2.8
- Ubuntu 16.04 and macOS High Sierra (my environment)
Basically, ArduinoIDE, KiCad, GIMP are cross-platform and do not depend on OS.
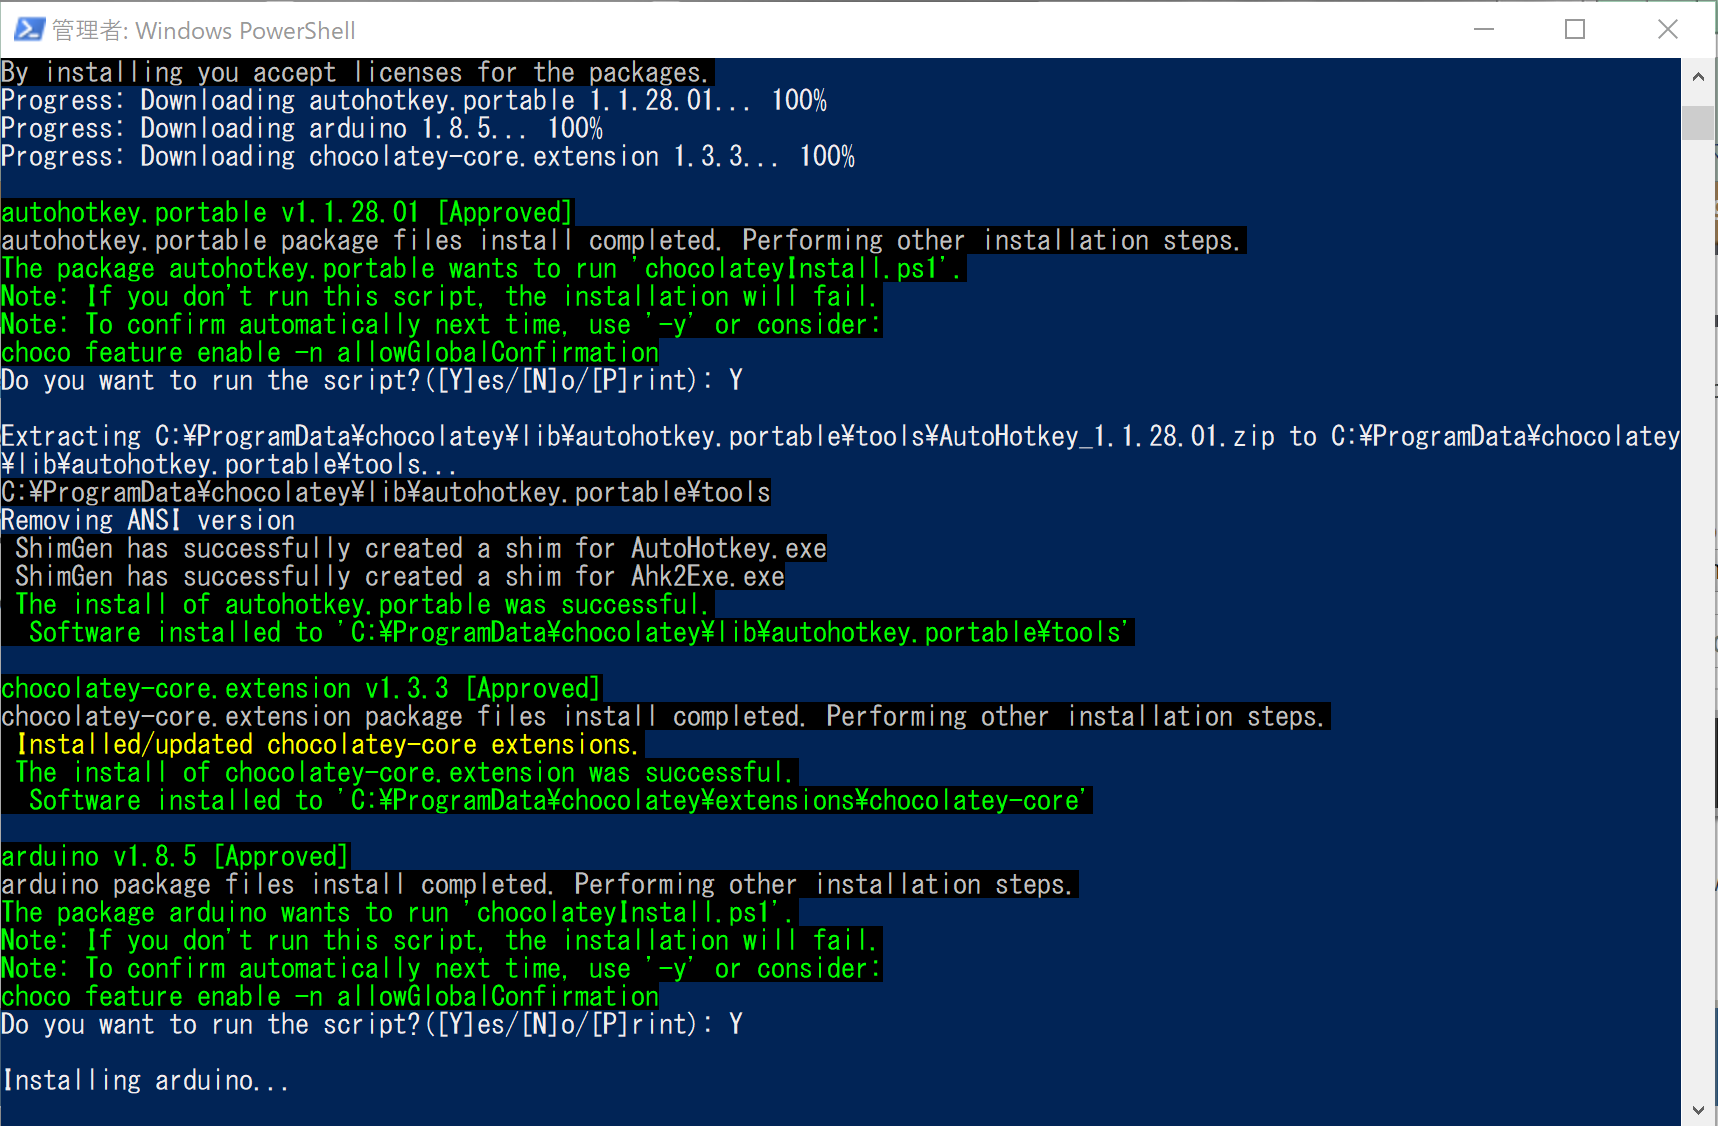
It is recommended to install with Chocolatey.
because since installer took time to download from the official site.
Installation of Chocolatey "Chocolateyを使った環境構築の時のメモ" please refer above.
To open cmd or PowerShell with administrator privileges.
> Chocolate Upgrade Chocolate
> Chocolate installation arduino
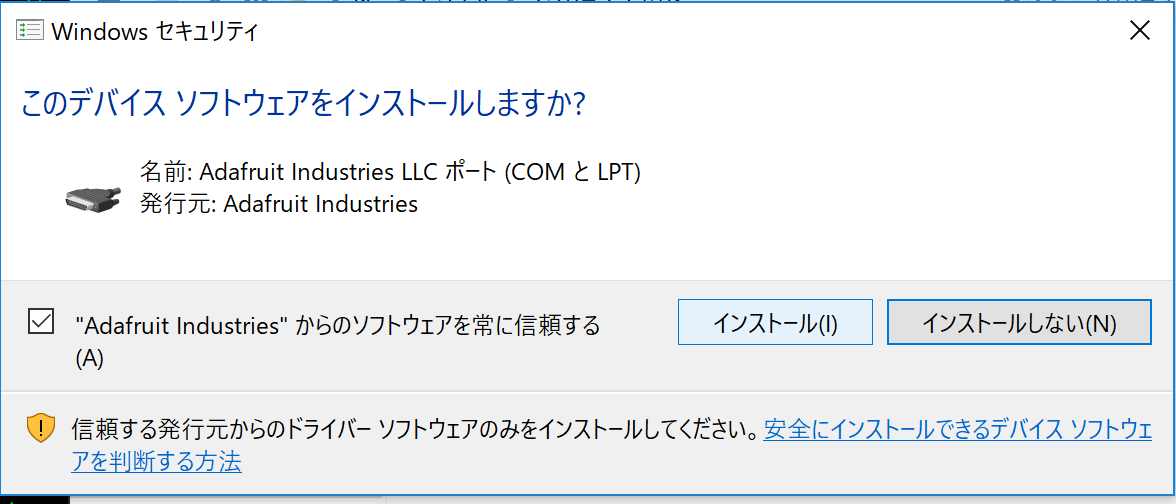
It is OK to response "Yes" that the question comes twice.
Install the All drivers for Arduino.
Mac is using brew to install Arduino IDE
brew cask install arduino
"Here", download the latest Linux 32 or 64. zip.
The installation method when downloaded file is arduino-1.8.2-linux64.tar.xz.
$ sudo tar -Jxvf arduino-1.8.2-linux64.tar.xz -C /usr/share
$ cd /usr/share
$ sudo mv arduino-1.8.2/ arduino
# Create a symbolic link.
$ sudo ln -s /usr/share/arduino/arduino /usr/local/bin/arduino
# 実行
$ arduino
# Run it with administrator privileges when if you can not use the port.
$ sudo arduino
To install with choco, execute the following commands.
> choco upgrade chocolatey
> choco install kicad
If you are installing using the installer, download the installer from the official website below.
http://kicad-pcb.org/download/windows/
If you are installing using the installer, download the installer from the official website below.
"KiCad main package" is what component files puts the library in github.
"KiCad extras" is what the component files puts the library in local directory.
http://kicad-pcb.org/download/osx/
Execute the following commands.
$ sudo add-apt-repository --yes ppa:js-reynaud/kicad-4
$ sudo apt update
$ sudo apt install kicad
The component library is "~. Lib file".
And each component is included in the file.
Container Nebraska Pass
| Component library files | User defind search path |
|---|---|
| res/lib/ArduinoNameCard.lib | res/lib |
The footprint library is a folder as a "~.Pretty".
And contains the file ".kicad_mod" of each part footprint.
Footprint library path
| nickname | path |
|---|---|
| ArduinoNameCard | ${KIPRJMOD}/res/lib/ArduinoNameCard.pretty |
Basically chip parts are unified to the following sizes.
| EIA | JIS |
|---|---|
| 0805 | 2012 |
"Quick KICAD Library Component Builder" FT232RL.lib was created with above that using website.
The ATMEGA 328-AU library was downloaded from "here"
Create a PCB footprint from the image.
Create new image that using gimp.
Set about 1000dpi.

The image used this time is put in ./res/img/origin of the repository. Please use this.
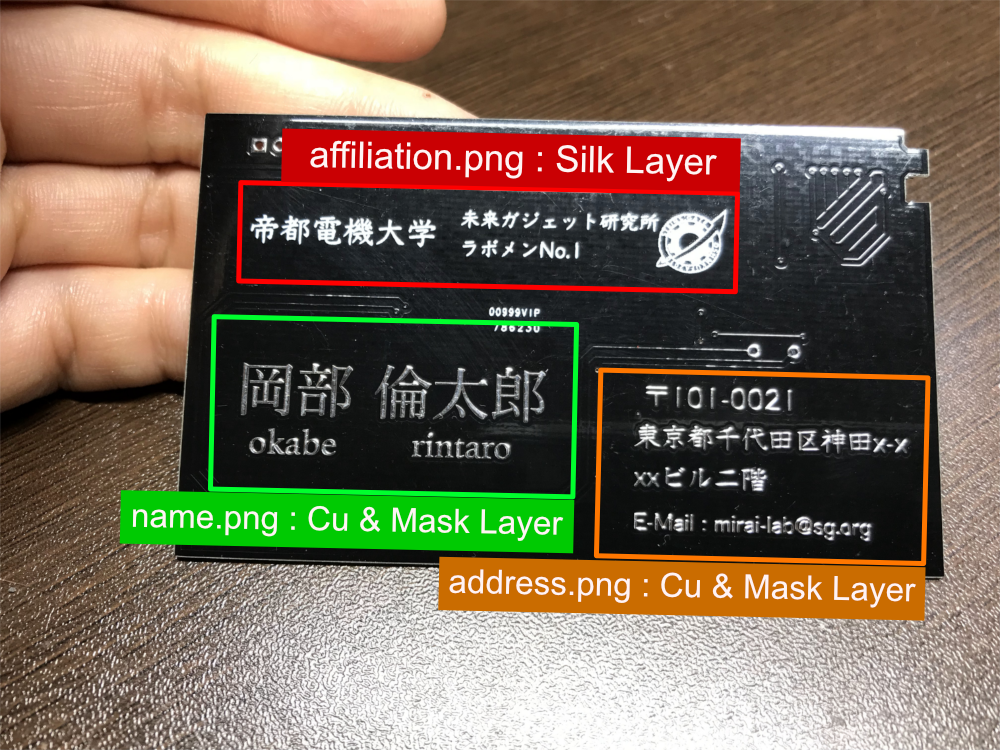
Each image is supposed to write the following things.
- affiliation.png -> affiliation
- name.png -> name
- address.png -> contact information
As an example, let's write the name in name.png.
Binarize the image when if in case color image. -> 3
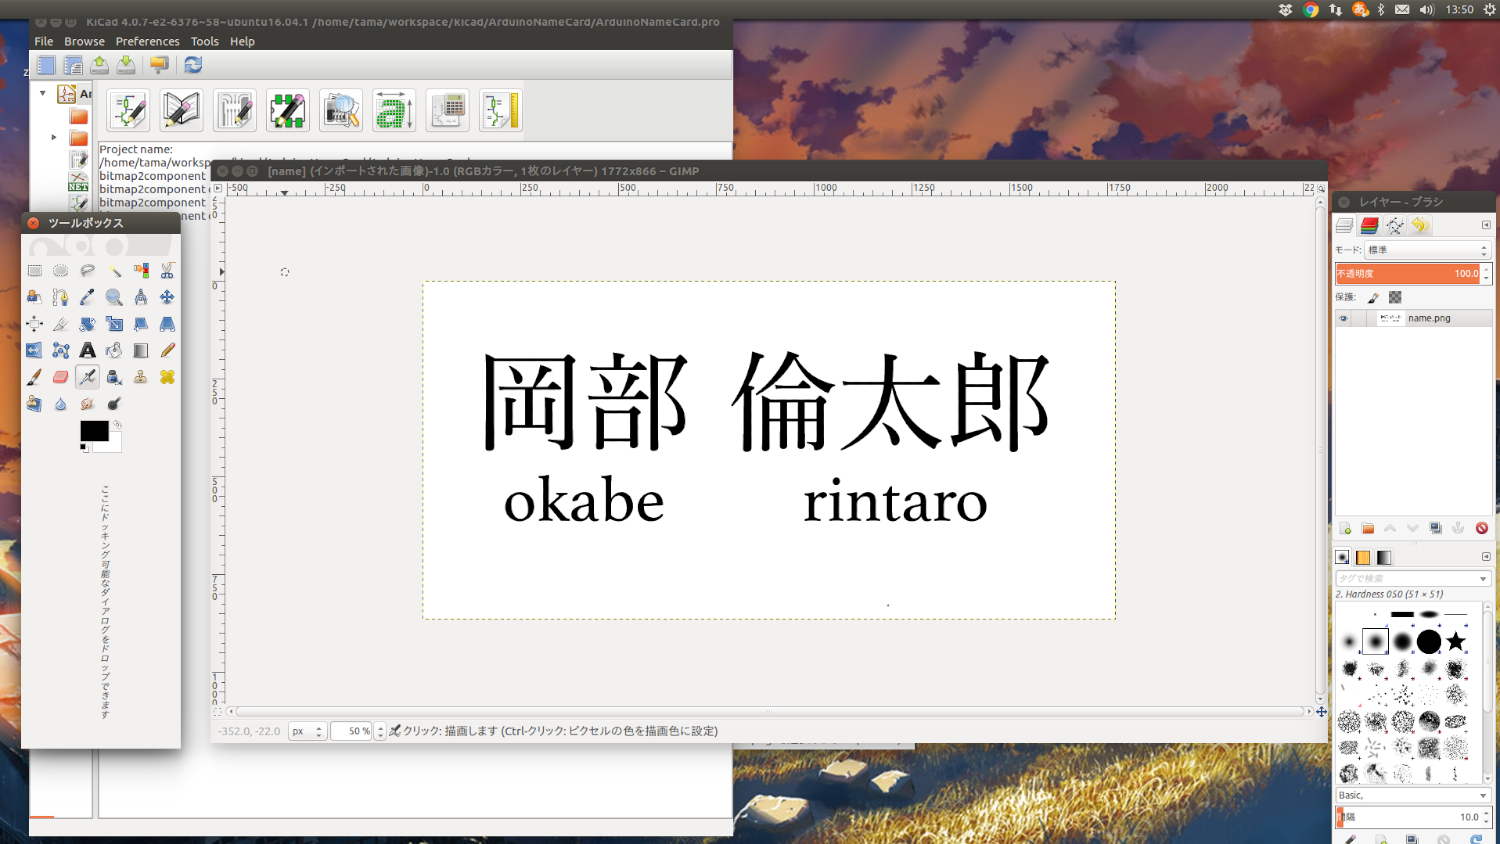
You need color turn when it's a white background and black character that using gimp.
how to turn color.
menu -> "colors" -> "Inverted".

You can choose silk or copper what information to be placed on the board.
If you put it in silk it will look like affiliation.png in the figure below.
If it is copper, it will be like name.png and address.png.
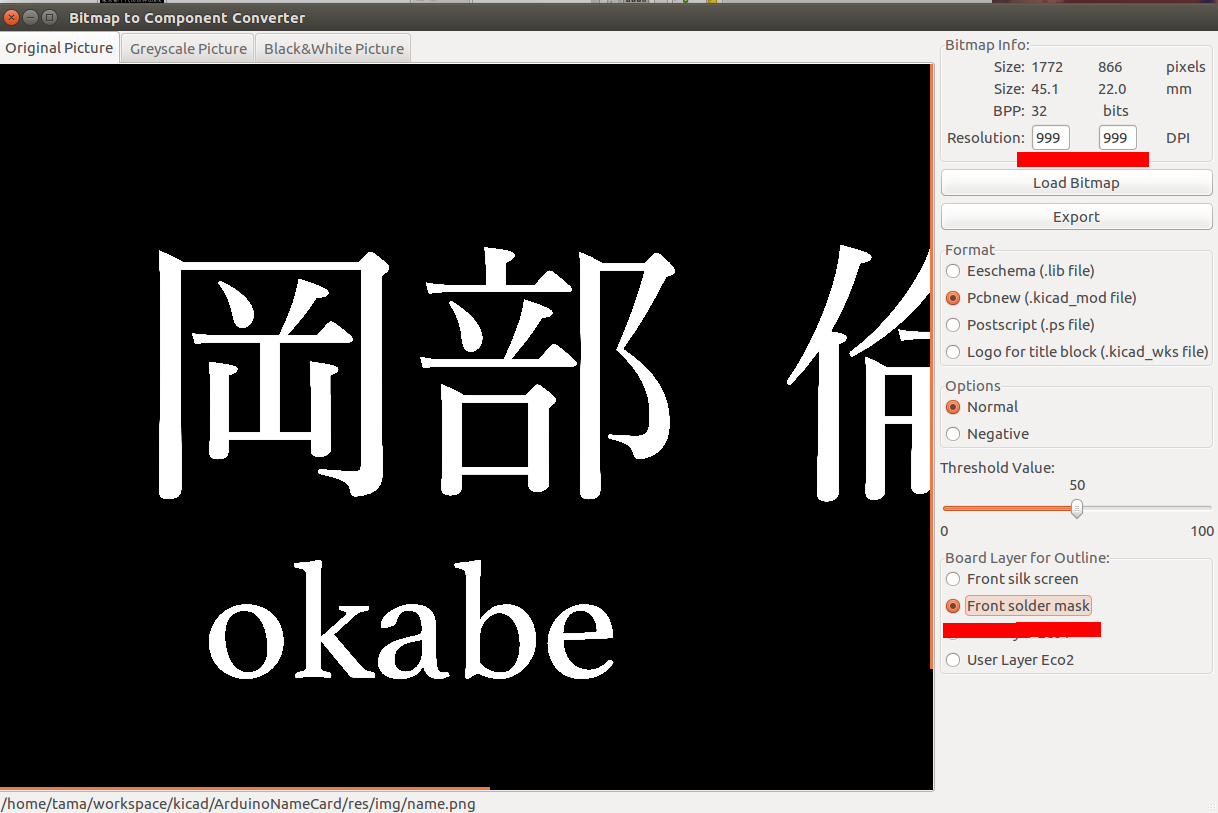
Start "bimmpa to component".
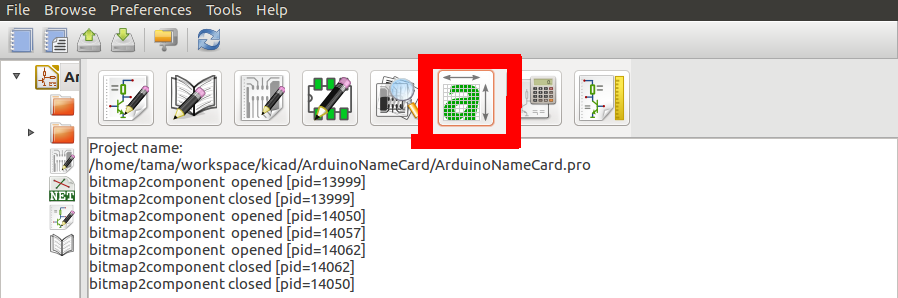
To create a silk -> to 5
To create a copper → to 6
Click "Load bitmap".
As an example this time, I read name.png.
Check sure the resolution is about 1000 dpi.
Check "Front silk screen".
Click "Export" after to generate output the filename.
set name of output file as a name_silk.kicad_mod.

Click "Load bitmap".
As an example this time, I read name.png.
Check sure the resolution is about 1000 dpi.
Check "Front solder mask".
Click "Export" after to generate output the filename.
set name of output file as a name_mask.kicad_mod.
Process the output footprint of name_mask.kicad_mod.
In we will make that using the resist mask and the copper.
The script is written in Python.
A script is placed in ./python/main.py in the repository.
Execute the following command to create a footprint.
$ cd "Route of this project"
$ python python/main.py  res/lib/ArduinoNameCard.pretty/name_mask.kicad_mod
Then name_mask_and_cu.kicad_mod is generated.
(If it is not generated, open name_cu.kicad_mod, copy the items included after "fp_ploy", replace "F.Mask" with "F.Cu", append the copied contents name_mask_and_cu. Please save it as kicad_mod.)
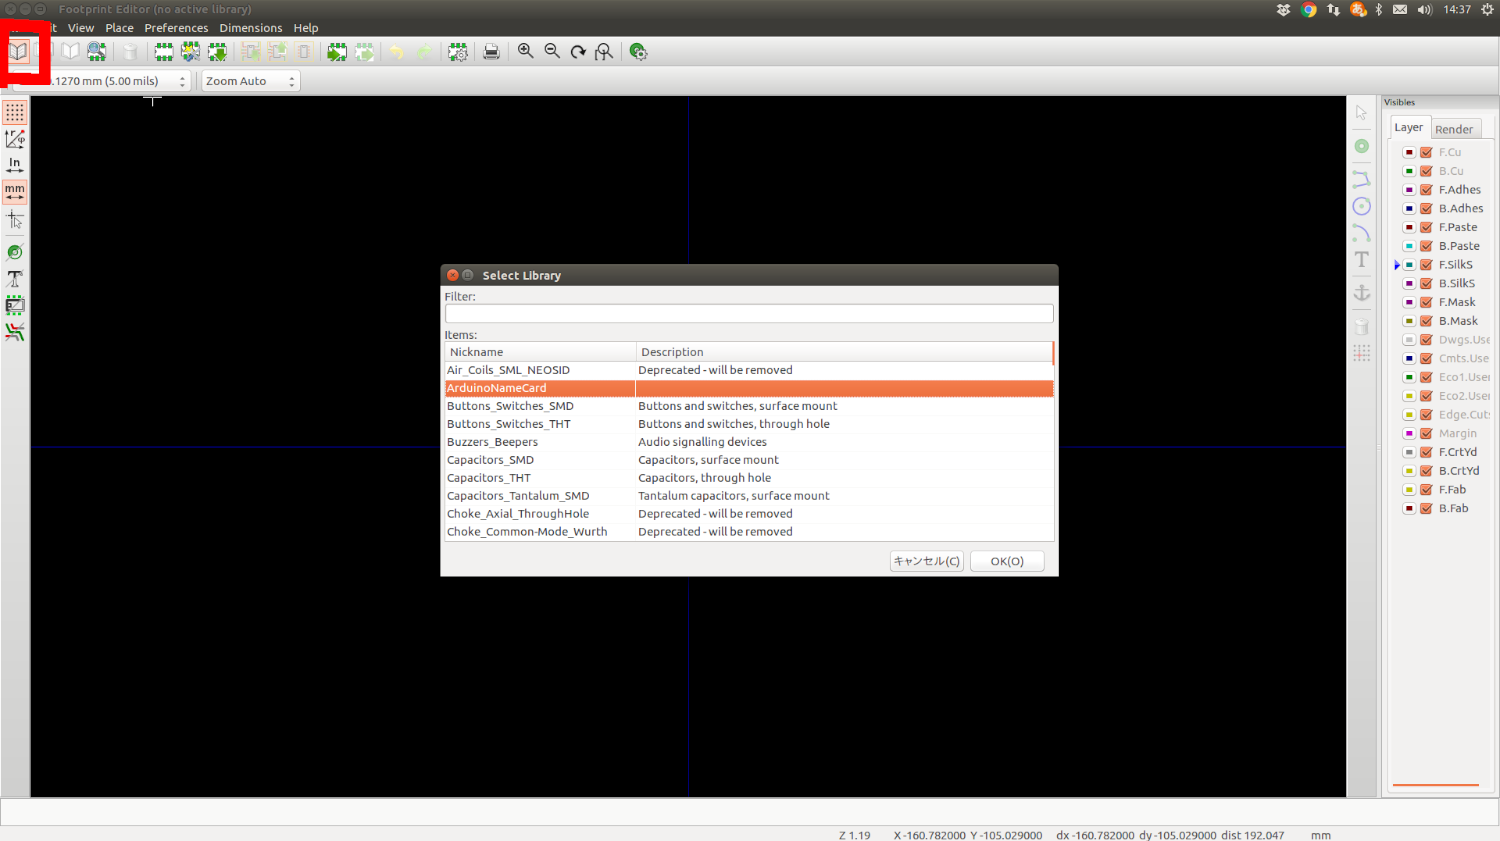
Select ArduinoNameCard as the working library.
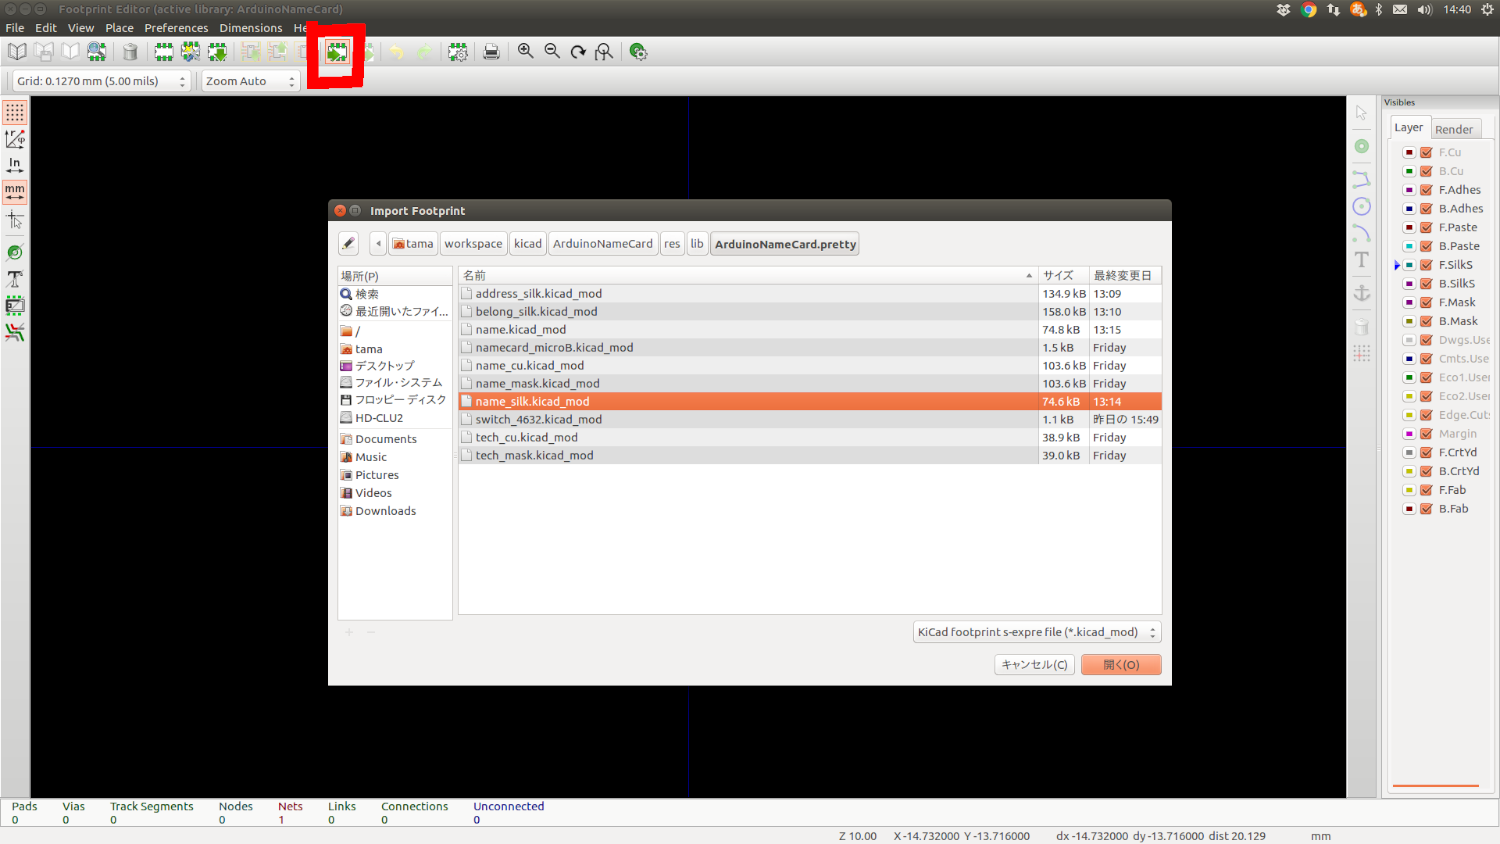
Read the output file.
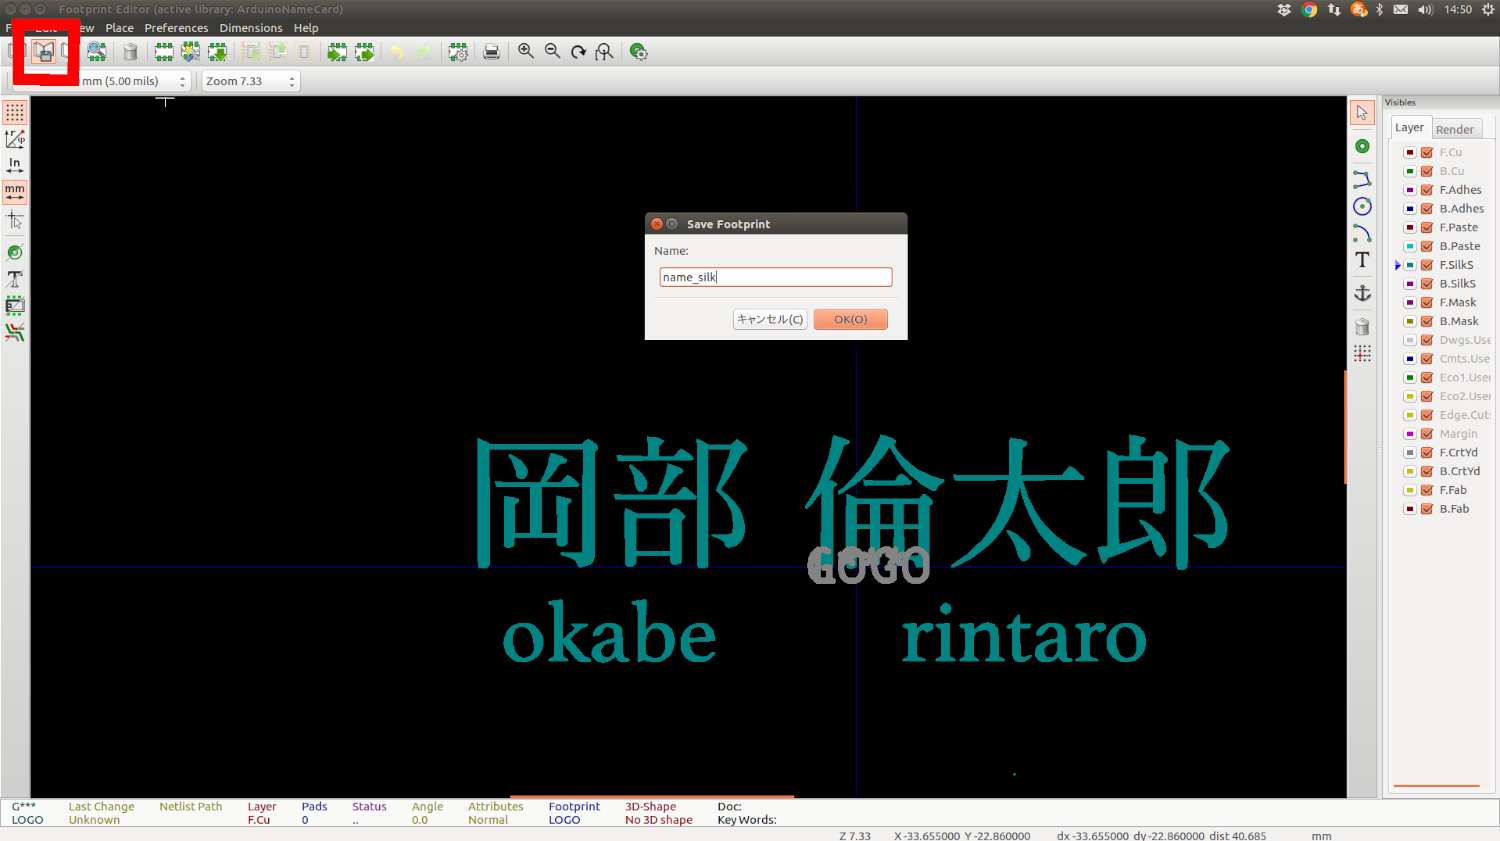
Save the component in the library.
If you are creating with silk, save it as "name_silk.kicad_mod".
If you are using copper foil, save it as "name_mask_and_cu.kicad_mod".
It's easiest to replace the existing footprint.
Right click on the existing footprint.
"Footprint exchange" -> "Footprint G *** ", after opens the window.
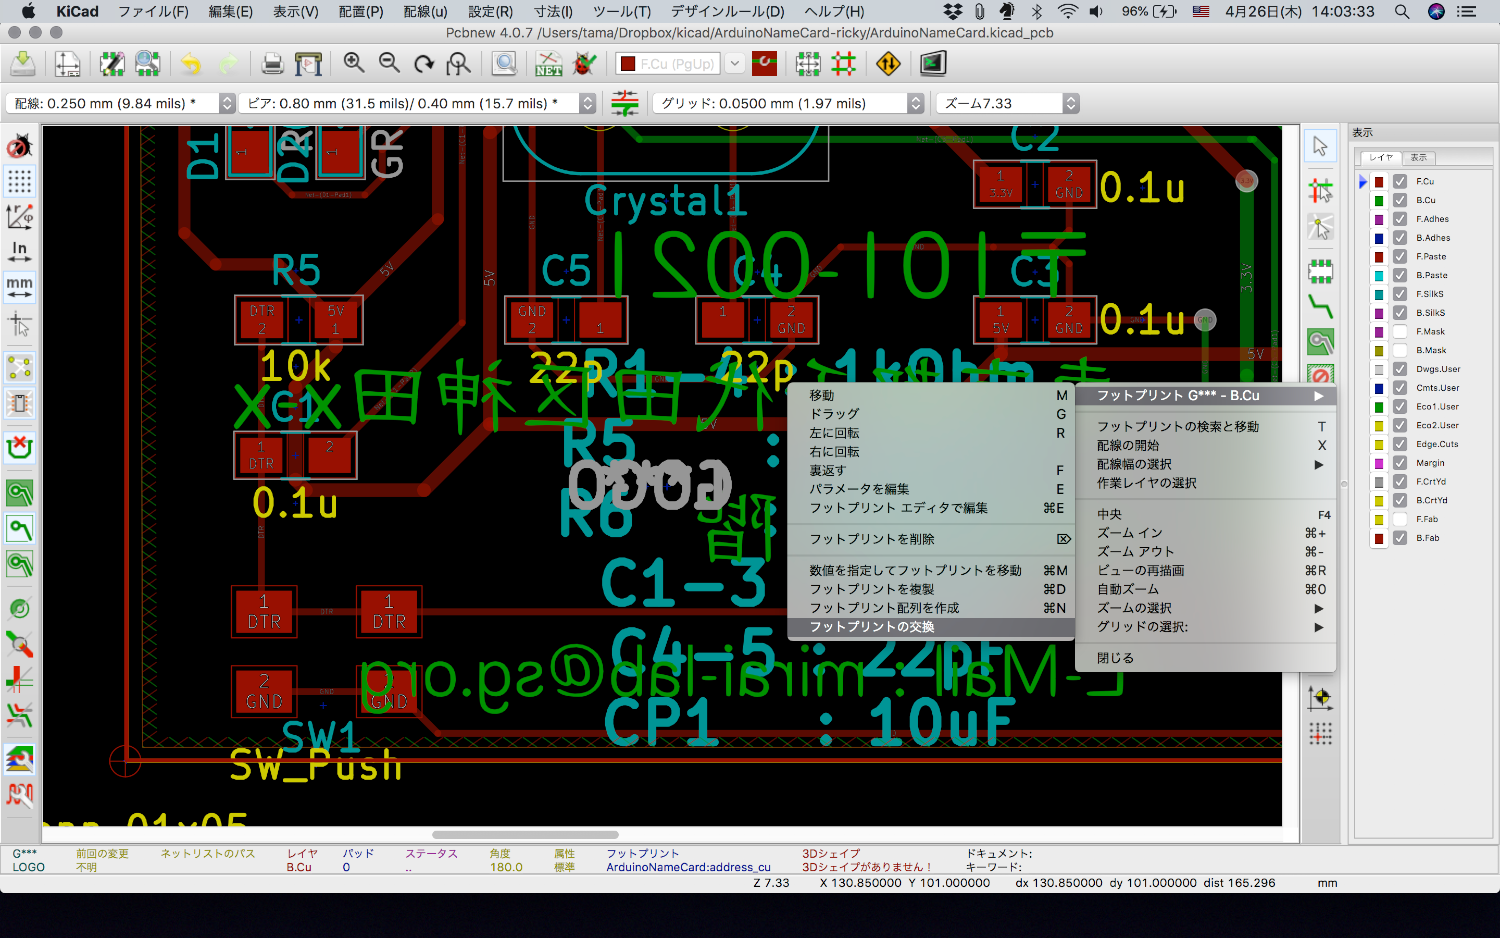
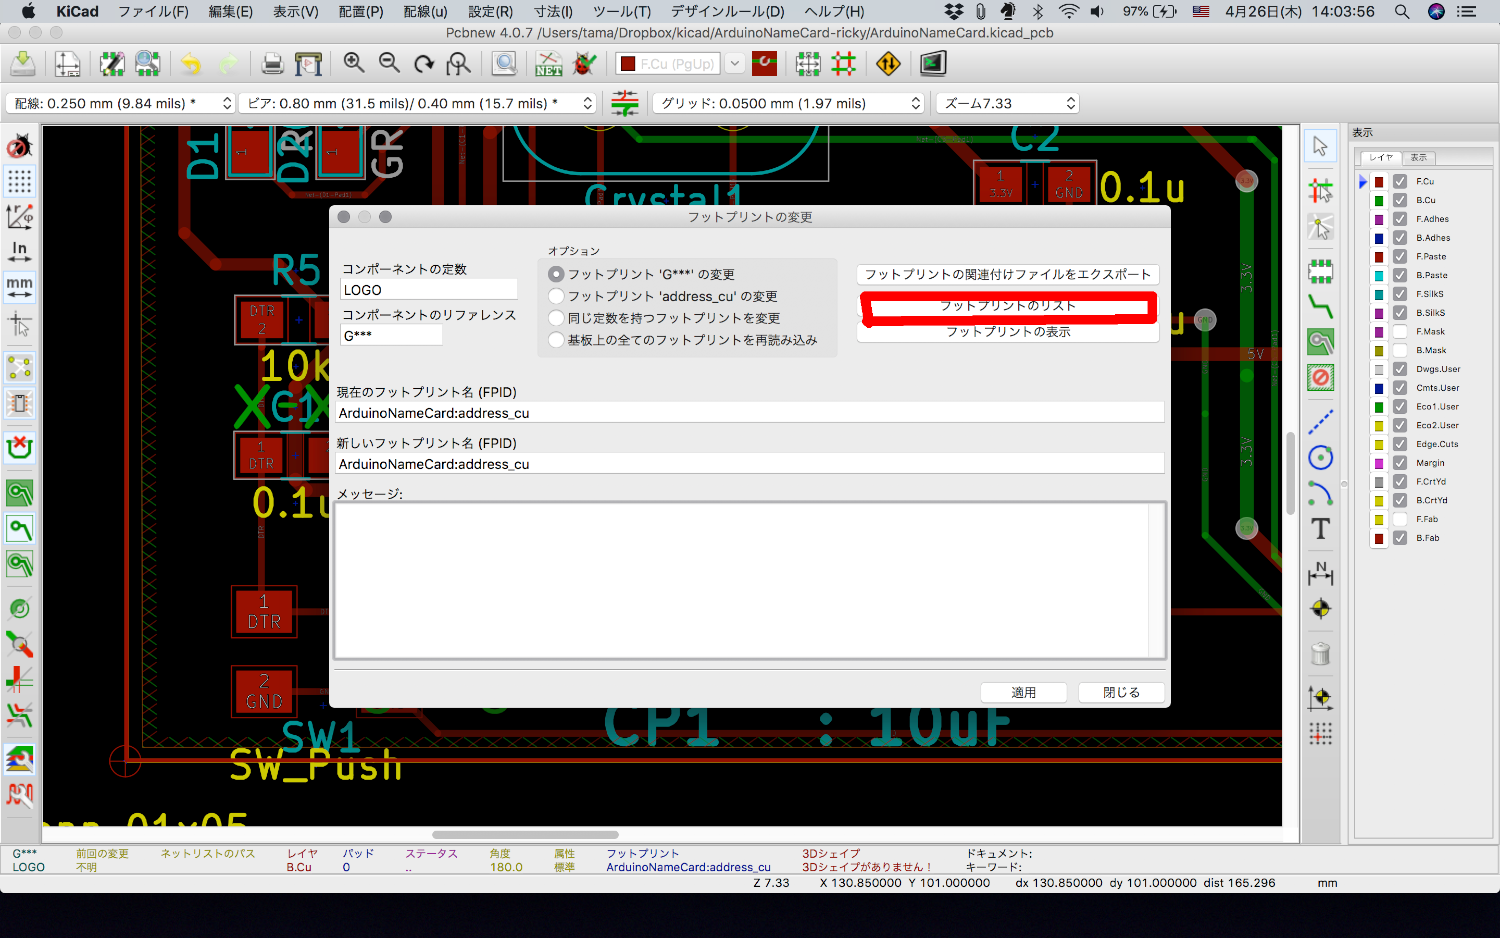
Press the footprint list and select the saved footprint.
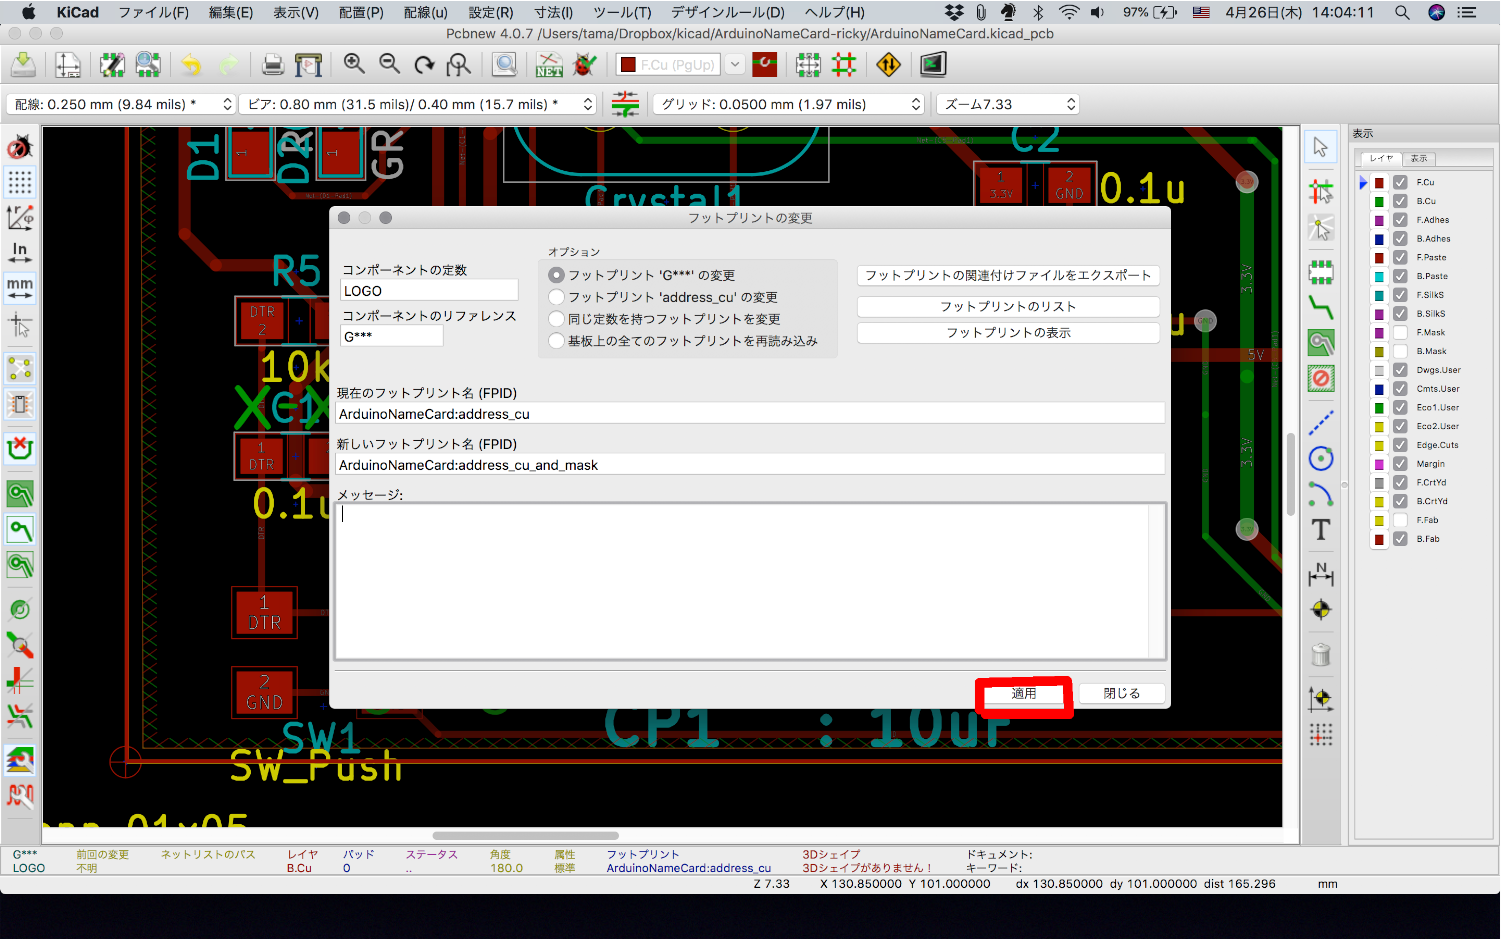
Press "Apply" to change the flip print.
<img width = "751" alt = "apply_footprint.png" src =
Click a red square place.
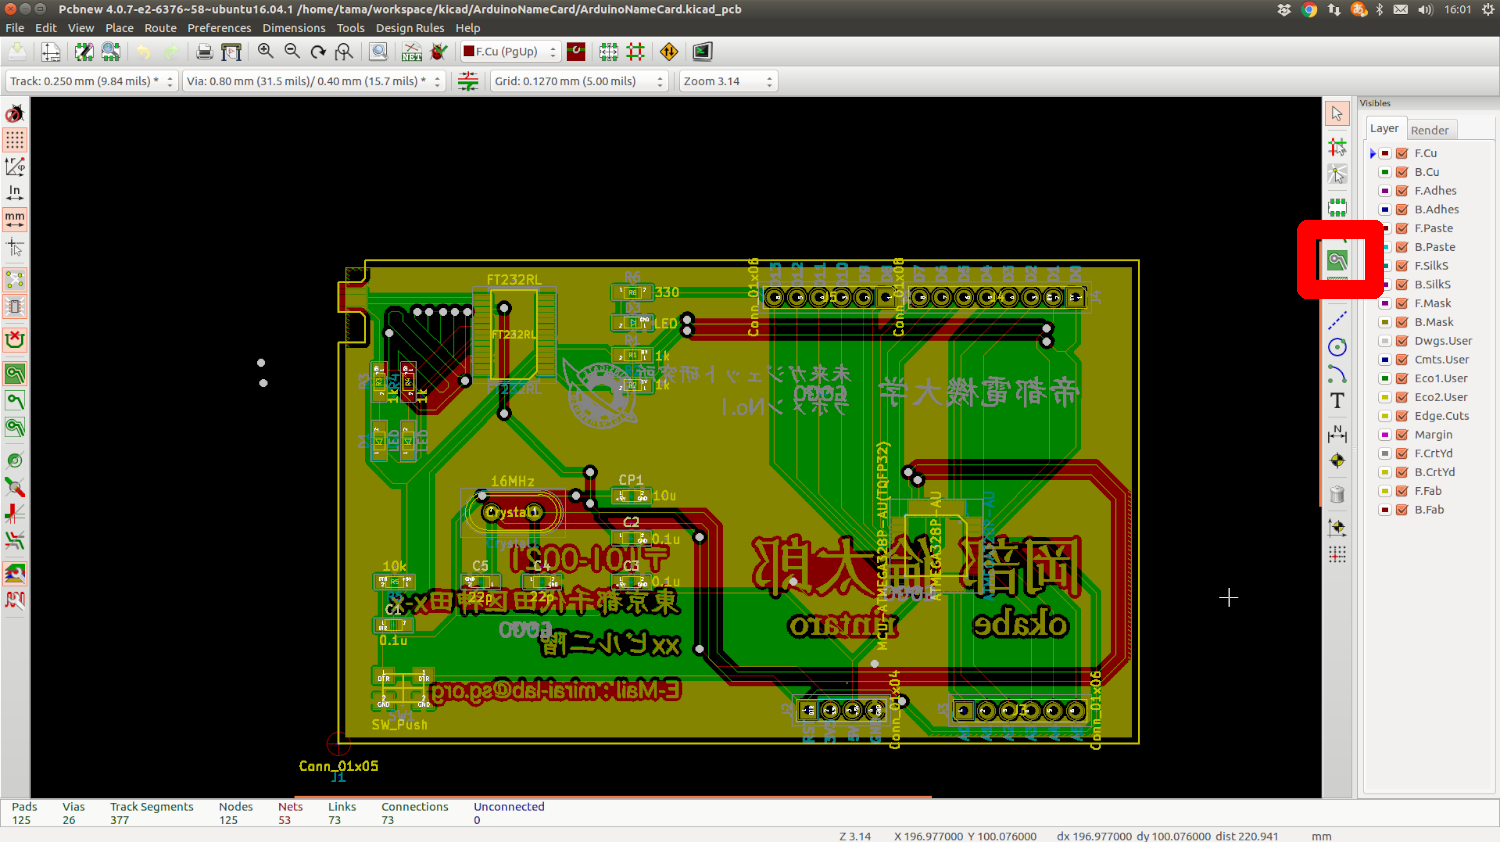
Right click anywhere on the board and the following menu will appear.
Select "Fill all zones" .
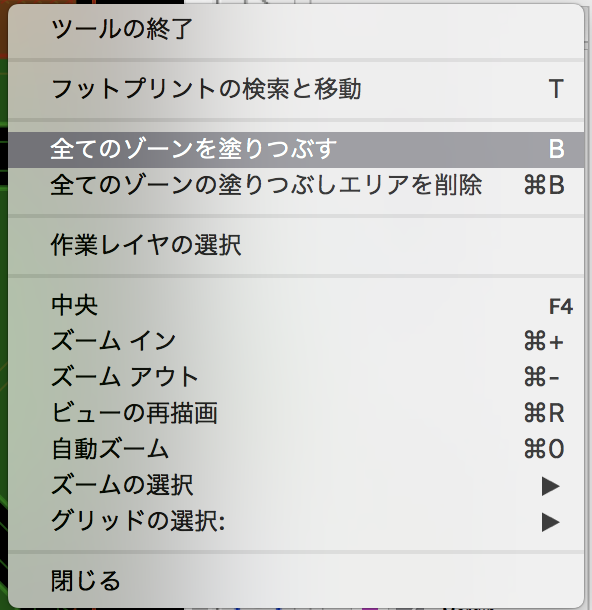
This completes filling with solid of GND.
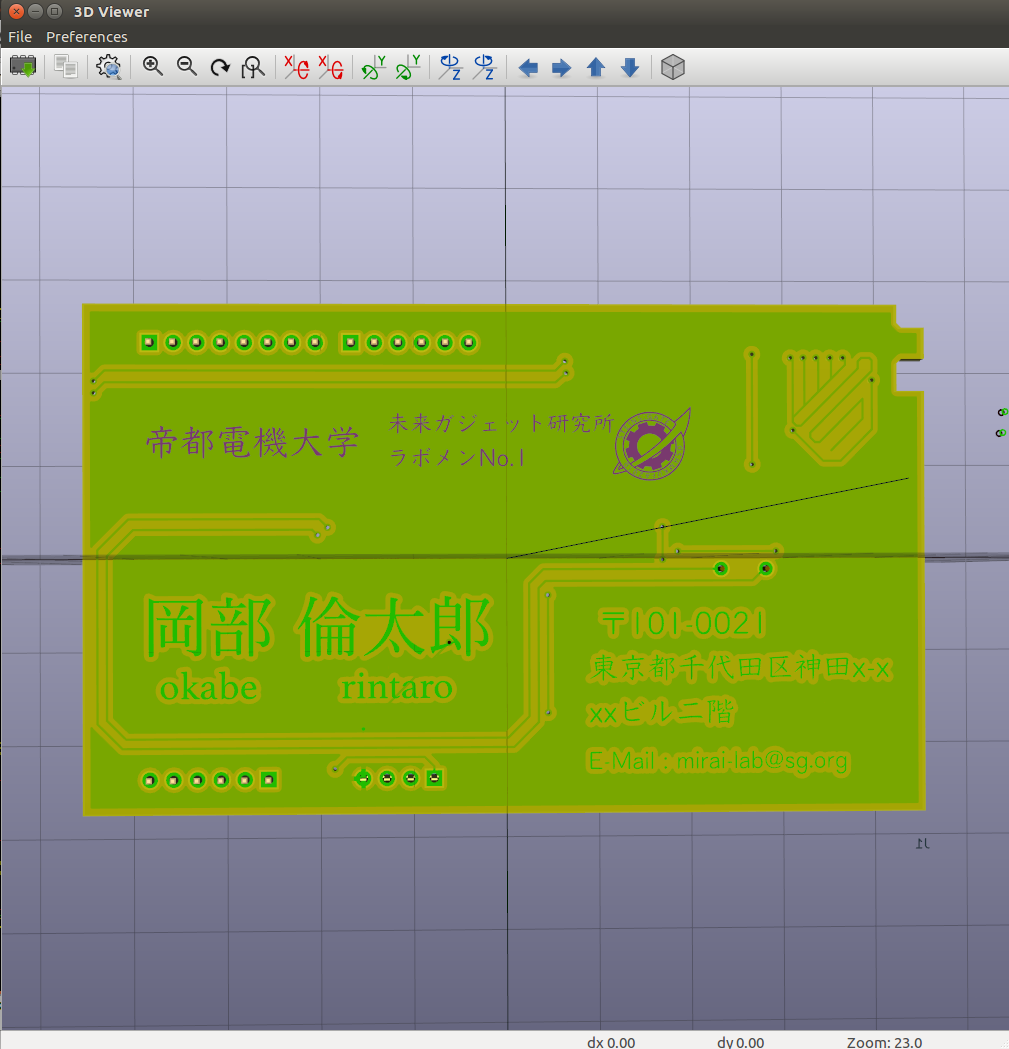
You can check it with 3D viewer in Menu -> "View" -> "3D viewer".
How to create Gerber is that see this refer.
★kicad (Mac OSX Version: 4.0.5 release build)版でFusionPCB用ガーバーデータの作り方..
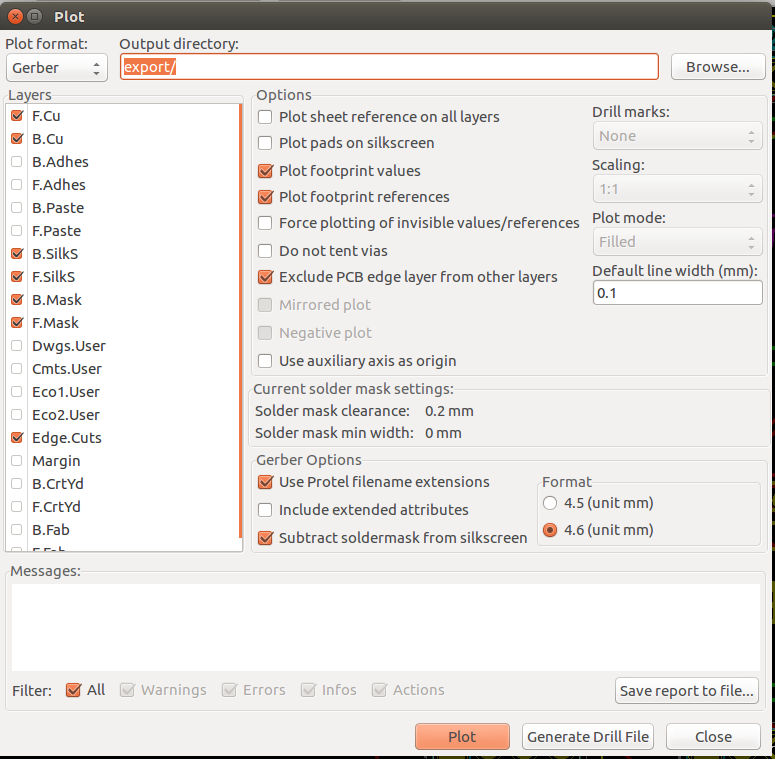
Output gerver with "Menu" -> "file" -> "plot" .
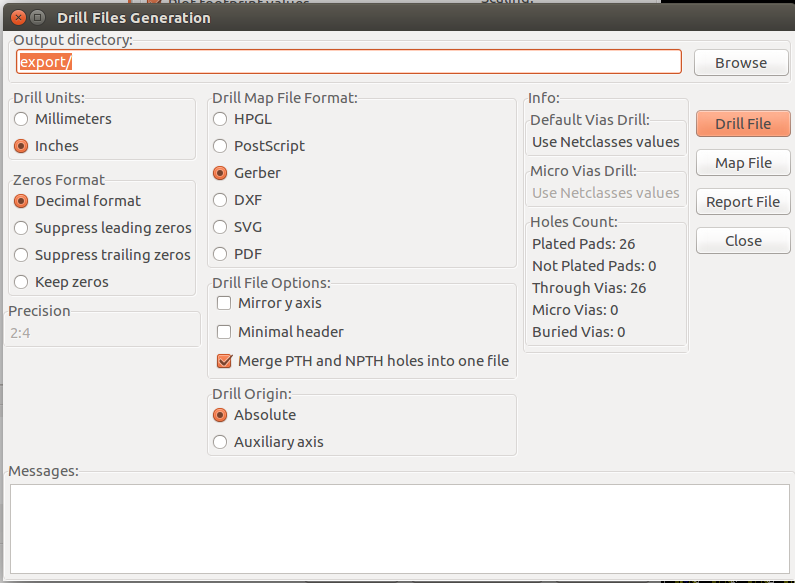
And output drill data.
Rename gerver data to ArduinoNameCard.
Export Compress every folder and put it in zip.
Rename zip file name to ArduinoNameCard.
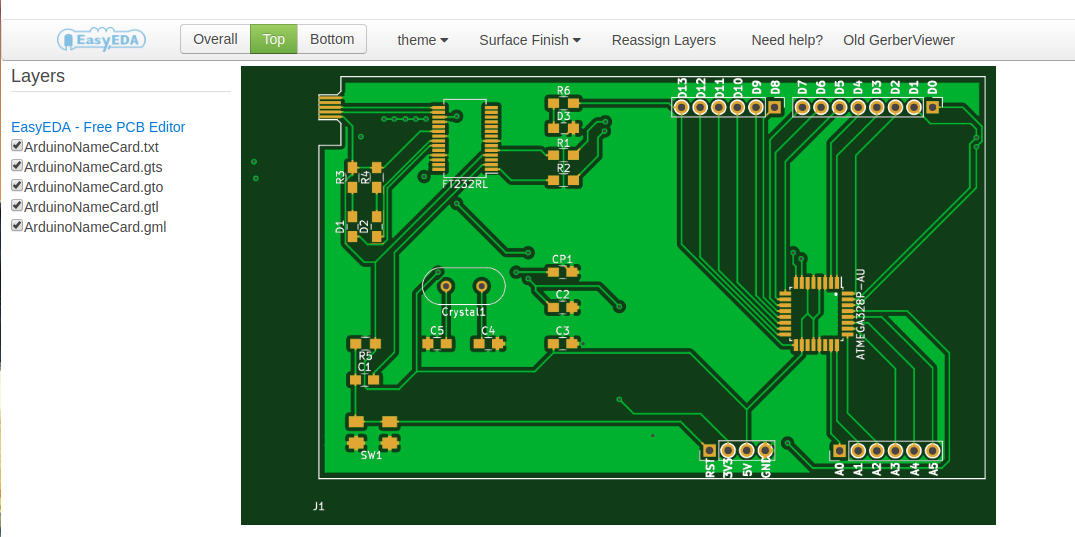
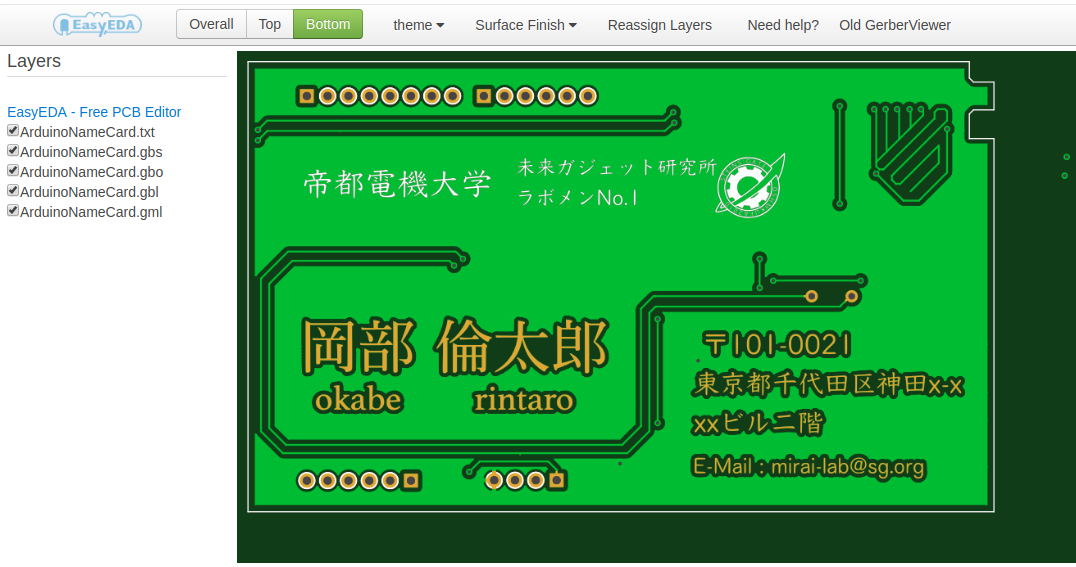
You can check it by preview of seeed fusion.
Select your favorite color.
We will order the thickness of the board with 0.6 mm.
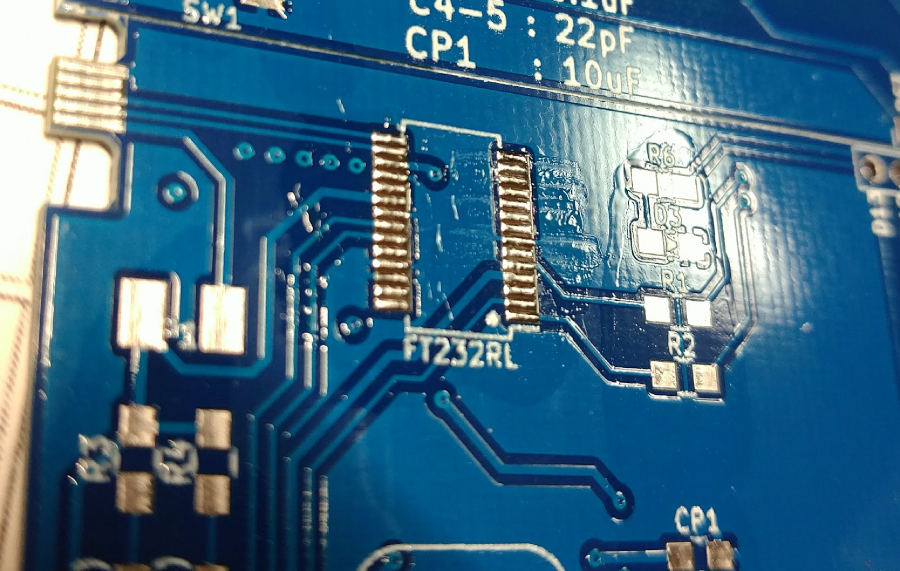
serial conversion part
| Parts | Number used for a board | rice at Akitsuki or DigKey |
|---|---|---|
| FT232RL | 1 | ¥400 |
| 1kΩ | 2 | ¥100 |
| 0.1µF | 2 | ¥150 |
| 10µF | 1 | ¥150 |
| Red LED | 1 | ¥150 |
| Green LED | 1 | ¥150 |
Arduino compatible part
| Parts | Number used for a board | Price at Akitsuki or DigKey |
|---|---|---|
| ATMEGA328P-AU | 1 | ¥230 |
| Oscillator 16MHz | 1 | ¥30 |
| 10kΩ | 1 | ¥100 |
| 1kΩ | 2 | ¥100 |
| 330Ω | 1 | ¥19 |
| 0.1µF | 1 | ¥150 |
| 22pF | 2 | ¥295 |
| Hughes | 1 | ¥200 |
| Red LED | 1 | ¥150 |
| Tact switch | 1 | ¥100 |
Write method with optifix.
For the procedure,
please refer to "【Arduino 1.6.3】 Arduino UnoでATmega328P-PUにブートローダを書き込む"
flashing before soldering using "IC socket".
Connect Arduino UNO and ATMEGA 328P-AU with the following combination.
| Arduino UNO | ATMEGA328P-AU | Location on card (board) |
|---|---|---|
| D10 (SS) | 29 (RESET) | RST |
| D11 (MOSI) | 15 (MOSI) | D11 |
| D12 (MISO) | 16 (MISO) | D12 |
| D13 (SCK) | 17 (SCK) | D13 |
| 5V | 4 or 6 | 5V |
| GND | 3 or 5 | GND |
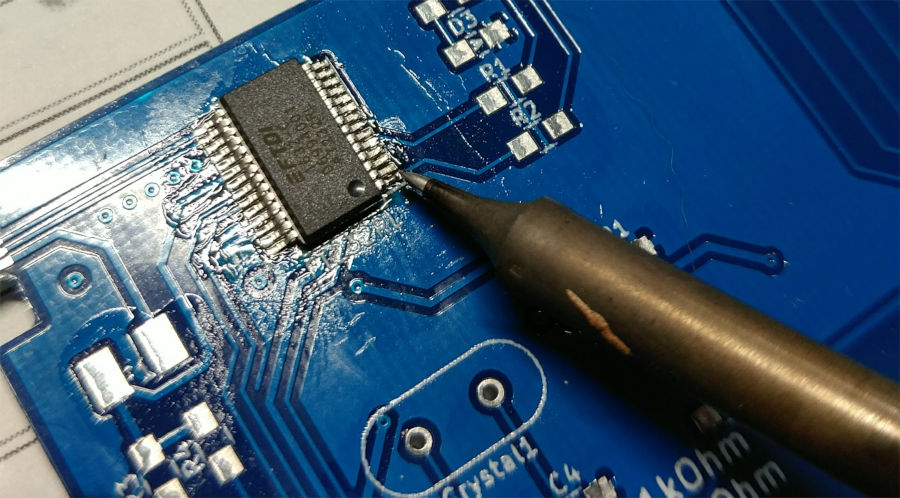
FT232RL is narrow between pins and it's difficult to solder.
Although soldering can be done normally, I recommend that you follow the procedure below.