JSXNote is a React web app that allows the user to write blocks of code in JavaScript with React (JS/JSX) or blocks of text (Markdown), and rearrange these blocks, similar to Jupyter Notebooks for Python. Blocks of code are appended together during runtime in the order they appear, so that the user can build up a single project or demo made of many cells of code.
To install:
- Navigate to a chosen working directory, where notes can be saved.
- If npm is not installed, enter the following command into a command window:
npm install install
- Next, install the jsxnote package from npm and add on a custom file name to save to / load from by entering:
npx jsxnote serve [fileName]
- If successful, the following message will appear:
Opened notebook.js. Navigate to http://localhost:4005
Open your browser to http://localhost:4005 to use the app.
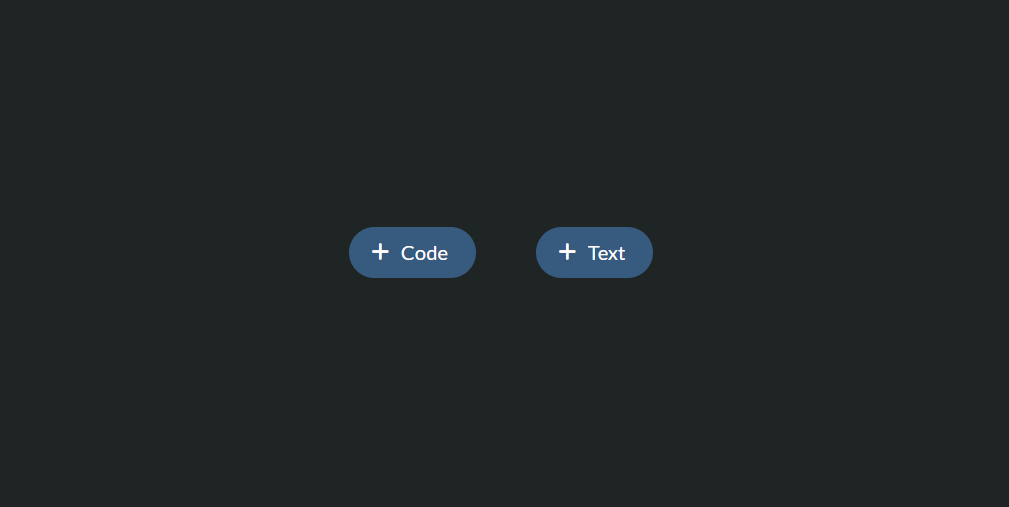
Upon opening the app, the following interface appears. The user may click either option to create the first cell of the document.
After creating your first cell, hover the mouse cursor above or below the single cell to create another cell:

Click the Text button to create a Text cell. After creating a text cell, click inside the cell to make the editor appear:

Enter Markdown text in the textbox on the left. A preview will show the styled text after Markdown processing on the right.
Clicking outside the text cell will cause the editor to close, and the formatted text to be displayed:

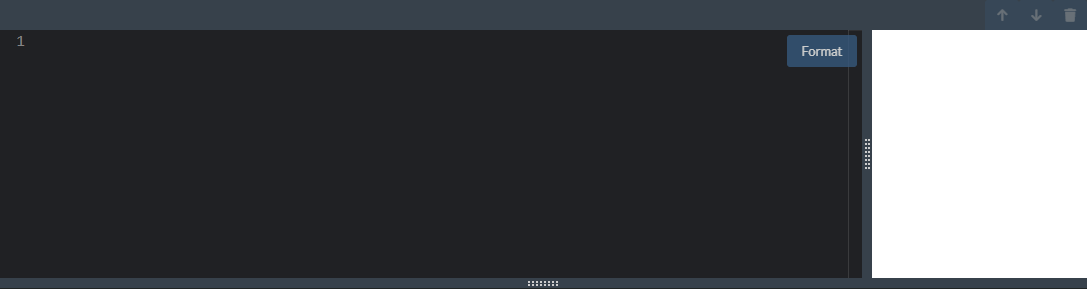
Click the Code button to make a Code cell appear. The new code cell has various IDE-inspired features:
- Editor window (left) can take any JS (ES6) and React/JSX components
- Preview window (right) can display React components and HTML elements with the custom
show()function. - 'Format' button will appear in the editor window when the cursor hovers over it. Press this to format the code nicely.
- Grip bars can be used to resize the windows vertically and horizontally.
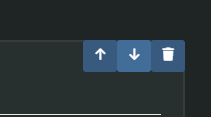
Each Text or Code cell has 3 naviga�tion buttons:
- ⬆️ will swap this cell with the cell above it
- ⬇️ will swap this cell with the cell below it
- 🗑️ will instantly delete this cell. Be careful - there is no warning before deleting!
show() is used to output JSX to the preview window. This example demonstrates how a simple react element can be created and displayed using show():

The code cells include React and ReactDOM without any import or include necessary. This means that React components can be made directly, with JSX, in the code cells. As mentioned, these cells are stung together before bundling so that components can be referenced in cells other than the one it was created in - no export/import necessary.
Any NPM packages can be required or imported within any code cell. The code cell bundler will install and apply these packages before running.