This repo contains sample code showing how the arduino-cli tool can be used inside a Docker container on a Raspberry Pi to reprogram an Arduino Uno attached to one of its USB ports. This code was written to support my blog article aboout this, which covers the topic in more detail.
Note that if you simply want to treat the Arduino as a slave, and not actively reprogram it, I describe a simpler solution solution in this blog article using the Firmata code. The code in this repo is for completely reprogramming the Arduino -- i.e., reflashing it -- in the field.
Anything written in this style in the "Procedure" section below is usually a command you should type (or output from a command, etc.).
If you don't already have the required development tools installed on your Raspberry Pi (i.e., curl, git, and make), you can install them using apt update && apt install -y curl git make.
Procedure:
- connect your Arduino to your Raspberry pi using a USB cable as usual
- install docker on your Raspberry Pi (install
curlif needed, then,curl -sSL https://get.docker.com/ | sh, and then follow its advice to give yourself access todockerwithoutsudo, by runningsudo usermod -aG docker pithen exit the shell andsshin again) - install
gitif needed, and clone this repo (git clone https://github.com/MegaMosquito/aardvark.git) - cd into the resulting
aardvarkdiectory, installmakeif needed, and build the container (make) - run the container in "dev" mode (
make dev) - inside the resulting container context, run
arduino-cli board listand observe the output. It should look similar to this:
Port         Type              Board Name  FQBN            Core
/dev/ttyACM0 Serial Port (USB) Arduino Uno arduino:avr:uno arduino:avr
The above output shows my "Arduino Uno" board is attached on serial Port /dev/ttyACM0, and its Fully Qualified Board Name (FQBN) is arduino:avr:uno, and its core library is arduino:avr. Look at what your board shows, and copy what you see under "Board Name" (in my case this is "Arduino Uno").
- exit the container context
- modify the
example.shfile so that theMY_BOARDvariable contains your "Board Name" - rebuild the container ('make')
- run the container in normal mode (
make run)
You should observe the Arduino being programmed first with the sketches/Blink.ino program, then 30 seconds later it will be reprogrammed with the sketches/Faster.ino program, and then 30 seconds later that programming sequence will repeat. This squence will repeat forever.
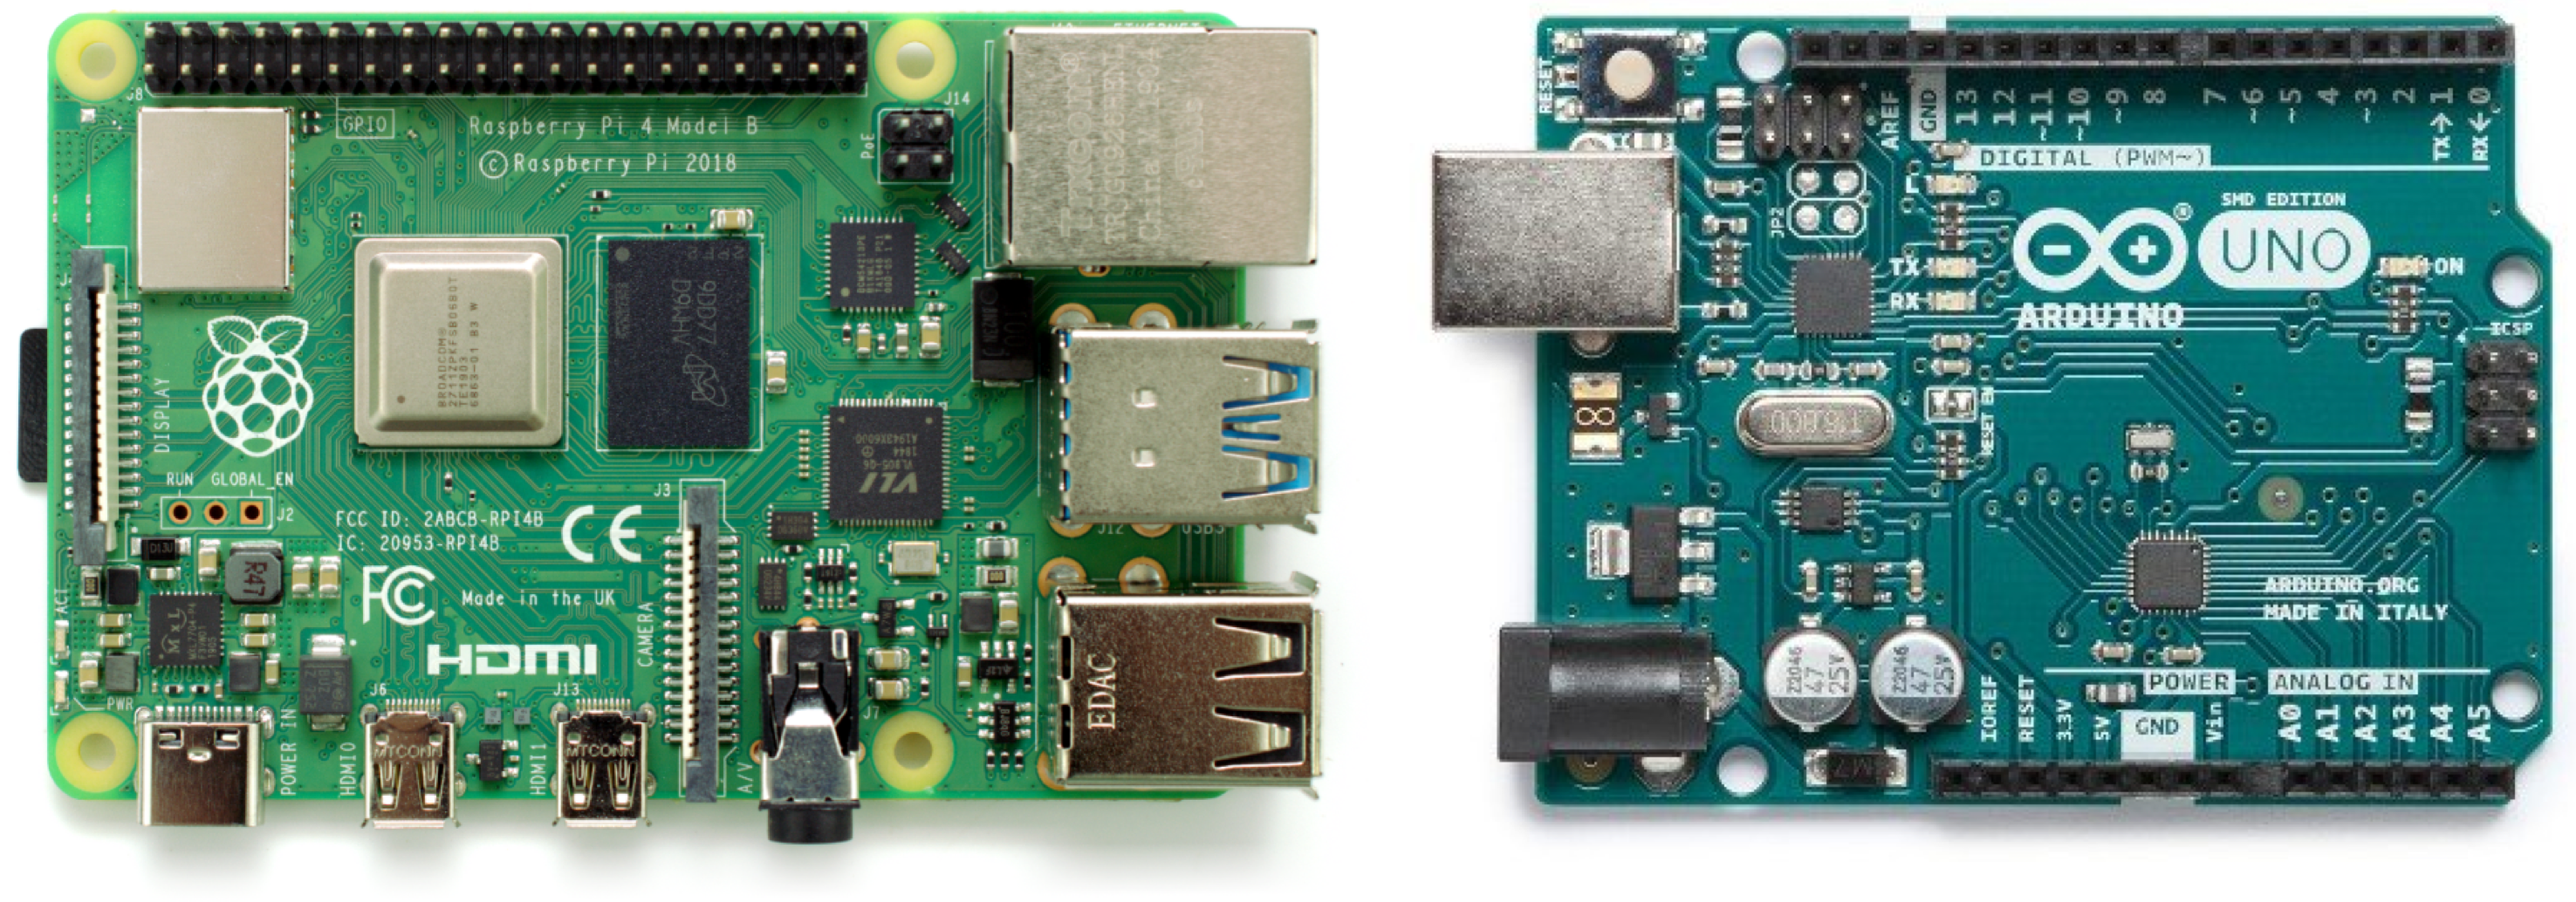
In general I think the Raspberry Pi hardware can simply replace the Arduino for most applications. If your application only uses digital interfaces this is more certain. If your application uses analog interfaces, the Raspberry Pi may need a little help. The Raspberry Pi has no analog inputs whatsoever, and it has few ports capable of hardware PWM (Pulse Width Modulation, a technique for simulating analog output -- see this blog article for more details). Although any of the digital outputs on the Pi can probably be used for PWM through software, this is likely less precise than hardware PWM. For analog input I generally add an external ADC (Analog/Digital Convertor) chip like the MCP3008 which connects digitally to the Pi using SPI (Serial Peripheral Interface) and provides analog input with 10 bits of accuracy, which is similar to what the Arduinos usually provide. See this blog article for more info on analog versus digital (and it has links to other articles with practical tips).
Having said that, sometimes an Arduino can be useful, e.g., when a particular driver library is available only for Arduino. I ran into this when building a project using a round display screen which only offered an Ardino library. I connected an Arduino Pro Mini to this display, and then communicated with that Arduino from an Internet-connected Raspberry Pi. There'a more about that project in this blog.