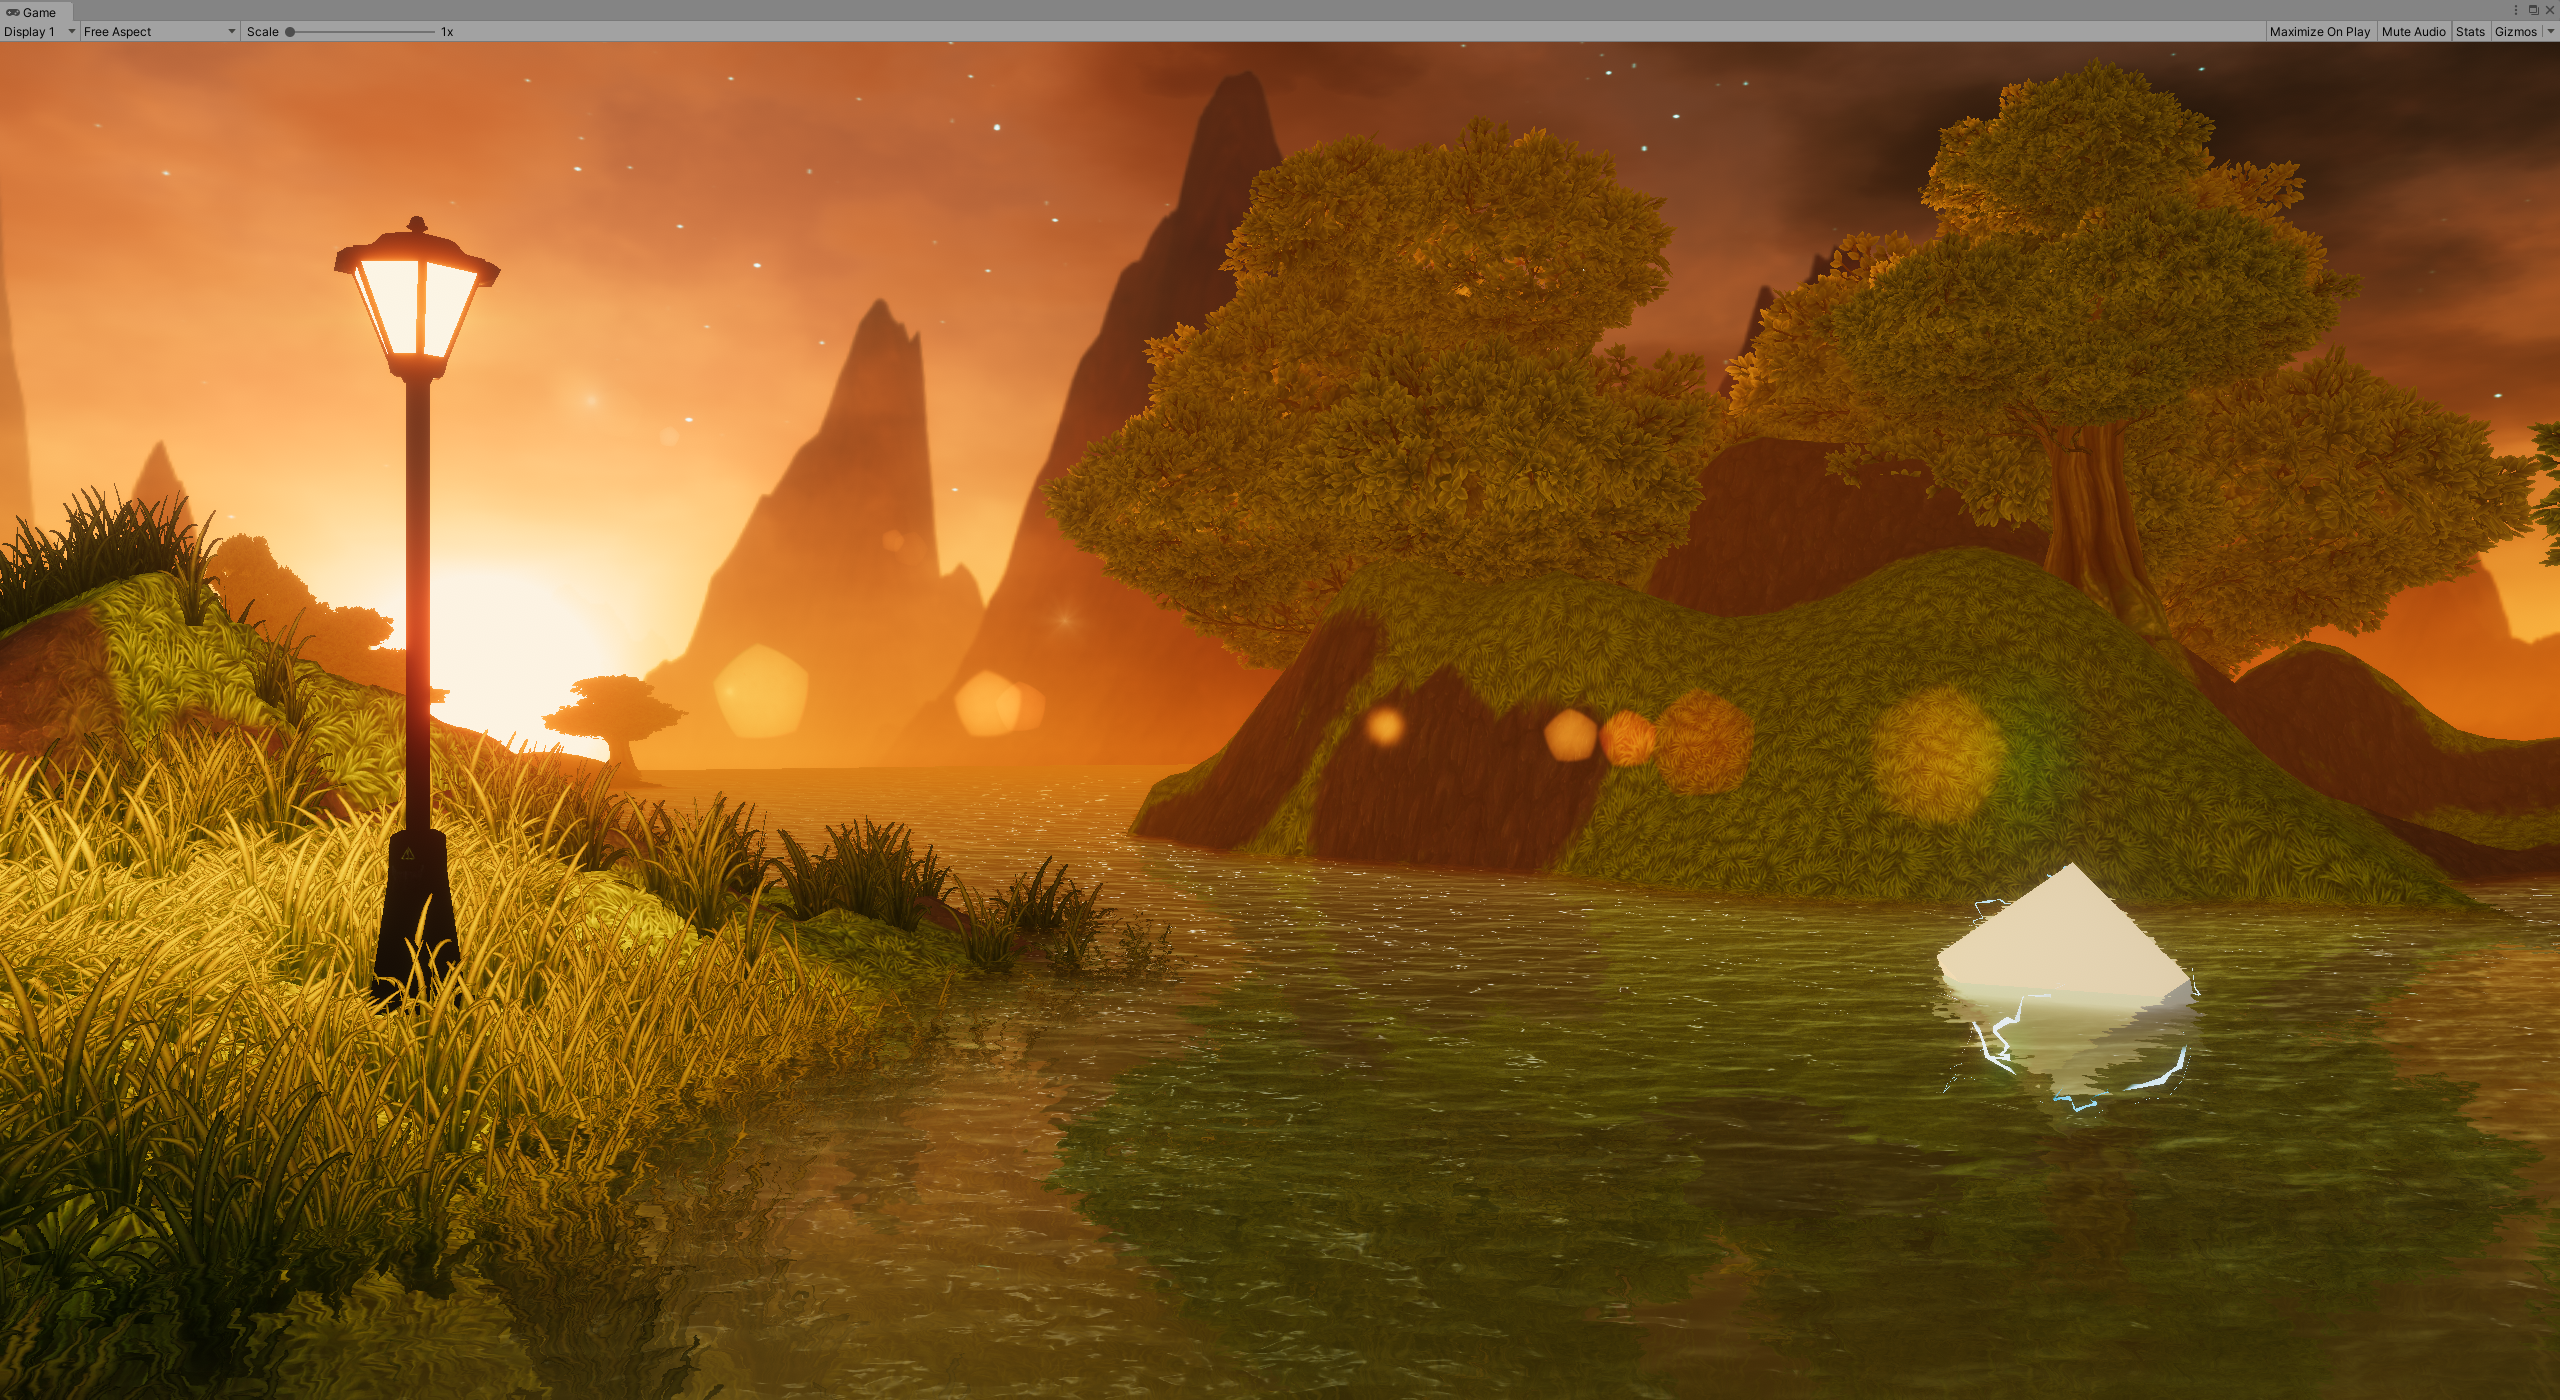
This is a Lens flare render system by render quad meshes in front of your camera. So it can be used in any render pipeline.
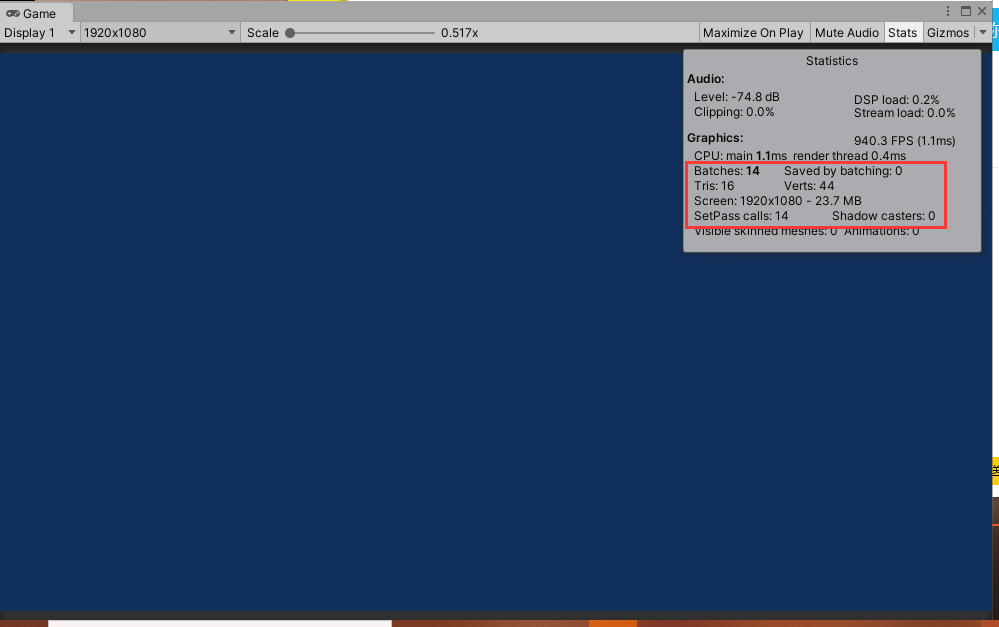
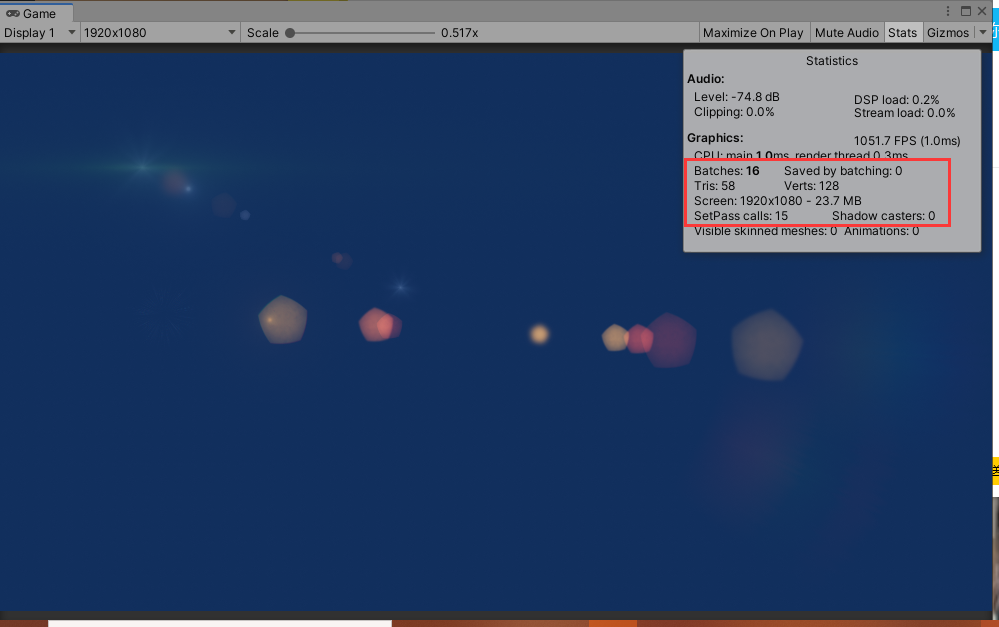
These system support multiple lens flares at the same time, and each flare line cost one draw call.
In this version of asset, the flare atlas is separated by Sprite Editor. You need to change the "Texture Type" setting to "Sprite(2D and UI)", then set "Sprite Mode" to "Multiple". If you have installed Sprite Editor on your project, then you can edit it after tap apply at the moment.
In this version, you don't need to slice by yourself, and atlas will be sliced automatically like cell mode of sprite slicer. So you need to set the amount for each axis on "Cell" property.
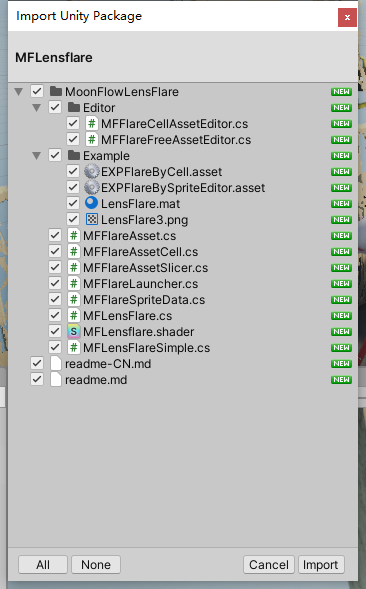
Download unitypackage to your computer.
Then you can see these Files :
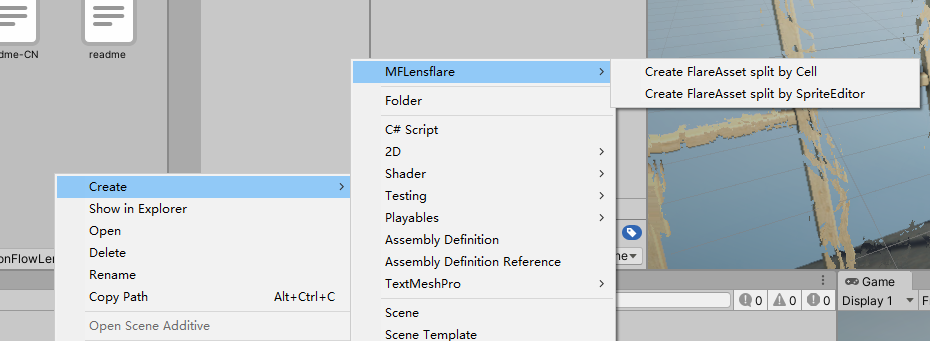
Move your cursor to project view, right-click and find the option:
Create -> MFLensflare -> Create MFFlareData split by SpriteEditor.
Create -> MFLensflare -> Create MFFlareData split by Cell.
Then you can see the default settings in Inspector view when the asset was chosen.
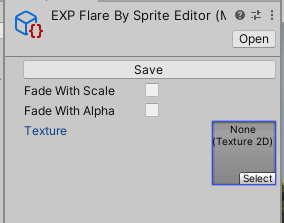
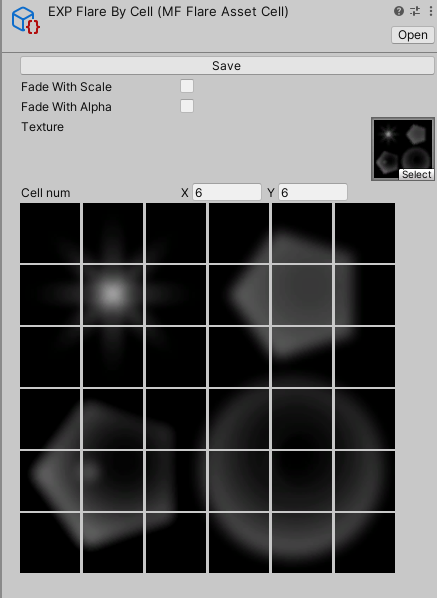
There are 3 global properties to set flare asset.
Choose the flare atlas you need.
Lens flare will change the sprite scale while they are fading in or fading out
Lens flare will change the sprite Alpha while they are fading in or fading out
-
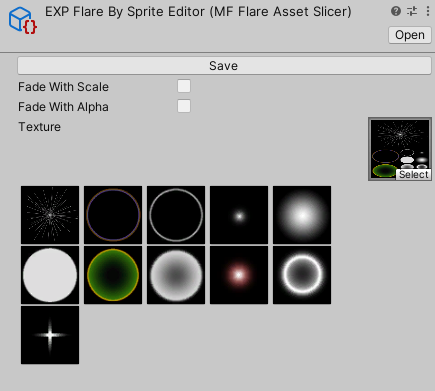
Slicer version
On the Texture Importer settings of sprite atlas,The Texture Type setting need to set as Sprite(2D and UI),and Sprite Mode need to set as Multiple
-
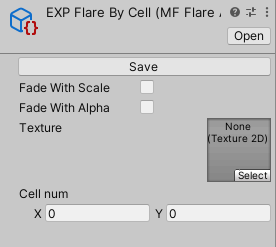
Cell version
There is one more property called Cell(Vector2),x is the number of flares of single line on the atlas,y is the number of flares of single column on the atlas
Lens flares based on a series of lined up sprites. So that we need to set every sprite pieces in flare assets. Click the separated atlas piece to create new flare piece. You can see following settings added in Inspector view.

This solution search piece by setting index.you will find the index of every blocks on the board if you haven't chosen a sprite atlas. You can change this option to switch the piece you will use.
If chosen, this piece will rotate along with light source while it is moving in view.
It means the strength of single flare color which is totally mixed with light color or not.
And if the flare launcher has checked Use Light Intensity, the final color will also mixed with light intensity.
It controls the position where this piece will finally shown on screen.
The value based on the distance between light source and the center of display screen.
value = -1, this piece will coincide with the light source.
value = 0, this piece will coincide with the center of display screen.
You can overlying a color to change the result of this piece( coexistence with light source color)
This piece shown on the screen based on this property.
Click to remove this piece from flare pieces list.
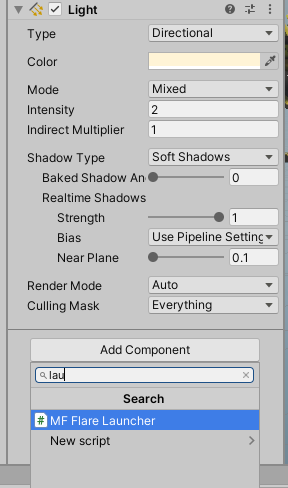
Add MFFlareLauncher component to your game object. There are some settings based on light source, so that it requires Light component.
Now you can see launcher settings.
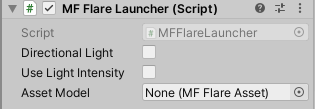
If the light source is directional light, set it true, otherwise set it false. This option will determine whether the flare will disappear or not if you are far away from the light source.
the intensity of light will influence the intensity of flare on this light source if you set it true.
Set the flare asset you want to use for this light source, it can't be null
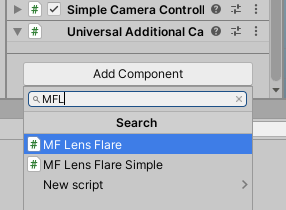
Add MFLensFlare component to your camera, now you can see flare render settings.
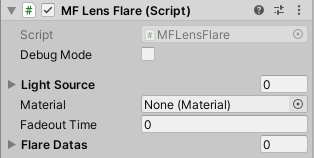
There will render some line between real flare position and camera in scene view.
Set a material to render your flare.Caution: Be sure that this shader could be rendered correctly on your current render pipeline.
The shader which used to render lens flare need to have following function, and I have already made an example called MFLensflare.shader in the project for you:
1. Depth map reading and occlusion determination
This solution could do occlusion determination by comparing the depth of light source with the depth of same pixel on depth map. So you need to input screen space light source position into the shader from C# script, using this screen position as uv to read your depth texture and find if light source has been obscured or not.
2. Vertex color mixing
This solusion deliver color settings of each flare asset to render by changing the vertex color of each mesh. It's quite similar as what Particle System do. So the shader need to mixing vertex color on the final step before output fragment result.
3. Queue > 3000 && Blend One One
It's easy to understand. Lens flare will not replaced color. And it also need to render some transparency pixel.
4. _MainTex
For the code in MFLensflare.cs, the chosen flare atlas is set by using MaterialPropertyBlock, and I have set the property name to "_MainTex", then the system could change atlases between different light source. You can change this property name, but be sure they are same in MFLensflare.cs and your shader at same time.
It shows how much time will cost to disappear the flares after light source disappeared from screen.
-
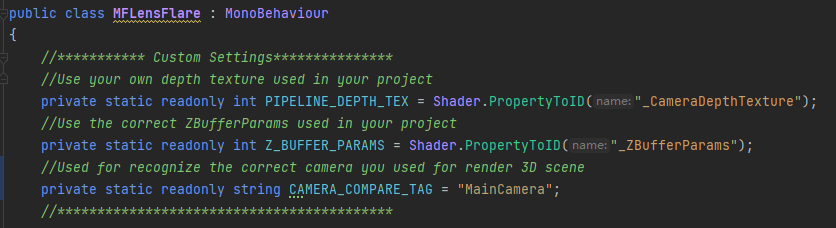
At the front of MFLensflare.cs, you can see the nessesary configs of wake up fadeout function when light source is in the view but covered with nearer object
-
PIPELINE_DEPTH_TEX
The name of depth texture used in your project. Used to find the correct depth texture.
-
Z_BUFFER_PARAMS
Current ZBufferParams defined in your project. Try to search for more details about it in unity official documents.
-
CAMERA_COMPARE_TAG
The proprietary tag used by the camera which aimed to render 3D scene in your project. It is used to run compute shader at a correct time to calculate the occlusion.
-
-
Incorrect(delayed) displacement sync when using cinemachine for rendered camera
Please set execution order manually, be sure MFLensflare executed after cinemachine brain in the same tick. Look for more help:Execution order problem with assets (rainyrizzle.github.io)
-
Multiple light source with too much drawcall
This solution allowed to use different atlas between different light sources, so each light source need one draw call to draw flare mesh. But they might be rendered just once (use just one draw call) theoretically when all the flares are from the same atlas.
-
Only used for directional light
You can just add MFLensflareSimple to your camera. It have been mixed the feature of both launcher and manager.
-