Discord Custom Rich Presence is a powerfull Node.js module that allows you to easily set up a customized Rich Presence for Discord. Everything is customizable, and everything is done to simplify your work without limiting you!
In order to install this, you need to run the following command in your respected Command Prompt or Code editor.
git clone https://github.com/MrRubby/Discord-Custom-Rich.gitYou can also install by clicking 'Releases' in the tab at the right side.
You can start the process by running the follwoing commands in your Command Prompt or Terminal in your Code Editor.
npm install discord-rpc npm install ipcThe setup is completed once you run the above commands. Now, the next step is to configure the RPC or customize it!
In order to customize, you need to replace the statement "Your description Here.", "Your logo's name Here.", "Button name Here.", "Button URL Here." and "Your Application's ID Here." with your own description, your logo's name (any name will work), Button name, Button's URL and the Application ID respectively.
| ⚠ | Only replace the statement in the file. |
|---|
The steps to get the ID and setting Image will be given below
The code below can be found in src/index.js
const clientId =  'ClientID';
const DiscordRpc = require('discord-rpc');
const RPC = new DiscordRpc.Client({transport: 'ipc'});

DiscordRpc.register(clientId);

async function setActivity() {
    if (!RPC) return;
    RPC.setActivity({
        details: "Your description Here.",
        state: 'Your detail Here.',
        startTimestamp: Date.now(),
        largeImageKey: 'logo1',
        largeImageText: "Your logo's name Here.",
        smallImageKey: 'logo2',
        smallImageText: 'Your logo's name Here.',
        instance: false,
        buttons: [
            {
                label: 'Button name Here.',
                url:'Button URL Here.'
            },
            {
                label: 'Button name Here.',
                url:'Button URL Here.'
            }
        ]

    })
}

RPC.on('ready', async () => {
    setActivity();
})

RPC.login({ clientId }).catch(err => console.error(err));


console.log("[START] Discord RPC with Server Count started!")In order to get the Application ID, you need to login to Discord Developer Portal. After logging in, create an Application by clicking on 'New Application' button given on top right, next to your logo.
After creating a new application, name it what you want.
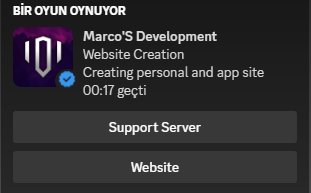
Note: The application's name will be in your status like: Playing Application Name.
After naming make sure to copy the Application ID and paste it in the place of "Your Application's ID Here." in index.js.
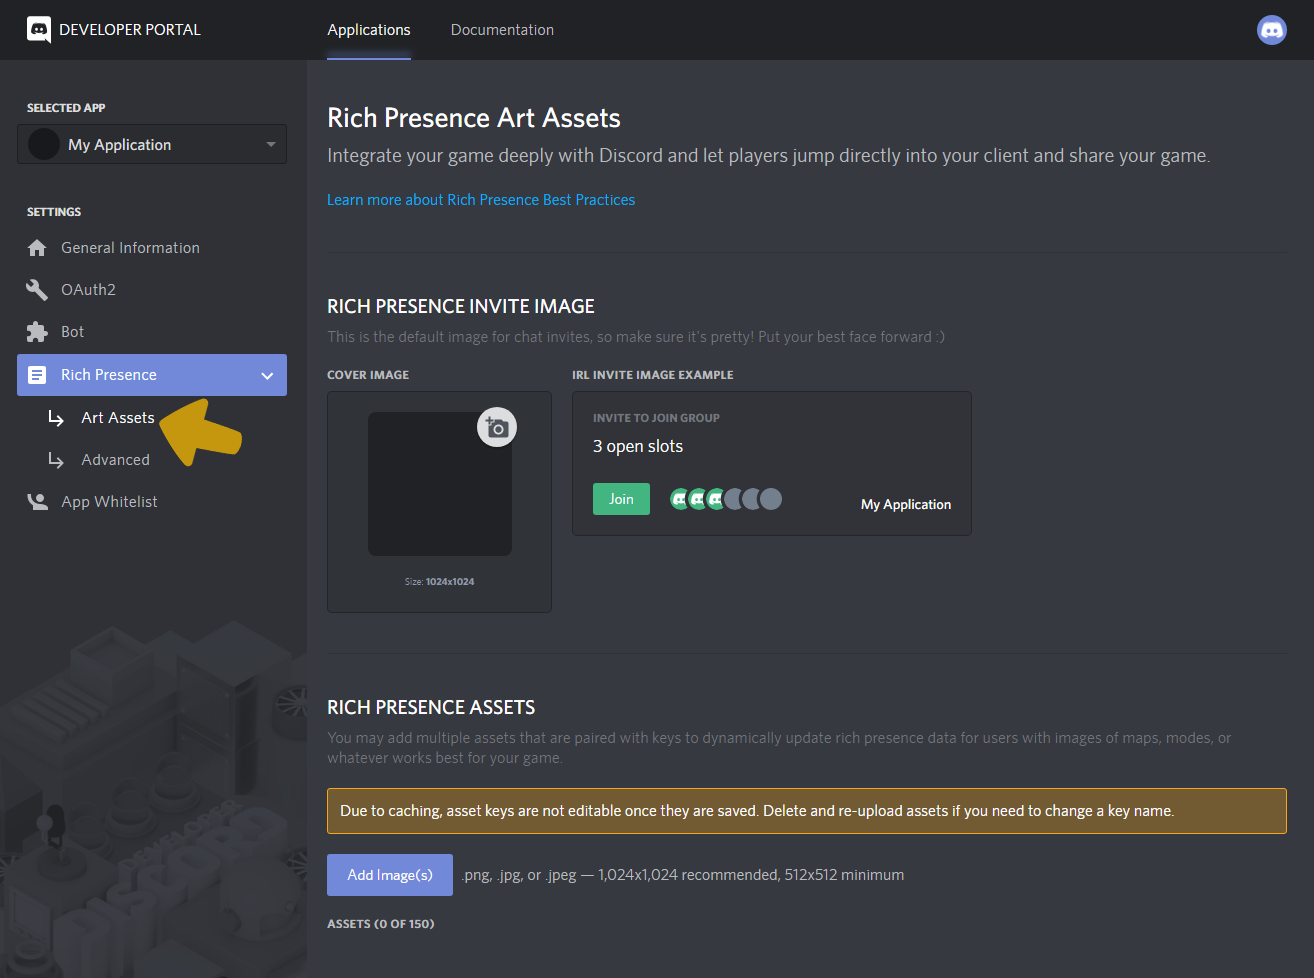
After that, go to the 'Rich Presence' tab on the left navbar. (Screenshot)
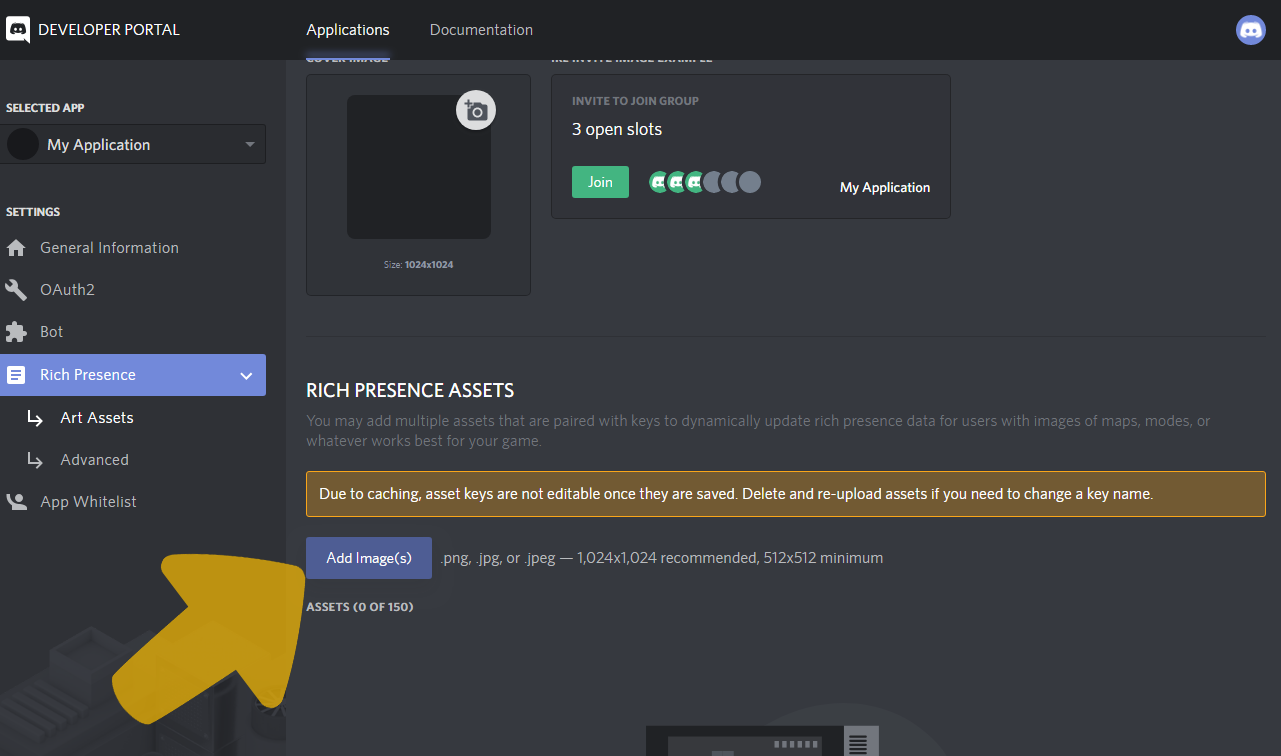
Inside 'Rich Presence' tab, scroll down to 'RICH PRESENCE ASSETS' (Screenshot) and add any Image there (could be your logo). After adding, make sure to note down the Image's name u add (you can also change the image's name after uploading).
After uploading the logo, click on save and return back to app.js and replace "logo2" and "logo1" with the logo name you have added in the Portal.