1. Getting started
After you've installed the addon in Blender (See how to here), you're now ready to operate!
In order to check that everything is working, we'll first make a plane and a cube. Just make that from a new Blender file, and open up the console:
Windows - On Windows, the console can be toggled by select "Window > Toggle system console" on the top shelf. Linux - Depending on your distro, you most likely need to start Blender from the terminal Mac - Similar to Linux, you need to open up Blender from
The reason you need to use the console at first, is that if anything is wrong (either in code, or setup), then you'll get an error message there, which will explain why Lightmapper isn't showing, or crashing during baking.
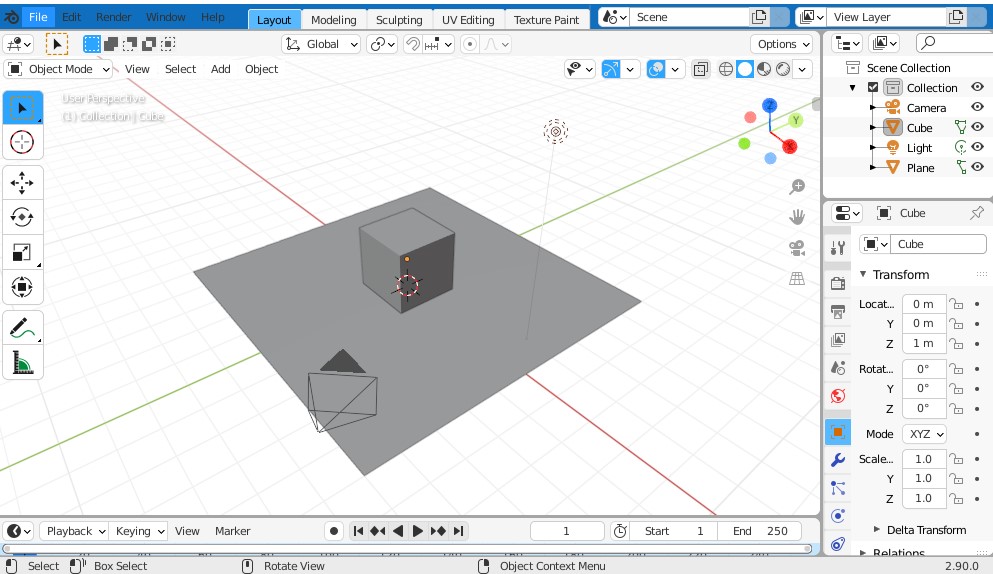
By default, you'll most likely start with the default Blender cube, a light and a camera. Just for the sake of seeing shadows, add a plane, scale it up a bit and place it under the cube:
Next, you want to go into the Object Properties for both the cube and the plane, and toggle "Enable lightmapping" under the panel called "The Lightmapper":
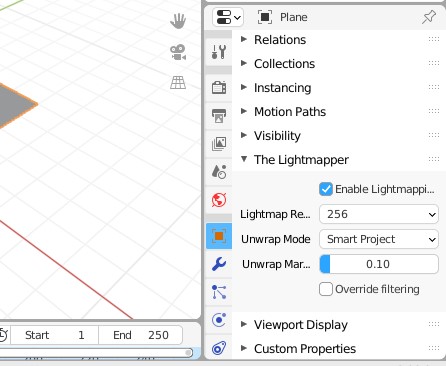
By default, the default resolution will be set to 256 and the unwrap mode set to "Smart Project". No need to change this for now, but you can customize it later once you get accustomed with baking lightmaps, and you've made sure everything works.
Next, you want to go into the Render Properties and scroll down to the The Lightmapper panel. There you'll notice quite a few options. By default everything should be fine, and you only need to click on the button labeled Build Lightmaps. That should get you started right ahead with baking. By default, the textures and materials should be automatically setup and applied - In order to check if it worked, make sure you're switched to the Material Preview mode, or Rendered preview if you're in Eevee. Your object should now look like this:
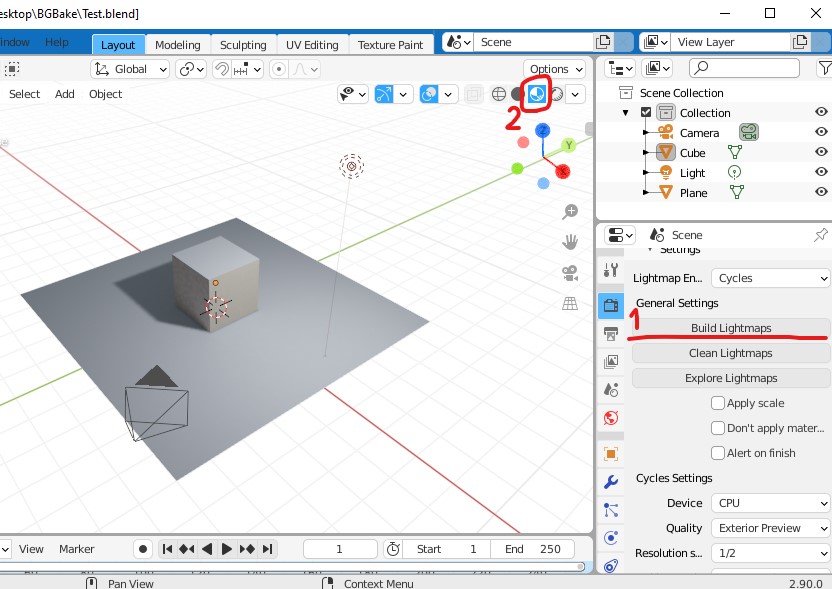
By default it's not a pretty sight, it's noisy and low quality - Luckily, there's easy ways to fix this.
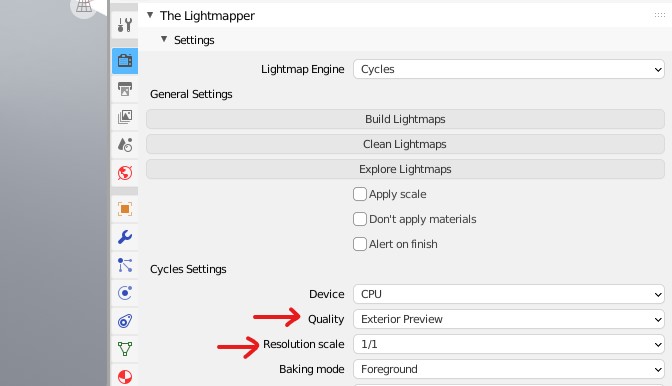
First you want to improve the global resolution scale, which is a value that scales the object resolution. By default it's set to 1/2 for fast previewing, so the object resolution of 256 will end up being 128. Set this scale to 1/1.
Next you want to increase the Quality settings. This automatically sets the sampling settings for the renderer and is set to Exterior Preview by default. Depending on your hardware specifications, try setting it to either Interior Preview or Medium just for testing out. Keep in mind that large resolutions, coupled with high quality increases the baking time by a large magnitude.
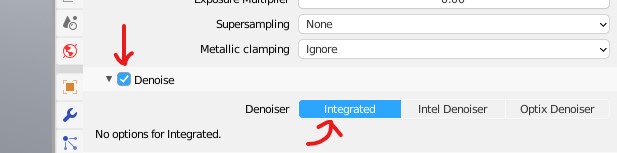
Finally, try enabling Denoising by scrolling down and tick the "Denoise" button and make sure integrated is selected. This enables you to use Blenders integrated denoising option without the need for external applications. Mind you, the integrated option is the slowest option due to being dependent on the compositor - You can denoise faster if you use Intel Denoising (CPU, faster) or Optix Denoising (GPU, fastest; Requires recent Nvidia GPU). For more info, refer to the wiki Denoising section.
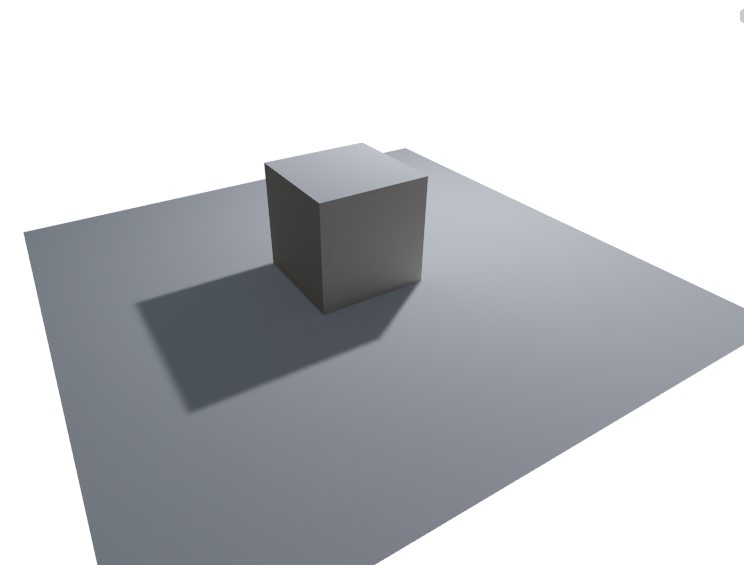
With denoising enabled, try hitting the button "Build Lightmaps" again. It will take a little more time to bake, but the result will be much better:
You're now ready and set, feel free to experiment more with various lighting scenarios and different setting combinations. If you stumple upon any problems, be welcome to open up an issue on the tracker. There's also additional postprocessing filters available in case your objects are still looking messy, which can be fixed with filtering or optimizing object unwrapping.