o2-upload-to-fbs is a tool library for uploading files to Firebase Storage by AngularFire2.
Video Explanation https://youtu.be/4op1F6yetJM
-
o2-upload-to-fbs is a tool for those who want to upload files to Firebase Storage by using AngularFire2
-
File select button is supported
-
Target location in Firebase Storage can be set by a variable.
You can set a location variable in HTML. So it is very easy to set each UserId path for the target.
- Node.js
- TypeScript2
- Angular2
- AngularFire2
- Firebase
To install this library, run:
$ npm install o2-upload-to-fbs --save$ npm install -g @angular/cli$ ng new sample-upload (Your project name)
$ cd sample-upload If you start local server as follows, you can get the first page in your browser by accessing http://localhost:4200.
$ ng serve- First Page
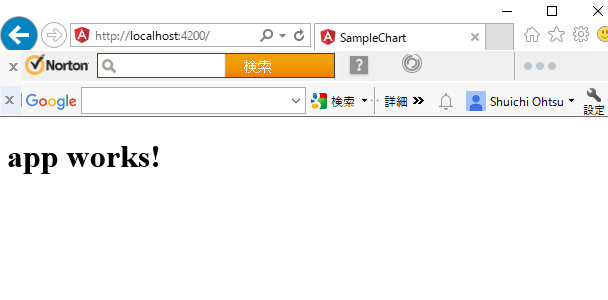
Input Ctrl+C and y+Return to stop the local server.
$ npm install o2-upload-to-fbs --saveOf course you need to have Firebase account and your own project. If you don't have the account, visit the following page in advance and make your own project.
https://www.firebase.com/login/
You need to get Firebase config data from your own project page. This url is as follows.
https://console.firebase.google.com/project/your-project-name/overview
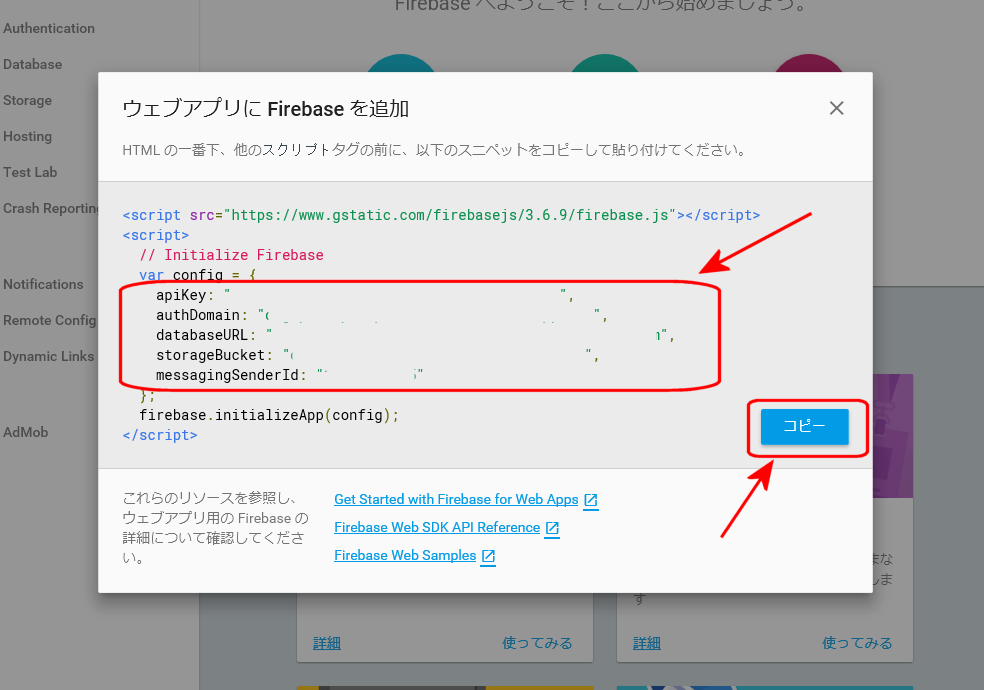
You need the following parameters
- apiKey
- authDomain
- databaseURL
- storageBucket
- messagingSenderId
In "Overview" page, click Web Application icon.
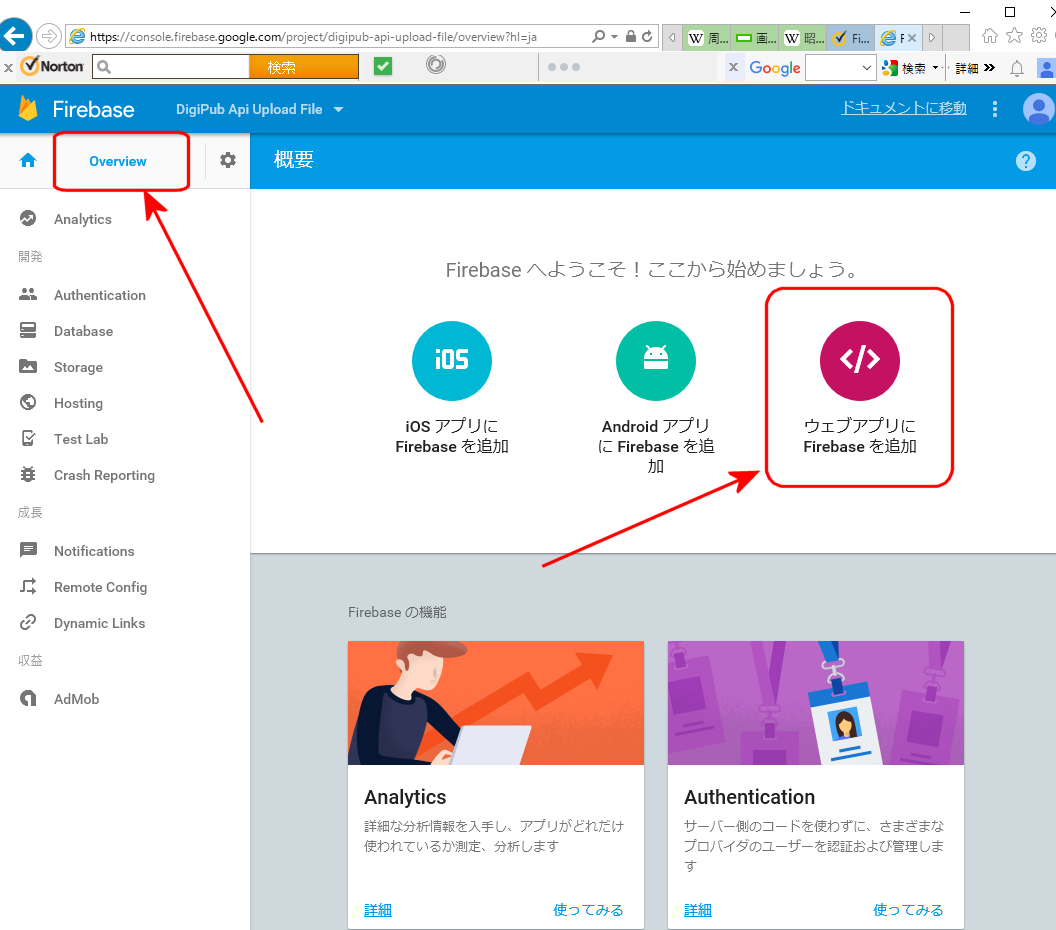
Then those parameters above will be shown. Copy them.
Change directory to "src/app".
$ cd src/appYou will find app.module.ts. Modify this file as follows. In firebaseConfig, paste the data above.
import { BrowserModule } from '@angular/platform-browser';
import { NgModule } from '@angular/core';
import { FormsModule } from '@angular/forms';
import { HttpModule } from '@angular/http';

import { AppComponent } from './app.component';

  // Add Start --------------------------------------------

import { AngularFireModule } from 'angularfire2';
import { O2UploadToFbsComponent } from 'o2-upload-to-fbs';

export const firebaseConfig = {
    apiKey: "xxxxxxxxxxxxxxxxxxxxxxxxxxxxxxxxxxxxxxxxxxxxxxxxxxxxxx",
    authDomain: "xxxxxxxxxxxxxxxxxx.firebaseapp.com",
    databaseURL: "https://xxxxxxxxxxxxxxxxxx.firebaseio.com",
    storageBucket: "xxxxxxxxxxxxxxxxxx.appspot.com",
    messagingSenderId: "xxxxxxxxxxxxxxxxxx"

};
  // Add End --------------------------------------------


@NgModule({
  declarations: [
    O2UploadToFbsComponent,  // <= Add
    AppComponent
  ],
  imports: [
    BrowserModule,
    FormsModule,
    HttpModule,
    AngularFireModule.initializeApp(firebaseConfig)  // <= Add

  ],
  providers: [],
  bootstrap: [AppComponent]
})
export class AppModule { }In the same directory, modify app.component.html as follows.
<h1>
  {{title}}
</h1>

<!-- Add Start -->

<o2-upload-to-fbs [fbsBasePath] = "'images/'"  [inpPlaceholderText]= "'Upload File'"

[flgShowMessage] = "true" [btnSelectText] = "'Select'" [btnExecuteText] = "'Upload'">

</o2-upload-to-fbs>

<!-- Add End -->
You can set five parameters as follows.
- fbsBasePath : Target path in your Firebase Storage (eg. 'images/' --> 'xxxxxxxx.appspot.com/images/')
- inpPlaceholderText : Placeholder text for textbox
- flgShowMessage : 'true': Show messagebox when uploaded or error 'false': Don't show messagebox
- btnSelectText : Title text of the select button
- btnExecuteText : Title text of the execute button for uploading

This sample program does not have authentication function. Therefore, it is necessary for unauthenticated users can access the target location in Firebase Storage.
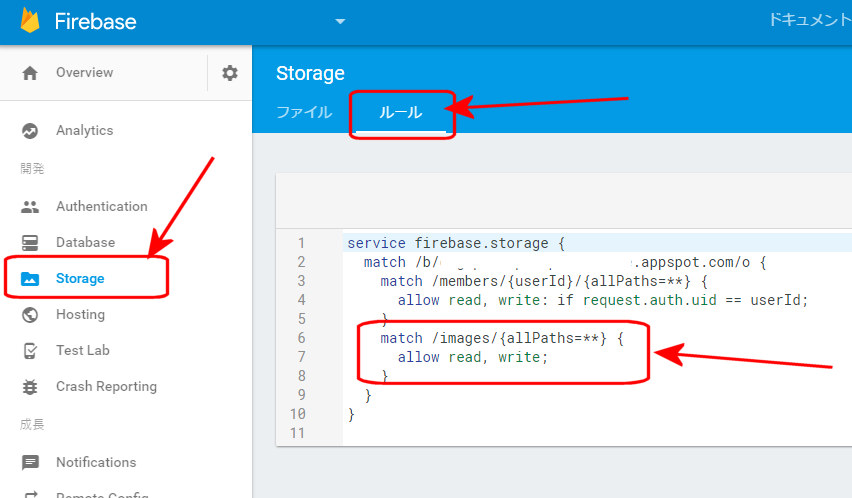
So you need to set "Rule" in Firebase Storage.
From Firebase console, open Storage page and click Rules tab for changing the rule.
In this program, the upload destination is "images /" by default.
Therefore, change the rule as follows. Of course you need to change your_project_name to your own project name.
service firebase.storage {
  match /b/your_project_name.appspot.com/o {
    match /images/{allPaths=**} {
      allow read, write;
    }
  }
}
Restart the local server as follows.
$ ng serveAnd you will get a (Browse) button in your browser by accessing http://localhost:4200.
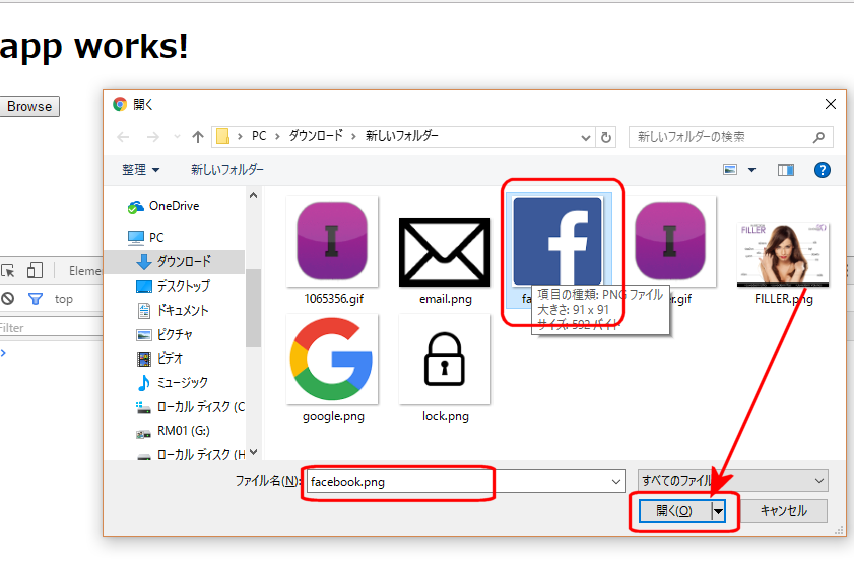
Click Browse Button.

Select your target file for uploading.
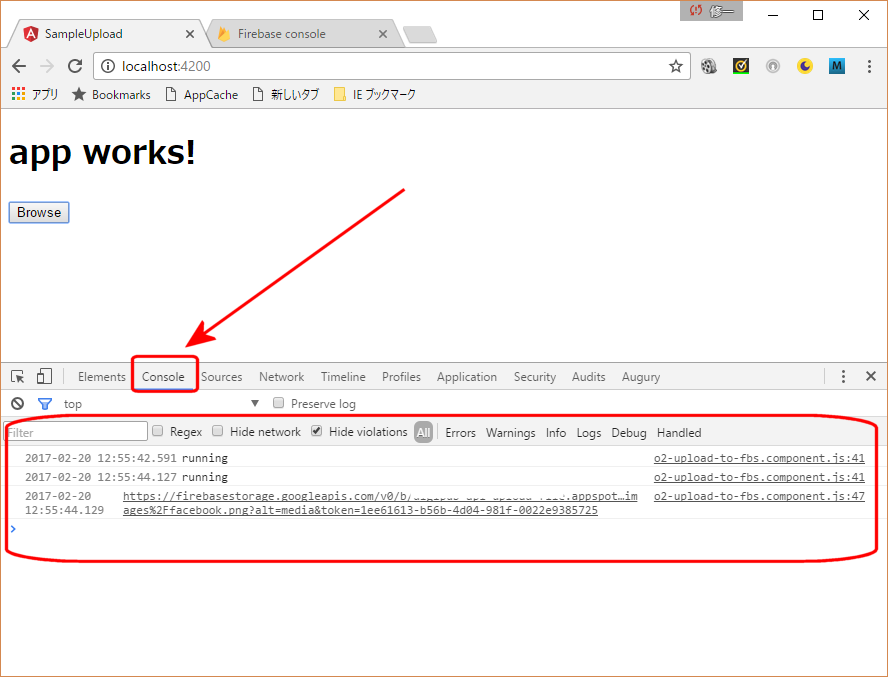
If you want to check the uploading process, open "Console" tab page in your browser.
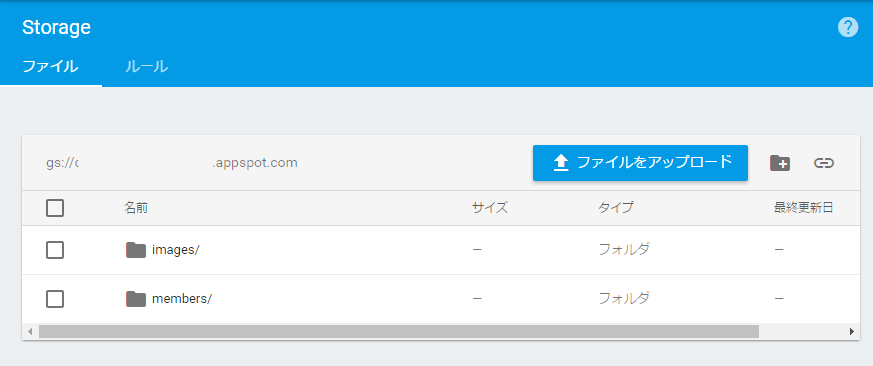
Next, open Firebase Storage page in your browser. If you click "File" tab, "images/" directory will be shown.
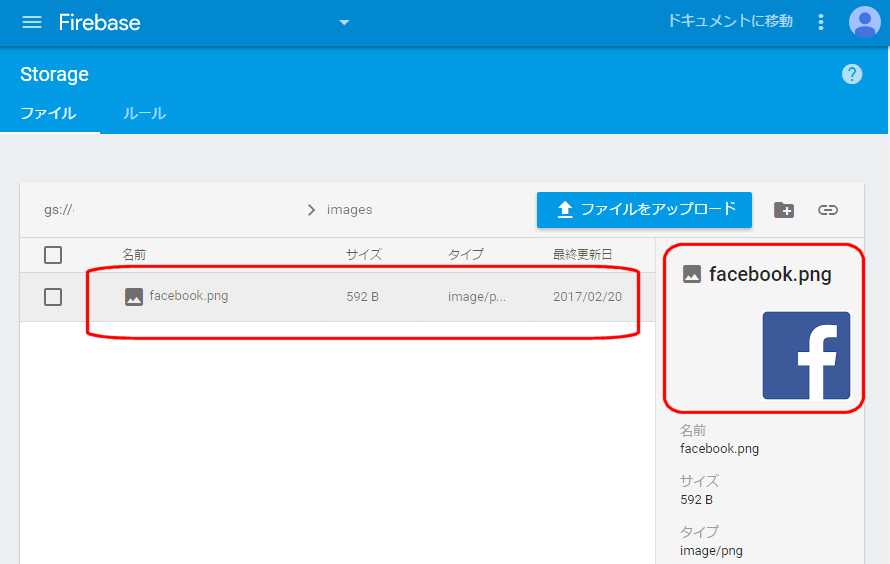
Click "images/" directory name.
Then you can find the file which you uploaded from your local computer.
- o2-upload-to-fbs : 1.2
- Angular2 : 2.0.0
- TypeScript : 2.0.2
- Angularfire2 : 2.0-beta,
- Firebase : 3.6
-
"ウェブでファイルをアップロードする", https://firebase.google.com/docs/storage/web/upload-files?hl=ja
-
"Angular2 / Ionic2 / How to upload and get file or image from firebase storage" ,2016/11/16,by Muhammet Bakan, http://www.muhammetbakan.com/angular2-ionic2-how-to-upload-and-get-image-from-firebase-storage/
-
"Firebase storage and angularfire2 - Stack Overflow", http://stackoverflow.com/questions/38593188/firebase-storage-and-angularfire2
-
"feat(storage): upload, read, and process* files #213",2016/6/8, angular/angularfire#213
-
"Angular5 Custom Library: The definitive, step-by-step guide", https://www.udemy.com/draft/1461368/learn/v4/content
-
2017.5.7 version 1.2 uploaded
-
2017.2.19 version 0.1 uploaded
copyright 2017 by Shuichi Ohtsu (DigiPub Japan)
MIT © Shuichi Ohtsu