Installation Guide
NOTE: Azavea is working on support for Ubuntu 18.04 and Python 3
If your intention is to set up OpenTreeMap for development and contribute to the open source project, we recommend you use the otm-vagrant project instead of following these steps. That will get you a development environment much more quickly.
However, if your intent is to set up a "production" OpenTreeMap server, read on.
This guide assumes use of 64-bit Ubuntu 14.04. Do not attempt with 32-bit.
- Install basics
- Postgres and PostGIS
- Django and the OTM Django apps
- OTM ecoservice
- OTM tiler
- nginx HTTP server
- Upstart scripts
- Start services
- Create OTM user account
- Create treemap instance
- Visit your map
- Add a test tree
- Troubleshooting
The vast majority of commands in this guide require superuser permissions. If you're comfortable, go ahead and sudo su to change to the root user to save yourself some repetitive sudo'ing.
apt-get update
apt-get install python-setuptools python-software-properties git
We'll add a couple of PPA repositories that will let us get the G++ standard library and Node.js without building them from source, then run apt-get update again.
add-apt-repository -y ppa:ubuntu-toolchain-r/test
curl -sL https://deb.nodesource.com/setup_6.x | sudo -E bash -
apt-get update
Next, let's get Node.js and Redis, both required by the otm-tiler.
apt-get install nodejs redis-serverThen let's install yarn, which is used to install javascript dependencies for both OTM Tiler and OTM Django application.
npm install -g yarnFinally, let's get the GIS modules required by GeoDjango and PostGIS, pip (for dependencies of the OTM Django app), sendmail (a mailserver, needed by OTM), and dependencies of pillow (a python image handling library).
apt-get install gettext libproj-dev libgdal1-dev build-essential python-pip python-dev
apt-get install sendmail
apt-get install libfreetype6-dev
Optional: For running tests
If you're setting up a development environment for OTM, you'll want xvfb and firefox to be able to run the UI test suite:
apt-get install xvfb firefoxOTM requires PostgreSQL 9.3+ and PostGIS 2.1+.
apt-get install postgresql postgresql-server-dev-9.3 postgresql-contrib postgresql-9.3-postgis-2.1Now we need to start Postgres and create a user, database, and extensions for OTM to use.
If you want to use config files from the otm-vagrant project without any editing, use otm as your database name, otm as your database user, and otm as your database user's password. However, don't use these values in a production environment!
Note: if building a development environment, use SUPERUSER in place of ENCRYPTED in the CREATE USER command below so the django tests will work. (Also note that Django tests would fail if the PostGIS extension were created in the template1 database, so we create it in the OTM database.)
service postgresql start
sudo -u postgres psql -c "CREATE USER pick_an_otm_username ENCRYPTED PASSWORD 'pick_a_password'"
sudo -u postgres psql template1 -c "CREATE EXTENSION IF NOT EXISTS hstore"
sudo -u postgres psql template1 -c "CREATE EXTENSION IF NOT EXISTS fuzzystrmatch"
sudo -u postgres psql -c "CREATE DATABASE pick_an_otm_db_name OWNER pick_an_otm_username"
sudo -u postgres psql pick_an_otm_db_name -c "CREATE EXTENSION IF NOT EXISTS postgis"Now we'll clone the otm-core repo (containing the OTM Django apps) and install its Python requirements.
mkdir /usr/local/otm
cd /usr/local/otm
git clone https://github.com/OpenTreeMap/otm-core.git
mv otm-core app

cd /usr/local/otm/app
pip install -r requirements.txt
If you're building a development server, also install the development and test requirements:
pip install -r dev-requirements.txt
pip install -r test-requirements.txt
We'll need to create a local_settings.py file:
touch /usr/local/otm/app/opentreemap/opentreemap/settings/local_settings.pyEdit local_settings.py to contain the following:
STATIC_ROOT = '/usr/local/otm/static'
MEDIA_ROOT = '/usr/local/otm/media'

DATABASES = {
    'default': {
        'ENGINE': 'django.contrib.gis.db.backends.postgis',
        'NAME': 'otm',  # substitute your database name
        'USER': 'otm',  # substitute your database username
        'PASSWORD': 'otm',  # substitute your database password
        'HOST': 'localhost',
        'PORT': '5432'
    }
}

CELERY_BROKER_URL = 'redis://localhost:6379/'
CELERY_RESULT_BACKEND = 'redis://localhost:6379/'

EMAIL_BACKEND = 'django.core.mail.backends.smtp.EmailBackend'
EMAIL_HOST = 'localhost'
EMAIL_PORT = 25
For a production environment please see the discussion of
ALLOWED_HOSTS, and include:
DEBUG = False
ALLOWED_HOSTS = ['.example.com', 'localhost']  # substitute your domain name
But for a development environment, include instead:
DEBUG = True
EXTRA_UNMANAGED_APPS = ('django_extensions',)First we fetch Node.js modules used by OTM's JavaScript.
cd /usr/local/otm/app
yarn
Now we set up folders for our static CSS and Javascript assets (note that these folders are referenced in local_settings.py) and
bundle them using npm run build.
First make some folders:
mkdir -p /usr/local/otm/static
mkdir -p /usr/local/otm/media
For a production environment, run:
python opentreemap/manage.py collectstatic_js_reverse  # Lets us avoid hardcoding URLs in JavaScript
yarn run build
python opentreemap/manage.py collectstatic --noinput --clear
If you're building a development environment, you can instead run
yarn run build-dev
python opentreemap/manage.py collectstatic --noinput --clean
Now, we'll run Django management commands to apply database migrations and create a system user:
cd /usr/local/otm/app/opentreemap
python manage.py migrate
python manage.py create_system_userOTM uses the ecoservice to calculate the ecosystem benefits of trees.
The ecoservice repo is written in the Go language, so we'll need to install Go and its build tool godep (which requires mercurial) as well.
cd /usr/local
wget "https://storage.googleapis.com/golang/go1.2.2.linux-amd64.tar.gz" -O go.tar.gz
tar -C /usr/local -xzf go.tar.gz
export PATH="$PATH:/usr/local/go/bin"

apt-get install libgeos-dev mercurial
export GOPATH="/tmp/.gopath"
mkdir $GOPATH || true
go get github.com/tools/godep
sudo ln -sf $GOPATH/bin/godep /usr/local/bin/godep
Now clone the otm-ecoservice repo and build the ecoservice.
git clone https://github.com/OpenTreeMap/otm-ecoservice.git
mv otm-ecoservice ecoservice
cd ecoservice
export GOPATH="/usr/local/ecoservice"
make buildThe OTM tiler creates PNG tiles for the map page, showing the locations of trees. Clone the otm-tiler repository and move it to a simpler folder name:
cd /usr/local
git clone https://github.com/OpenTreeMap/otm-tiler.git
mv otm-tiler tiler
Now we need to install a few dependencies, and then run yarn to install the tiler:
apt-get install checkinstall g++ libstdc++-5-dev pkg-config libcairo2-dev libjpeg8-dev libgif-dev libpango1.0-dev
cd /usr/local/tiler
yarnapt-get install nginxWe'll need to create an /etc/nginx/sites-available/otm.conf file like the default in the otm-vagrant project. It should define a server for the OTM app and some other details like the below:
include includes/upstreams/*;

server {
  listen 80 default_server;

  client_max_body_size 20M;

  include includes/locations/*;
}
You can use the one from otm-vagrant directly too...
cd /etc/nginx/sites-available
wget https://raw.githubusercontent.com/OpenTreeMap/otm-vagrant/master/configs/etc/nginx/sites-available/otm.conf
Once we've added the file in the sites-available directory, we need to symlink it to the sites-enabled directory to enable it to be served by nginx:
cd /etc/nginx
rm sites-enabled/default
ln -s /etc/nginx/sites-available/otm.conf /etc/nginx/sites-enabled/otm.confNow we need to create some directories.
mkdir -p /etc/nginx/includes/upstreams
mkdir -p /etc/nginx/includes/locations
chown www-data:www-data /etc/nginx/includes
chown www-data:www-data /etc/nginx/includes/upstreams
chown www-data:www-data /etc/nginx/includes/locations
And add the relevant files from the otm-vagrant project:
cd /etc/nginx/includes/locations
wget https://raw.githubusercontent.com/OpenTreeMap/otm-vagrant/master/configs/etc/nginx/includes/locations/app
wget https://raw.githubusercontent.com/OpenTreeMap/otm-vagrant/master/configs/etc/nginx/includes/locations/tiler

cd ../upstreams
wget https://raw.githubusercontent.com/OpenTreeMap/otm-vagrant/master/configs/etc/nginx/includes/upstreams/app
wget https://raw.githubusercontent.com/OpenTreeMap/otm-vagrant/master/configs/etc/nginx/includes/upstreams/tilerWe'll need to add upstart scripts for the Gunicorn app server, the celery daemon, the OTM tiler, and the OTM ecoservice.
If you've been following this guide you can use the otm-vagrant scripts below without editing them. However, if
any configuration parameters differ from the environment variable defaults listed for the
ecoservice or
tiler,
be sure to edit the scripts to set environment variables with appropriate values.
cd /etc/init
wget https://raw.githubusercontent.com/OpenTreeMap/otm-vagrant/master/configs/etc/init/otm-unicorn.conf
wget https://raw.githubusercontent.com/OpenTreeMap/otm-vagrant/master/configs/etc/init/celery.conf
wget https://raw.githubusercontent.com/OpenTreeMap/otm-vagrant/master/configs/etc/init/tiler.conf
wget https://raw.githubusercontent.com/OpenTreeMap/otm-vagrant/master/configs/etc/init/ecoservice.conf
Unless you're running using a Vagrant VM, you'll need to modify the line start on vagrant-mounted with start on runlevel [2345].
You'll also need to replace the environment variables in otm-unicorn.conf with your own Google Maps API key and Esri API credentials.
It shouldn't be necessary, but you may want upstart to reload these scripts if for some reason the changes don't take immediately:
initctl reload-configurationLet's start all the services.
service redis-server restart
service otm-unicorn restart
service celery restart
service tiler restart
service ecoservice restart
service nginx restartWith any luck, things should be humming along now. Visit your OTM server in a browser, by visiting http://localhost from your server (if it has a GUI environment) or http://<server-name>. You should see the OpenTreeMap skeleton page.
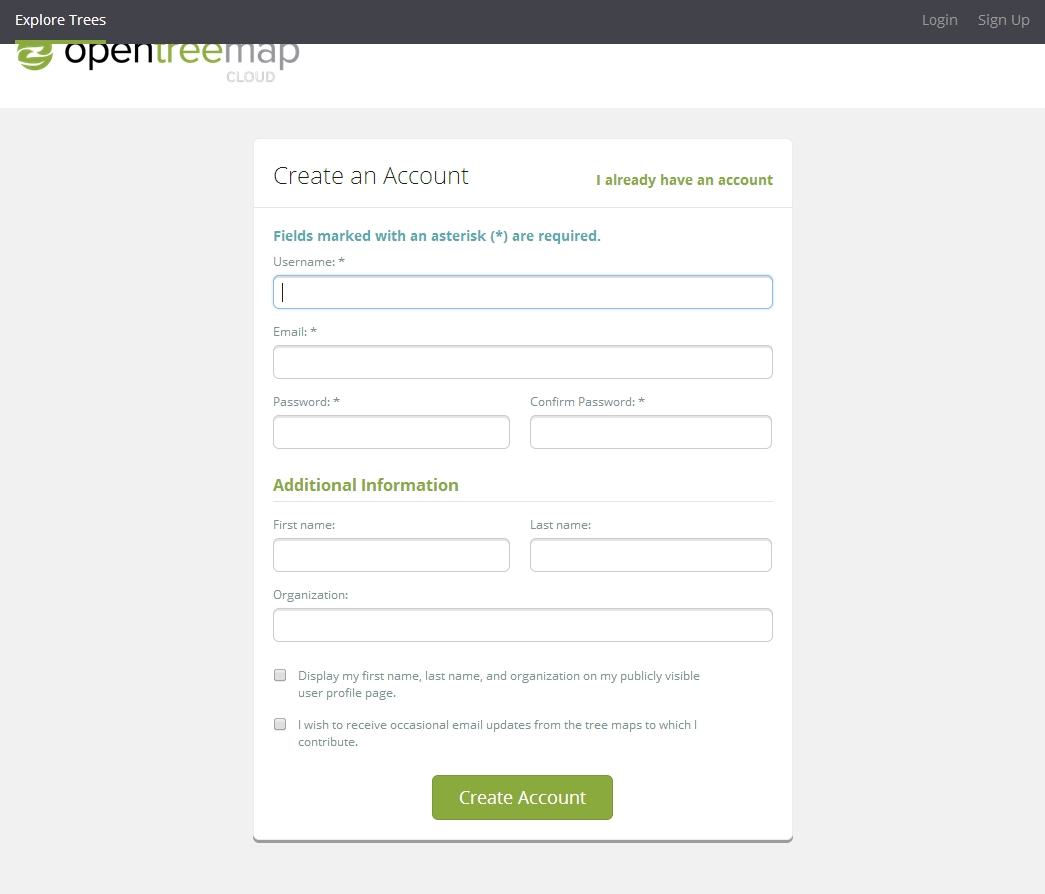
In the top right corner, there's a button to "sign up".

Click it and fill out the form to create an account. Take note of your username, and enter a valid email so you can use the activation link that will be sent out (via sendmail):
If you don't receive an activation email, try sending yourself a test email:
echo "Subject: test" | /usr/lib/sendmail -v youremail@yourdomain.comIf you don't receive the test email, the problem is with sendmail and not with OTM. Study the output and work to resolve the problem.
If you do receive the test email but get no email when signing up a new user, double-check the email settings in local_settings.py and make sure you've restarted the otm-unicorn service.
Treemaps are created via the create_instance Django management command. For example:
cd /usr/local/otm/app/opentreemap
python manage.py create_instance Philadelphia --url_name=philly --user=your_user_here --center=-75.1,40.0
Full documentation of the options available can be seen by running:
python manage.py create_instance -hLogging in to the OTM page you loaded in step 9 should display the "My Account" page, containing a link to the tree map you just created. Clicking the link should show a treemap like this:
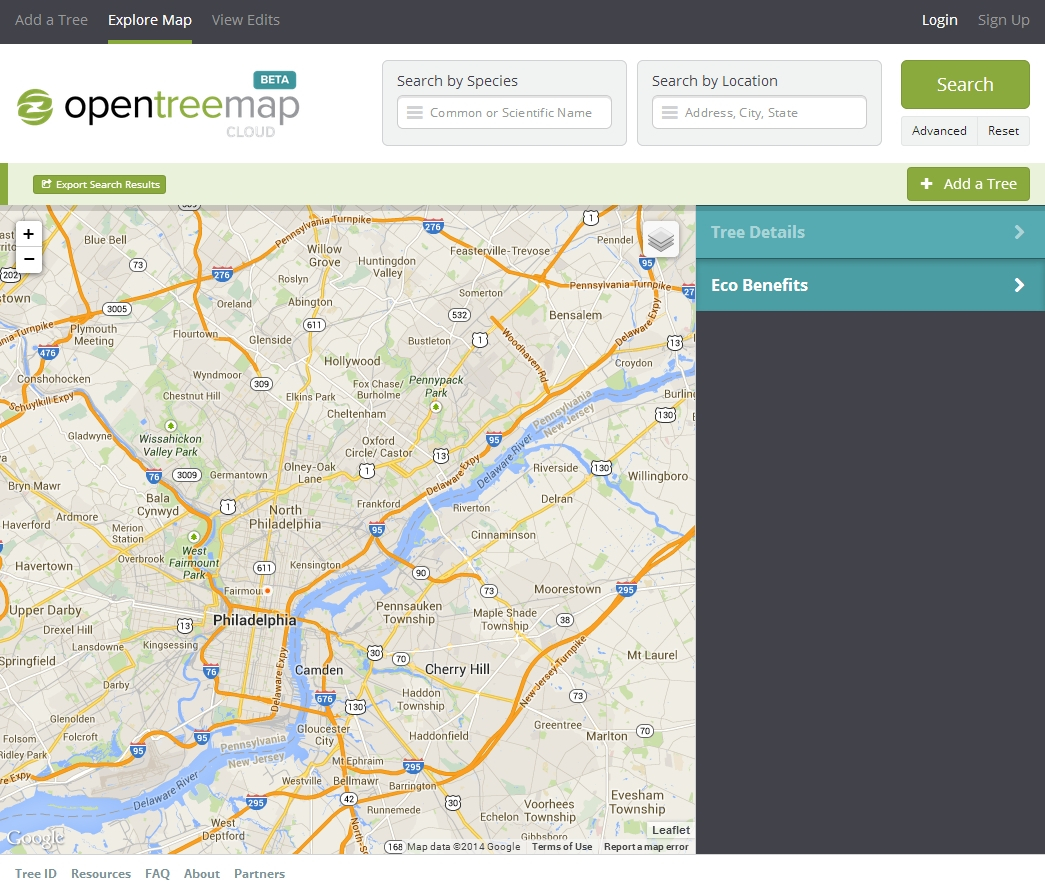
Click the map's "+" button 7 times to zoom in to the center of your map. Click the "Add a Tree" button and follow the prompts to choose location, species, and diameter. After clicking "Done" in the final step you should see a green dot at the location you chose, verifying that the OTM tiler is working correctly. In addition, if your map is in the continental United States you should see ecobenefits displayed in the right sidebar, verifying that the OTM ecoservice is working.
Congrats!
Possibly-useful log files:
/var/log/otm-unicorn.log
/var/log/celery.log
/var/log/tiler.log
/var/log/ecoservice.log