Creating a Discord Bot
This guide will walk through the necessary steps to create a discord bot, and invite it to your server.
The discord developer portal is where you will initially create your bot. First, go to the developer portal and log in using your discord account.
Once you have logged in, you will be presented with a screen similar to the one below.
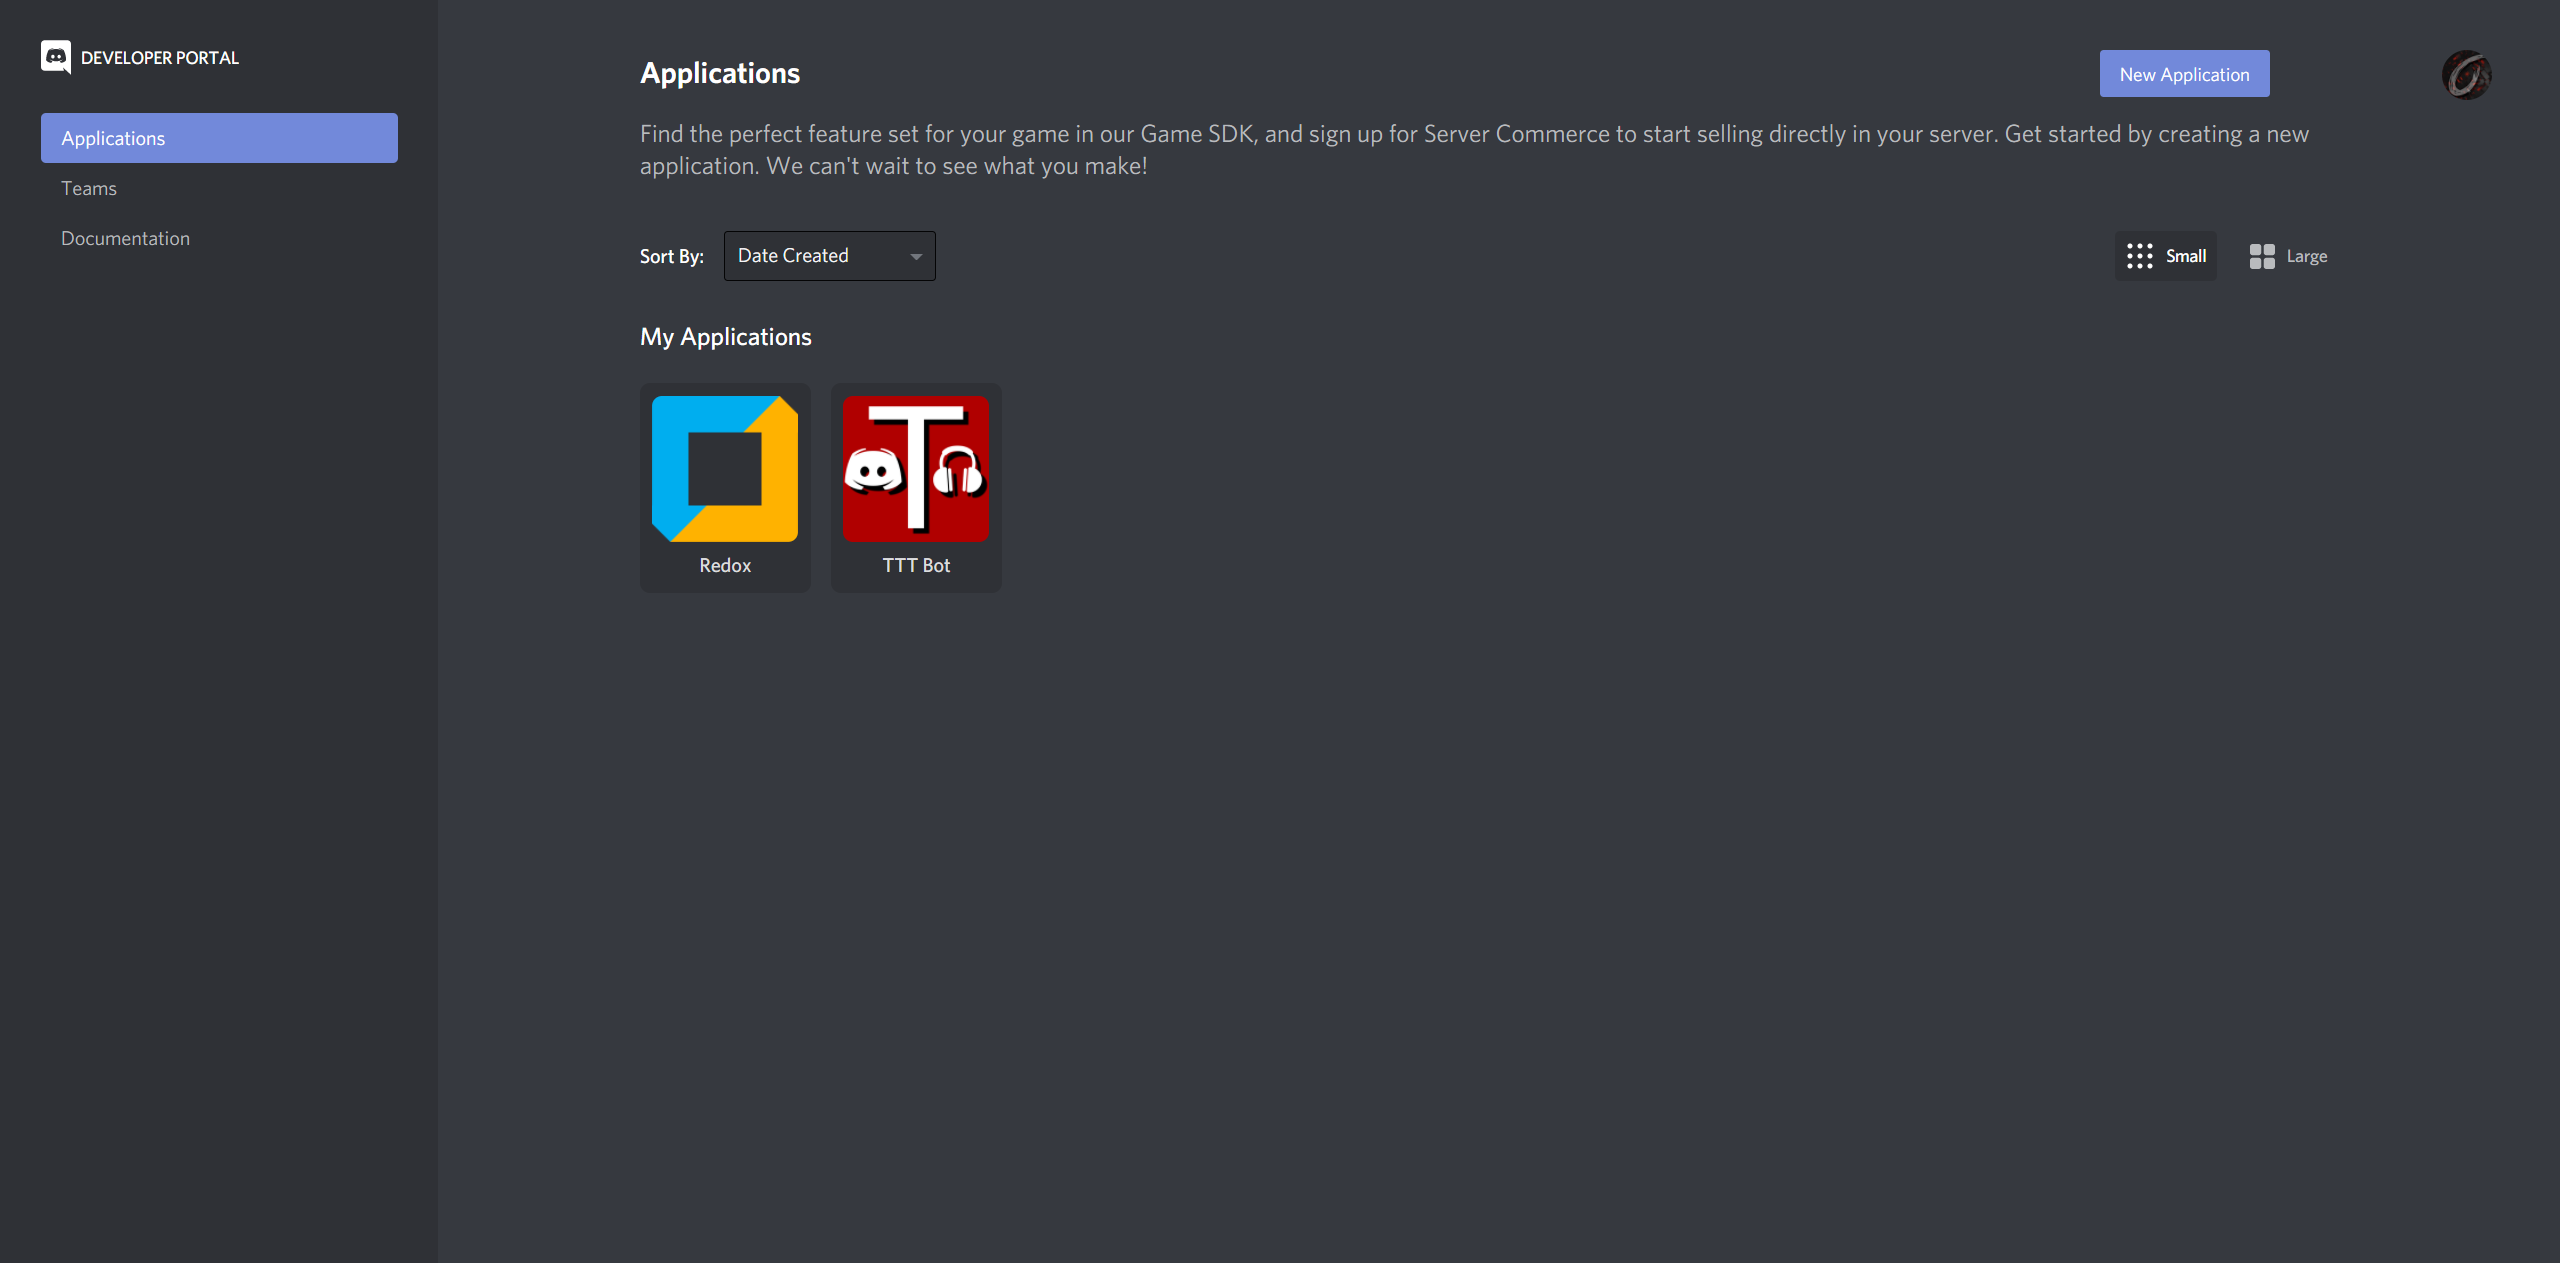
An app is something that can contain a discord bot, and can also be used to do a lot of other things. But we are only interested in the bot.
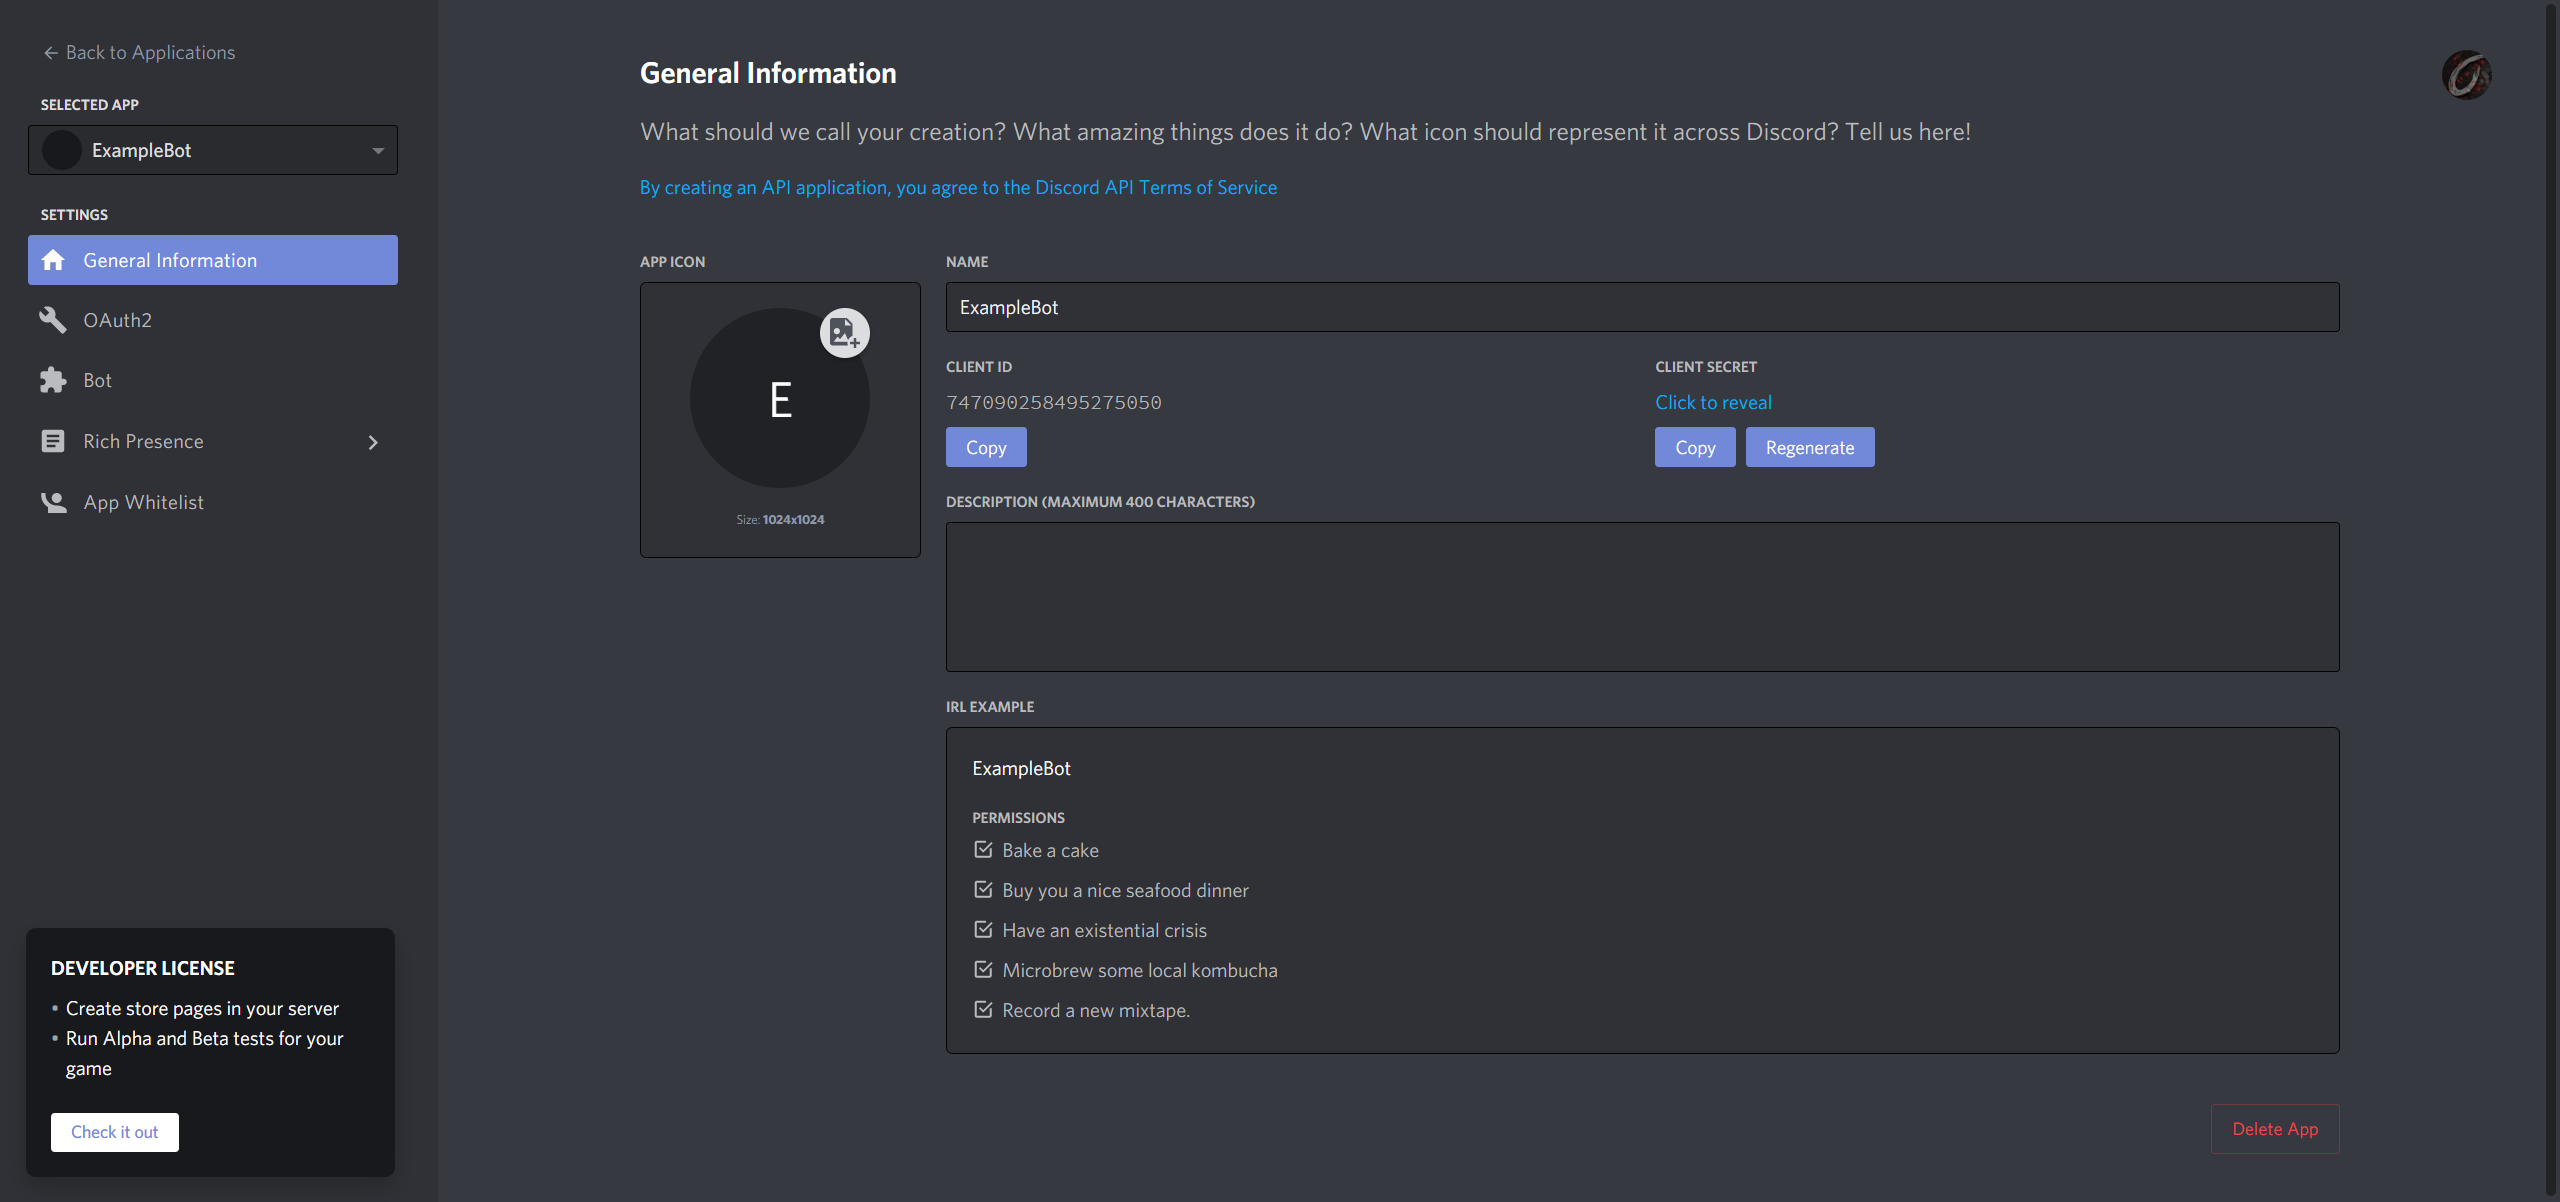
Click the New Application button in the top right, and enter a name for your application, this can be anything, then click create.
This will take you to a screen similar to the one below.
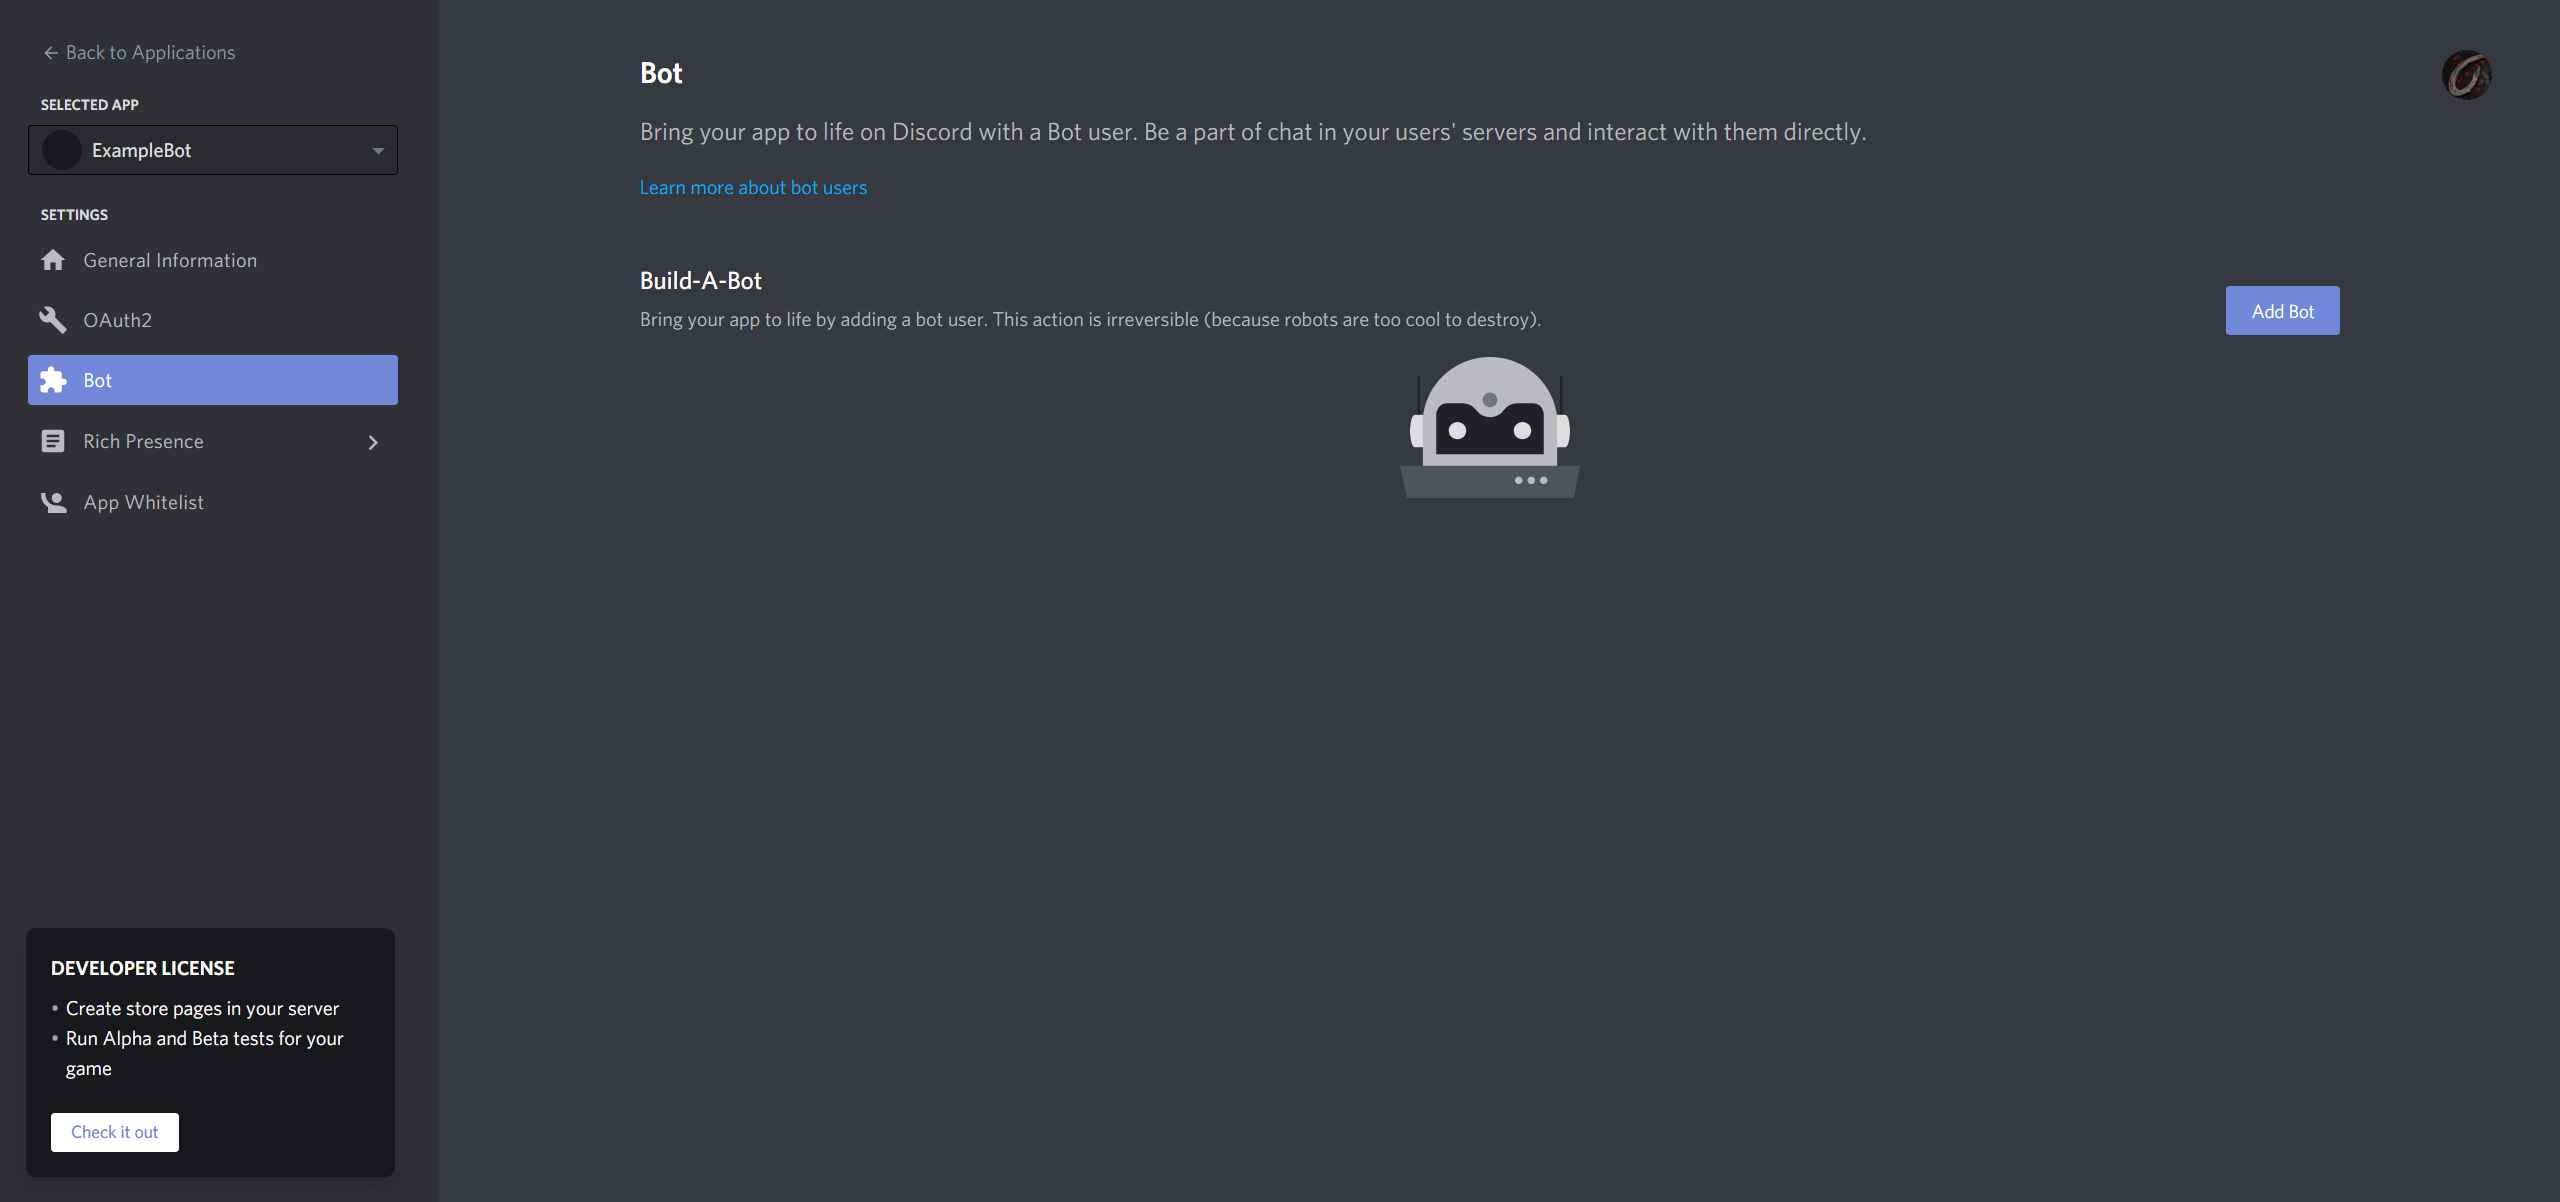
Now we will actually create the bot. Click on the Bot tab on the left. This will take you to a screen like the one below.
Now, to create the bot, click the Add Bot Button in the top right, and click Yes, do it!. That will bring you to a screen similar to the one below.
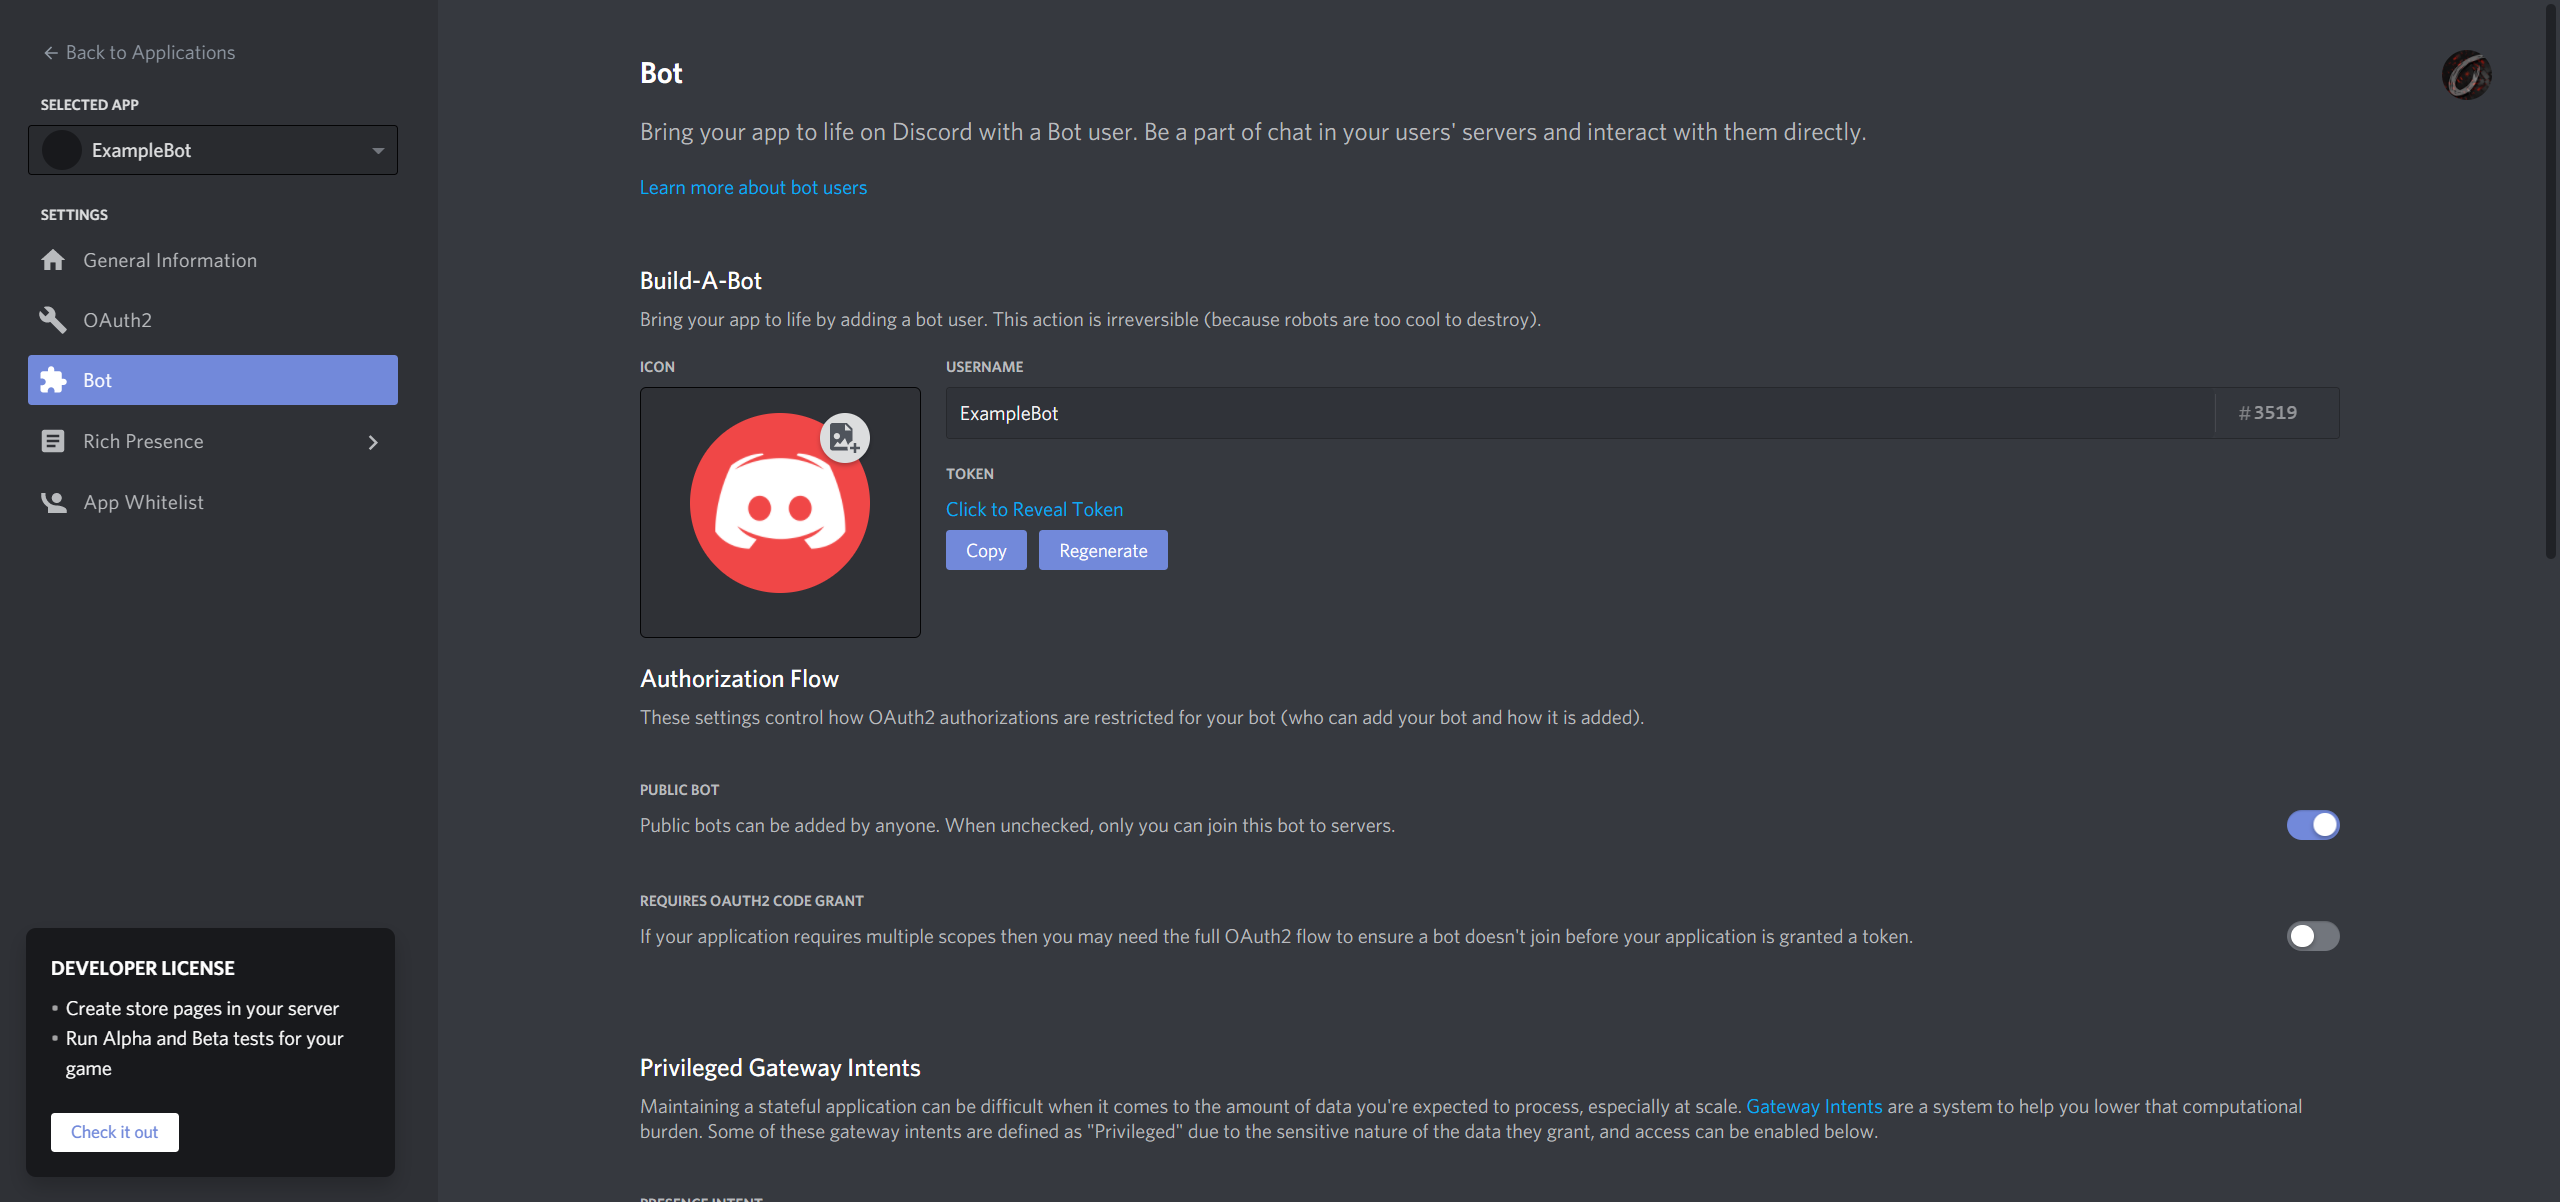
Congratulations, you have now created a discord bot. From here, you can change the bot's username, and its profile picture.
The last thing we need to do is invite the bot to our Discord server.
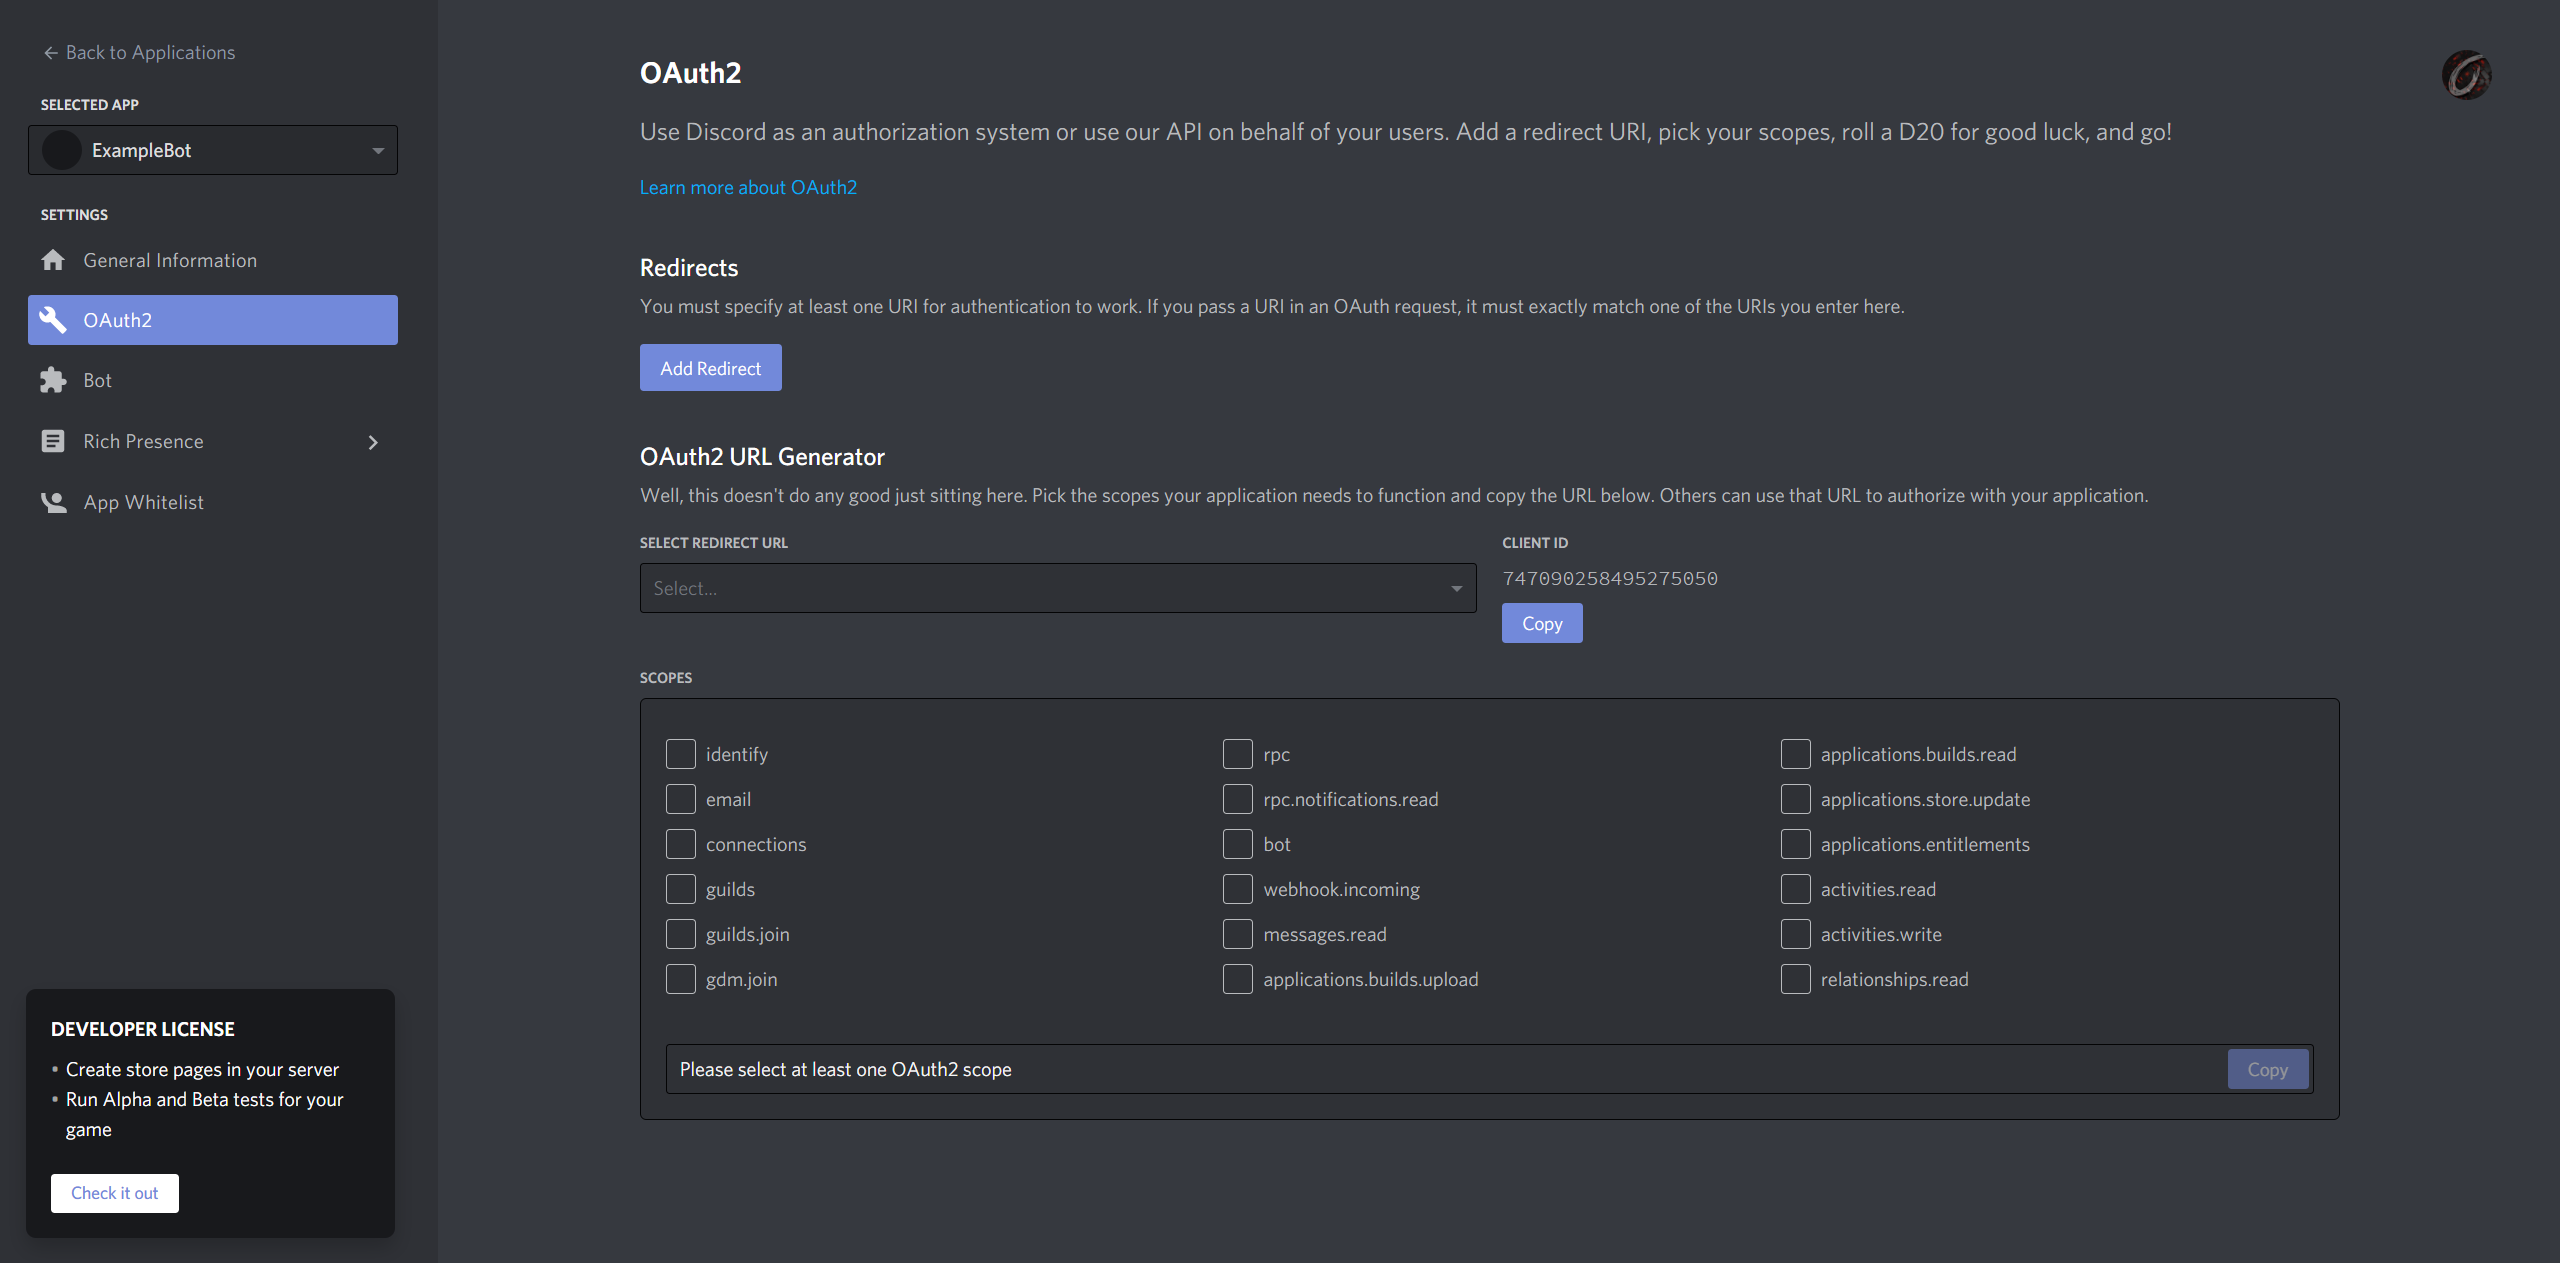
Click on the OAuth2 tab on the left. That will bring you to a screen similar to the one below.
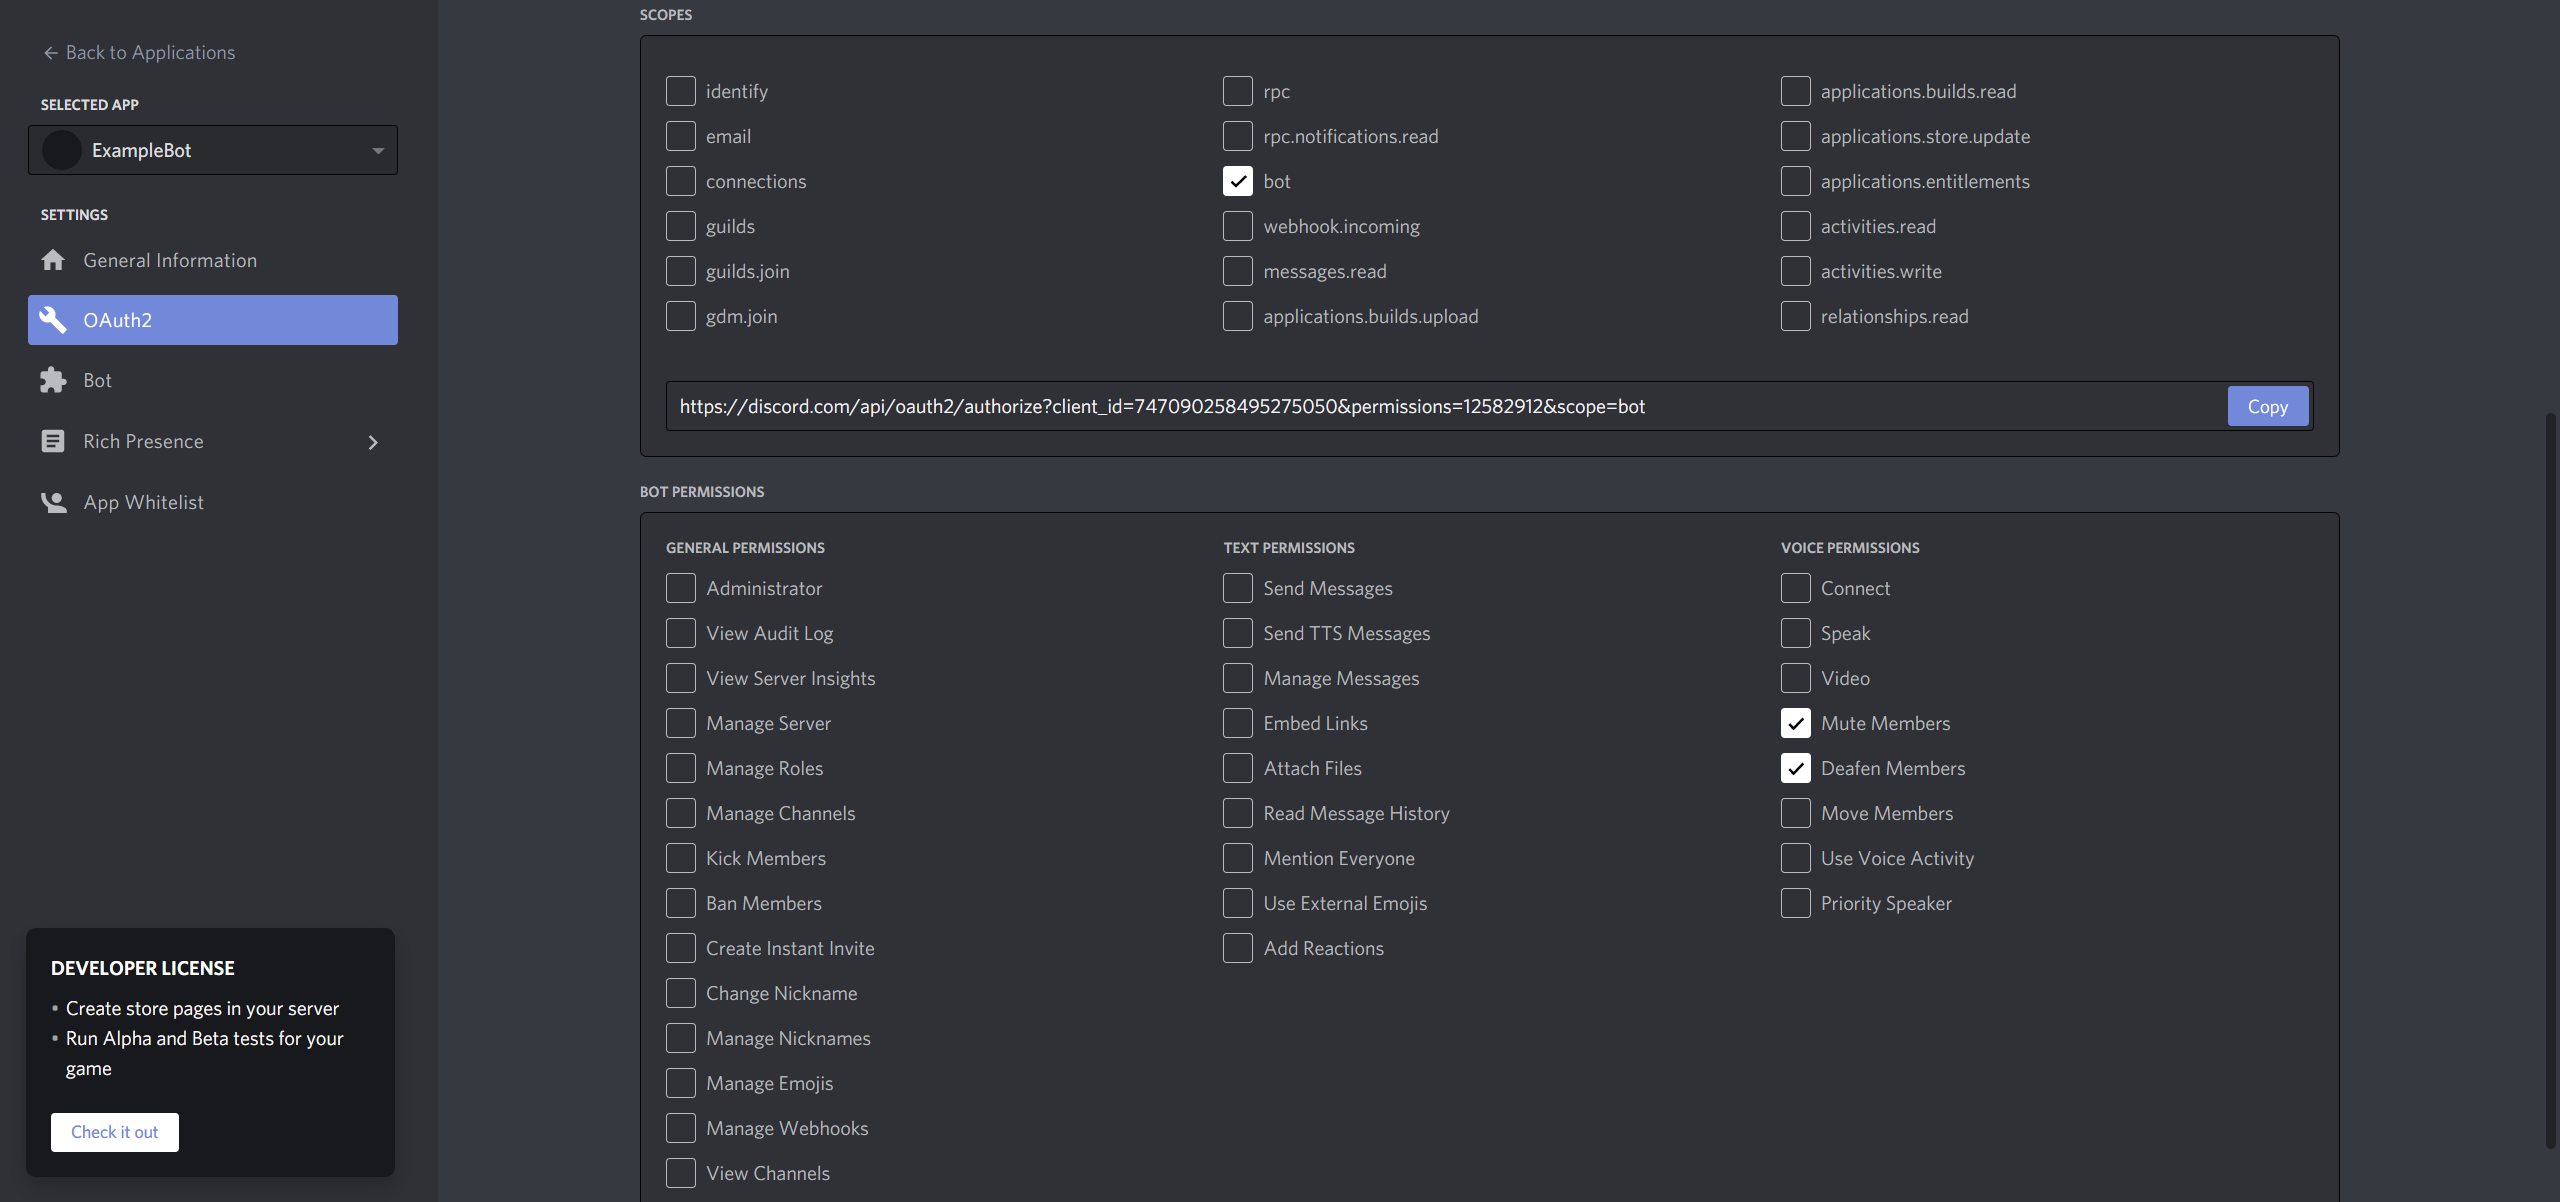
Under SCOPES You should select bot, and then scroll down to the BOT PERMISSIONS section. Here you must at least select Deafen Members and Mute Members under Voice Permissions. Your screen should now look similar to the below image.
This will create a link at the bottom of the SCOPES Section for you to follow in order to invite the bot to your server.