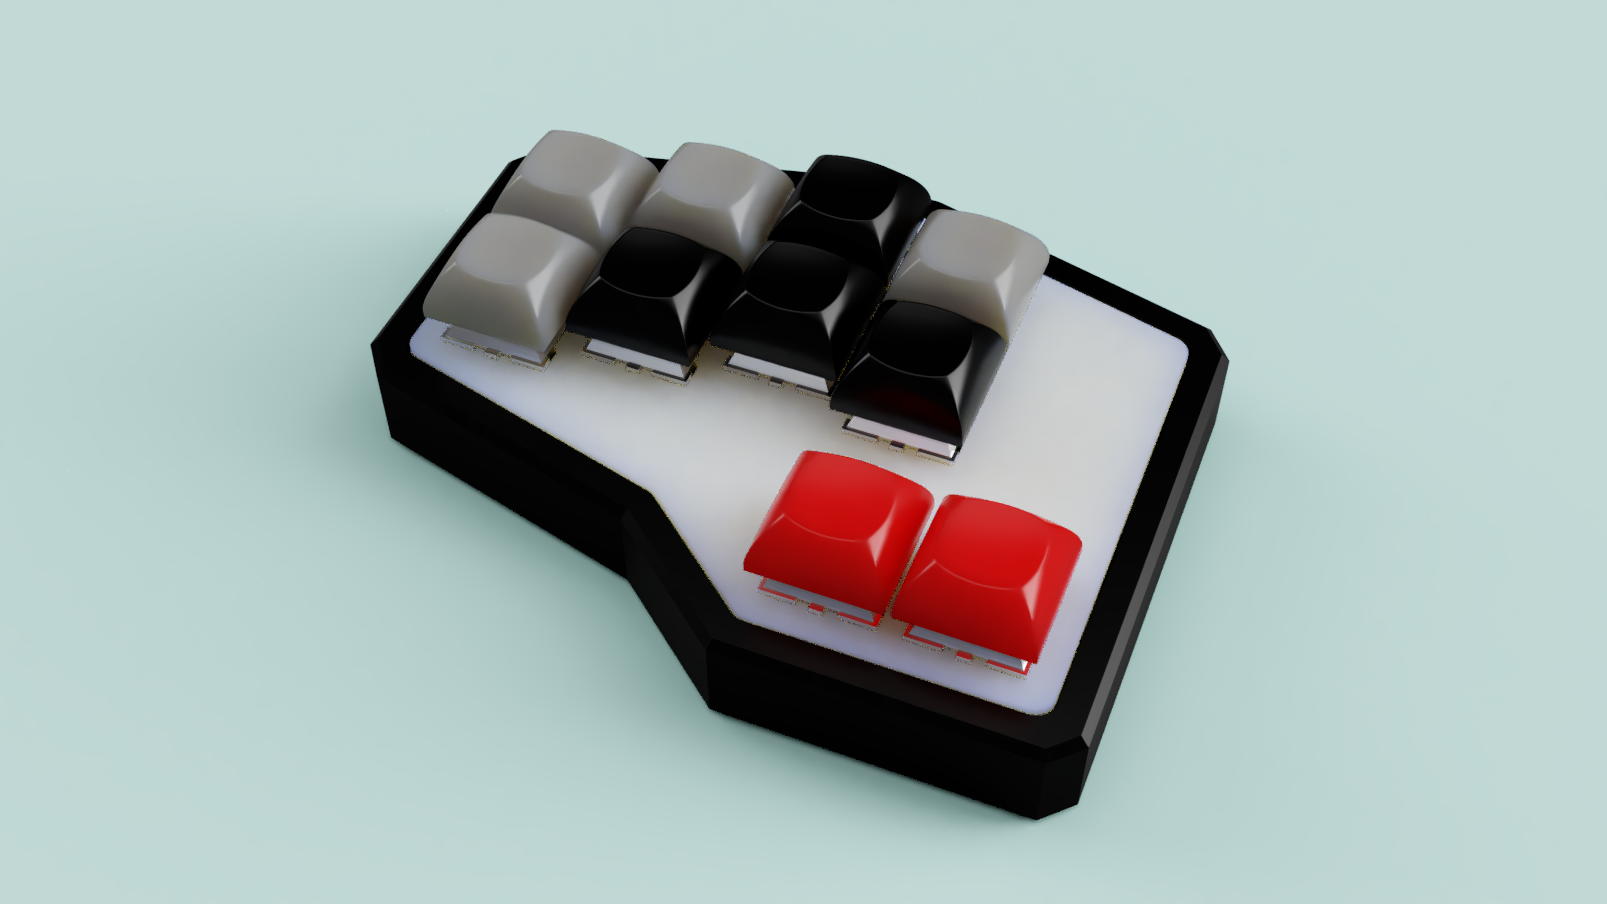
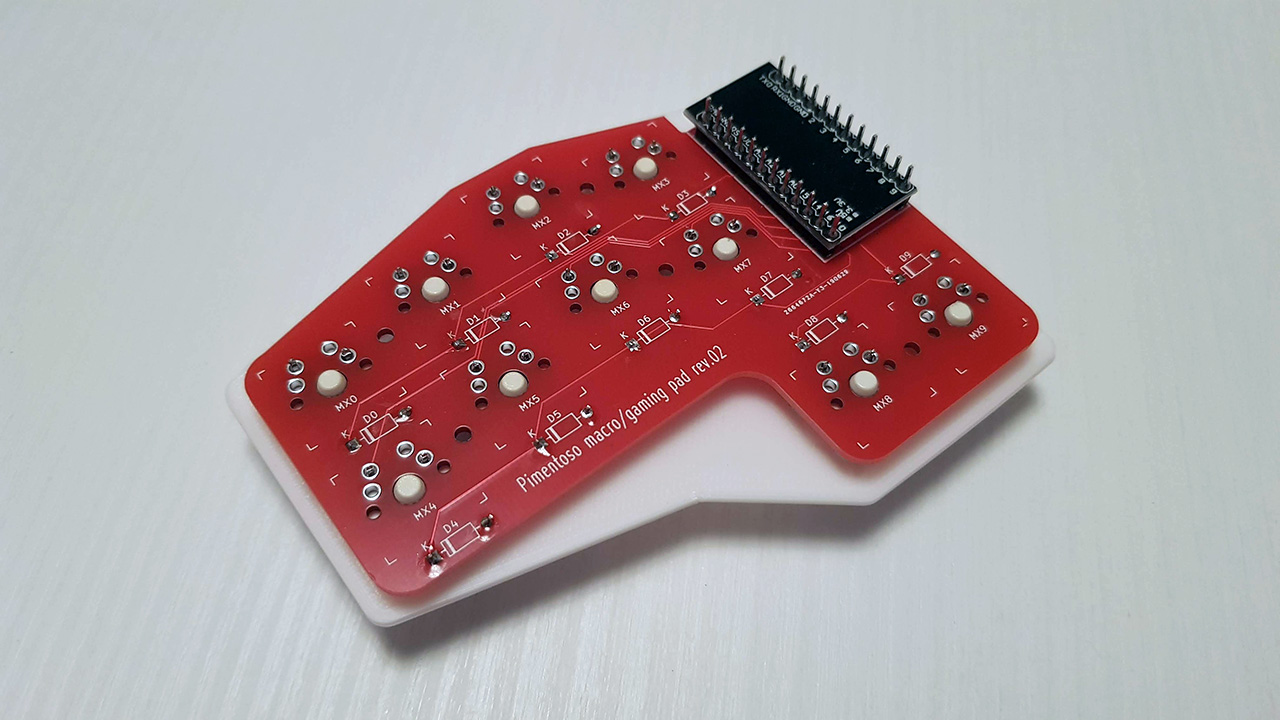
10-keys DIY mechanical macropad/gamepad. Features staggered columns, 2 thumb keys, symmetric PCB (you can build right-handed and left-handed versions with the same PCB). Intended to use with QMK firmware.
- a Paddino02 PCB. I suggest ordering it at JLCPCB, you can get 5 PCBs for just $2. Instructions for ordering below.
- an Arduino Pro Micro. Aliexpress link https://www.aliexpress.com/item/32849563958.html
- x10 1N4148 diodes. Aliexpress link https://www.aliexpress.com/item/32804799676.html
- x10 mechanical keyboard switches of your choice. Aliexpress link https://www.aliexpress.com/item/32679823499.html
- x10 keycaps. Aliexpress link https://www.aliexpress.com/item/32850729893.html
- Access to a soldering iron
- Access to a 3d printer
- x5 small M2 screws, 5mm long or so.
- Optional adhesive rubber feets.
- solder the 10 diodes. The black heads of the diodes must be oriented towards the square-marked holes in the PCB.
- solder the header pins.
- solder the Pro Micro. Either you are building the right or left version, the USB port side must face the PCB.
- cut away the excess of the header pins using pliers/nippers.
- print a plate and snap the switches into the holes.
- insert the switches pins into the PCB and solder them in.
- flash the firmware (see next section).
- print a case and screw the two parts together.
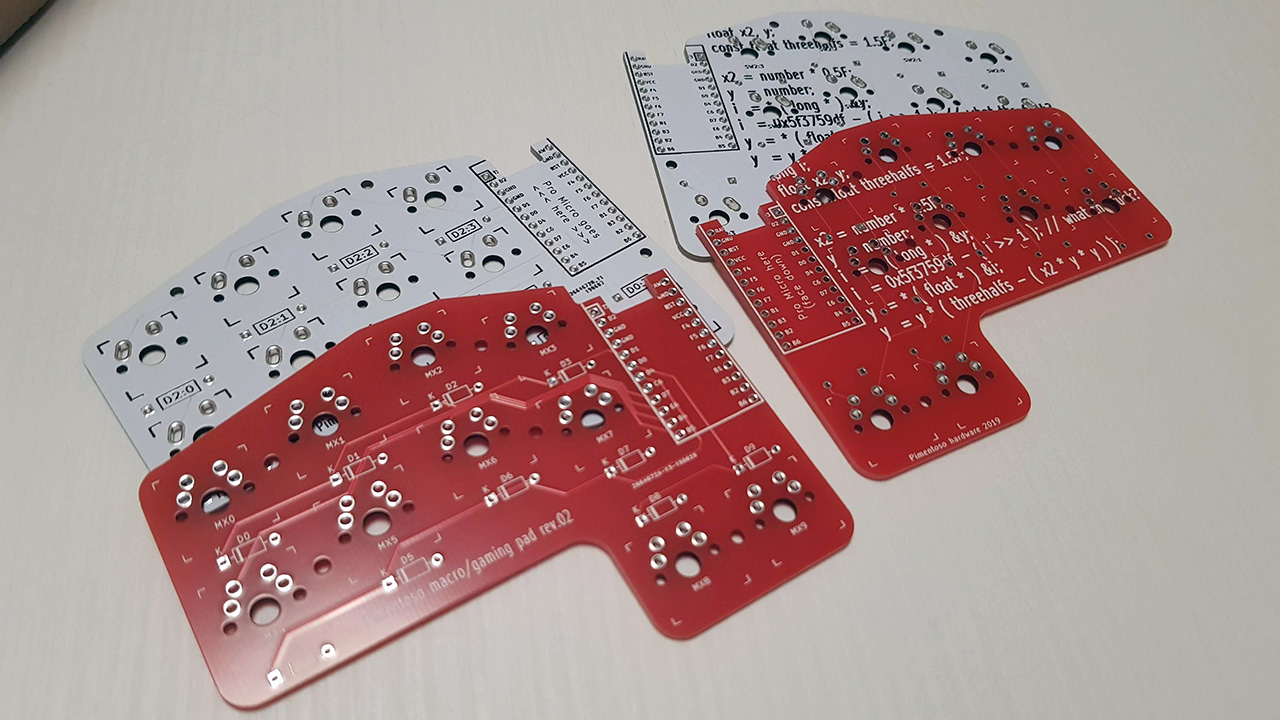 Some PCBs. The white ones are from the first revision, they're just in the pic for show.
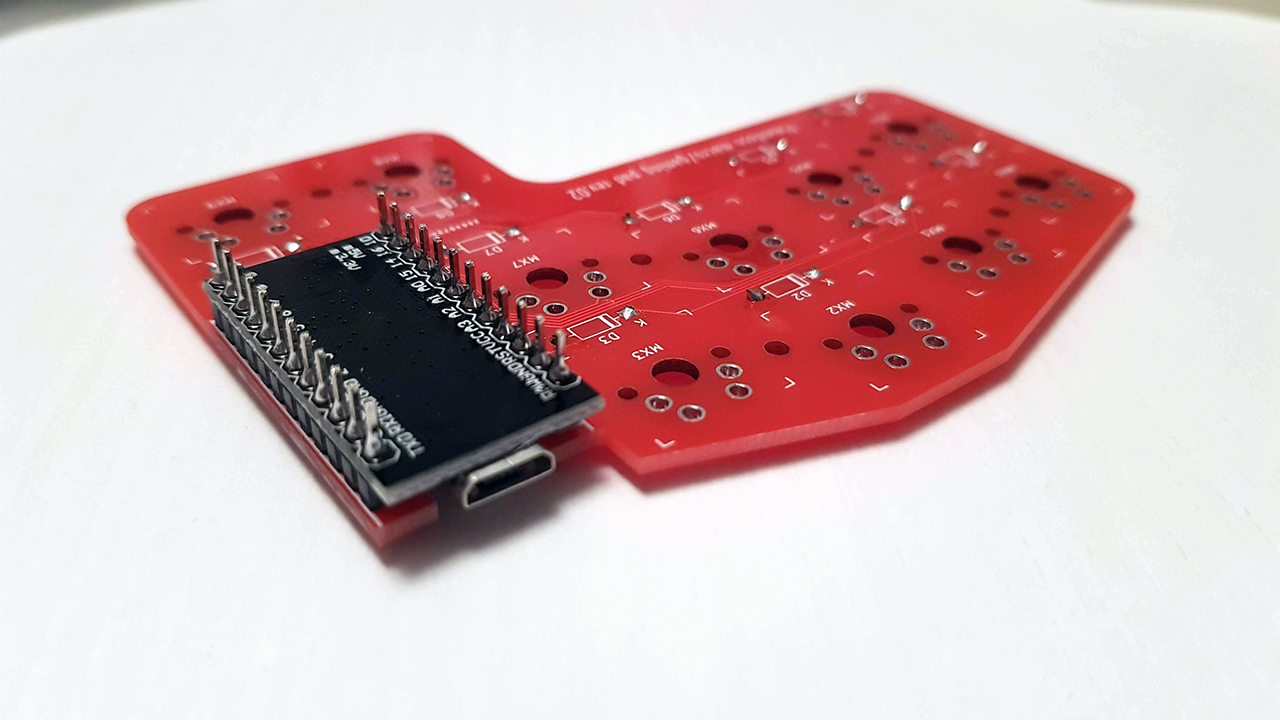 Pro Micro soldered with header pins. The pins are too long and need to be snipped.
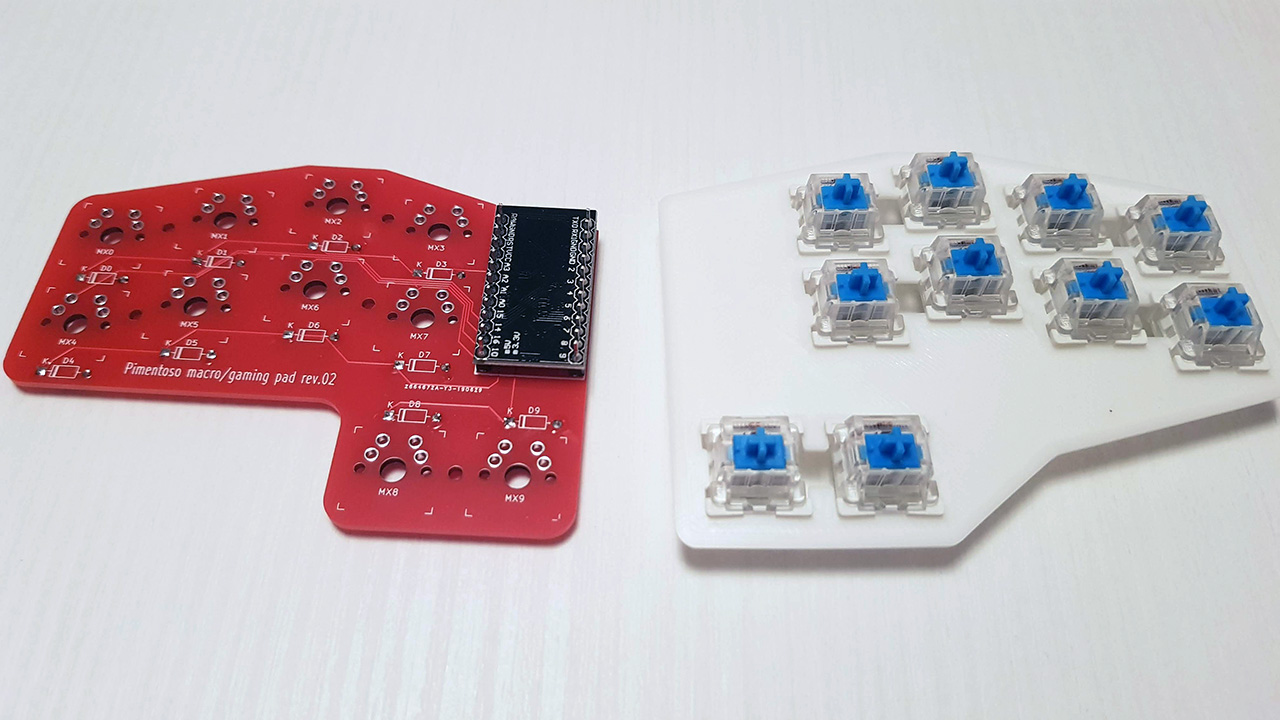 Plate with blue switches snapped in place.
 PCB joined with plate.
 Right and left versions.
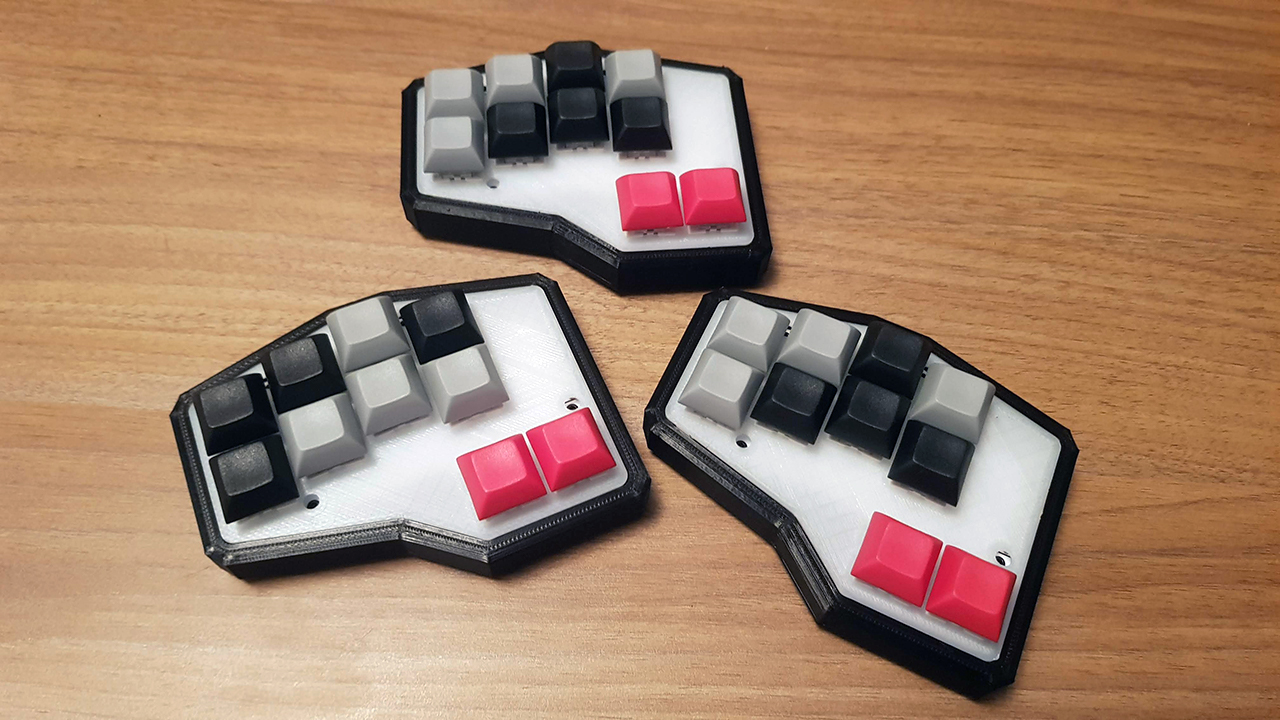 Finished pads (first revision)
 Finished pad (second revision). Compared to the first revision, the screw holes are hidden between the switches.
The firmware folder contains the keymap .json files and firmware .hex files for both the right and left handed versions.
The provided keymap files are very basic, and the second layer is empty. So some customization is recommended.
To edit the keys, you have to load the .json file into https://kbfirmware.com/, configure the keys as you like, and compile a .hex file directly from the site. You can then flash the .hex file on the pad using avrdude.
The easiest way is to install QMK Toolbox
Connect your pad to USB, enter programming mode, select the .hex file into QMK Toolbox, and flash.
To enter programming mode, use the hole on the bottom of the case. You can stick a bent clip/screwdriver into it to short the RESET and GROUND pins of the Pro Micro. (There are actually 2 holes, because in the right-handed version the Pro Micro is flipped and the pins are on the other side)
- http://www.keyboard-layout-editor.com/#/gists/999c722bfd1635b06a1ac5182787ecb8 (left handed version)
- http://www.keyboard-layout-editor.com/#/gists/7b56ab607e70723b96f63006d65ebe46 (right handed version)
Head over to https://jlcpcb.com/quote and upload the gerber.zip file, located inside the kicad/gerber folder. The default options are good (you can change the color for swag). Just make sure PCB Thickness is set to 1.6.
Since the PCB is smaller than 100mm, the cost will be $2 for 5 of them, and shipping will be free if it's your first order.
This project is licensed under the GPLv3 License - see the LICENSE.md file for details