This library helps in the development of reactive frontends and can be used alongside WGLMakie and JSServe.
Most frequently you will be using the hstack (row of items), vstack (column of items), and zstack functions to create your HTML/CSS layout. You will be wrapping your figures in HTML div tags with wrap.
When stacking things with zstack you will want to select which one is currently viewable with the active function and the activeidx keyword argument. Transitions between the states can also be enabled with the anim keyword argument. One can select [:default], [:whoop], [:static] , [:opacity] or a valid combination of the four.
Hover animations are available with the hoverable function with the specified anim keyword. One can select [:default], [:border] or a combination of the two.
And for convenience you can create clickable buttons that navigate the layout with modifier.
-
Reactiveness centers around the
observableobjects. -
There are three kinds of CSSMakieLayout elements: static, modifiers and modifiable
-
The static elements are purely for styling, with no reactive component. For example
hstack,vstack,wrapandhoverableif no observable is set for the stayactiveif parameter -
The modifiers are the ones that modify the observables that in turn modity the modifiable elements. For now there exists only one modifier element that is luckily called modifier. It takes the observable to be modified as the
parameterkeyword, and the way in which to modify it as theactionkeyword (which can be:toggle,:increase,:decrease,:increasecap,:decreasecap,:increasemod,:decreasemod) -
The modifiable elements are the ones that get modified by an observable:
zstack,hoverablewith thestayactiveifobservable set andselectclass
Let's go through two examples on how to use this library, the first one will be a simple one, and the second, more complex.
| Example 1 | Example 2 |
|---|---|
 |
 |
For example let's say we want to create a view in which we can visualize
one of three figures (a, b and c) in a slider manner.
We also want to control the slider with two buttons: LEFT and RIGHT. The
RIGHT button slided to the next figure and the LEFT one slides to the
figure before.
The layout would look something like this:
By acting on the buttons, one moves from one figure to the other.
- First of all include the library in your project
using WGLMakie
WGLMakie.activate!()
using JSServe
using Markdown

# 1. LOAD LIBRARY
using CSSMakieLayout- Then define your layout using CSSMakieLayout.jl,
config = Dict(
:resolution => (1400, 700), #used for the main figures
)
landing = App() do session::Session
CSSMakieLayout.CurrentSession = session
# Active index: 1 2 or 3
# 1: the first a.k.a 'a' figure is active
# 2: the second a.k.a 'b' figure is active
# 3: the third a.k.a 'c' figure is active
# This observable is used to communicate between the zstack and the selection menu/buttons as such: the selection buttons modify the observable which in turn, modifies the active figure zstack.
activeidx = Observable(1)
# Create the buttons and the mainfigures
mainfigures = [Figure(backgroundcolor=:white, resolution=config[:resolution]) for _ in 1:3]
buttons = [modifier(wrap(DOM.h1("〈")); action=:decreasecap, parameter=activeidx, cap=3),
modifier(wrap(DOM.h1("〉")); action=:increasecap, parameter=activeidx, cap=3)]
axii = [Axis(mainfigures[i][1, 1]) for i in 1:3]
# Plot each of the 3 figures using your own plots!
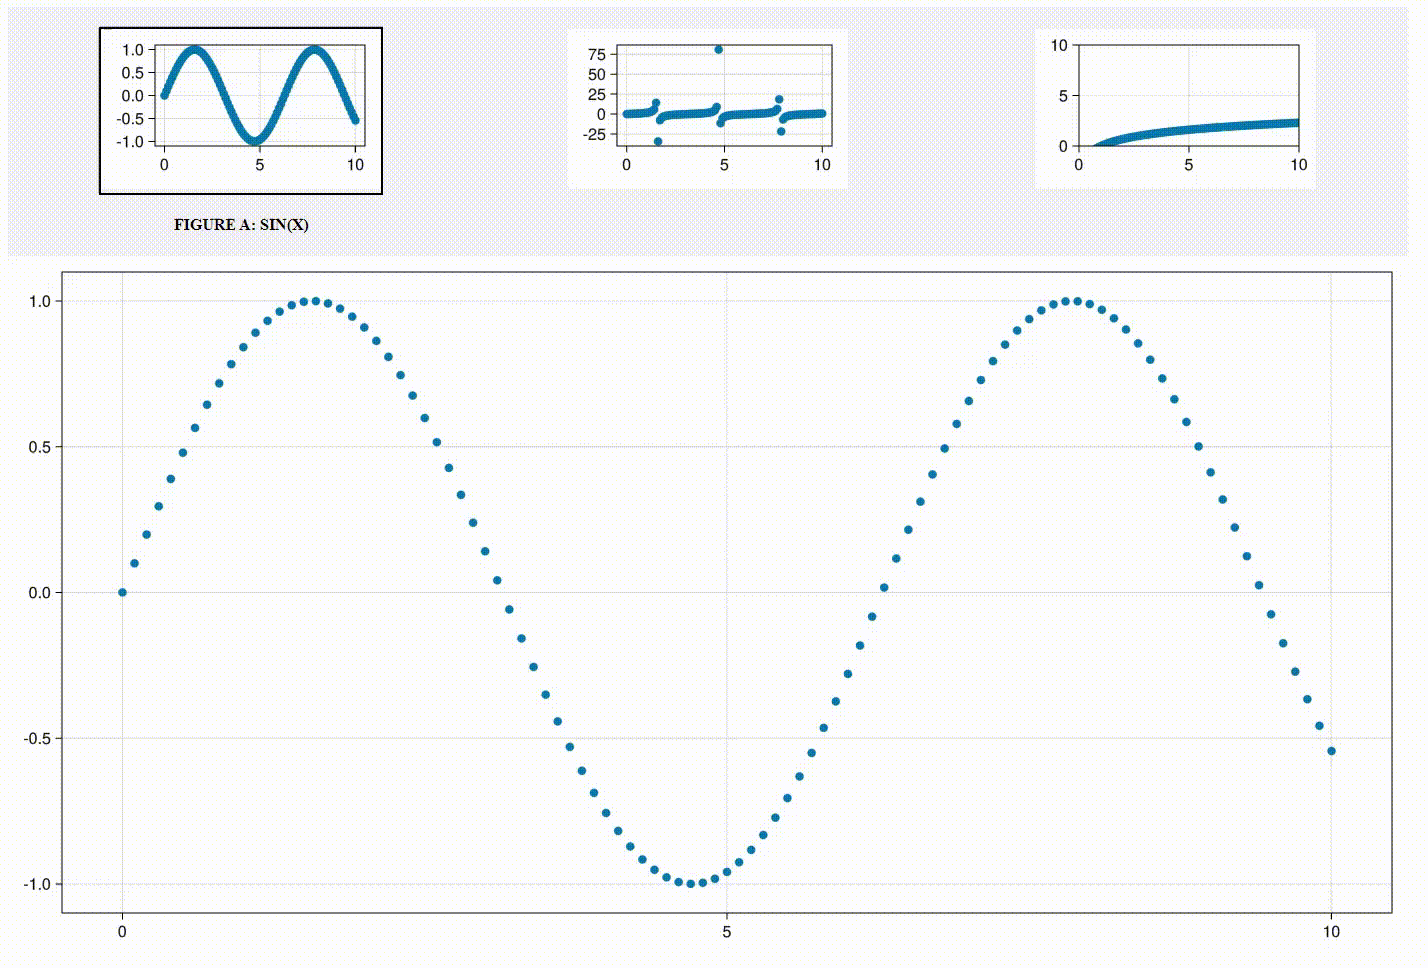
scatter!(axii[1], 0:0.1:10, x -> sin(x))
scatter!(axii[2], 0:0.1:10, x -> tan(x))
scatter!(axii[3], 0:0.1:10, x -> log(x))
# Obtain the reactive layout using a zstack controlled by the activeidx observable
activefig = zstack(
active(mainfigures[1]),
wrap(mainfigures[2]),
wrap(mainfigures[3]);
activeidx=activeidx,
style="width: $(config[:resolution][1])px")
layout = hstack(buttons[1], activefig, buttons[2])
return hstack(CSSMakieLayout.formatstyle, layout)
end- And finally Serve the app
isdefined(Main, :server) && close(server);
port = 8888
interface = "127.0.0.1"
server = JSServe.Server(interface, port);
JSServe.HTTPServer.start(server)
JSServe.route!(server, "/" => landing);


# the app will run on localhost at port 8888
wait(server)
This code can be visualized at ./examples/example_readme, or at https://github.com/adrianariton/QuantumFristGenRepeater (this will be updated shortly with the plots of the first gen repeater)
This time we are going to create a selectable layout with a menu, that will look like this:
To do this we will follow the same stept, with a modified layout function:
- First of all include the library in your project
using WGLMakie
WGLMakie.activate!()
using JSServe
using Markdown

# 1. LOAD LIBRARY
using CSSMakieLayout- Create the layout
config = Dict(
    :resolution => (1400, 700), #used for the main figures
    :smallresolution => (280, 160), #used for the menufigures
)

# define some additional style for the menufigures' container
menufigs_style = """
    display:flex;
    flex-direction: row;
    justify-content: space-around;
    background-color: rgb(242, 242, 247);
    padding-top: 20px;
    width: $(config[:resolution][1])px;
"""

landing = App() do session::Session
    CSSMakieLayout.CurrentSession = session

    # Create the menufigures and the mainfigures
    mainfigures = [Figure(backgroundcolor=:white,  resolution=config[:resolution]) for _ in 1:3]
    menufigures = [Figure(backgroundcolor=:white,  resolution=config[:smallresolution]) for _ in 1:3]
    # Figure titles
    titles= ["Figure a: sin(x)",
            "Figure b: tan(x)",
            "Figure c: cos(x)"]

    # Active index/ hovered index: 1 2 or 3
    #   1: the first a.k.a 'a' figure is active / hovered respectively
    #   2: the second a.k.a 'b' figure is active / hovered respectively
    #   3: the third a.k.a 'c' figure is active / hovered respectively
    # These two observables are used to communicate between the zstack and the selection menu/buttons as such: the selection buttons modify the observables which in turn, modify the active figure zstack.
    activeidx = Observable(1)
    hoveredidx = Observable(0)

    # Add custom click event listeners
    for i in 1:3
        on(events(menufigures[i]).mousebutton) do event
            activeidx[]=i
            notify(activeidx)
        end
        on(events(menufigures[i]).mouseposition) do event
            hoveredidx[]=i
            notify(hoveredidx)
        end
    end

    # Axii of each of the 6 figures
    main_axii = [Axis(mainfigures[i][1, 1]) for i in 1:3]
    menu_axii = [Axis(menufigures[i][1, 1]) for i in 1:3]

    # Plot each of the 3 figures using your own plots!
    scatter!(main_axii[1], 0:0.1:10, x -> sin(x))
    scatter!(main_axii[2], 0:0.1:10, x -> tan(x))
    scatter!(main_axii[3], 0:0.1:10, x -> log(x))

    scatter!(menu_axii[1], 0:0.1:10, x -> sin(x))
    scatter!(menu_axii[2], 0:0.1:10, x -> tan(x))
    scatter!(menu_axii[3], 0:0.1:10, x -> log(x))


    # Create ZStacks displaying titles below the menu graphs
    titles_zstack = [zstack(wrap(DOM.h4(titles[i], class="upper")),
                            wrap("");
                            activeidx=@lift(($hoveredidx == i || $activeidx == i)),
                            anim=[:opacity], style="""color: $(config[:colorscheme][2]);""") for i in 1:3]


    # Wrap each of the menu figures and its corresponing title zstack in a div
    menufigs_andtitles = wrap([
            vstack(
                hoverable(menufigures[i], anim=[:border];
                        stayactiveif=@lift($activeidx == i)),
                titles_zstack[i];
                class="justify-center align-center "
            ) for i in 1:3];
            class="menufigs",
            style=menufigs_style
        )

    # Create the active figure zstack and add the :whoop (zoom in) animation to it
    activefig = zstack(
                active(mainfigures[1]),
                wrap(mainfigures[2]),
                wrap(mainfigures[3]);
                activeidx=activeidx,
                anim=[:whoop])

    # Obtain reactive layout of the figures
    return wrap(menufigs_andtitles, activefig, CSSMakieLayout.formatstyle)

end- And finally Serve the app
isdefined(Main, :server) && close(server);
port = 8888
interface = "127.0.0.1"
server = JSServe.Server(interface, port);
JSServe.HTTPServer.start(server)
JSServe.route!(server, "/" => landing);


# the app will run on localhost at port 8888
wait(server)