RADAR-base Data Uploader is a web-application that enables uploading data to RADAR-Base. It has a Kafka Connect source connector that processes the uploaded data, parse it in appropriate format and send them to Kafka.
This can be used to
- Upload data from devices and other sources using a web-interface.
- Monitor status of the records created
The project contains three components:
- A web-application where user can upload data radar-upload-frontend
- A back-end webservice application that stores the uploaded data with metadata. radar-upload-backend
- A Kafka Connect source-connector that loads data from backend connector and sends it to Kafka. kafka-connect-upload-source
If you are a user who would like to upload data to RADAR-base, you require an account on ManagementPortal application of your environment. Please request an account from your System administer if you do not have done.
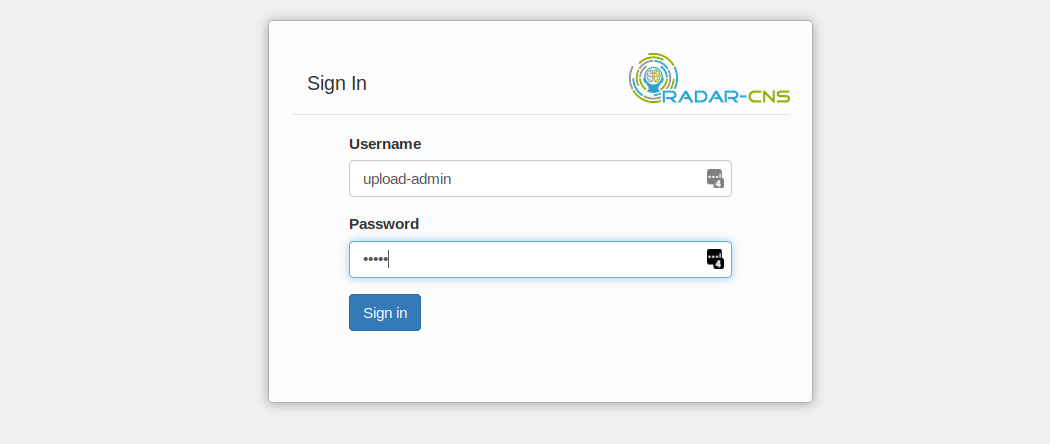
- Please log in to the uploader application using your account credentials from ManagementPortal.
- Authorize the uploading application to perform mentioned operations by clicking on
"Approve". - Select the project you want to work with.
- Click on the
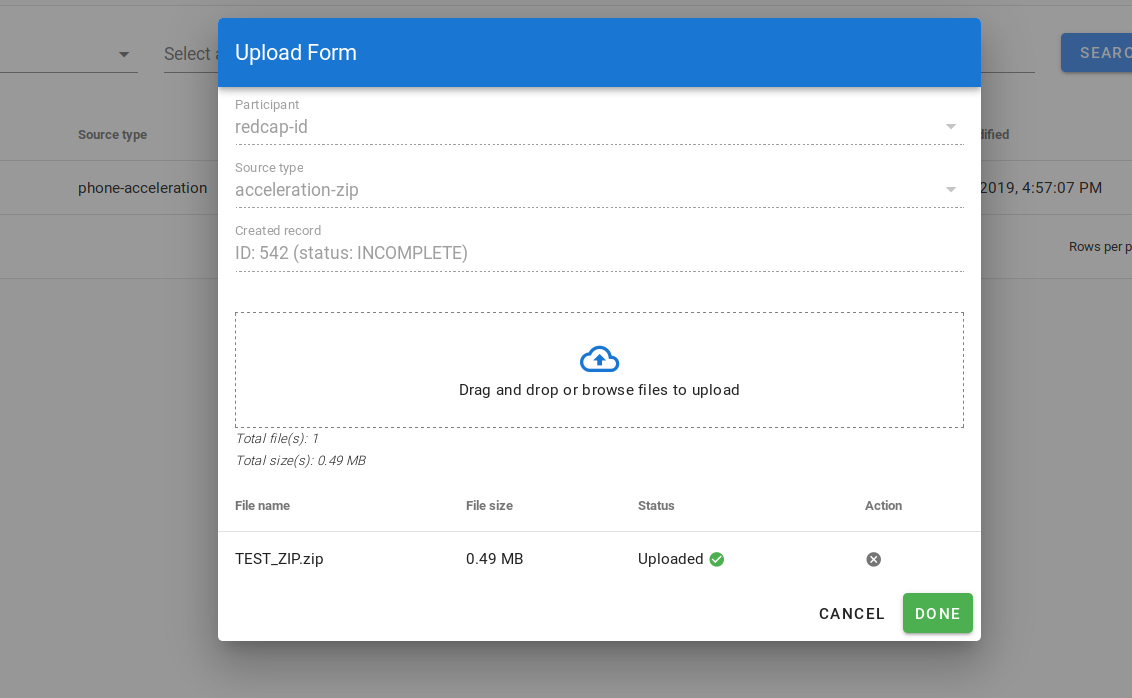
"UPLOAD"button to upload files. - Select the participant and type of the file data source, then click on
"CREATE RECORD". - Once the record is created, upload the relevant file(s), then click on
"UPLOAD". - Once you are done with uploading files, click on
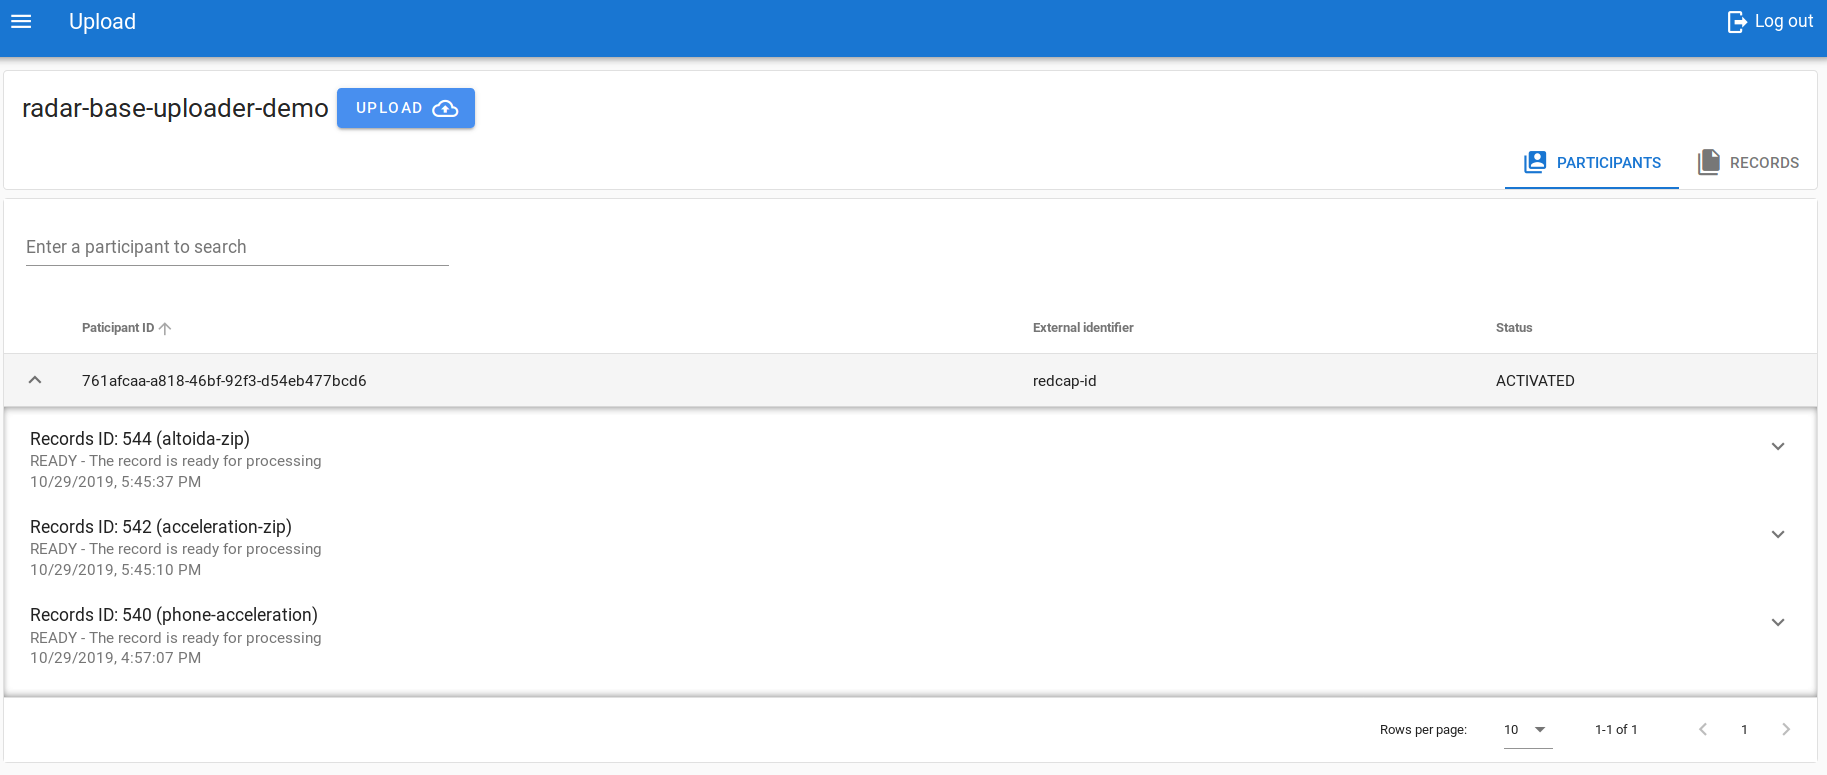
"DONE"to finalise the process. - You will see a new record created for the corresponding participant with
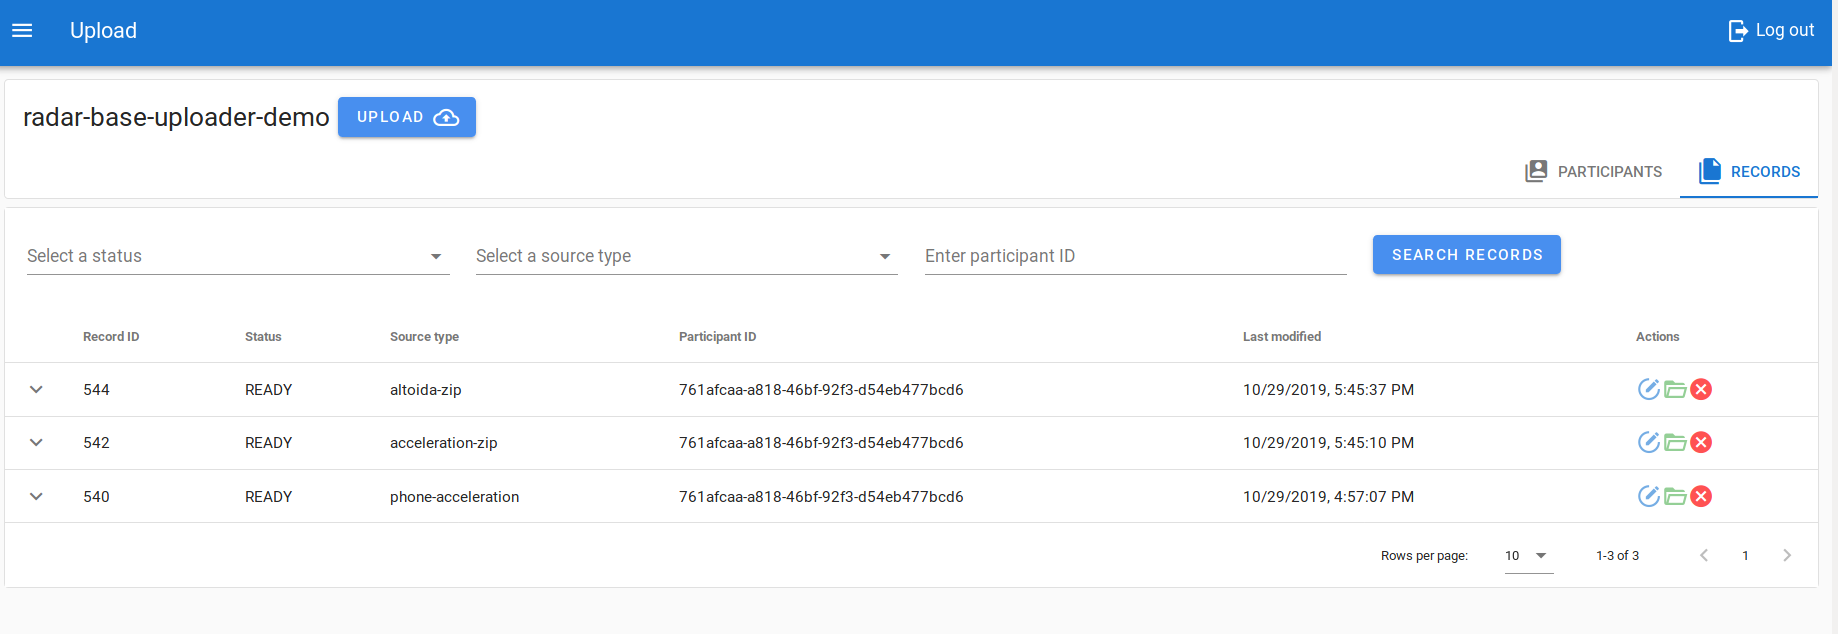
READY - You can switch to
RECORDtab and monitor the status of the record.
Please see the step-by-step guide with screenshots if you like more information.
To install fully functional RADAR-base data uploader from source, please use the docker-compose.yml under the root directory
docker-compose up -d --buildDisclaimer: This section does not cover how to install or configure the complete RADAR-Base stack. Please visit RADAR-Docker or RADAR-Kubernetes for complete installation guidelines.
Note: Some configuration values are specified under the assumption that the docker containers will have the same name on deployment as well.
Configuring Data Uploader involves configuring the three components mentioned above.
Please copy etc/upload.yml.template to etc/upload.yml and modify the database credentials and the oauth client credentials. The following tables shows the possible properties and explanation.
baseUri: "http://0.0.0.0:8085/upload/api/"
managementPortalUrl: "http://managementportal-app:8080/managementportal/"
jdbcDriver: "org.postgresql.Driver"
jdbcUrl: "jdbc:postgresql://radarbase-postgresql:5432/uploadconnector"
jdbcUser: "username" # change this to your database username
jdbcPassword: "password" # change this to your database password
additionalPersistenceConfig:
  "hibernate.dialect": "org.hibernate.dialect.PostgreSQL95Dialect"
enableCors: yes # if you want to enable cors filter to this component specify yes
clientId: "radar_upload_backend" # configure your oauth client id
clientSecret: "secret" # configure the client-secret
sourceTypes: # these are the data source types that are supported to upload data
  - name: phone-acceleration
    topics:
      - android_phone_acceleration
    contentTypes:
      - text/csv
    timeRequired: false
    sourceIdRequired: false
    configuration:
      setting1: value1
      setting2: value2
  - name: acceleration-zip
    topics:
      - android_phone_acceleration
    contentTypes:
      - application/zip
    timeRequired: false
    sourceIdRequired: false
  - name: altoida
    topics:
      - connect_upload_altoida_acceleration
    contentTypes:
      - application/zip
    timeRequired: false
    sourceIdRequired: false
  - name: oxford-wearable-camera
    topics:
      - connect_upload_oxford_camera_data
      - connect_upload_oxford_camera_image
    contentTypes:
      - application/zip
    configuration:
      # upload requires SFTP server config to store images to
      # unset host variable to store data in local directory instead
      host: sftp  # sftp host to upload images to
      # port: 22  # sftp port already defaults to 22
      user: ...  # sftp username
      # password: ...  # sftp password. Prefer to use the keyfile

      # Private SSH key. Can be replaced with password if needed.
      # If a docker container is used, this key should be mounted in a volume.
      keyFile: </path/to/private/ssh/key>
      # keyPassphrase: ...  # SSH key passphrase, if any.
      root: /output/  # root folder to store images to. Defaults to runtime directory.
      advertizedUrl: sftp://<my-hostname>  # advertised URL to reference path from. May include a base path if needed.
  - name: axivity
    topics:
      - connect_upload_axivity_acceleration
    contentTypes:
      - application/zip
    timeRequired: false
    sourceIdRequired: false
    configuration:
      # add additional values as mentioned below to read additional data from .cwa file from axivity
      # these default to true, set to false to disable them.
      readLight: "true"
      readTemperature: "true"
      readBattery: "true"
      readMetadata: "true"
logEvents: "true"To add support to additional device types, add a new entry of sourceType to the sourceTypes list.
A single sourceType entry is defined as below.
- name: acceleration-zip # unique identifier of the data source or device (*required)
    topics: # list of topics to send data
      - android_phone_acceleration
    contentTypes: # content types of the data
      - application/zip
    timeRequired: false # whether the user should supply a date-time for the upload e.g. when the data is not timestamped.
    sourceIdRequired: false # if source-id is compulsory to upload data, specify true.
If the upload.yml file has been modified after starting the serve, restart the service
docker-compose restart radar-upload-backendPlease copy etc/source-upload.properties.template to etc/source-upload.properties and modify the oauth client credentials and supported converter classes. The following tables shows the possible properties and explanation.
| Name | Description | Type | Default | Valid Values | Importance |
|---|---|---|---|---|---|
| upload.source.poll.interval.ms | How often to poll the records to process. | long | 60000 | low | |
| upload.source.queue.size | Capacity of the records queue. | int | 1000 | high | |
| upload.source.client.id | OAuth Client-id of the upload kafka connector. | string | radar-upload-connector-client | high | |
| upload.source.client.secret | OAuth client-secret of the upload kafka connector. | string | high | ||
| upload.source.client.tokenUrl | Token URL of ManagementPortal to get access token. | string | high | ||
| upload.source.backend.baseUrl | URL of the radar-upload-backend where uploaded files are stored. | string | http://radar-upload-connect-backend:8085/radar-upload/ | high | |
| upload.source.record.converter.classes | List of classes to be used to convert a record. | list | org.radarbase.connect.upload.converter.phone.AccelerometerConverterFactory | Class extending org.radarbase.connect.upload.converter.ConverterFactory | high |
To add processing data from new device type, please implement a ConverterFactory that can process the data from corresponding device and add the name of the class to the list of upload.source.record.converter.classes.
Configuring radar-upload-frontend requires configuring the right environment variables for the docker container.
| Name | Description | Values |
|---|---|---|
| VUE_APP_BASE_URL | Base URL of the web-application. | /upload |
| VUE_APP_API_BASE_URL | Advertised URL of the radar-upload-backend. | http://localhost:8080/upload/api/ or https://radarbase-test.domain.com/upload/api/ |
| VUE_APP_AUTH_API | Advertised URL of ManagementPortal Authorization. | http://localhost:8080/managementportal/oauth or https://radarbase-test.domain.com/managementportal/oauth |
| VUE_APP_AUTH_CALLBACK | Callback URL to send the `authorization_code`. This should be correctly configured on ManagementPortal. | http://localhost:8080/upload/login or https://radarbase-test.domain.com/upload/login |
| VUE_APP_CLIENT_ID | OAuth Client ID of the web application configured on ManagementPortal. | radar_upload_frontend |