Using Django, a high-level Python Web framework that encourages rapid development and clean, pragmatic design, demonstrate custom user authentication and authorization via COmanage (CILogon 2.0) services.
The example provided herein is specific to running a demonstration server on your local machine at https://127.0.0.1:8443/. This could however be generalized to any host provided that you have.
- Registered a COmanage OIDC client (Through CILogon)
- Have valid user credentials for the COmanage LDAP server
- Are using a fully qualified domain name or IP
- Have valid SSL certificates (CA or self generated)
I just want to run everything in Docker and don't care for an explanation
-
cp core/secrets.py.template core/secrets.py- Modify
SECRET_KEYto be Django compliant
- Modify
-
cp core/env.template core/.env- Update OIDC and LDAP settings per your CILogon/COmanage OIDC Client
-
cp env.template .env- Update environment settings for use by docker-compose
-
cp nginx/default.conf.template nginx/default.conf- Update Nginx configuration as needed by your deployment
-
Use your own certs, or generate self-signed certs with
./generate-certificates.shand validate Nginx cert configs in.env -
Run
docker-compose pull
docker-compose build
docker-compose up -d
After a few moments the docker containers will have stood up and configured themselves. Navigate to https://127.0.0.1:8443/ (or whatever you've configured your host to be).
You should now observe a simple login page (click the Login link)
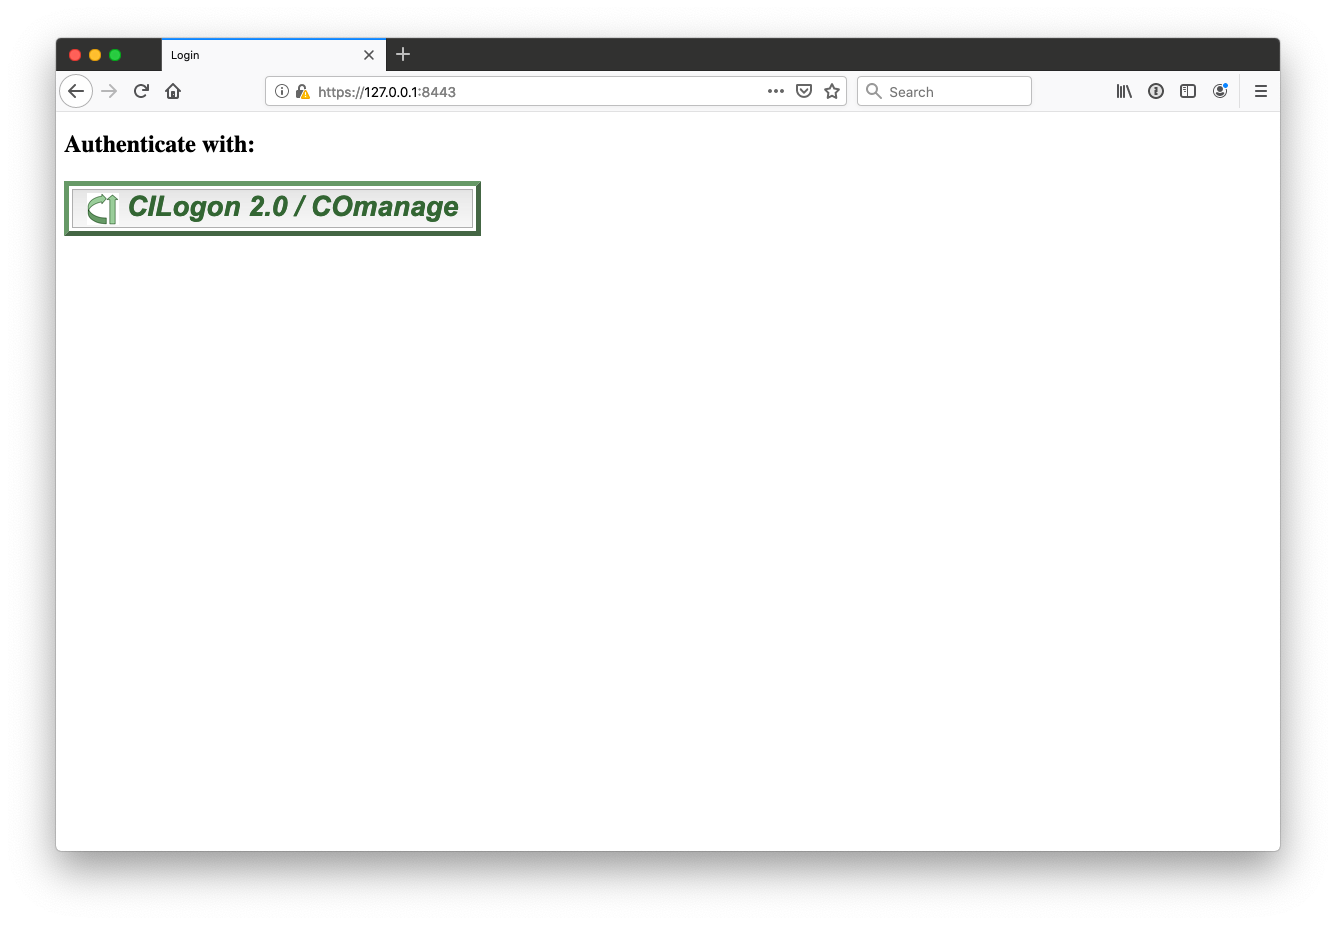
Choose the identity provider that you had registered in your COmanage OIDC client

Example using UNC Chapel Hill

On successful login your CILogon Authenticatin Claims will be displayed along with any COmanage Authorizations if you have them

COmanage (CILogon 2.0)
- COmanage provides collaboration management services for CILogon 2.0. COmanage enables research collaborations (virtual organizations or VOs) to manage the entire lifecycle of collaboration. Beginning with onboarding, COmanage provides flexible and customizable enrollment flows to bring people and their federated identities onto the platform and create a collaborative organization (CO). Read more
Django package mozilla-django-oidc (used for authentication)
- A lightweight authentication and access management library for integration with OpenID Connect enabled authentication services. Read more
Python package ldap3 (used for retrieving LDAP attributes - authorization)
- ldap3 is a strictly RFC 4510 conforming LDAP V3 pure Python client library. The same codebase runs in Python 2, Python 3, PyPy and PyPy3. Read more
The core of this project is based on django-startproject-docker which provides.
- Python 3 based Docker definition (python:3)
- Virtual environment managed by virtualenv (virtualenv tool)
- PostgreSQL database backend adapter (psycopg2-binary)
- uWSGI based run scripts (uWGSI)
- python-dotenv app settings management (python-dotenv)
- Nginx web server (nginx)
- Implements uWSGI socket file
- Provides an HTTP service configuration for use in Docker
- Provides stub configuration for HTTPS / SSL use
- Unix socket protocol for Django services
- Host ports mapped as
8080:80and8443:443by default
This repository is designed to be run in Docker out of the box using docker-compose. Optionally the user can make minor configuration changes to run portions of the project on their local machine for easier programmatic interaction with Django directly.
-
Validate
uwsgi-socketsettings in theuwsgi.inifile[uwsgi] chdir = ./ module = core.wsgi:application master = True pidfile = /tmp/project-master.pid vacuum = True max-requests = 5000 # use for development ;socket = :8000 # use for production uwsgi-socket = ./base.sock chmod-socket = 666
-
cp core/secrets.py.template core/secrets.py- ModifySECRET_KEYto be Django compliant.# SECURITY WARNING: keep the secret key used in production secret! SECRET_KEY = '*42qm9%961hnj_hl7sk-u36r*wgp)fas&hx0+p#^0x5!=75n@q' # generate a secret key
-
cp core/env.template core/.env- Update OIDC and LDAP settings per your OIDC Client# Settings for environment. Notes: # # - Since these are bash-like settings, there should be no space between the # variable name and the value (ie, "A=B", not "A = B") # - Boolean values should be all lowercase (ie, "A=false", not "A=False") # debug - set to false in production export DEBUG=true # database PostgreSQL export POSTGRES_PASSWORD=postgres export POSTGRES_USER=postgres export PGDATA=/var/lib/postgresql/data export POSTGRES_DB=postgres export POSTGRES_HOST=database export POSTGRES_PORT=5432 # OIDC CILogon / COmanage - values provided when OIDC client is created export OIDC_RP_CLIENT_ID='' export OIDC_RP_CLIENT_SECRET='' export OIDC_RP_CALLBACK='' # LDAP - values provided by CILogon staff export LDAP_HOST='' export LDAP_PASSWORD='' export LDAP_SEARCH_BASE='' export LDAP_USER=''
-
cp env.template .env- Update environment settings for use by docker-compose# docker-compose environment file # # When you set the same environment variable in multiple files, # here’s the priority used by Compose to choose which value to use: # # 1. Compose file # 2. Shell environment variables # 3. Environment file # 4. Dockerfile # 5. Variable is not defined # Nginx configuration NGINX_DEFAULT_CONF=./nginx/default.conf NGINX_SSL_CERTS_DIR=./certs # PostgreSQL database - default values should not be used in production PGDATA=/var/lib/postgresql/data POSTGRES_DB=postgres POSTGRES_PASSWORD=postgres POSTGRES_PORT=5432 POSTGRES_USER=postgres # uWSGI services in Django UWSGI_GID=1000 UWSGI_UID=1000
NOTE: If you don't have a valid SSL certificate pair, you can generate a self-signed pair using the
generate-certificates.shscript$ ./generate-certificates.sh Generating a 4096 bit RSA private key ... $ tree certs certs ├── chain.pem ├── fullchain.pem └── privkey.pem
-
cp nginx/default.conf.template nginx/default.conf- Update Nginx configuration as needed by your deployment -
Run
docker-compose up -d$ docker-compose up -d Creating database ... done Creating django ... done Creating nginx ... done
After a few moments the docker containers will have stood up and configured themselves. Naviage to https://127.0.0.1:8443/ (or whatever you've configured your host to be).
The database and nginx containers will still be run in Docker, but the Django code will be run from the user's local machine. This makes it easier to develop and debug the Django code using a local development environment.
Python 3 and virtualenv are required to be on the user's local machine.
virtualenv and database
Create the virtual environment and install packages
$ virtualenv -p $(which python3) venv
$ source venv/bin/activate
(venv)$ pip install -r requirements.txt
Start the pre-defined PostgreSQL database in Docker
- Update
POSTGRES_HOSTincore/.envto reflect the IP of your local machine (For example, fromexport POSTGRES_HOST=databasetoexport POSTGRES_HOST=127.0.0.1) - Ensure the
POSTGRES_PORT=5432is properly mapped to the host in thedocker-compose.ymlfile
$ docker-compose up -d database
Validate that the database container is running.
$ docker-compose ps
Name Command State Ports
-------------------------------------------------------------------------
database docker-entrypoint.sh postgres Up 0.0.0.0:5432->5432/tcpNginx runs the HTTPs server
NOTE: Depending on your system (macOS) you may not be able to run the Nginx server using socket files mounted from the host. For more information refer to this Github issue: Support for sharing unix sockets. If this is the case, you'll either need to run your Nginx server over ports, or run everything in Docker. The following will describe how to run the Nginx server using TCP ports.
Update the uwsgi.ini file
[uwsgi]
chdir = ./
module = core.wsgi:application
master = True
pidfile = /tmp/project-master.pid
vacuum = True
max-requests = 5000
# use for development
socket = :8000
# use for production
;uwsgi-socket = ./base.sock
;chmod-socket = 666
...Update the nginx/default.conf file
upstream django {
#server unix:///code/base.sock; # UNIX file socket
# Defaulting to macOS equivalent of docker0 network for TCP socket
server host.docker.internal:8000; # TCP socket
}
- NOTE:
host.docker.internalis macOS specific, substitute as required for your operating system
If you don't have a valid SSL certificate, you can generate a self-signed certificate using the generate-certificates.sh script
$ ./generate-certificates.sh
Generating a 4096 bit RSA private key
...
$ tree certs
certs
├── chain.pem
├── fullchain.pem
└── privkey.pemOtherwise update nginx section in the .env file to match your SSL certificate placement from the host
...
# Nginx configuration
NGINX_DEFAULT_CONF=./nginx/default.conf
NGINX_SSL_CERTS_DIR=./certs
...
Launch the nginx container
$ docker-compose up -d nginx
At this point two containers should be running on the system
$ docker-compose ps
  Name                Command              State                      Ports
----------------------------------------------------------------------------------------------
database   docker-entrypoint.sh postgres   Up      0.0.0.0:5432->5432/tcp
nginx      nginx -g daemon off;            Up      0.0.0.0:8443->443/tcp, 0.0.0.0:8080->80/tcp
Execute the run_uwsgi.sh script
(venv)$ UWSGI_UID=$(id -u) UWSGI_GID=$(id -g) ./run_uwsgi.sh
- NOTE: the
uwsgiservice will be spawned using the user's UID and GID values. These would otherwise default toUID=1000andGID=1000as denoted in therun_uwsgi.shscript.
After a few moments the docker containers will have stood up and configured themselves. Navigate to https://127.0.0.1:8443/
Create a COmanage OIDC client to act as the Relying Party (RP) to your Django based client.
Login to your COmanage registry: https://registry-test.cilogon.org/registry/
Choose to make a new OIDC client with the following fields.
- Name:
127.0.0.1:8443 - localhost - Home:
https://127.0.0.1:8443 - Callback:
https://127.0.0.1:8443/oidc/callback/ - Scope:
openid - Scope:
profile - Scope:
email - Scope:
org.cilogon.userinfo - LDAP Server URL:
default value - LDAP Bind DN:
default value - LDAP Bind Password:
default value - LDAP Search Base DN:
default value

When the client is saved an one-time screen will be displayed showing the CLIENT_ID and CLIENT_SECRET. The CLIENT_ID can be found again from the client definition page, the CLIENT_SECRET is shown once and only once.
Client ID:     cilogon:/client_id/712e00a67d90993328bc349fde638fe1
Client Secret: 3cVmyj7WlCPbDIYbNG4KdURAXxeXij8mKHXECLV_HHjYBzzl0sOwhhjYyFrtuvKjAIOs_B_pgp1kHB80mBQ2yQ

The public endpoints for configuring mozilla-django-oidc can be found at: https://test.cilogon.org/.well-known/openid-configuration
{
 "issuer": "https://test.cilogon.org",
 "authorization_endpoint": "https://test.cilogon.org/authorize",
 "registration_endpoint": "https://test.cilogon.org/oauth2/register",
 "token_endpoint": "https://test.cilogon.org/oauth2/token",
 "userinfo_endpoint": "https://test.cilogon.org/oauth2/userinfo",
 "jwks_uri": "https://test.cilogon.org/oauth2/certs",
 "response_types_supported": [
  "code",
  "token",
  "id_token"
 ],
 "subject_types_supported": [
  "public"
 ],
 "id_token_signing_alg_values_supported": [
  "RS256",
  "RS384",
  "RS512"
 ],
 "scopes_supported": [
  "openid",
  "email",
  "profile",
  "org.cilogon.userinfo",
  "edu.uiuc.ncsa.myproxy.getcert"
 ],
 "token_endpoint_auth_methods_supported": [
  "client_secret_post"
 ],
 "claims_supported" : [
  "aud",
  "auth_time",
  "email",
  "eppn",
  "eptid",
  "exp",
  "family_name",
  "given_name",
  "iat",
  "idp",
  "idp_name",
  "iss",
  "name",
  "oidc",
  "openid",
  "ou",
  "sub"
 ]
}
Excerpts taken from the mozilla-django-oidc installation guide
The OpenID Connect provider (OP) will then give you the following:
- a client id (
OIDC_RP_CLIENT_ID) - a client secret (
OIDC_RP_CLIENT_SECRET)
Depending on your OpenID Connect provider (OP) you might need to change the default signing algorithm from HS256 to RS256 by settings the OIDC_RP_SIGN_ALGO value accordingly.
For RS256 algorithm to work, you need to set either the OP signing key or the OP JWKS Endpoint.
The corresponding settings values are:
OIDC_RP_IDP_SIGN_KEY = "<OP signing key in PEM or DER format>"
OIDC_OP_JWKS_ENDPOINT = "<URL of the OIDC OP jwks endpoint>"
Add settings to settings.py
Start by making the following changes to your settings.py file.
# Add 'mozilla_django_oidc' to INSTALLED_APPS
INSTALLED_APPS = (
    # ...
    'django.contrib.auth',
    'mozilla_django_oidc',  # Load after auth
    # ...
)

# Add 'mozilla_django_oidc' authentication backend
AUTHENTICATION_BACKENDS = (
    'mozilla_django_oidc.auth.OIDCAuthenticationBackend',
    # ...
)
These values are specific to your OpenID Connect provider (OP)–consult their documentation for the appropriate values.
OIDC_OP_AUTHORIZATION_ENDPOINT = "<URL of the OIDC OP authorization endpoint>"
OIDC_OP_TOKEN_ENDPOINT = "<URL of the OIDC OP token endpoint>"
OIDC_OP_USER_ENDPOINT = "<URL of the OIDC OP userinfo endpoint>"
These values relate to your site.
LOGIN_REDIRECT_URL = "<URL path to redirect to after login>"
LOGOUT_REDIRECT_URL = "<URL path to redirect to after logout>"
Add routing to urls.py
Next, edit your urls.py and add the following:
urlpatterns = patterns(
    # ...
    url(r'^oidc/', include('mozilla_django_oidc.urls')),
    # ...
)
Add login link to templates
Then you need to add the login link to your templates. The view name is oidc_authentication_init.
Django templates example:
<html>
  <body>
    {% if user.is_authenticated %}
      <p>Current user: {{ user.email }}</p>
    {% else %}
      <a href="{% url 'oidc_authentication_init' %}">Login</a>
    {% endif %}
  </body>
</html>- COmanage about: https://www.cilogon.org/comanage
- COmanage registry: https://registry-test.cilogon.org/registry/
- CILogon 2.0: https://www.cilogon.org/2
- Readthedocs: https://mozilla-django-oidc.readthedocs.io/en/stable/index.html
- Github: https://github.com/mozilla/mozilla-django-oidc
- Readthedocs: https://ldap3.readthedocs.io
- Github: https://github.com/cannatag/ldap3