Setup ReadyNAS OS on VirtualBox
VirtualBox is cross platform and is available for multiple Operating Systems. ReadyNAS OS is 64-bit, and it requires the OS and CPU supports VT-x/AMD-v (and is enabled). You can get the Download and install VirtualBox on your computer.
If you have an ARM-based ReadyNAS OS 6 storage system, but want to develop apps for x86-based ReadyNAS OS 6 storage systems, you can set up a virtual machine to emulate an x86 environment.
- Download the VMDK disk image (ReadyNASOS-6.6.0-x86_64.vmdk)
For previous firmware versions please see ReadyNAS OS VMDK Images.
- Click the New button on the VirtualBox console to launch the VirtualBox setup wizard.
The Name and operating system screen displays.
- Complete the fields and click the Next button. You must select a 64-bit version. If you are using VirtualBox on Windows and only have listings for 32-bit you may have Hyper-V installed. VirtualBox does not support running 64-bit guests while Hyper-V is enabled. Alternatively you may not have virtualization enabled in your BIOS settings.

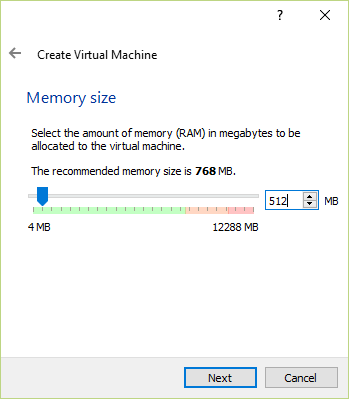
- Set memory to a minimum of 512MB.
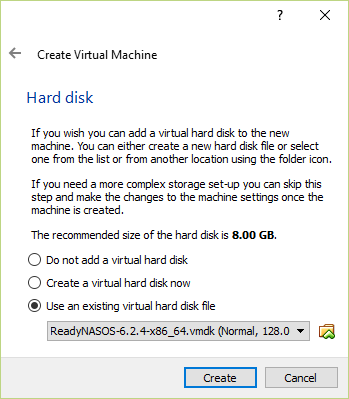
- In the Hard drive screen, select the Use an existing virtual hard drive file radio button, browse to the directory where you downloaded the ReadyNASOS-6.4.0-x86_64.vmdk file, select the file, and click the Create button.
The setup wizard closes.
-
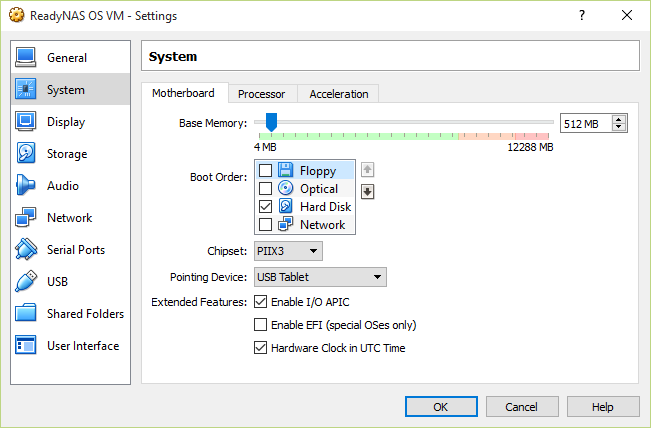
Select the newly created VM and click the Settings icon. The Settings dialog box displays.
-
In the System menu, clear the Floppy check box and the Optical check boxes.
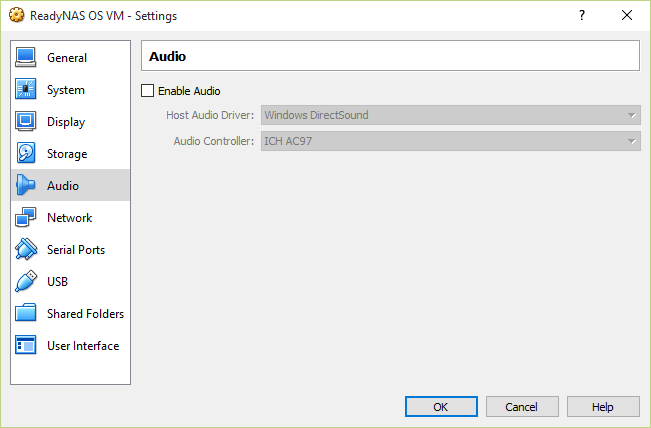
- (Optional) Disable audio support.
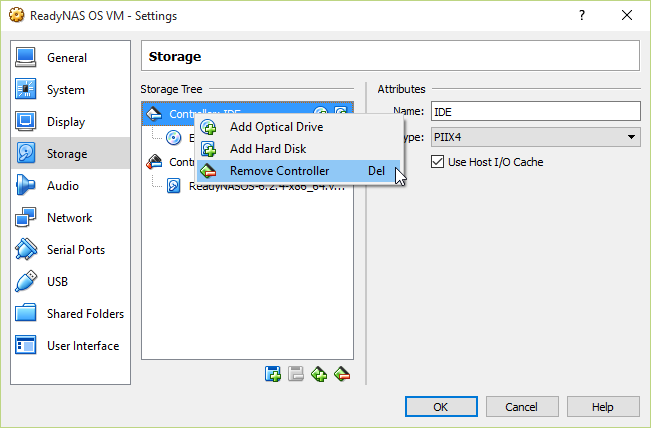
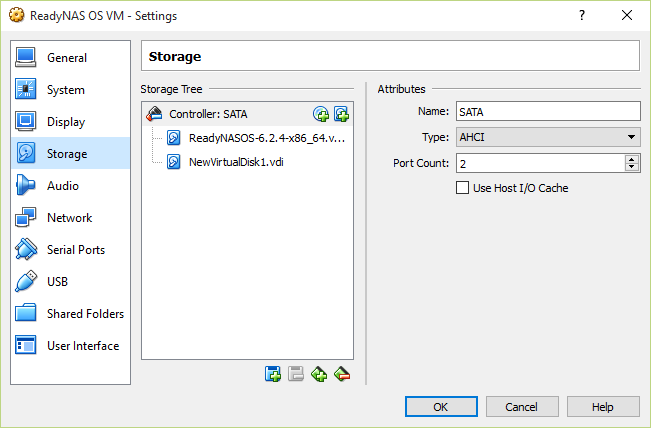
- In the Storage menu, remove the IDE controller, then add a virtual hard disk or disks to the SATA controller to emulate hard disk in the ReadyNAS disk slots.
The VM emulation on ReadyNAS OS has some restriction for disk size. The maximum size is 20GB. The maximum number of disks is 4. The minimum disk size is 5GB to provide space for the OS to install and some space for the apps directory on the data volume.
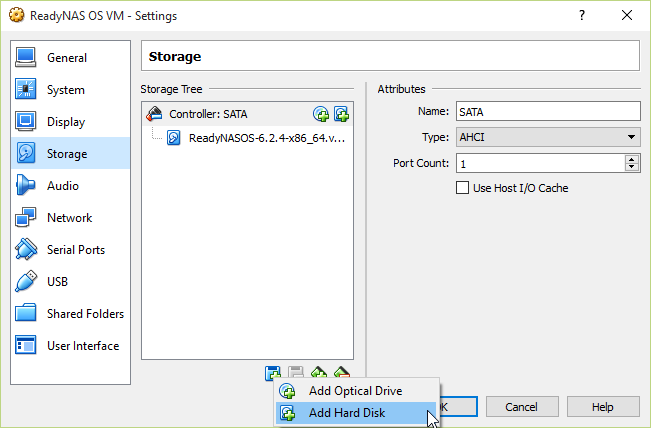
In the following example, two storage devices are attached to the VM. The first storage deivce is a boot device (downloaded VMDK), and the second storage device is an emulated hard disk drive.
-
Click the Start button to launch the VM. This process can take a few minutes.
-
Enter root at the login prompt.
![2015-07-23 13_09_40-ReadyNAS OS VM [Running] - Oracle VM VirtualBox](images/virtualbox/2015-07-23-13_09_40-ReadyNAS-OS-VM-Running-Oracle-VM-VirtualBox.png)
- Enter password at the password prompt.