Sample Guide
This guide will help you set up animations, by using sample images and going through all steps.
- Installation
- Cropping an asset
- Setting up the animation states
- Creating the code
- Applying the code
- Creating the canvas item
- Animate
If you haven't already, install everything needed.
Go to Installation, follow the steps, then return when that's done.
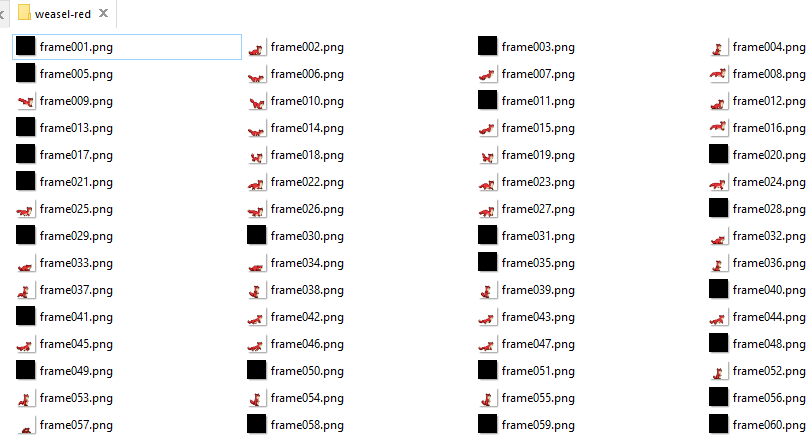
Let's make an animation for the red weasel! The red weasel was one of the first (if not the first) animations I set up. The frames can be found in /assets/monsters/pets/weasel/parts/red.png.
Since all frames are in the same image, you'll have to cut the image into individual frames. Here's how to do that: Cropping Assets.
The frames are 32x32 in size, and here's what you should end up with:
For each animation state, let's find the appropriate frames and drag them in:
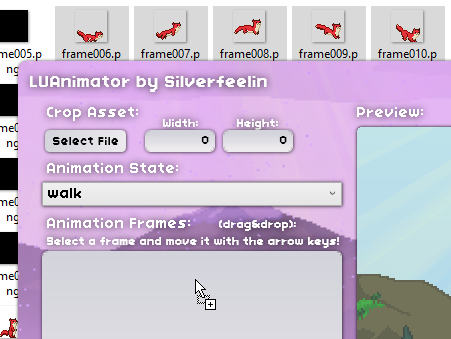
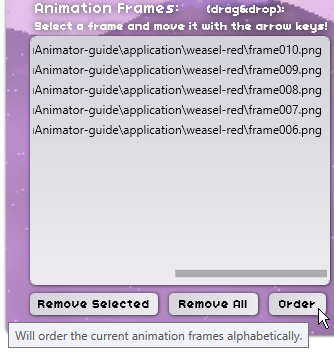
The frames are not listed in the right order, so let's fix that! Since we used the built-in crop function and frames are stored left to right in the asset, you can simply click on Order. If this is not the case, you can select each frame and use the arrow keys to shuffle them around in the list.
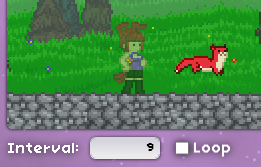
You can also change the interval for each animation state. The playback speed can be seen in the preview to the right.

We don't want to loop the jump animation, so let's disable looping for this animation state. The same can be done for other animation states such as falling.
Once you're done with all your animations, make sure to check them all again before generating code. There's no saving built into the application so if you mess something up and close the application you'll have to repeat everything.
When generating the code, the application will ask you to save an image. You'll need this!

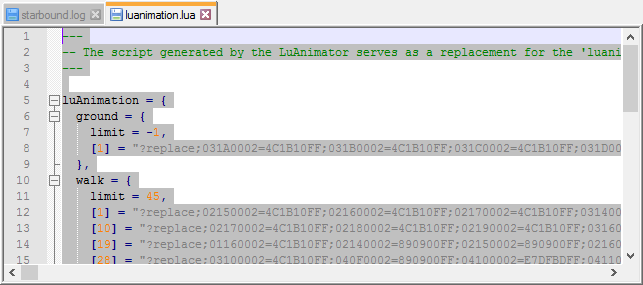
You are then presented with some code, which you'll need for the next step.
You'll want to put the generated code in your /LuAnimator/scripts/luanimation.lua file. Make sure you replace existing code in the file! Save and close the file when you're done.
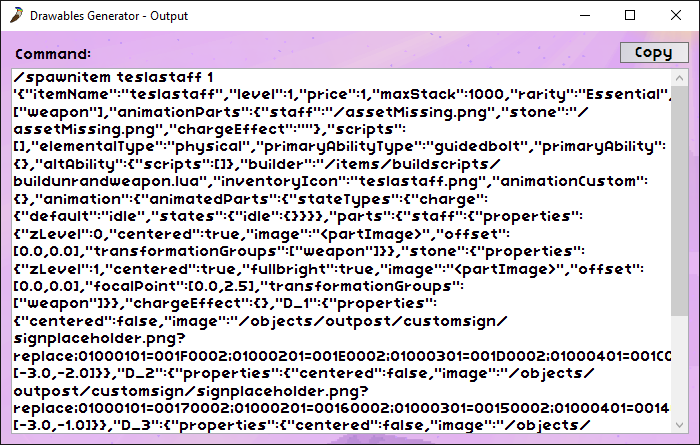
Remember that image we saved before? Let's turn that into an item. For this we'll use the Drawables Generator.
First, drag in one of the frames we started with. This will help you position the canvas later on.
Position the frame to your liking, and note down the position values.

Next, select the generated canvas (it appears like a blank image). Use the position values from before.
Generate the spawn command and paste it in-game.
With everything set up, you should be able to activate animations by pressing your key bound to animating.
If the animation does not appear in the right position, offset the canvas position in the Drawables Generator, create a new item and spawn that item. You do not need to do anything else.
