Being able to transform any of the data nodes (volumes, models, markups and ROIs) is one of the most powerful features of 3D Slicer. It is a complex module with many different options that are dependent on the type of the transform (e.g., linear or non-linear)
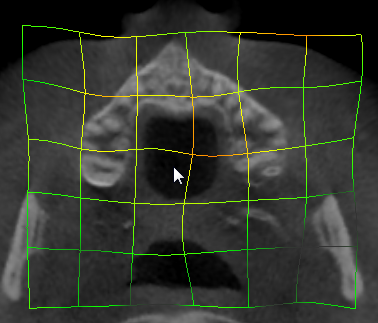
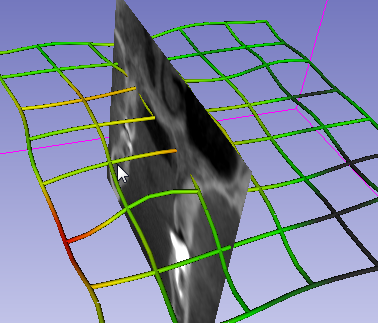
We will be using the Transform module mostly to manually align a volume or a mesh to an orientation, e.g., to bring scans/specimens into some sort of anatomical orientation. You have seen in CropVolume that you can use a ROI to subset a portion of your datasets. But sometimes you need more flexibility in orienting the ROI than simply moving the handles. In such case you can put your ROI node under a transform and rotate and modify it as you need.
Let's look at the basic of the Transform module:
- Go to
DataModule, and load a 3D model. For this tutorial, I am using the Gorilla skull in the SlicerMorphSample Datamodule but you can use any 3D model you like. - Make sure you are in the Subject Hierarchy tab of the
Datamodule - Right-click on your 3D model node and choose Clone. This will create a copy of your existing model.
- Adjust the colors of these models by clicking on the color square such that they are easily distinguished.
- Click on the layout icon and choose Dual 3D
- Click on the pin to bring 3D view settings, and the lock the two viewers. This way 3D view will be sync and any camera movement (i.e., moving specimen in 3D space will be changing both views). Rotate the specimen in one view and note that's reflected in the other viewer.
- You can adjust the size of the 3D views by dragging the bar separating slice views from 3D viewers and moving up and down (indicated by yellow rectangle). At this point you are probably seeing only one of the specimens in both views.
![]()
-
To decide which model will be shown in which 3D view (#1 or #2), you need to go to
Modelsmodule, and expand the Display section and find the View option (Refer to theModulessection if you need to refresh your memory). By default, all models are shown in all views, and since they overlap, you are only seeing one of them. Set the Clone to view #2, and the original to view #1. If you set it correctly, you should have something similar to the view above. -
Now switch to the Transform Hierarchy of the
Datamodule -
Right-click and choose Insert Transform this will create a blank linear transform (your transform node name might be different, it doesn't matter).
-
Drag and drop the Cloned dataset into this new transform. Now we are all set to actually work with
Transformmodule.
![]()
- Switch to the
Transformmodule.- Observe the identity transform (Diagonal entries set to 1, everything else is 0). In the transform matrix, the diagonal specify the scaling value, and the fourth column indicates the translation (aka offset) in the 3D space.
- Enter the shown values below to the first three diagonals and see how it scales each axes indepedently.
- Move the translation sliders and see that the fourth column values change accordingly.
- Play with the rotation sliders.
![]()
Import the sample microCT stack (or load the NRRD, if you already saved it) into a blank scene. Switch to the Transforms module
- Put the volume under a blank transform and try using the rotation sliders to change the slice views. Explore other options of the transform module. See that if you remove the 3D volume out of the transformation, slice views go back to original orientation
- In a blank scene (remember CTRL + W to unload all data), import the sample stack again. Switch to
CropVolumeand create a new ROI that covers the extend of the data, then go toTransformsmodule and assign the new ROI tho this transform node. Use sliders to rotate the ROI approximately 45 degrees (in any plane is fine). Now go back toCrop Volumeand do a cropping. What happened?
- You can use the
ExportAsmodule to save your resultant transformation. By default Slicer uses HDF5 format (.h5), but alternatively you can save it as a matlab transform (.mat). - If you want to save your transformed node and keep it in that orientation, first go to
Datamodule's Transform Hierarchy section, right-click the transform and choose Harden Transform, then useExportAsto save your transformed model into a new file.
Please refer to the Transforms module documentation for more advanced features of the module.
More information here()