Installation
This page describes Windows installation. To install on Linux, see this page. To install on Colab, see Altryne's notebook.
Big thanks to Arkitecc#0339 from the Stable Diffusion discord for the original guide (support them here)
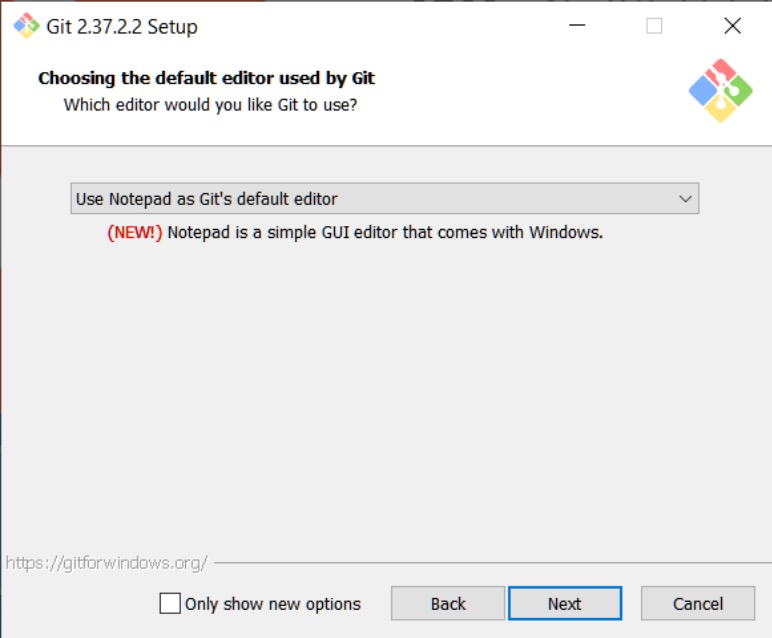
- https://gitforwindows.org/ Download this, and accept all of the default settings it offers except for the default editor selection. Once it asks for what the default editor is, most people who are unfamiliar with this should just choose Notepad because everyone has Notepad on Windows.
-
Download Miniconda3: https://repo.anaconda.com/miniconda/Miniconda3-latest-Windows-x86_64.exe Get this installed so that you have access to the Miniconda3 Prompt Console.
-
Open Minconda3 Prompt from your start menu after it has been installed
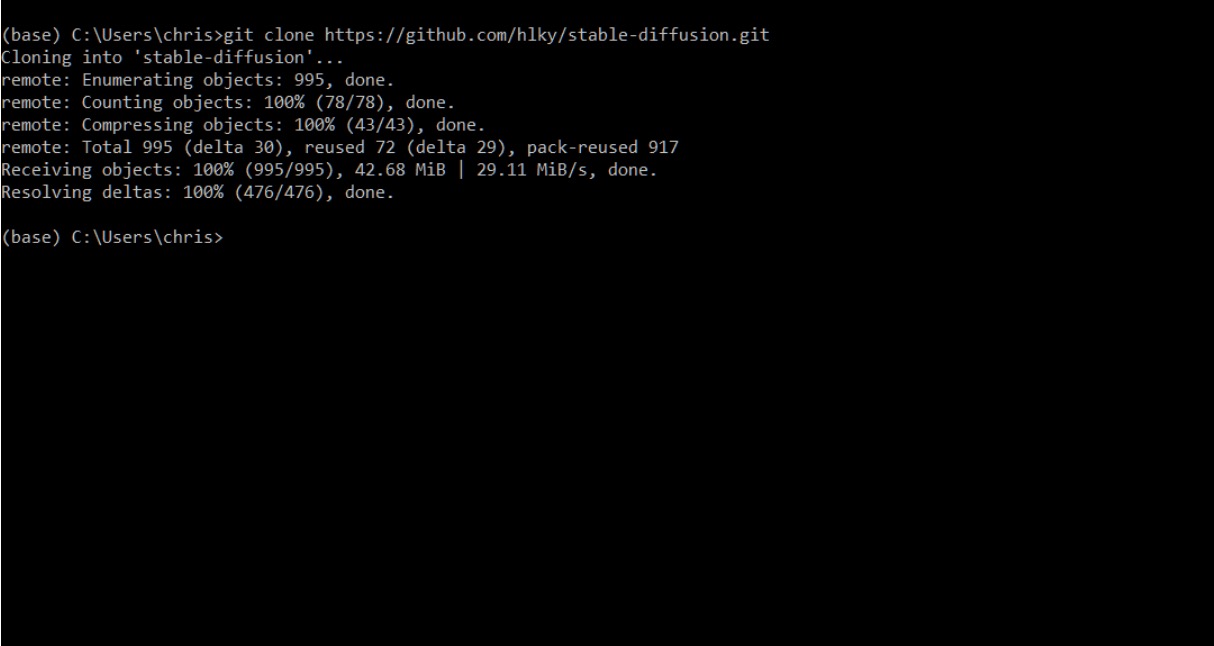
Type git clone https://github.com/hlky/stable-diffusion.git into the prompt.
This will create the stable-diffusion directory in your Windows user folder.
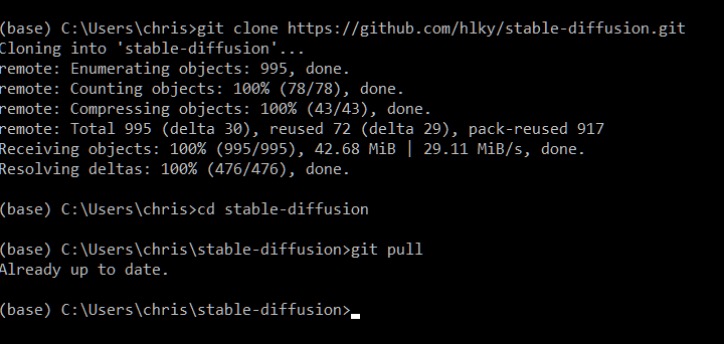
Once a repo has been cloned, updating it is as easy as typing git pull inside of Miniconda when in the repo’s topmost directory downloaded by the clone command. Below you can see I used the cd command to navigate into that folder.
-
Next you are going to want to create a Hugging Face account: https://huggingface.co/
-
After you have signed up, and are signed in go to this link and click on Authorize: https://huggingface.co/CompVis/stable-diffusion-v-1-4-original
-
After you have authorized your account, go to this link to download the model weights for version 1.4 of the model, future versions will be released in the same way, and updating them will be a similar process : https://huggingface.co/CompVis/stable-diffusion-v-1-4-original/resolve/main/sd-v1-4.ckpt
-
Download the model into this directory:
C:\Users\<username>\stable-diffusion\models\ldm\stable-diffusion-v1 -
Rename
sd-v1-4.ckpttomodel.ckptonce it is inside the stable-diffusion-v1 folder. -
Since we are already in our stable-diffusion folder in Miniconda, our next step is to create the environment Stable Diffusion needs to work.
-
(Optional) If you already have an environment set up for an installation of Stable Diffusion named ldm open up the
environment.yamlfile in/stable-diffusion/change the environment name inside of it fromldmtoldo
-
create the Conda environment with
conda env create -f environment.yaml -
Wait for it to process, this could take some time. Eventually it’ll look like this:

There are three more models that we need to download in order to get the most out of the functionality offered by HLKY. (next versions will do this automatically)
-
The first of which is GFPGAN, a model that HLKY takes advantage of in order to (optionally) help improve the look of generated faces.
-
Download the model from here and save it into this folder:
/stable-diffusion/src/gfpgan/experiments/pretrained_models -
The next two models are for RealESRGAN an upscaling model that you can (optionally) use to upscale your generations by 4x their original resolution.
-
Download the models from here and here and save them both into this folder:
/stable-diffusion/src/realesrgan/experiments/pretrained_models -
Next, in the
/stable-diffusion/folder, you’ll see two files namedwebui.cmdandwebuildm.cmd.
Use
webui.cmdif this is your first install ,webuildm.cmdis for folks who had earlier versions or different versions and are moving to this one and have theldmnamed conda environment
- webui.cmd is the main script you'll always run. After it finishes initializing it’ll spit out a localhost link: http://localhost:7860 that you can copy and paste into your web browser to start dreaming with!

- Images created with the web interface will be saved to
\stable-diffusion\outputs\in their respective folders alongside.yamltext files with all of the details of your prompts for easy referencing later. Images will also be saved with their seed and numbered so that they can be cross referenced with their.yamlfiles easily.