The CANT project is designed to allow people to screw around with CAN easily at layers 1/2. All of the stuff that is normally handled by a CAN controller that is baked into sillicon is up for grabs.
CANT is designed to run on an ST Micro Nucleo-H743ZI (Update: The Nucleo-H743ZI has been discontinued. Its replacement the Nucleo-H743ZI2 works with CANT out of the box). development board. This board was chosen due to its speed (400MHz) and essentially infinite ram and flash.
The Nucleo-H743ZI board has an STLink V2.1 debugger built in, available via the Micro-USB port on the opposite side of the board from the RJ-45 jack. This port provides the serial port for communication, as well as the debugging interface. The serial port has a baud rate of 115200 kbps, 8N1.
For CAN communication, PB12 is CAN RX and PB13 is CAN TX. Conveniently the CAN2 peripheral can also be multiplexed to these pins, so switching from normal CAN operation to CANT operation would be possible without rewiring. This is currently not implemented. I'm using the TI SN65HVD232 3.3V CAN transceiver, but any 3.3V CAN Transceiver should work. Some transceivers may require some additional programming or wiring, so check that if you go with something else.
If you are using the CANT shield, pin PA5 is used to toggle the analog switch that shorts CANH and CANL together.
Additionally, GPIO pins PA4 and PA15 are configured as GPIO outputs. I find banging on these useful during debugging. These pins, along with the two pins for the CAN peripheral, are all located on connector CN7, on the upper-right of the dev board if the RJ-45 connector is pointed towards you. STs documentation contains the schematics for this board, but connector CN7 is reproduced here for convenience:
| PIN | PIN | ||
|---|---|---|---|
| PC6 | 1 | 2 | PB8 |
| PB15 | 3 | 4 | PB9 |
| PB13 | 5 | 6 | AVDD |
| PB12 | 7 | 8 | GND |
| PA15 | 9 | 10 | PA5 |
| PC7 | 11 | 12 | PA6 |
| PB5 | 13 | 14 | |
| PB3 | 15 | 16 | PD14 |
| PA4 | 17 | 18 | PD15 |
| PB4 | 19 | 20 | PF12 |
The Nucleo-H743ZI dev board will present itself as a USB mass storage device. Dragging and dropping the CANT.bin file
located in the firmware/ folder to the dev board should properly flash the code to the dev board.
Alternatively, you will need openocd installed to flash the prebuilt CANT. At the time of this writing the latest version of openocd (0.10.0) does not support the H743ZI, but it is supported in the openocd git repository. Presumably support will be added in the next release of openocd. In order to flash the prebuilt CANT, type
make flash_prebuilt
The green LED (LED1) flashes at a rate of 1hz. The blue LED (LED2) changes state for every 128 CAN frames that CANT has received. This is handy for ensuring that the CAN bus isn't dead and that CANT is properly configured.
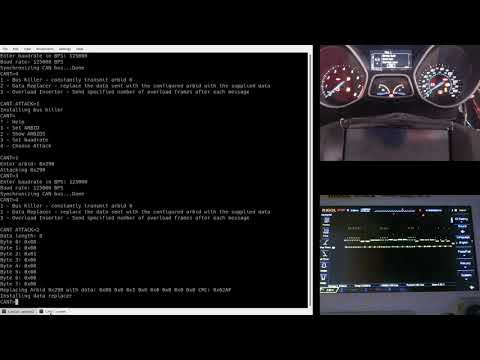
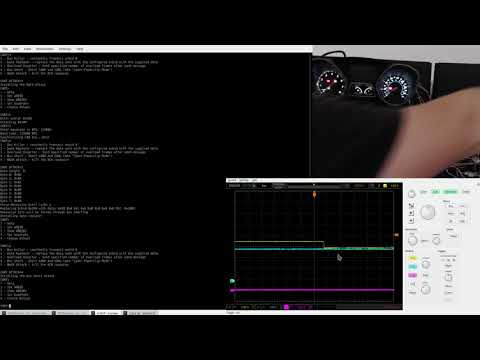
Demo videos from my talks
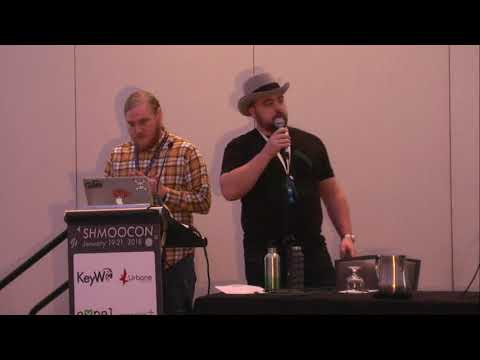
Original Shmoocon Talk:
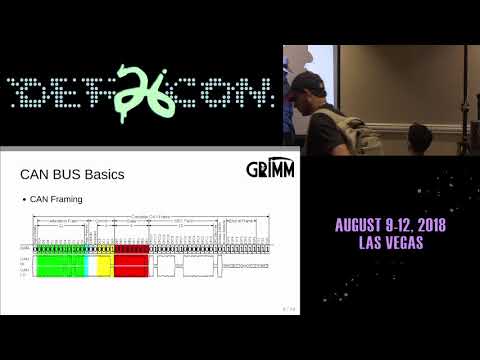
Defcon 26 CHV Talk:
NOTE: Some older versions of the arm-none-eabi-gcc toolchain generate invalid opcodes with the optimizations that CANT uses. Specifically, the 4.9.3 version that ships with Ubuntu 16.04 tries to generate ARM instructions and switch to ARM mode, which the Cortex-M7 part does not support. If CANT just isn't working and you are winding up in the hardfault handler, this is likely the issue. Upgrade to a newer compiler version to fix this issue. The 7 series and newer seem to all work fine.
To start developing on CANT, all you need is an arm-none-eabi toolcahin installed and in your path.
Version 0.1 of the shield was designed with a TI SN65HVD232DRG4 CAN transceiver, which costs about $1.75. Version 0.2 was redesigned for a TJA1051T/3 CAN transceiver which costs a little under a dollar. Version 0.2 also has an additional capacitor C6 for filtering the VIO line on the TJA1051T/3. Besides those changes, v0.1 and v0.2 are identical. Cost for building one is about $3.40 for one, or about $22.75 for 10, plus the cost of the PCB.