User Manual Version 2.0
Welcome!
This user manual will be your guide of how to use Up & Go scheduling program in order to create the best weekly and academic schedule suited for your needs.
Being a student in the Technion is hard enough and current scheduling program available for students' use are too simple or over-complicated for most students and requires their valuable time.
Up & Go is a free, easy to use, automatic scheduler designed by a team of Technion's students in order make the weekly planning a bit more easier.
![]()
The program doesn't require any installation, simply click on the next link and you're already there - Up&Go

In the upper right-hand of the window you will find a sign in button.
If you choose not to sign-in, you will be able to use our program as usual - pick courses and build a schedule, however you will not be able to save any information. Once you close the window all of your data will not be saved.
Signing in will grant you the option to save your schedule for further use every time you'll come back to the site.
The authentication system is via your google account. Up & Go will not use any of your personal data, it's used just for the sake of storing the schedule that you've build.
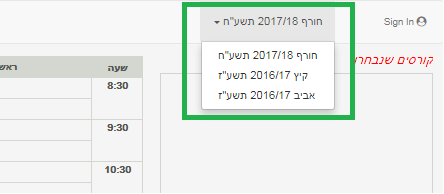
Next to the sign-in button you can pick the semester for which you want to build the schedule.
Note- once you switch semester a small warning will pop that will alert you that any unsaved information will be lost.

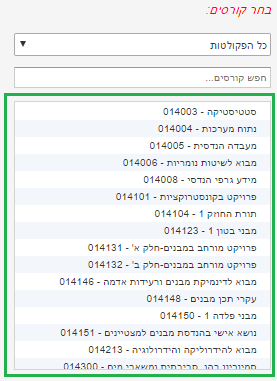
First step is to select your courses from the list of courses.
You can choose a course by double-click on it -Or-
by pressing the little green 'insert' button next to the course name.

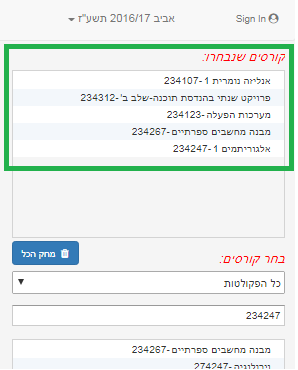
The course will be removed from the list and will be shown in the chosen courses' list above.
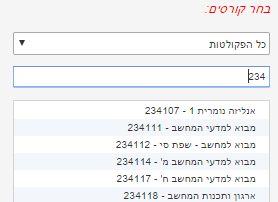
There are several ways to find a course:
- You can filter the courses' list by faculty by pressing the bar under the list and pick the desired faculty. The list will now present only courses from this faculty.


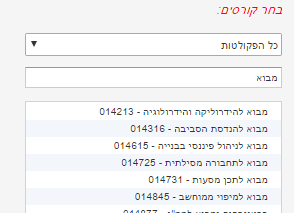
- You can use the search bar above the list by typing either full or partial course number / course name.
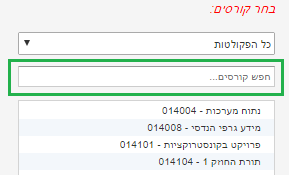
- The search term is not strict, you can type just part of the number/name.
After selecting your courses they will be added to the chosen course list above the general list of courses.
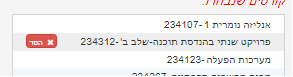
Removing a single courses from the list is possible by double- clicking the course -Or- by pressing the little red 'remove' button next to the course name.
You can clear the list from all of the courses by clicking on the blue 'remove all' button under the list.
From this inventory the schedule will be constructed.
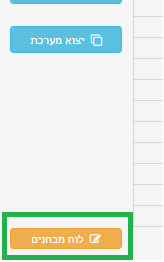
Selecting course from the courses' list will add it to a display of exams dates in a convenient bar. To access it you'll need to press the orange 'exams' button located on the lower left corner of the window.
After clicking on the button you can switch between the "MOED ALEPH" or "MOED BET" display.
The exam bar is horizontally scrollable, each green square between 2 exams represents a free day.

After completing the chosen courses' list, the next step is to generate schedule.
Pressing to 'build schedule' will present in the main window of the program one of the schedule that the algorithm has succeeded to assemble.
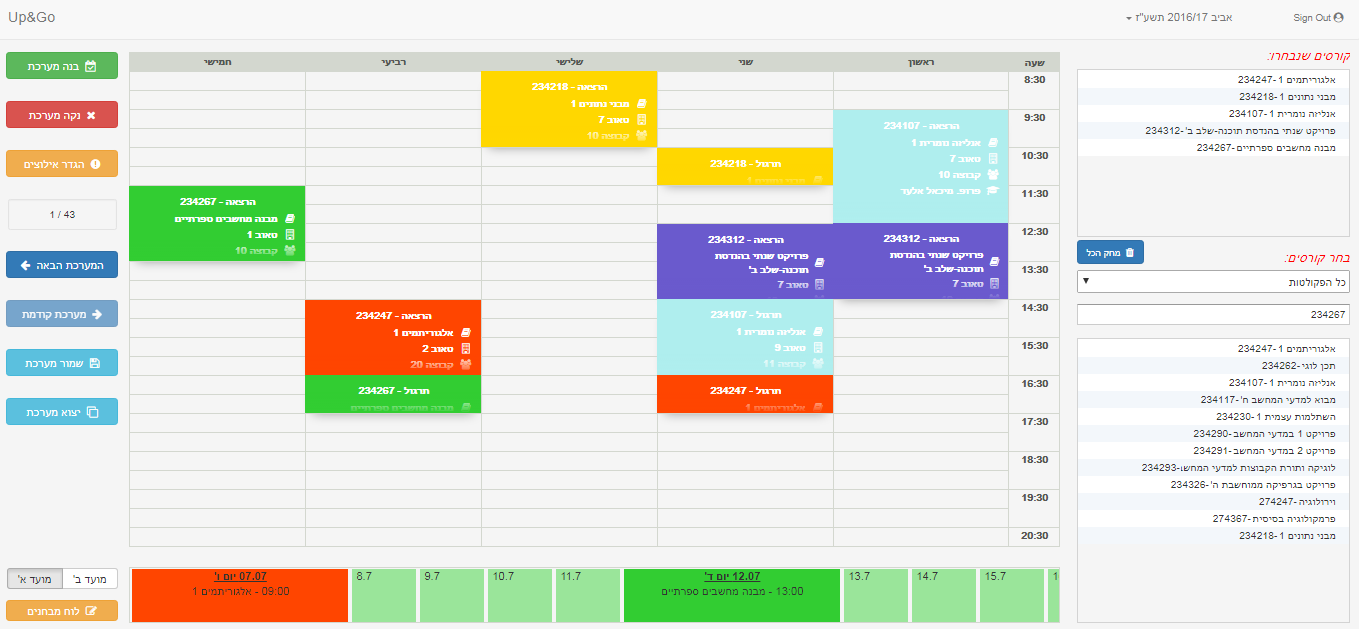
In case of collision between Courses, a window will pop up and will display a list of the colliding courses.
The user should click the course that he want to remove from the schedule, so the build will succeed.

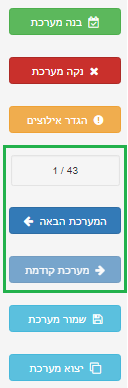
- It is possible to navigate between the schedules by pressing the navigation buttons 'next'/'prev' or clear the displayed schedule. The program will present the number of the currently shown schedule out of all possible schedules that were calculated.
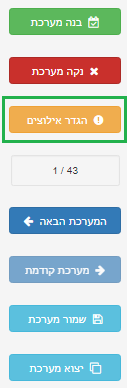
At this version, there are several constraints from which the user is free to choose from in order the customize the schedule to fit his/her needs.
By Clicking the 'Define constraints' button a new window will appear showing the various options.
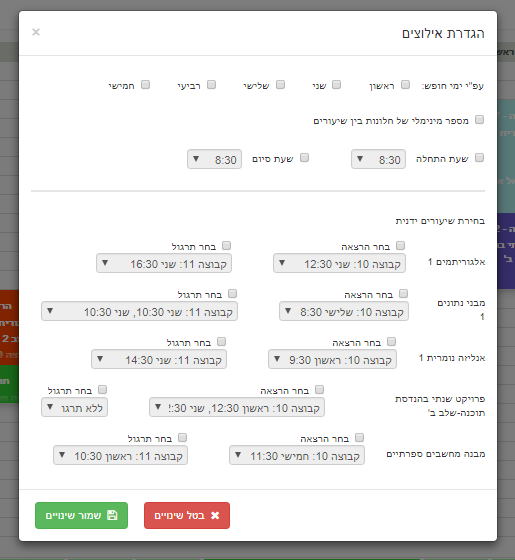
Tick the days in which you don't want the system will set you any lessons.

By ticking the box the program will try to minimize the ammount of dead time between courses during the day.

These features allow you to set the start and finish times of your classes. All you got to do is to tick the relevant box and set the desired time to start your day or the time to finish it.

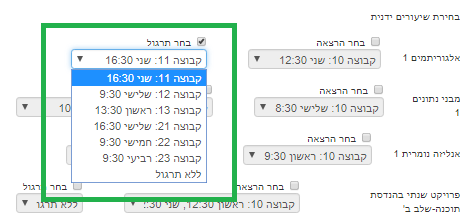
You can pick a specific lecture or tutorial so you can go to your favorite lecturer or most convenient lesson.
In the constraints window, under 'manual lesson picking' you will find the list of your picked courses.

For each course you can tick 2 checkboxs, one for lectures and the other for tutorial, once youv'e ticked- you will be able to access a list of all available lectures/tutorial from which you can pick your desired lesson group.
You can also pick the option not to set any lectures or toturials.
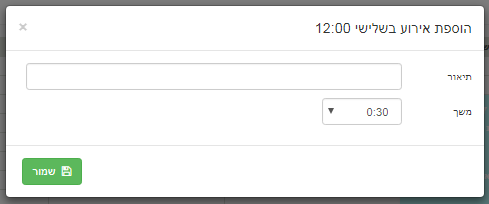
Want to make sure to hit the gym every sunday or to make sure that the program will leave you time on wednesday to meet with your significant other?
You can create your own personal events that the program will consider when calculating the schedules. Just click on your desired start time of your event, give a title for the event and set its duration.
IMPORTANT - THE PROGRAM DOESN'T GUARANTEE FULL COMPLIANCE WITH THE GIVEN CONSTRAINTS, IT WORKS BY BEST-EFFORT METHOD SO IF IT IS NOT POSSIBLE TO GENERATE SCHEDULE THAT IMPLEMENTS ALL OF THE LIMITATIONS, IT WILL DISPLAY THE NEXT POSSIBLE SCHEDULE THAT CONTAINS MAXIMUM AMOUNT OF CONSTRAINTS
After building the schedule, you can save it so you can come back to it every time you'll open the program (user must be signed in).
To do so, all you need to do is to press the 'save schedule' button.
You can export your schedule to your Google Calendar so it will be available to you from every device and remind you not to be late for classes!
Click on 'export schedule', give Up&Go the necessary permitions to add the schedule to your acount and let us do all the work.
If you encounter any problem during your work with the system, please contact us in the 'Issues' section on this repository.
THANKS! WE HOPE THAT YOU WILL HAVE A GOOD TIME USING OUR PRODUCT
- Tooltip can be stuck on screen(rarely) to fix this just click anywhere on the page.
- Courses that are on friday or start before 8:30 or finish after 20:30 will not be displayed.
- When exporting to Google Calendar, refresh the google calendar to see the courses schedule.