

Slack-Enabled Synchronized Music Listening
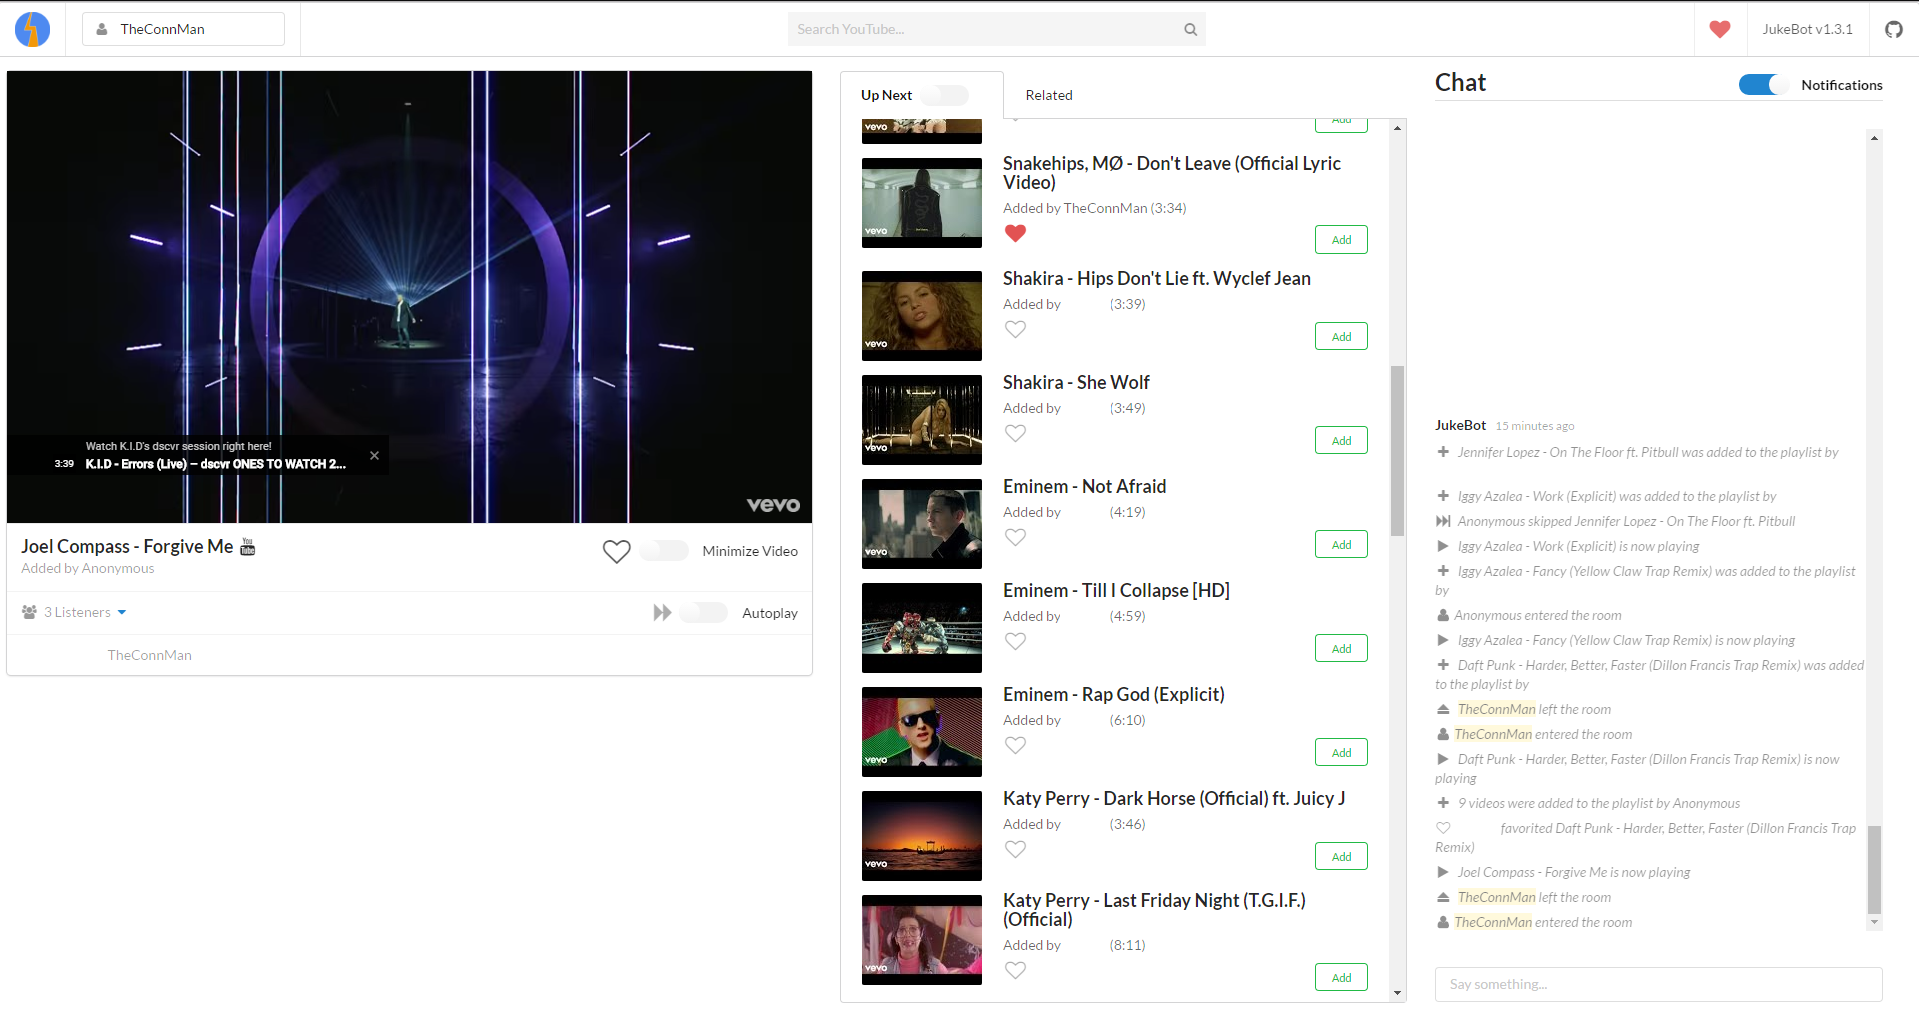
JukeBot is for Slack teams who want to listen to music together, add music through Slack, and chat about the music in a Slack channel.
- Go to https://console.developers.google.com
- Create a new Google Project named JukeBot
- Under Create credentials choose API key and use the API key for the environment variable below
- Click Library in the left panel
- Go to YouTube Data API
- Click Enable at the top
JukeBot can easily be run with Docker using the following command:
docker run -d -p 80:1337 -e GOOGLE_API_KEY=<your-API-key> theconnman/jukebot:latestMake sure to add any additional environment variables as well to the above command. Then go to the URL of your server and listen to some music!
The default database is on disk, so it is recommended to run JukeBot with a MySQL DB in production. Use the following environment variables:
- MYSQL_HOST (MySQL will be used as the datastore if this is supplied)
- MYSQL_USER (default: sails)
- MYSQL_PASSWORD (default: sails)
- MYSQL_DB (default: sails)
The easiest way to run a MySQL instance is to run it in Docker using the following command:
docker run -d -p 3306:3306 -e MYSQL_DATABASE=sails -e MYSQL_USER=sails -e MYSQL_PASSWORD=sails -e MYSQL_RANDOM_ROOT_PASSWORD=true --name=mysql mysql:5 --character-set-server=utf8mb4 --collation-server=utf8mb4_unicode_ciTake a look at the docker-compose.yml file for a full setup of JukeBot, MySQL, and Traefik (a reverse proxy for HTTPS support).
- GOOGLE_API_KEY - Google project API key
- GOOGLE_ID (Optional) - Google OAuth application ID (set up a Google App, create OAuth credentials, and enable the Google+ API) - NOTE: Persistence of user properties and favorites is disabled if this is not provided
- GOOGLE_SECRET (Optional) - Google OAuth secret key - NOTE: Persistence of user properties and favorites is disabled if this is not provided
- SLACK_WEBHOOK (Optional) - Slack Incoming Webhook URL for sending song addition and currently now playing notifications (for multiple webhooks delimit them with a comma)
- SLACK_SONG_ADDED (default: true) - Toggle for "Song Added" Slack notifications, only applicable if SLACK_WEBHOOK is provided
- SLACK_SONG_PLAYING (default: true) - Toggle for "New Song Playing" Slack notifications, only applicable if SLACK_WEBHOOK is provided
- SLACK_SONG_LINKS (default: false) - Toggle for Slack notifications to contain unfurled YouTube video links, only applicable if SLACK_WEBHOOK is provided
- SLASH_TOKEN (Optional) - Slack Slash Token for verifying a Slash Command request, only required if a Slash Command is set up (for multiple slash tokens delimit them with a comma)
- SERVER_URL (Optional) - JukeBot server URL for linking back, only needed if SLACK_WEBHOOK is provided
- GOOGLE_ANALYTICS_ID (Optional) - Google Analytics Tracking ID for site analytics
- VIDEO_HISTORY (default: 24 * 60) - Number of minutes played videos will stay in the video playlist
- CHAT_HISTORY (default: 24 * 60) - Number of minutes chats will stay in the chat bar
- AUTOPLAY_DISABLE_STREAK (default: 10) - Disable autoplay if this many songs are autoplayed in a row, useful in case everyone is AFK
- FLUENTD_HOST (Optional) Fluent host for logging
- FLUENTD_TAGS (Optional) Add FluentD context tags (format is tag:value,tag2:value2)
JukeBot can be set up with HTTPS fairly easily. This is not required to use JukeBot, but is required if you want to use Slack slash commands.
Slack Slash Commands require the slash command endpoint to be HTTPS, so JukeBot uses Let's Encrypt to get an SSL cert. You'll need to be hosting JukeBot on a domain you have DNS authority over for this to work as you'll need to create a couple DNS entries. Make sure you have entries pointing to the current box for the domain or subdomain to be used in the deployment as well as the wildcard subdomains of the given domain (e.g. *.projects.theconnman.com). This is not only so Slack can locate your deployment, but also so Let's Encrypt can negotiate for your SSL cert.
Within this project are three files needing to be modified when deploying this project to your own server: docker-compose.yml, traefik.toml, and .env.
- Replace the two localhost references with your own domain or subdomain which points to the current box (e.g. projects.theconnman.com).
- Update the volume paths so they point to the correct location in your host.
- Replace the email address with your own and the domain from localhost to the same one as before.
- After saving that file, issue a
touch acme.jsonto create an empty credentials file.
- Copy the provided example.env file to
.env. - Modify the example environment variables (described below) before running JukeBot.
After that run docker-compose up -d and you should be able to access the UI at jukebox.my.domain.com (after replacing with your domain or subdomain of course).
To use a Slack Slash Command you'll need to set one up (preferably after the running the deployment steps below) and follow these instructions:
- Go to the Slack Slash Command setup page, add a configuration, and name it JukeBot
- Input the URL you configure during the deployment step and add a trailing
/slack/slash(e.g. jukebot.my.domain.com/slack/slash) - Change the request method to GET
- Copy the Token and use it as the SLASH_TOKEN environment variable
- Customize the name to JukeBot
- Check the box to "Show this command in the autocomplete list"
- Add the description "Slack-Enabled Synchronized Music Listening"
- Add the usage hint "add
- Add a YouTube video to the playlist"
- Click save!
Thank you for considering JukeBot development! Below are some steps to get you started:
To get started with local development follow these steps:
- Clone this repo and
cdinto it - Install JukeBot dependencies with
npm install(make sure you're on npm v3+) - Get a Google API key using the setup steps below
- Run JukeBot with
GOOGLE_API_KEY=<your-API-key> npm startand go to http://localhost:1337
Using MySQL automatically sets the migration strategy to safe, so running with MySQL requires you to run npm migrate with the appropriate environment variables to bring the DB schema up to speed.
When developing a new migration script run grunt db:migrate:create --name=<migration-name> and implement the up and down steps once the migration is created.