Source code for creating firmware for an ESP8266 chip (d1 mini in my case) to use an AMG8833 sensor with https://github.com/TheRealWaldo/thermal
Prefer ESPHome? See TheRealWaldo/AMG8833-ESPHOME.
AMG8833 - I used one on a breakout board for quick prototyping from AliExpress.
D1 Mini - There is quite a few variants of this, but I had some laying around from Banggood.

This project uses PlatformIO to simplify development. The easiest way to get started is to install VSCode and the PlatformIO VSCode plugin (simple instructions here).
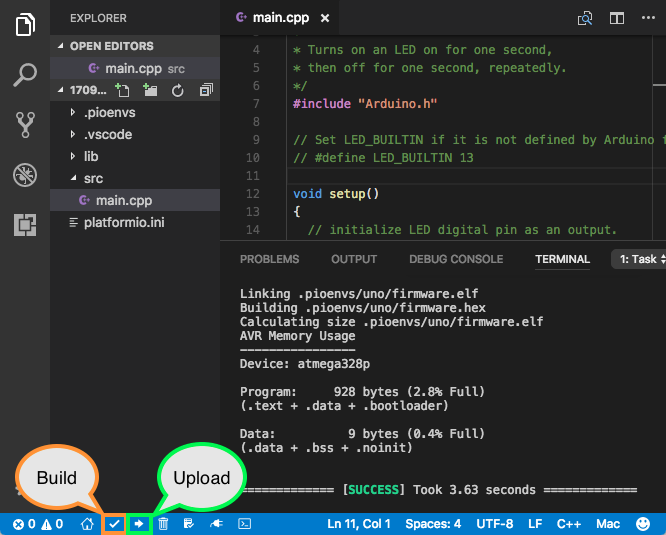
Once you have opened this project, building and uploading the project to your ESP8266 board is as easy as clicking on the Build and Upload buttons.
Once you have have built and uploaded the firmware, a captive portal (WiFi Network) will start called thermalvision. If you do not see it, try a double reset on the board.
Connect to that network, and an interface to configure the WiFi Network you wish to connect to will appear.
Once connected, it will use DHCP to find it's IP address. You can either refer to your DHCP server to identify the IP of the board, or refer to the Serial Monitor which will output the current IP. We highly recommend you register the MAC address of your board with your DHCP server and give it a static IP.
Next, follow the instructions at https://github.com/TheRealWaldo/thermal to connect Home Assistant to your new Thermal Vision camera!