A full fledge txAdmin recipe for Vorp Core
- Vorp Core Premade (Most Stable Releases)
- Jobs
- Police
- Postman
- Hunting
- Fishing
- Woodcutter
- Boss Manager
- Character Creator
- Metabolism
- Economy
- Dollars, Gold
- Bank
- Stores
- Clothing Stores
- Shops
- Weapons (v2)
- Stables (Horses)
- Barber Shops
- Cinema
- Housing
- Custom Walk Animations
- Admin Menu
- oxmysql
- Jobs
- Fixes
- Interior fixes
- Windows or Linux (Ubuntu/Debian recommended)
- Highly Recommended - Git 1.9k for correct installation
- Windows only - Visual C++ Redistributable 2019 808 or newer
- Cfx.re Account
- Must have "Latest Recommended" txAdmin build artifact
Video Walkthrough
- Create a new base folder (e.g.
C:\MyRedMServer) - Navigate to http://runtime.fivem.net/artifacts/fivem/build_server_windows/master and download the Latest Recommended artifact.
- Open the downloaded server.zip file and extract the contents to a new folder called
cfxwithin your server folder created in step 1 (e.g.C:\MyRedMServer\cfx) - Double Click or execute
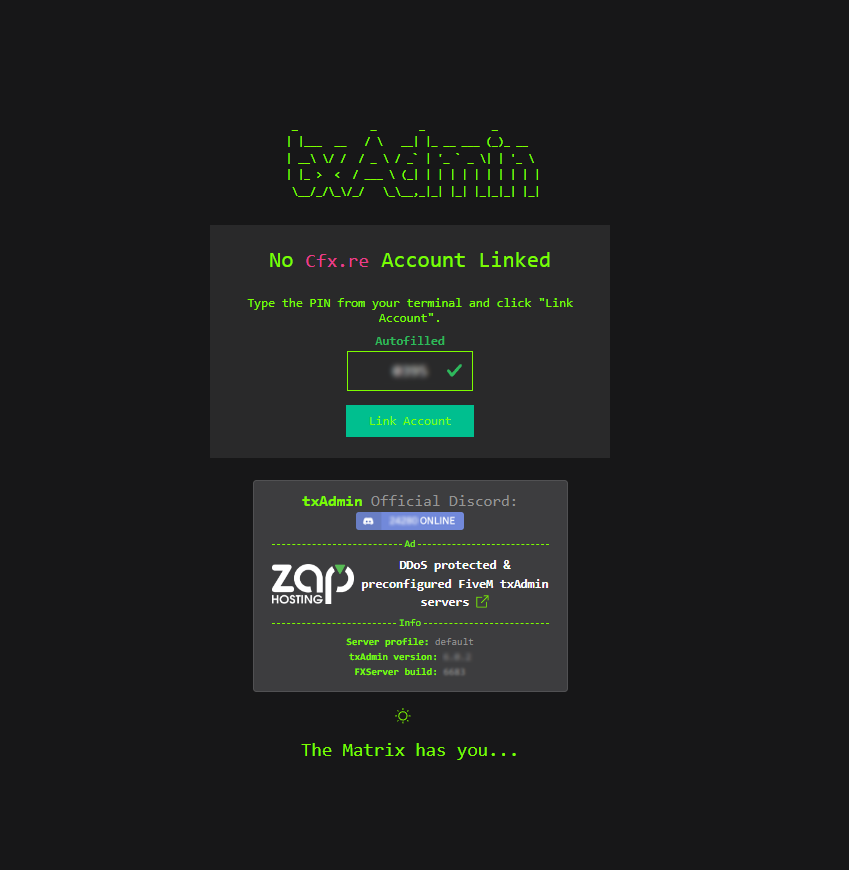
FXServer.exeto initiate setup - This site should open in your browser. Make sure a PIN is filled, and click
Link Account. - Log in to your account on Cfx.re in this tab and then click
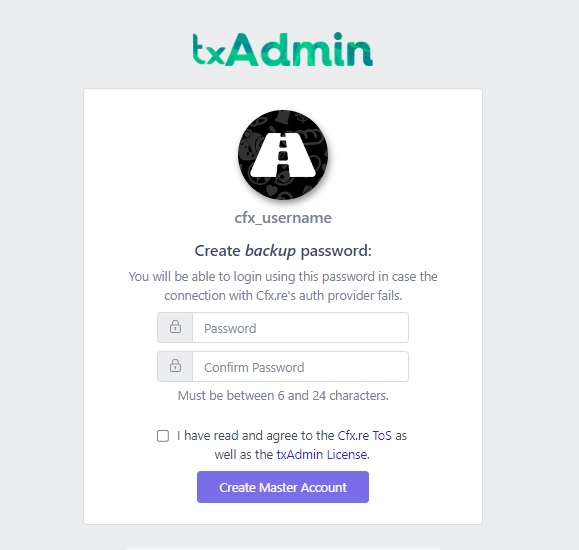
Yes, Allow. - Set a password to log in to your server's admin page.
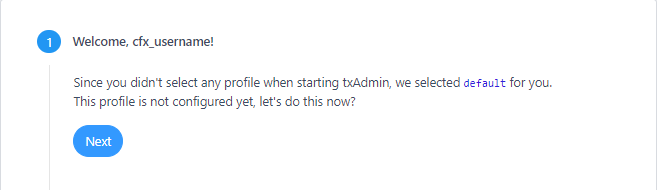
- Click 'Next'.
- Type a name for your server and click 'Next'
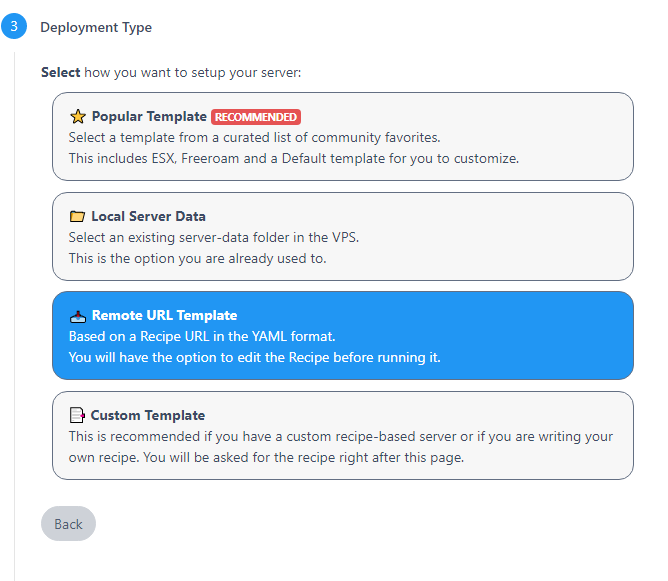
- Select to use a 'Remote URL Template'.
- Copy and paste the below url into the url field.
https://raw.githubusercontent.com/VORPCORE/VORP_txAdmin/main/vorp_recipe.yaml - Click
Next - Keep the default path and click
Next - Click
Go to Recipe Deployer - Click 'Next' once you're sure the recipe looks fine. It should be fine the way it comes.
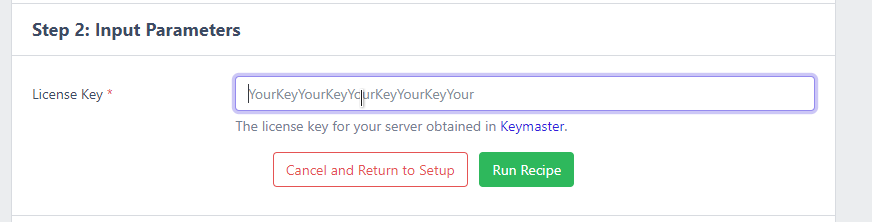
- Enter the key you just made on the Keymaster in the 'Before you begin'
- Click the "Show/Hide Database options (advanced)"
- Change Database Name to
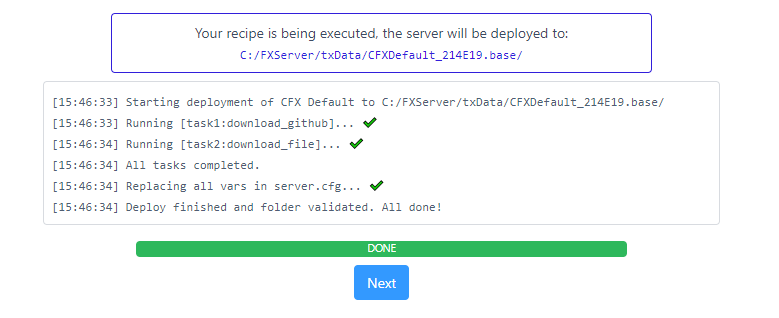
vorpv2 - Click 'Run Recipe'
- Woohoo! Recipe installed correctly, you can click 'Next' again.
- Click "Save & Run Server", and you're done!
Assuming you are SSHed into your machine or have otherwise access.
-
Create a new base folder (e.g.
C:\MyRedMServer) -
Navigate in your browser to http://runtime.fivem.net/artifacts/fivem/build_proot_linux/master/
a. Right click on the latest artifact b. Click “Copy link location” or similar prompts -
Create a new cfx folder and then navigate to the MyRedMServer folder
a.cd ~/MyRedMServerb.
mkdir cfxc.
cd cfx -
Download the artifact using the link we copied in step 2.
a.wget <link_url> -
Extract the files using
tar
a.tar xf fx.tar.xz -
Run the startup script a.
./run.sh -
This site should open in your browser. Make sure a PIN is filled, and click
Link Account. -
Log in to your account on Cfx.re in this tab and then click
Yes, Allow. -
Set a password to log in to your server's admin page.
-
Click 'Next'.
-
Type a name for your server and click 'Next'
-
Select to use a 'Remote URL Template'.
-
Copy and paste the below url into the url field. (select lua if you want our lua core code, or c# if you prefer core code) (LUA)
https://raw.githubusercontent.com/VORPCORE/VORP_txAdmin/main/vorp_recipe.yaml -
Click
Next -
Keep the default path and click
Next -
Click
Go to Recipe Deployer -
Click 'Next' once you're sure the recipe looks fine. It should be fine the way it comes.
-
Enter the key you just made on the Keymaster in the 'Before you begin'
-
Click the "Show/Hide Database options (advanced)"
-
Change Database Name to
vorpv2 -
Click 'Run Recipe'
-
Woohoo! Recipe installed correctly, you can click 'Next' again.
-
Click "Save & Run Server", and you're done!
Server Configurations
- Main server configurations are within
MyRedMServer/txData/vorp_123abc.base/server.cfg - It is highly recommended to edit the server.cfg from txAdmin dashboard to ensure it saves properly.
Resource Configurations
- All scripts can be edited via their associated config.lua files within
MyRedMServer/txData/vorp_123abc.base/resources/*
If you have questions, concerns, bug reports, etc, please file an issue in this repository's Issue Tracker.
- Inspired and derived from: https://forum.cfx.re/t/how-to-setup-a-redm-server/918850
- Inspired and derived from: https://docs.fivem.net/docs/server-manual/setting-up-a-server-txadmin/