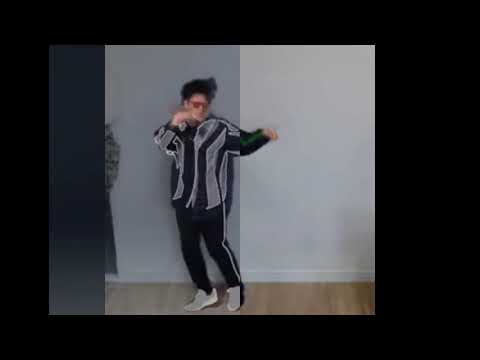
Click the image below and watch the demo.
This is <everybody dance now> python implementation
pose2pose is pix2pix based video style(pose) tranfer. It learns poses from a video, and translates your pose to the trained pose.
This repository is based on GordonRen's repository. This one does not use PyOpenPose which is custom python wrapper of openpose. So it's easier to be built in Windows system.
1. Build openpose
Build openpose with instruction documents of openpose python module API.
Then you will get openpose libraries include pyopenpose.lib.
Set OPENPOSE_ROOT which includes models folder. This is necessary to use pretrained models of openpose.
In Windows system, you can set with the command below.
set %OPENPOSE_ROOT%=YOUR_OPENPOSE_DIR
python generate_train_data.py --file My_Video.mp4
This operation will create original and landmarks.
Then follow instructions below to refine the data for pix2pix.
# Clone pix2pix TensorFlow implementation.
# Recommend to use this repo in order to proceed.
git clone https://github.com/YongWookHa/pix2pix-tensorflow

# Move the original and landmarks folder into the pix2pix-tensorflow folder
mv pose2pose/landmarks pose2pose/original pix2pix-tensorflow/photos_pose

# Go into the pix2pix-tensorflow folder
cd pix2pix-tensorflow/

# Resize original images
python tools/process.py \
  --input_dir photos_pose/original \
  --operation resize \
  --output_dir photos_pose/original_resized

# Resize landmark images
python tools/process.py \
  --input_dir photos_pose/landmarks \
  --operation resize \
  --output_dir photos_pose/landmarks_resized

# Combine both resized original and landmark images
python tools/process.py \
  --input_dir photos_pose/landmarks_resized \
  --b_dir photos_pose/original_resized \
  --operation combine \
  --output_dir photos_pose/combined
In pix2pix-tensorflow folder,
# Train the model on the data
python pix2pix.py \
  --mode train \
  --output_dir pose2pose-model \
  --max_epochs 1000 \
  --input_dir photos_pose/combined/ \
  --which_direction AtoB
  --no_flip
Trainning takes quite a lot of time. Recommend to use gpu.
For test the model, you need a reference video to imitate(target video). With the target video, generate landmark data.
python generate_train_data.py --file Target_Video.mp4
These landmark and original images of target video will be the input data for pix2pix-tensorflow.
Make photos_pose_test/result directory in pix2pix-tensorflow folder.
# Move the landmarks folder into the pix2pix-tensorflow folder
mv pose2pose/landmarks pose2pose/original pix2pix-tensorflow/photos_pose_test

# Go into the pix2pix-tensorflow folder
cd pix2pix-tensorflow/

# Resize original images
python tools/process.py \
  --input_dir photos_pose_test/original \
  --operation resize \
  --output_dir photos_pose_test/original_resized

# Resize landmark images
python tools/process.py \
  --input_dir photos_pose_test/landmarks \
  --operation resize \
  --output_dir photos_pose_test/landmarks_resized

# Combine both resized original and landmark images
python tools/process.py \
  --input_dir photos_pose_test/landmarks_resized \
  --b_dir photos_pose_test/original_resized \
  --operation combine \
  --output_dir photos_pose_test/combined

# Test the model on the data
python pix2pix.py \
  --mode test \
  --output_dir photos_pose_test/result \
  --input_dir photos_pose_test/combined \
  --checkpoint pose2pose-model
# Move '*-outputs.png' of the generated images to pose2pose folder
mv pix2pix-tensorflow/photos_pose_test/result pose2pose/

# Convert the generated images to video
python convert_to_video.py \
  --input-folder ./result \
  --output-folder ./ \
  --frame TARGET_VIDEO_FRAME \
After above commands, you will get the style transferred video Generated_Video.avi.
Enjoy.