Astrophotography imaging using a Raspberry Pi and camera
New version (v3) released, this version:
- Replaced custom socket API with ZeroMQ backend (you need to install pyzmq on the servier/client for the software to work now) - It made more sense to use an off the shelf messaging technology rather than rolling my own (and then having to maintain it afterwards)
- Auto calibration of capture time and image size, from this we get
- Estimation of execution time on client
- Accurate reporting of number of photos we can take in one go.
- General bugfixes
- Sample photos published :-)
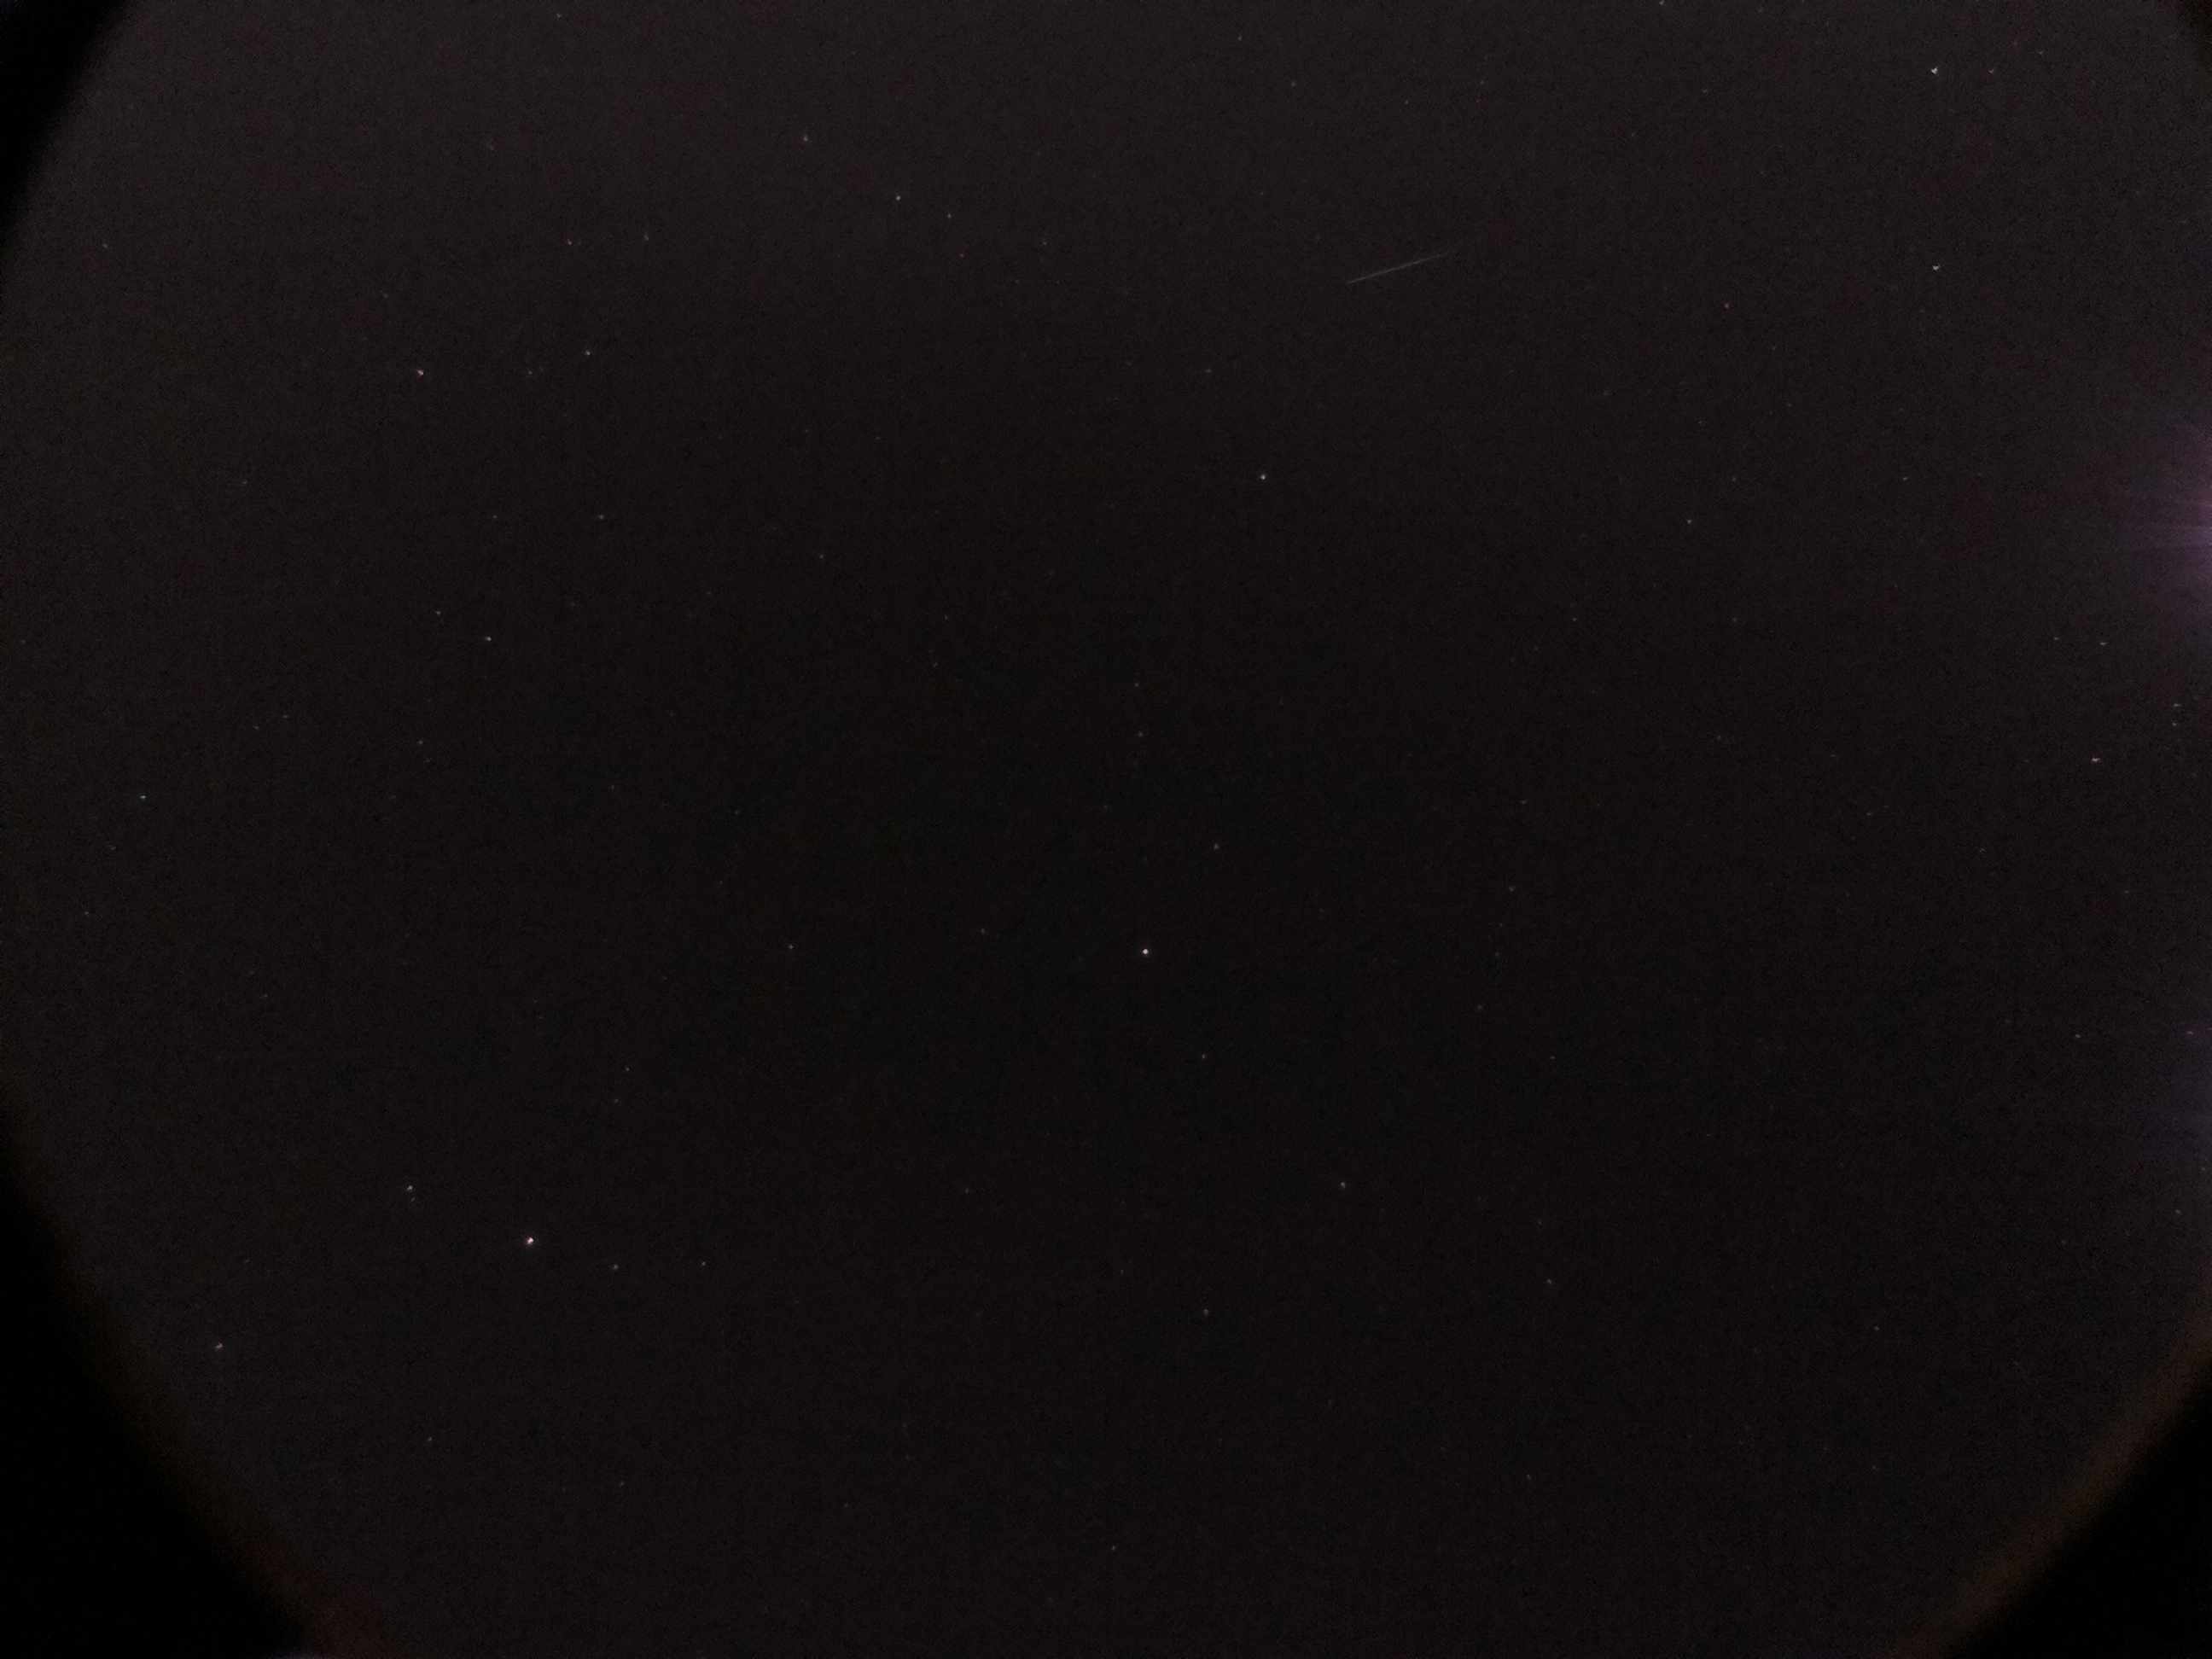
I have included the first sample photo set (taken 14/04/2020), using the longest exposure I have managed to tease out of the camera so far (10s). This photo set was taken with the "v1" camera (5mpx) with no infrared filter.
I include one original size (unmodified) to give you an idea for the quality managed so far: Set1 Example.
The rest were reduced in size and converted into an animated gif. Overall, the quality I am seeing is better than the webcams of old, but not as good as my DSLR (not surprising, considering the huge difference in sensor size and cost between them).
Still, the noise is far less than I expected it would be. It is a pretty decent showing for a first attempt. I always enjoy these time lapse animations of the sky :-)
 .¬
.¬
It also shows the software is working as intended, taking one shot every second for as long as I could stay awake (next step for the system is to get power over ethernet set up, then I can just run an ethernet cable out of the house and let it run all night long). In this case it was a 2 hour period from approx 21:30 to 23:30
You will notice, the photos have a bit of vignetting around the sides. This is because I put the pi camera in a shroud, to try to reduce the horrible light pollution from the new white "LED" streetlights they stuck where I live. As you can see in the corner, I could not get rid of all the glare :-(, even with the shroud.
Proper astronomy cameras/sensors are very expensive, and beyond the budget of many home enthusiasts. Some resorted to using SLRs, but they are not ideal for a multitude of reasons. So For a long time, people have attempted to adapt cheap CMOS/CCD webcams for amateur astronomy/astrophotography. However the resolution of the webcams were low, and it involved a lot of reverse engineering to try to get decent resolutions and RAW output. Beyond that, many had built in IR filters which were hard to remove without damage, and bayer filters and other "features" that while were good for their target market, made them less than ideal for this particular use case.
When the raspberry pi came out with the CMOS camera attachment, it seemed like a great opportunity to me. No more did you have to take apart webcams to try to work out if you could remove the IR filter, no more did you have flip odd registers, hack away at the drivers or otherwise struggle to just get a RAW image out.
The raspberry pi camera provided all this. You have fully documented settings, you had RAW download mode, you even have camera attachments without the infrared filter, so you can have a go at infrared astrophotography if you like.
My only concern was that the small CMOS sensor would be very prone to noise. I would like to test this out, but before I get that far, I decided to write some software to make it easier to take and process photos.
The goal of this project is to to provide a (relatively) cheap astrophotography kit that can use the raspberry PI camera. The idea being that this would be the modern equivalent of the old "hacked webcam" based systems the home tinkerer was putting together years ago. The goal is to try to get the best quality image out of the mass market hardware available.
The goal is also to allow remote working. That is why this is a TCP based client/server system. In theory I can attach my system to a scope outside, or in another part of the world, and as long as it can connect to the internet, I can capture and transfer images across. For the moment I just do it over my wireless network to the test rig set up (consisting of a pi v1 and camera on an equatorial mount) but if it works on my local network, it will work over longer distances.
In future it would be nice to provide a simple rasbpi image that you can just stick on a SD card and start using it.
The software is split into a client/server architecture. The server in this context is the raspberry pi. It acts as an appliance essentially. You don't need to interact with it in any way apart from via the API.
The API is JSON based, and involves a basic RPC implementation that allows to to both do single and batch RAW capture and download to the target.
-
Single capture mode:
- One shot is taken, saved to RAM (tmpfs), then sent directly to the client
-
Multi capture mode:
- You request $x number of captures. The pi will capture and store each image on its SD card. It will then forward these as a batch when captures are done.
Multi-capture mode is faster, because there is no pause as each RAW image (around 25MB) is sent to the client, but takes up local space.
In addition, you can get the current settings of the camera, and set your own camera settings.
So, the "rasbpi" folder goes on the raspberry pi, and you run "python ./imageServer.py" on the pi. This should respond with "Camera initialised, server ready".
The server is currently very verbose, and that will probably reduce as the system matures, but for now you can expect output akin to this when running:
Placeholder
On your client, you can run "python ./capture.py -h" for a full help output, including options you can specify. The positional argument is the number of shots you wish to take.
At the moment there is no maximum number of shots. There are two modes, "normal" and "lowmem". In normal mode the capture data is kept in RAM and sent back along with the response. However if you want to take a batch of more photos than can fit in RAM, than "lowmem" mode is automatically activated (based on pi available RAM and average image size). In this mode the image data is written to the pi SD card, then at the end of the capture, it is all sent to the client. "lowmem" mode is slower (and wears out the SD card by using it as disk cache), but it allows you to capture far more shots than the normal "in memory" mode.
The system automatically selects normal or "lowmem" mode, depending on calibrated image size, available RAM, and available disk, an example capture output looks like this:
Ready status received. Commencing image capture
Calibrating (if this is your first run, this can take about a minute)
Target capabilities:
	1s_shutter_average_execution_time: 9.80565862656
	max_ram_shots: 22.2704207336
	max_disk_shots: 1129.0238023
	average_image_size: 11820730.6
Waiting. Estimate 98 seconds (1.6 minutes) for capture to complete.
Finished. Execution took 31 seconds
ram:(1/1) 9065368 bytes written to astroimage00001_2020-04-14_22:42:53.jpg
You will know if you were in "lowmem" mode, because the last line "ram:" at the beginning would say "disk:". Apart from that, each run reads out the calibration. On first run it can take a minute or so to calibrate the pi camera. This is then saved and future runs will not require a full calibration.
As part of the calibration, you get a print out of the number of shots you can take at once, "max_ram_shots" is how many captures you can do without touching the SD card, and "max_disk_shots" is how many captures you can fit on the sd card before it gets full.
The camera options are forwarded directly to raspistill, with a bit of parsing. Note that unlike raspistill, the shutter speed is in seconds, not microseconds. So for example, if you want a 1 second capture, you can use the client like so:
Take 5 shots with given settings:
python ./capture.py -H astrocam -c "shutter=1,ISO=100,exposure=verylong,metering=matrix,awb=off" 5
Take 1 shot, different settings:
python ./capture.py -H astrocam -c shutter=10,ISO=800,exposure=off,awb=off,analoggain=10,mode=2 1
The shutter supports decimals, so if you want something <1 sec, you can use decimals (e.g. 0.5 for half second). Astronomy handles long exposures more often than not, it made more sense to me to have the default units be seconds as the shutter base speed.
The files follow a name template of "astroimage00000_$DATE.jpg". In the above example, we got the following files:
astroimage00001_2018-10-01_11:57:01.jpg
astroimage00002_2018-10-01_11:57:01.jpg
astroimage00003_2018-10-01_11:57:01.jpg
astroimage00004_2018-10-01_11:57:01.jpg
astroimage00005_2018-10-01_11:57:01.jpg
Note that while it says "jpg", the raw bayer data is added to the metadata in the container. No idea why it is done this way, the underlying "rasbpistill" generates these files. In future I will attempt to have the software convert this to something more normal; either pure tiff, or PPM files (which in my experience, seems to be a rather popular format for astronomy software ).
Back in 2016 or so, when I published this project. There were the two camera modules. Both are 1/4inch CMOS sensors.
- Omnivision OV5647 (Raspberry pi v1 camera module)
- Fixed focus lens
- Max 2592 x 1944px resolution (~5 MegaPixels)
This is the first module, and the one I have. I have both the NoIR and standard version of this. For now I will stick with the standard version.
- Sony IMX219 (Raspberry pi v2 camera module)
- Fixed focus lens.
- Max 3280 x 2464px resolution (~8 MegaPixels),
- Supposedly has great improvement in colour and contrast, along with better performance in low light conditions
This is the v2 module, with the Sony sensor. Sony are well known for decent sensors, so would be good to do a comparison. I haven't had a chance to use one of these yet.
Since then, the rasbpi has exploded in popularity, and now there is a large number of third-party manufaturers making "pi-compatible" camera modules, of varying types, sensor sizes and sensor chips. If anyone else has had experience with using other sensors in astrophotography, feel free to provide input on their suitability!
- Look at replacing rasbpstill with rasbpiyuv, and get RGB data out of the system. Alternatively use the PiCamera python library to interface directly
- Look at possibly also supporting DSLR/USB camera control (most likely via integrating http://gphoto.org/ in some way)
- the raspistill program only allows exposure up to a max of 10 seconds it seems. This unfortunately seems to be a hardware limitation, to do with the number of registers on the CCD sensor. See this very informative page on the camera subsystem: https://picamera.readthedocs.io/en/release-1.13/fov.html